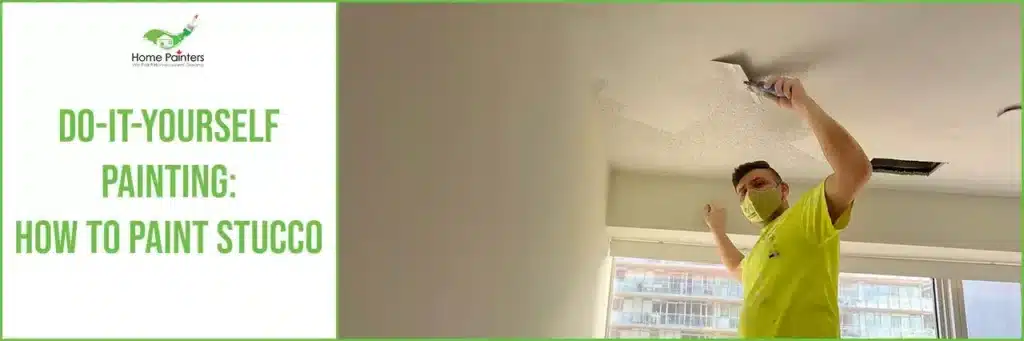
Painting Popcorn/Stucco Ceilings Can Give Your Home a Fresh, Classic Look
Many homes built between 1950 and 1990 were designed to include “popcorn,” or more precisely, stucco ceilings and stucco walls. Stucco was favoured because of its ability to hide flaws and because of its bright white appearance.
But, as time goes on, the white colour of the stucco faded and became dingy. The popcorn texture is also very hard to clean and can harbour dust and dirt particles. And now you are wondering if can you paint stucco ceilings. The answer is yes.
However, there are some things you should know before you begin painting. Here are some of the painting stucco pros and cons:
PROS:
- Stucco is durable, so when you paint over it, you can get many years of use out of the paint job.
- It helps insulate your home, which means that even if temperatures outside aren’t very high, your home will still feel comfortable inside thanks to that insulation effect.
- Painting stucco can be an easy way to update your home’s exterior without spending a lot of time or money. It’s a quick fix to bring new life into your house!
- There are many different types of paint you can use when painting stucco, including semi-transparent paints that let light through while still covering up stains. This means you don’t have to worry about light being blocked out by thick layers of paint!
- If you want to make your house look more like stone or brick but aren’t ready to make an investment in either material yet, painting stucco can be a good compromise between the two options!
CONS
- Stucco is porous, so it will absorb the first coat of paint. You’ll need to apply at least two coats in order for your colour to be even and smooth.
- Stucco can be damaged by harsh chemicals, as well as by too much moisture. These things can cause cracks and mould spots on your stucco.
Here are some tips for painting stucco ceilings in case you do not want to have the stucco removed.
Stucco originally was created with asbestos fibres to create a special texture but was banned in 1978 after many people reported illness. In homes built prior to 1980, we strongly advise hiring professional painters to remove your stucco as there may be remnants of the asbestos materials present.
Step 1: Prepare the Room
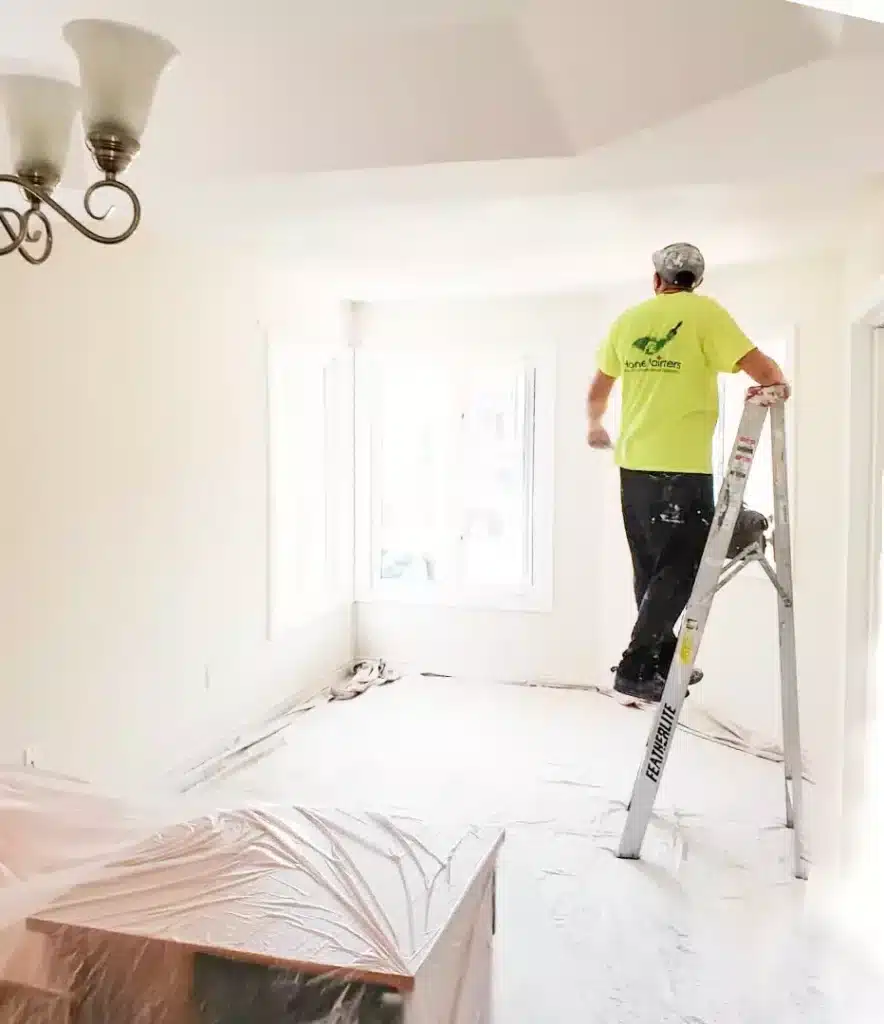
Removing stucco from a ceiling is very messy. The paint stucco ceiling is less messy, but be sure to properly prepare the room before beginning the process. Remove any furniture or decorations that can be removed and cover the rest with drop cloths or plastic sheets. Fasten plastic sheets to the walls to prevent the stucco from sticking to them. Use masking tape to secure the plastic without damaging the paint.
Step 2: Determine if Stucco Has Been Painted Previously
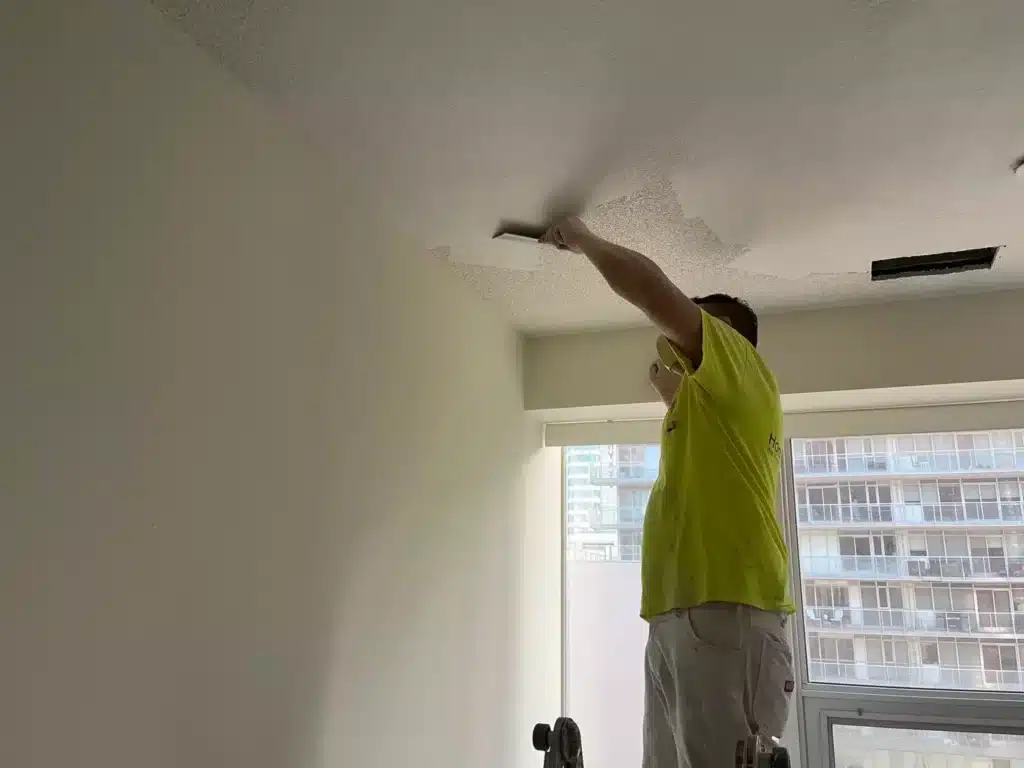
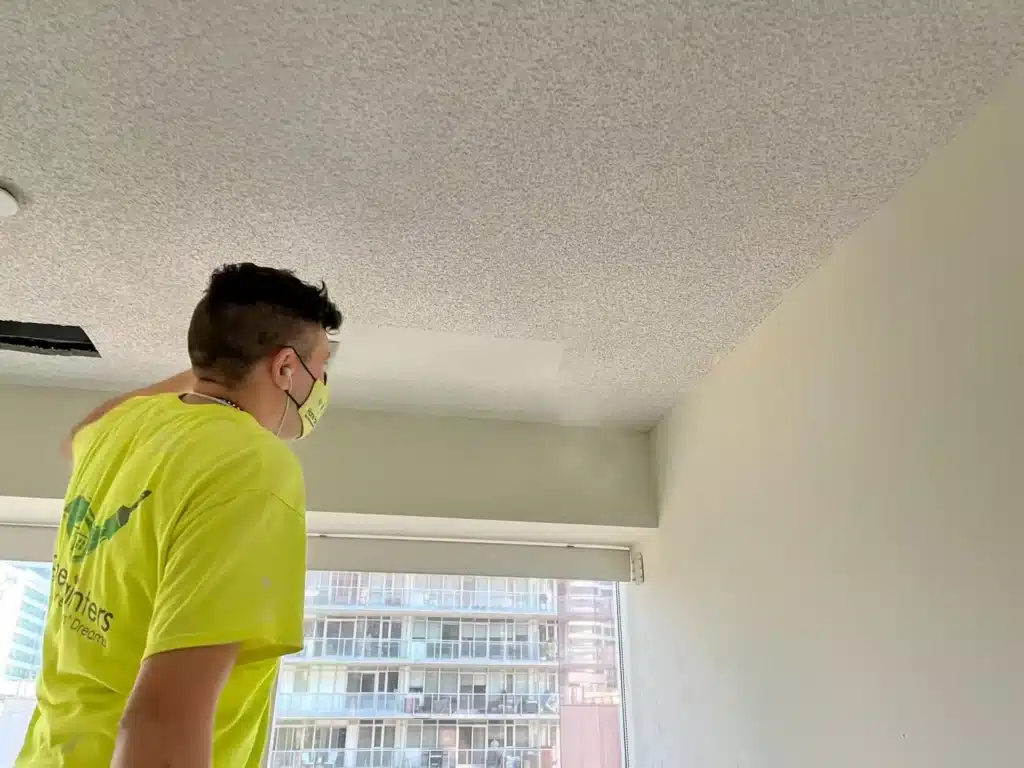
If you know it has been painted before, skip this step. Carefully, climb a ladder and look closely at the stucco. If it looks sealed and smooth, it has probably been painted before. If it looks sharp and pointed, it may not have been.
Do not attempt to wash the stucco. Water will cause the material to detach from the ceiling, causing a mess and an appearance to the ceiling.
Home Painters Toronto Tip:
Go to a small corner of the stucco. Run your finger GENTLY over the stucco. If it easily comes off, then you need to prime/seal the stucco prior to painting it.
Be very careful not to take too much of it off or it will leave a finger mark.
Step 3: Prime The Stucco
First, to seal the primer, it is highly recommended you use either a low-odour oil primer or a waterborne primer made for ceilings. If you use a typical latex primer, this can ruin the ceiling and cause the stucco to come off the ceiling
Also, we recommend ALWAYS doing at least 1 coat of primer before any interior painting of the ceiling. For stucco that is yellowed, smoke-stained, water stained, or has not been painted in several years, sometimes even 2 layers of primer are necessary to seal all the cracks and crevices.
Home Painters Pro-tip:
If there is water damage; Keep doing layers of primer until there are no signs of damage left. Sometimes even a stain blocker in that one water-damaged area will be necessary. Kilz or Zinser both have good stain blocker primers for situations such as these. Once these areas have been sealed, then do a full coat of oil/waterborne primer to blend with the rest of the ceiling.
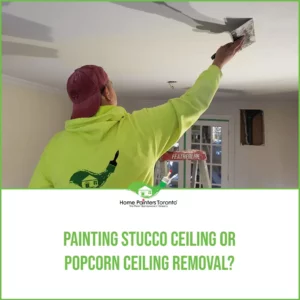
Step 4: Painting the Stucco
Painting stucco is different than painting a flat wall or ceiling. Instead of using less paint stucco and adding more if needed, load your roller with a healthy amount as long as it doesn’t drip.
Lighting: Make sure your room is properly lit so you can see all the little spaces and bumps. Check your work often to ensure every valley and mountain is filled with paint.
Hard-to-reach Spots: If the roller will not reach some of the deep spots, use a small paintbrush to “cut in” those areas. Depending on the colour, you may require 2 coats of paint.
If you have the time and patience to paint stucco, you will notice that a freshly painted ceiling will add a classic touch to your home. Keep these stucco painting steps in mind to eliminate many of the common damages to stucco when refreshing the ceiling.
Most Interesting Blogs Related to
“Do-It-Yourself Painting: How To Paint Stucco”

If you want to paint or remove your stucco ceiling, at Home Painters Toronto, we can help you do the job. With more than 36 years of experience as a professional painter in Toronto and the GTA, let our experience go to work for you.
Please call us NOW at 416.494.9095, or email us at Brian@HomePaintersToronto.com to get a quote for your stucco ceiling painting or stucco ceiling removal project. And don’t forget to follow us on all our social channels below as well!