Basement Drywall Installation Process by Toronto Home Painters
When trying to complete and finish a Toronto house basement, the ceiling usually proves to be the most difficult. Installing basement drywall ceiling is the most cost-effective method to cover the floor joists and beams, and finish your basement ceiling properly.
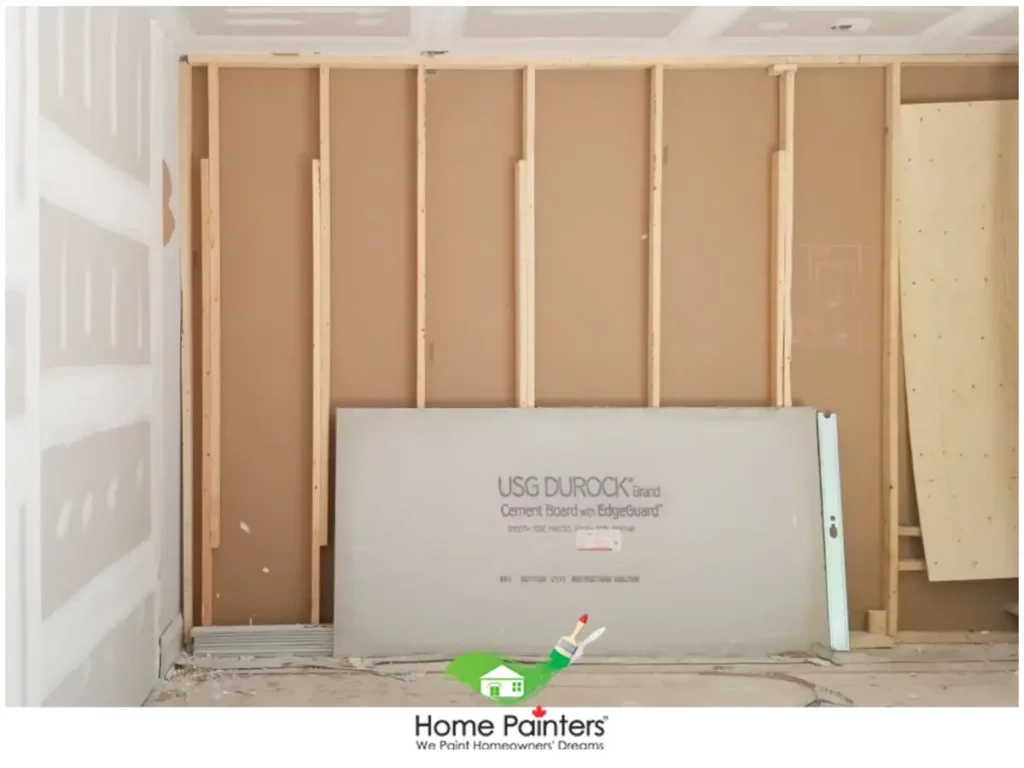
The basement drywall installation process requires precise measurements and enough strength to undertake. This is usually caused by the weight of the drywall and the installation of the drywall ceiling since people tend to have trouble lifting it over their heads. Basement drywall installation, especially on the ceiling, is possible though! And Home Painters Toronto is here to show you how to do it.
How Do You Put Drywall Up on a Ceiling?
The process is actually very similar to how you would install drywall on a wall. However, instead of hanging the drywall from above, you will need to hang it from below using a couple of different methods. Below are the drywall installation steps for a basement ceiling that you can follow.
Step 1: Measure the Area
- Before you start the process, make sure you correctly measure the basement’s dimensions.
- Decide on the number of full drywall sheets you will be able to hang first.
- Find out how many pieces you will have to cut in order to fit it around the existing or soon-to-be new light and ceiling fixtures.
Step 2: Hang the full sheets of drywall to the basement ceiling first
- Begin in a corner and find the best way to face the length of the full sheet.
- Mark the position of the joists on the sheet.
- Hold the full sheet of drywall above your head and fit it into position. Get a partner if it proves too heavy for you!
- Try to have someone help you hold the drywall up to the basement ceiling, while you install it. You can also rent or buy ‘drywall panel hoists’ to help you with this. Worse case, if that’s not possible, just keep the drywall sheet in place to the basement ceiling with one hand, and the drill in the other.
- Drill into the joist. Move to an opposite corner and drill in another screw.
- When you have 3 or 4 screws drilled, bring your hand down and drill in the other screws.
Step 3: Make the drywall cuts
- Some parts of the ceiling in the basement might need small pieces of drywall or sheet rock. Measure the dimensions and mark them for basement drywall installation.
- For square or rectangular pieces of drywall, use a tape measure for a straight edge. This helps to point out the line.
- If angled cuts are needed, mark the end points and use a straight edge to draw the line.
Step 4: Hang cut pieces
- Hang the smaller cut pieces of drywall to the basement ceiling first.
- Then, using the same method, hang the larger and full sheets of drywall.
- Their weight allows 1 or 2 screws before bringing down your arm to fix in the rest of the screws.
Step 5: Make cuts for fixtures
- There could be light fixtures and other obstacles. Make cuts for them as well.
- Measure the location of the fixture. Mark it on the piece that is getting cut.
Step 6: Mud and Tape
- When the ceiling drywall has been hung, check that there are enough screws supporting each piece.
- Cover all seams with drywall tape and mud.
- Cover each screw and the indents left with mud.
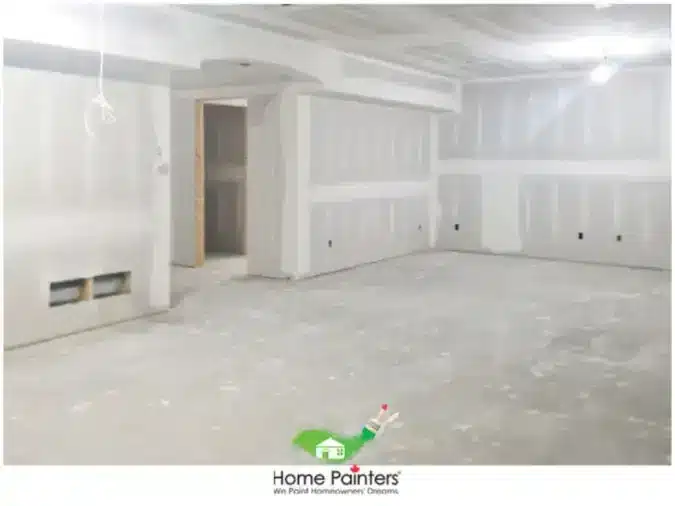
- The finished product should be smooth and ready for primer.
How to Finish Drywall Ceiling?
Once you have completed the ceiling basement drywall installation process, you are ready to paint the drywall ceiling.
The finishing process for drywall ceilings is much like the finishing process for drywall walls. You need to sand, prime, and paint.
Here are the steps for finishing drywall ceilings:
Step 1: Sand the Ceiling
Sanding is one of the most important parts of finishing drywall. It will smooth out any bumps in your ceiling and make sure it is ready to paint. Start by using coarse-grit sandpaper to remove any remaining texture or bumps from your basement. You should also use a sanding sponge to smooth out any indentations left by screws or nails.
Step 2: Prime the Drywall
Next, prime all areas where you used tape. Use an oil-based primer for this step because it will fill in holes better than latex primers. Make sure that you cover each seam with primer as well so that no moisture can get behind them and cause damage later on down the road.
Step 3: Sand the Drywall
Once you have primed all of your seams, it’s time to sand again. Use a fine-grit sanding sponge for this step so that it will smooth out any rough edges and make sure that your drywall is ready for paint. You may also want to use a damp cloth or tack cloth at this point to remove any dust from your walls.
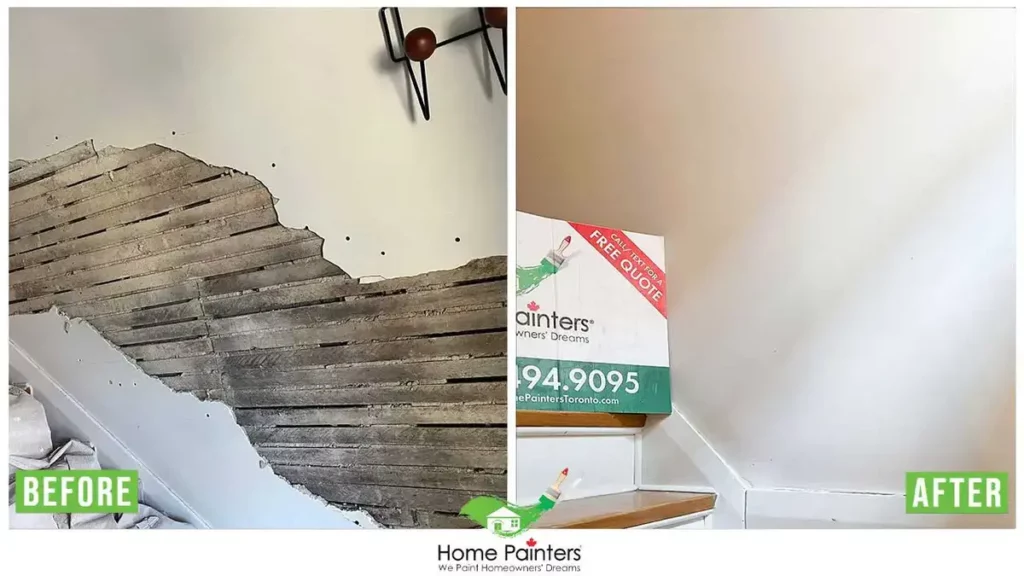
Step 4: Paint the Ceiling
Now it’s time to paint your basement ceiling! Use high-quality acrylic latex paint that is specifically made for ceilings. This type of paint will dry faster than other types of paint and provide better moisture resistance overall. If you want to leave your ceiling white, go ahead and do so. However, if you are looking for something with a bit more personality, then consider painting it a bold colour like red or blue.
You can do basement drywall installation and paint on a basement ceiling in the span of a weekend or more, depending on the size of the basement. If you have the right tools, it shouldn’t be too difficult or confusing. However, as mentioned, holding the sheets of drywall above your head may be the awkward part!
More Interesting Blogs Related to
“HOW TO DO BASEMENTT DRYWALL INSTALLATION ON A CEILING”


At Home Painters Toronto we offer basement ceiling drywall installation as one of our many product lines. So, if you feel like the job is too daunting for you, please give us a call at (416) 494-9095 or send an email to Brian@HomePaintersToronto.com to get a Free quote about the cost for basement drywall installation!