If you want to ensure a quality paint job that lasts, then it’s important to prepare your house properly before any painting begins. The prep work is what makes the difference between a quality paint job and one that looks like it was done by a child with a crayon. If you don’t prepare properly, it can lead to poor adhesion of the paint or uneven colouring. This can result in peeling, cracking and unsightly surfaces that will look bad for years. Here’s how to get your house ready for paint.
What do I Have to Do Before I Paint my House?
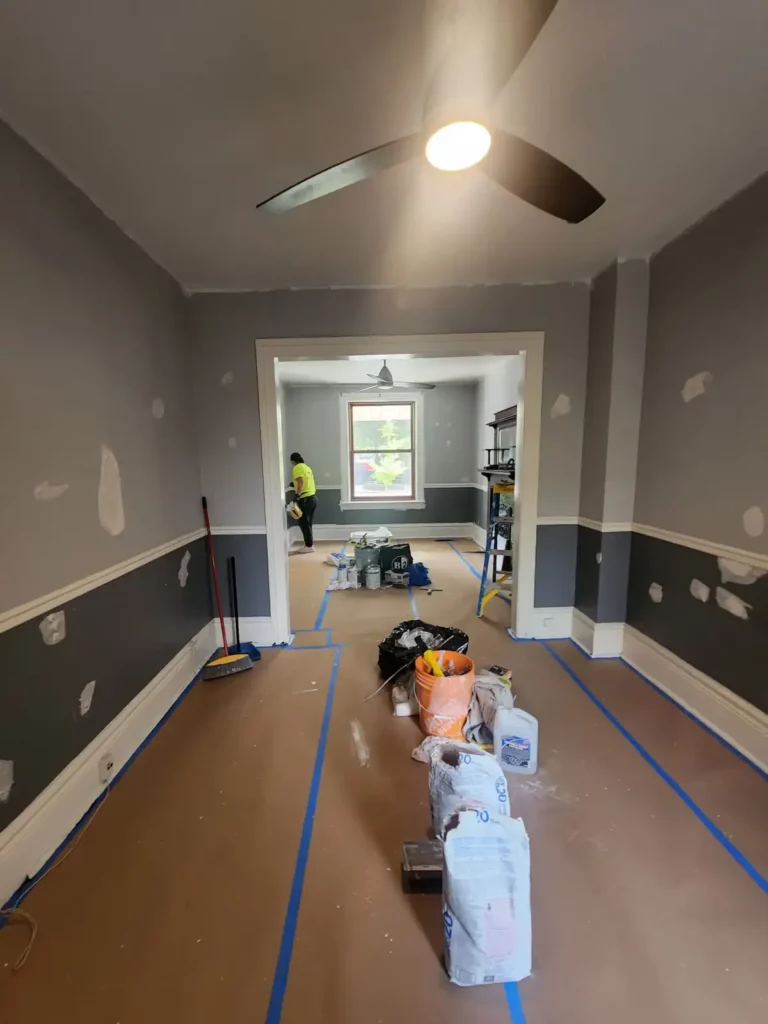
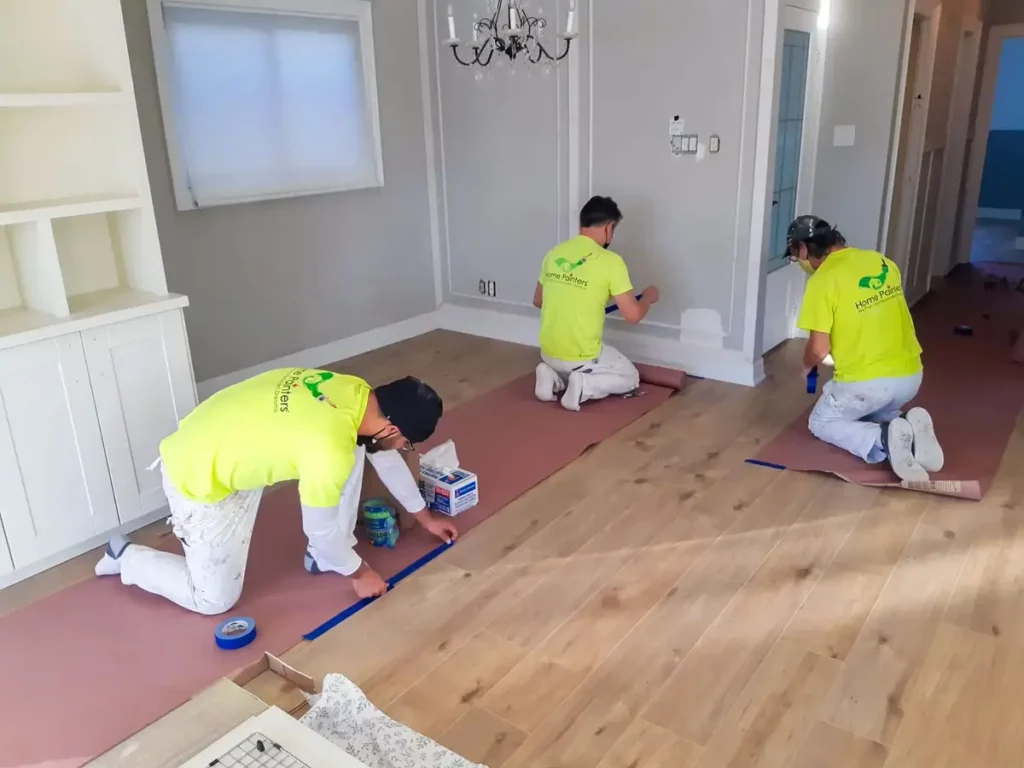
Preparing House for Painting Interior
Step 1:
Remove furniture and other items from the room.
Step 2:
Sand any surfaces that need it. You can use a power sander for this job, but make sure to wear a dust mask and eye protection if you do so.
Step 3:
Repair any holes or cracks in your plaster or drywall using the spackling compound. Sandpaper to create a smooth surface.
Step 4:
Clean the walls and ceilings with a mild detergent solution, rinsing well. Dry with a clean towel or cloth.
Step 5:
Remove any electrical fixtures from the walls and cover the outlets with tape to prevent paint from getting into them.
Step 6:
Vacuum all floors, which will help remove dirt and debris from them before painting begins.
Preparing House for Painting Exterior
Have you ever taken a step back to look at the exterior of your house? You might find that your house has started to show some wear and tear. It could be time for a refreshing exterior coat of paint to reignite your home’s lustre.
Here are some 3 simple steps to preparing your home for painting:
Instructions for How to Prep Your House for Exterior Painting
Step 1: Wash
Wash the dirt and grime from the exterior of your house before you start priming or painting. This helps the primer and paint to adhere better and last longer. A simple wash with a hose, a pump sprayer and a scrub brush is usually enough. You can try using a power washer but it can cause damage to house wood siding and house trim if it is not used properly.
Step 2: Scrape & Sand
Before you paint the exterior of your Toronto house, scrape off all bubbling or blistering paint and sand the area you want to paint.
Sanding helps to flatten out lumps and bumps. It gives your house a smooth, consistent surface – and it helps the paint stick better, so you’ll get a long-lasting finish.
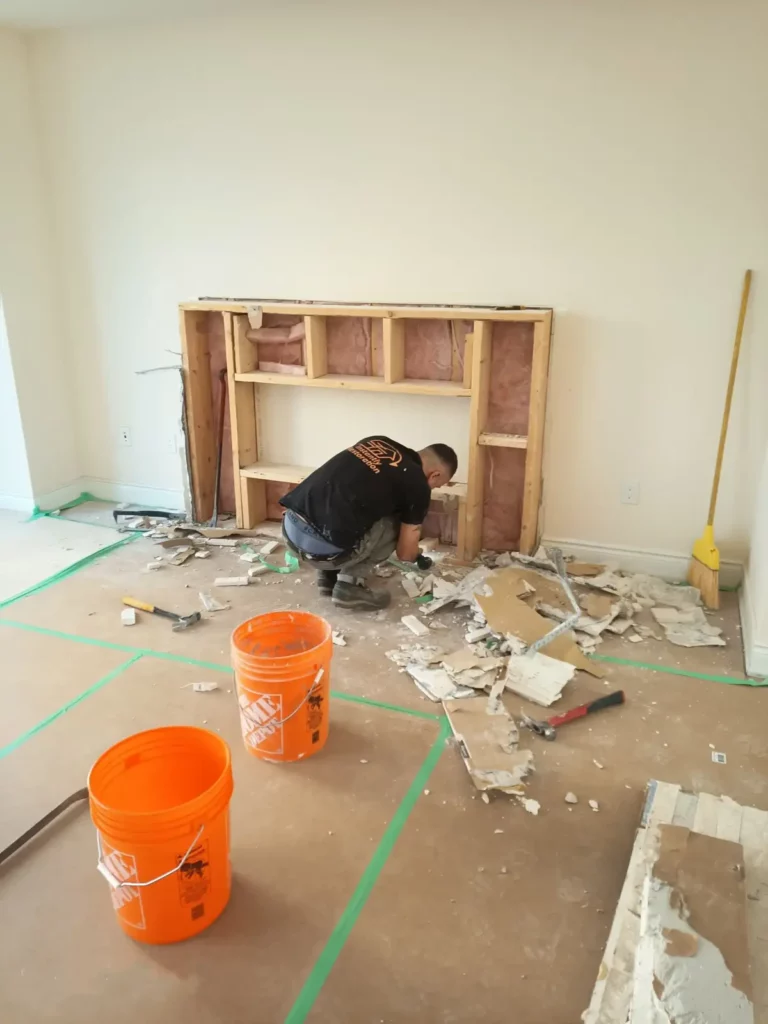
Step 3: Caulk, Fill, Patch
Another way to give your house a smooth surface is by patching and filling holes. Before it gets too bad, repair damage that could get worse as time progresses.
Be sure to caulk and seal any windows or openings. This prevents air and water from leaking in, and heat from leaking out. You’ll save money on your heating and cooling with some preventative maintenance.
Exterior Painting Tips
• Use good paint. When it comes to quality paint, you get what you pay for. Spending a bit more now can save you from applying a new coat sooner.
• Buy or rent a sturdy ladder because you will be spending a lot of time on it.
• Make sure to have a lot of sandpaper, scraper, putty and exterior grade caulk before you start the project.
• Estimate the amount of paint you’ll need by multiplying the length of each wall by its height.
Home Painters Toronto has offered professionalexterior painting services in Toronto and the Greater Toronto Area since 1991. We are a top-rated painter on HomeStars, the most trusted home services guide in Canada. We attained this high rating by providing extraordinary value, and the highest quality services at reasonable prices. As one of the top exterior house painting contractors in Toronto, we strive to offer you the best service you can get in the city.
More Interesting Blogs Related to “How to Prepare Your House for Painting”
Call us now at 416-494-9095 and email us at brian@HomePaintersToronto.com for any interior or exterior painting services. And don’t forget to follow us on all our social channels below as well!