Home > Toronto Carpentry > Common Drywall Installation Mistakes and How to Avoid Them
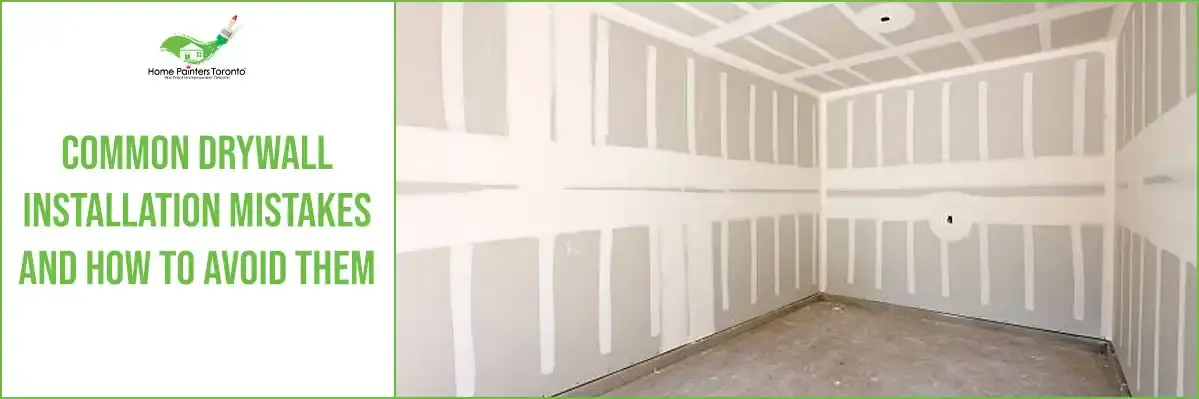
Common Drywall Installation Mistakes and How to Avoid Them
Last updated on February 8, 2024
Common Drywall Installation Mistakes and How to Avoid Them
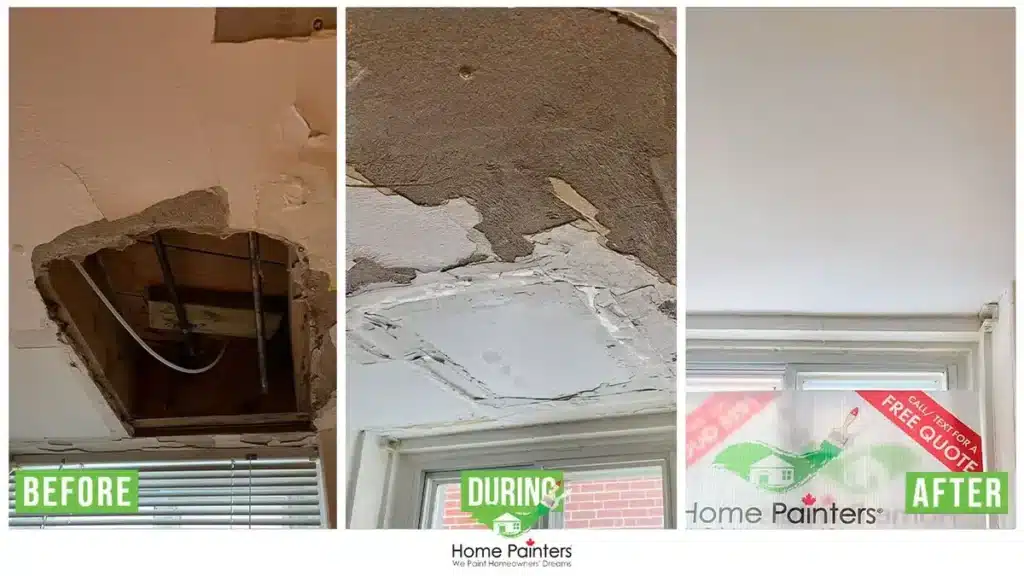
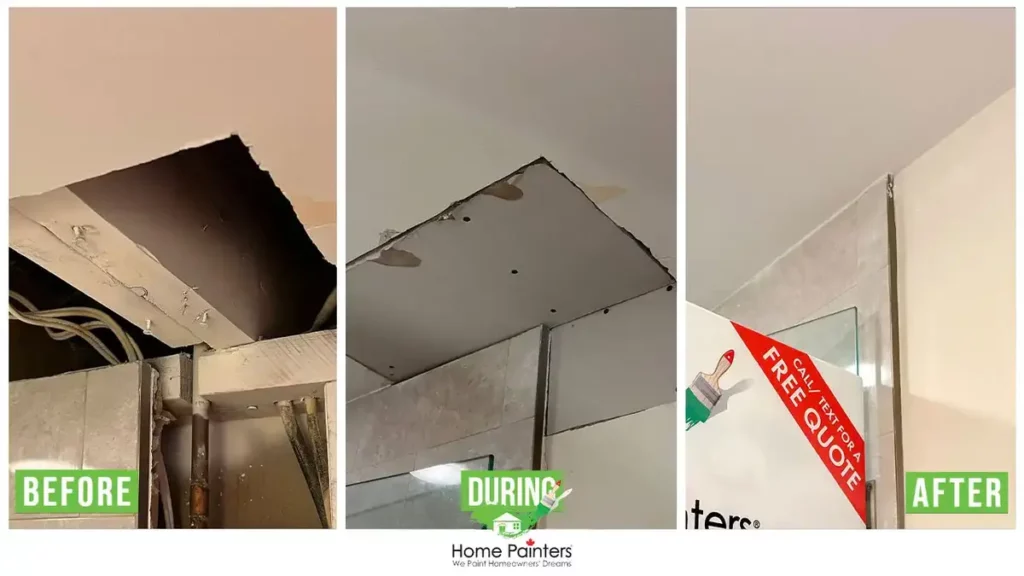
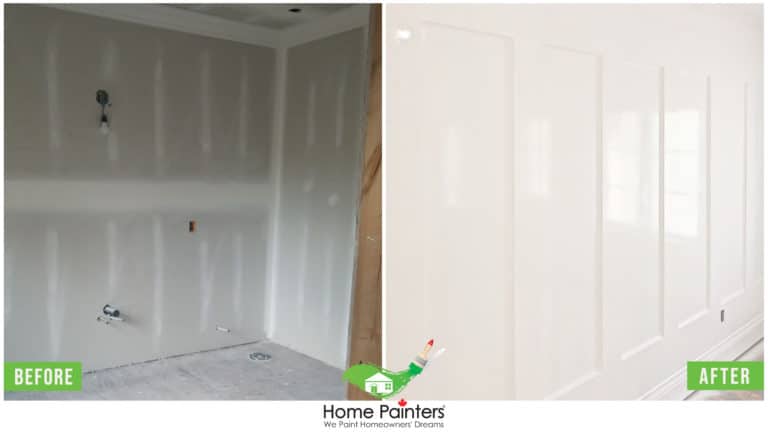
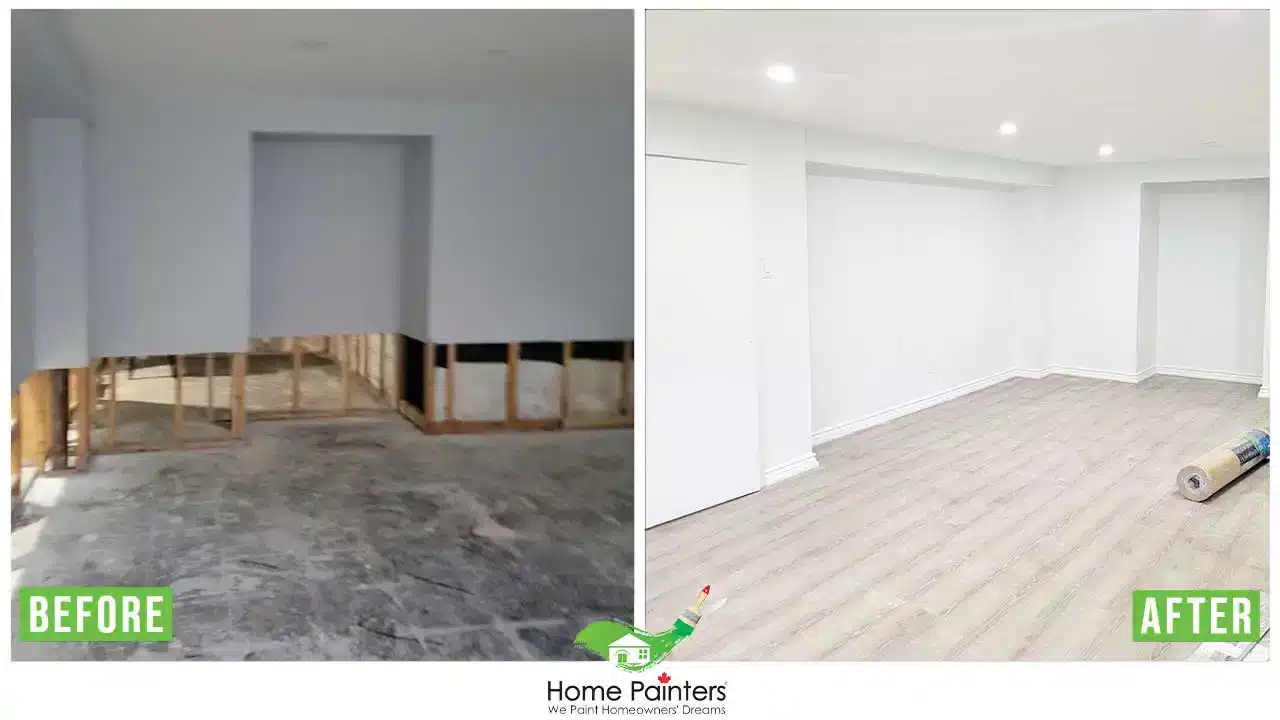
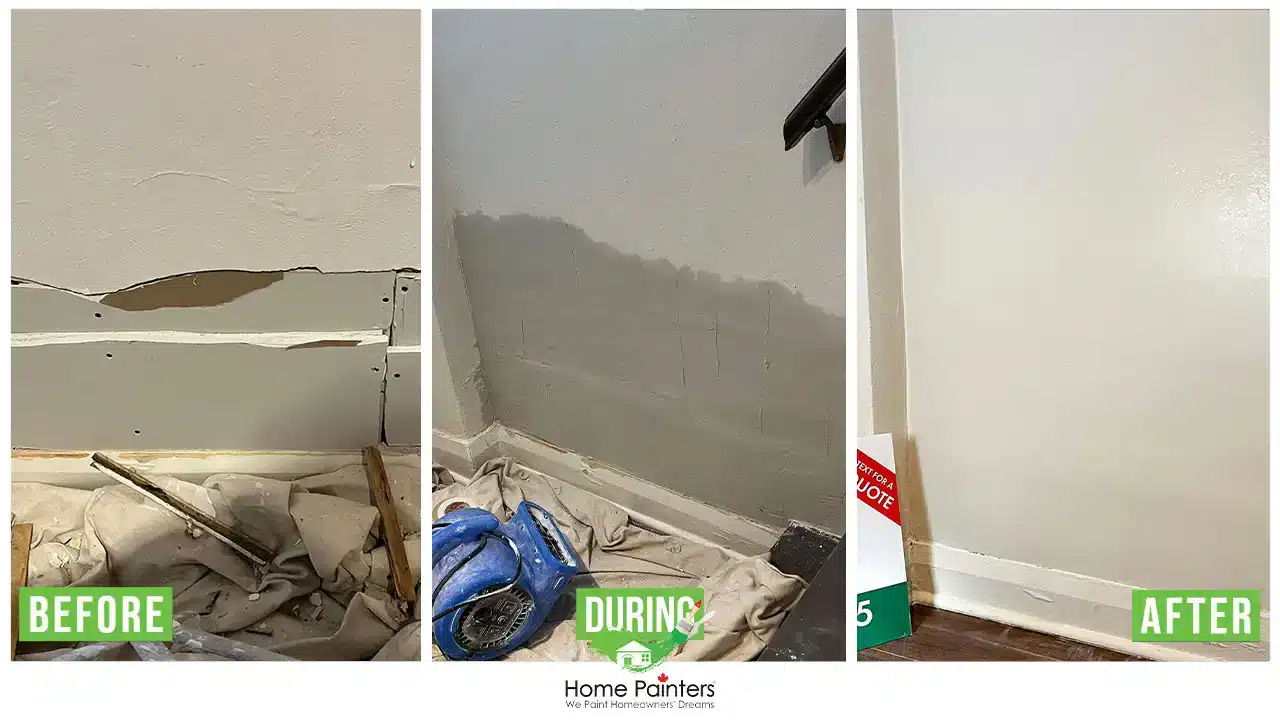
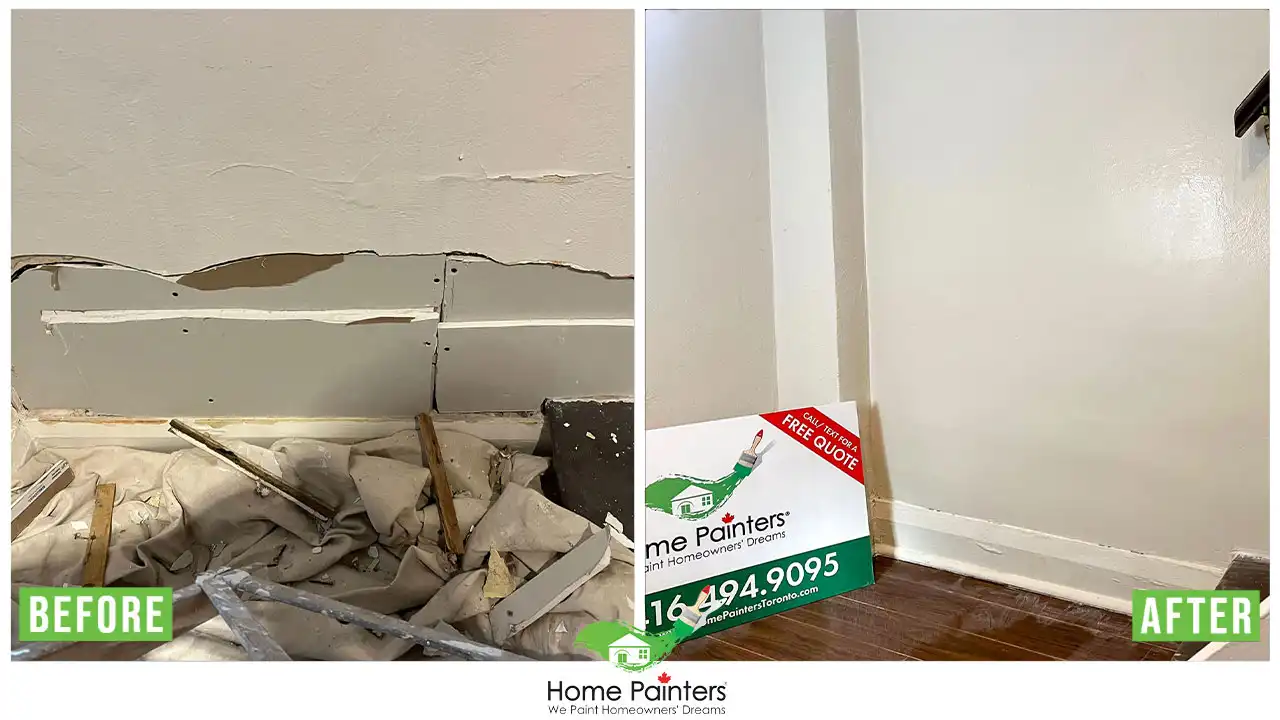
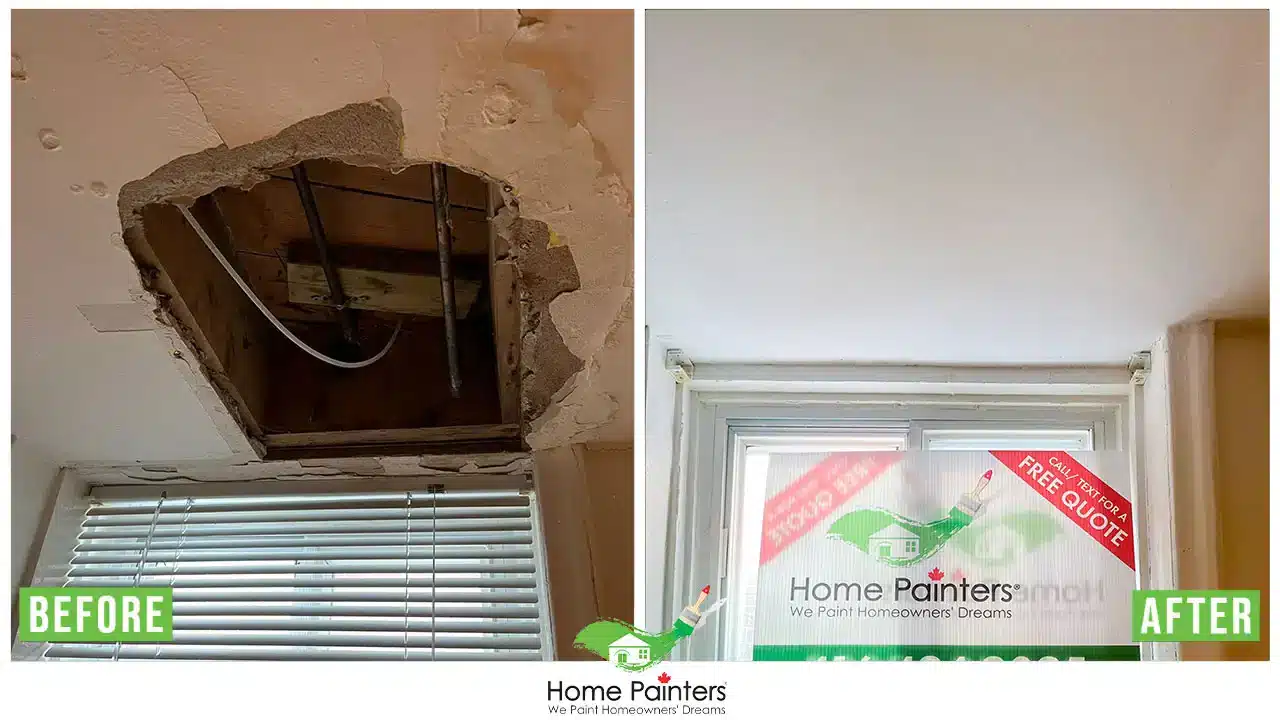
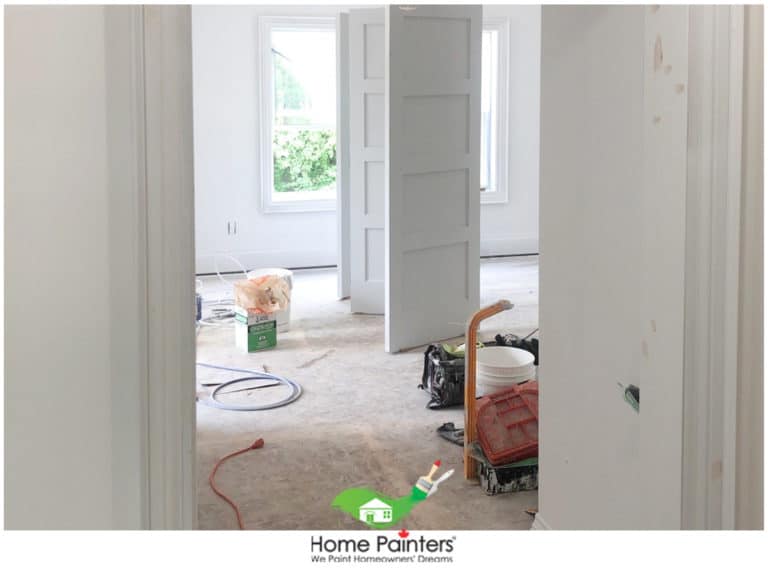
There are far too many times when a person thinks to themselves, “I can do that” without realizing that there is so much more to drywall installation than just simply putting it up. There are actually some really common drywall installation mistakes that people often make along the way. These include edge support, framing locations, tapered edges, fit before fastening and minimizing joints. Let’s discuss below and see if we can help you avoid these common drywall installation mistakes!
Drywall Installation Mistake #1: Missing Edge Support for Drywall Installation
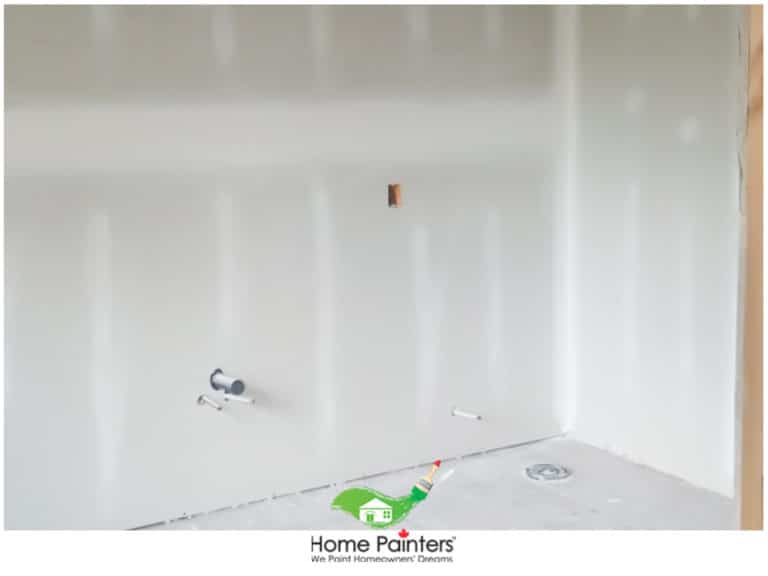
So, how do you install drywall on the ceiling? Why is supporting the edges so important? Well, you won’t be able to fasten the drywall properly, that’s a good enough reason, right? What you need to make sure of is that you always inspect the framing before you start putting up your drywall. You need to have 1 inch at least of exposed framing at each corner.
Always check along the top of the drywall that is lined up parallel to the ceiling framing. Sometimes this can be missing. Add blocking by screwing it in at an angle in case you can’t get a hammer in there.
Drywall Installation Mistake #2: Guessing Your Framing Locations
So, some people tend to guess with this when you really shouldn’t. Try marking the framing location prior to covering it with drywall. You will definitely have a difficult time putting in the screws correctly. A good method is to make marks and have them as a guideline so you can pencil in a line across. That way, you should be able to screw in the screws quickly and correctly.
Always mark the location of ceiling joists on the top of the wall framing before you mark the center of every stud on the floor below. Take this into consideration with any different framing so you know exactly where to screw in screws once you’ve covered it with drywall. Then, once the ceiling drywall is up you can mark the stud locations right on the ceiling using a pencil prior to doing the rest of the drywall installation.
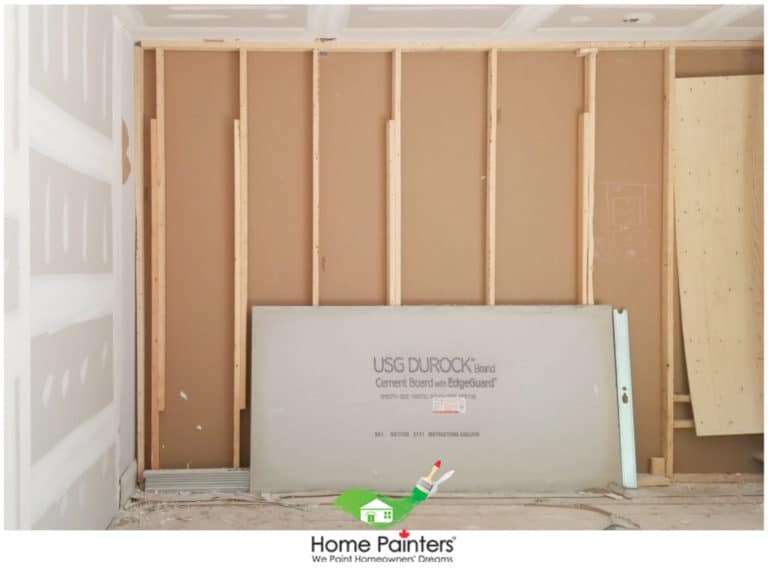
Drywall Installation Mistake #3: Not Cutting Tapered Edges
When you cut the drywall for a really tight fit, it will often never work as you planned. The interior drywall will actually crumble at the edges or even chip out at a corner. You’ll have to remove it and do it all over again. Which is not worth it! Try to leave a 1/8″ gap on all edges so it is tapered correctly.
Always leave a gap so you don’t end up with tapered edges; it’s much easier to fill in the gap than to replace the entire drywall sheet.
Drywall Installation Mistake #4: Forgetting to Fit Before Fastening
Let’s imagine you have an outlet box and you have to put up drywall. What do most people do? They force the drywall over the outlet box, and they break the drywall! You can measure as specifically as you can, and often there will still be an outlet box that just doesn’t line up and fit. Don’t put up the drywall first only to think you can trim away the opening; you could end up with broken drywall and spend more time than necessary trying to fix it.
Always fit before fastening. After you have ever so carefully measured and cut away the opening on the drywall, try holding the drywall up to the spot and see if the fit is tight before you fasten it in place. Once it is fitted, trim any excess drywall and tightly line it up to the edges using a utility knife. Then the drywall should easily slide into place over the outlet box, making it easy to fasten.
Drywall Installation Mistake #5: Too Many Joints When Installing Drywall
Don’t create needless joints because, well, it’s simply not logical. Taping drywall can take a lot of time and is definitely tedious enough as it is without having to add extra joints. Try to use the largest and longest drywall sheet you can. Buying more materials is better than not having enough.
Always consider extra 54″ wide sheets of drywall in your basic room so you can avoid the extra horizontal joint. You can get these custom drywall sheets at almost any home-building store. Try not to stress about the labour involved with lugging the sheets around; you can often have them delivered.
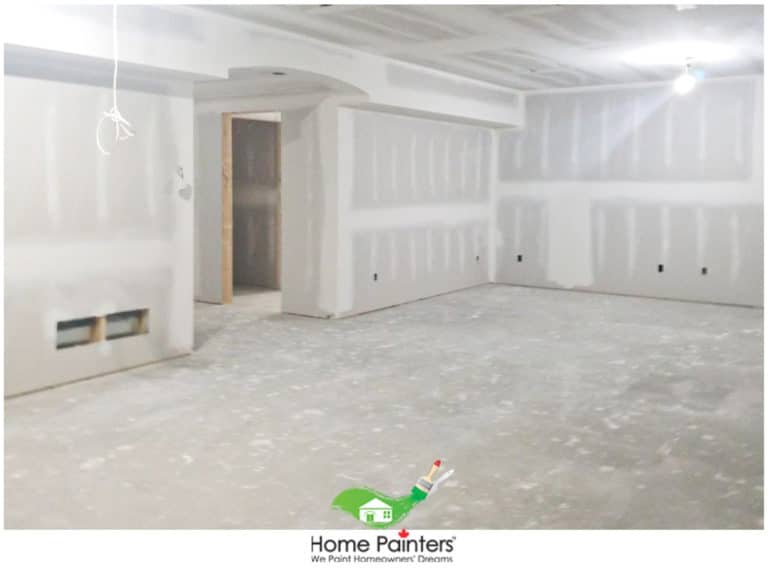
Hanging Drywall: Tips and Tricks
Undeniably, installing drywallis a task that requires special knowledge and skills. It can be intricate and complex, especially for beginners. To ensure a smooth and successful process, here are some handy drywall installation tips and tricks you can refer to:
Start With the Ceiling
Always install drywall on the ceiling first, and then move to the walls. This ensures that the wall panels will help support the edges of the ceiling panels, providing a cleaner look and enhancing structural integrity.
Mark the Stud Locations
Before you begin installing drywall, mark the locations of the studs on the floor and ceiling. These marks will serve as your guide when driving screws. Missing the studs can lead to a weaker installation and potential problems down the line.
Use the Right Tools
The proper tools can make your drywall installation go much more smoothly. In addition to a good-quality drill and a drywall saw, a Drywall T-Square and a utility knife can be incredibly helpful.
Stagger Your Seams
When hanging drywall, remember to stagger your seams. Panels should not line up across from each other on opposite sides of a wall or ceiling. Staggering creates a more structurally sound and visually pleasing surface.
Leave a Small Gap at the Bottom
When hanging drywall on walls, leave about a half-inch gap at the bottom of the wall. This gap will typically be covered by the baseboard and can prevent any potential damage from small floods.
Use Construction Adhesive
A good technique is applying a layer of construction adhesive to the studs or joists before hanging your drywall. This will help reduce the number of screws you need, limit the potential for popping screws, and provide some soundproofing benefits.
Don’t Cut Electrical and Plumbing Holes Until After Hanging
Hang the drywall first, then cut out the holes for outlets, switches, and lights. This way, you can accurately measure where the holes should be once the panel is in place.
Avoid Creating a ‘Joint Ridge’
Be careful not to create a joint ridge when adding joint compound to your seams. Apply thin layers and feather the edges out wide to invisibly blend the joint into the wall.
Remember, to avoid drywall problems, patience and practice are the keys to mastering drywall installation. As you gain experience and learn more drywall tricks, you’ll improve your technique and be better equipped to handle your next drywall undertaking.
More Interesting Blogs Related to “Common Drywall Installation Mistakes AND How To Avoid Them”
If the work involved with your drywall installation sounds like it involves too much time and energy to do yourself, call 416.494.9095 or email Brian@HomePaintersToronto.com for a FREE quote. And don’t forget to follow us on all our social channels below!