
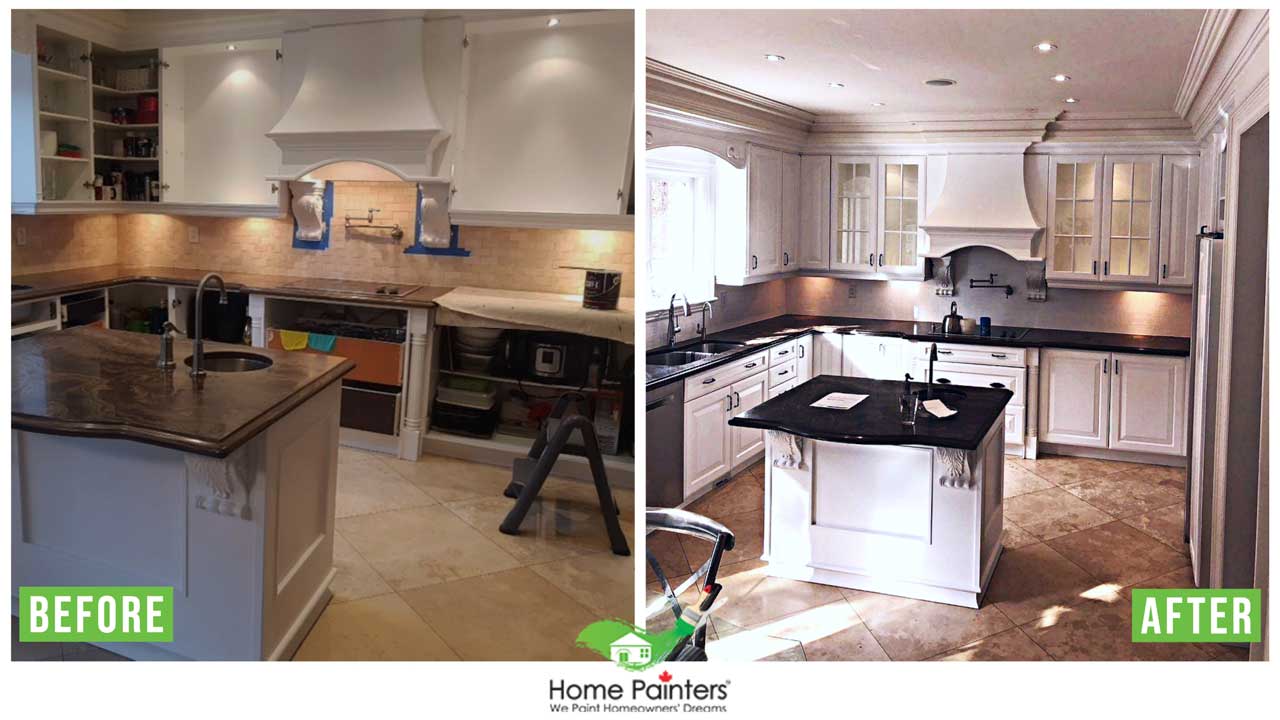
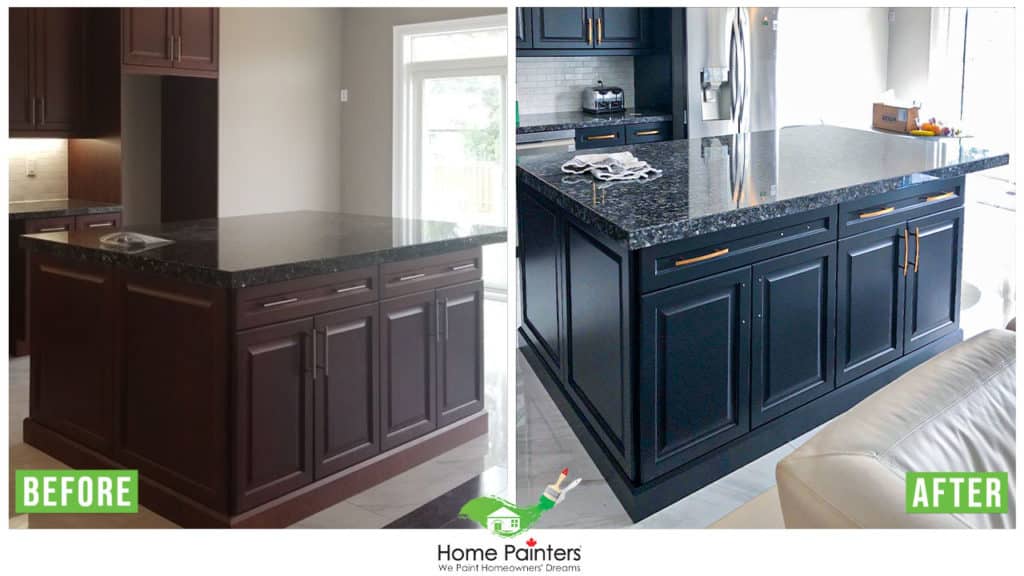
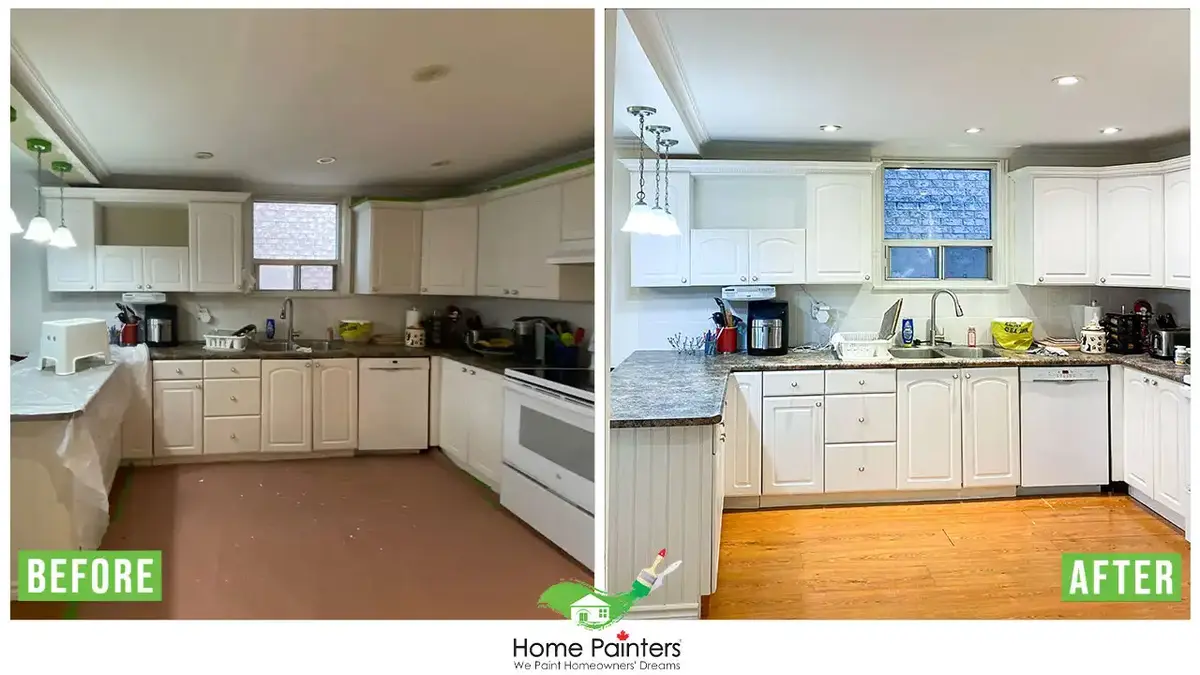
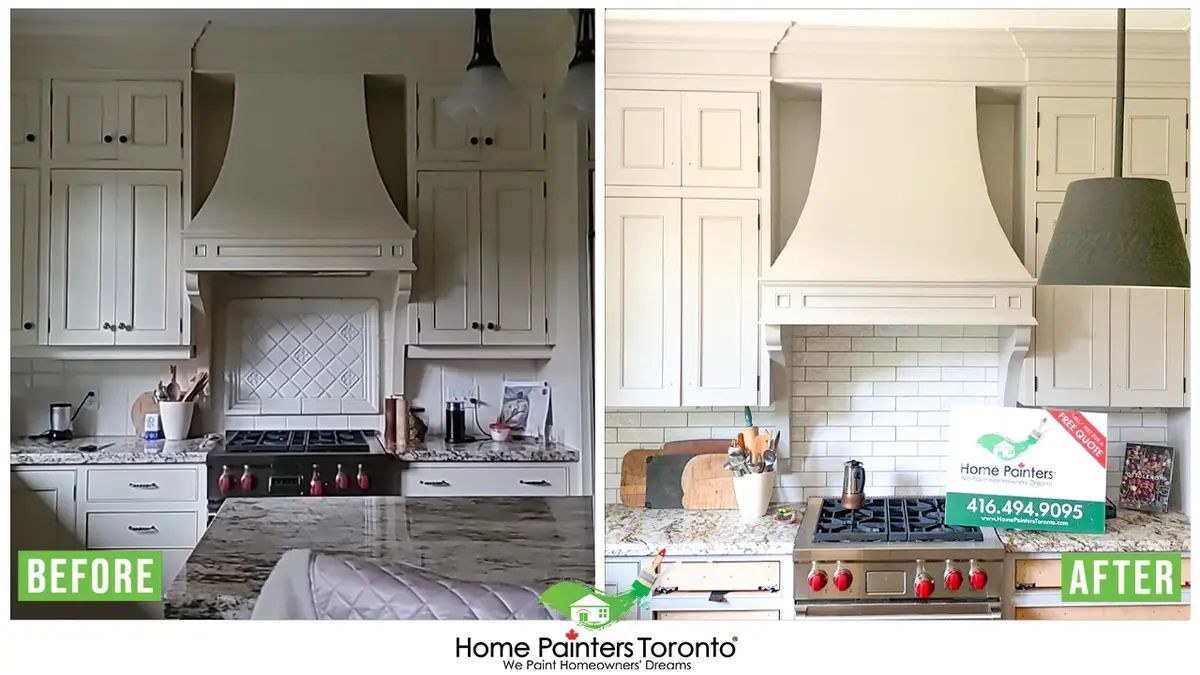
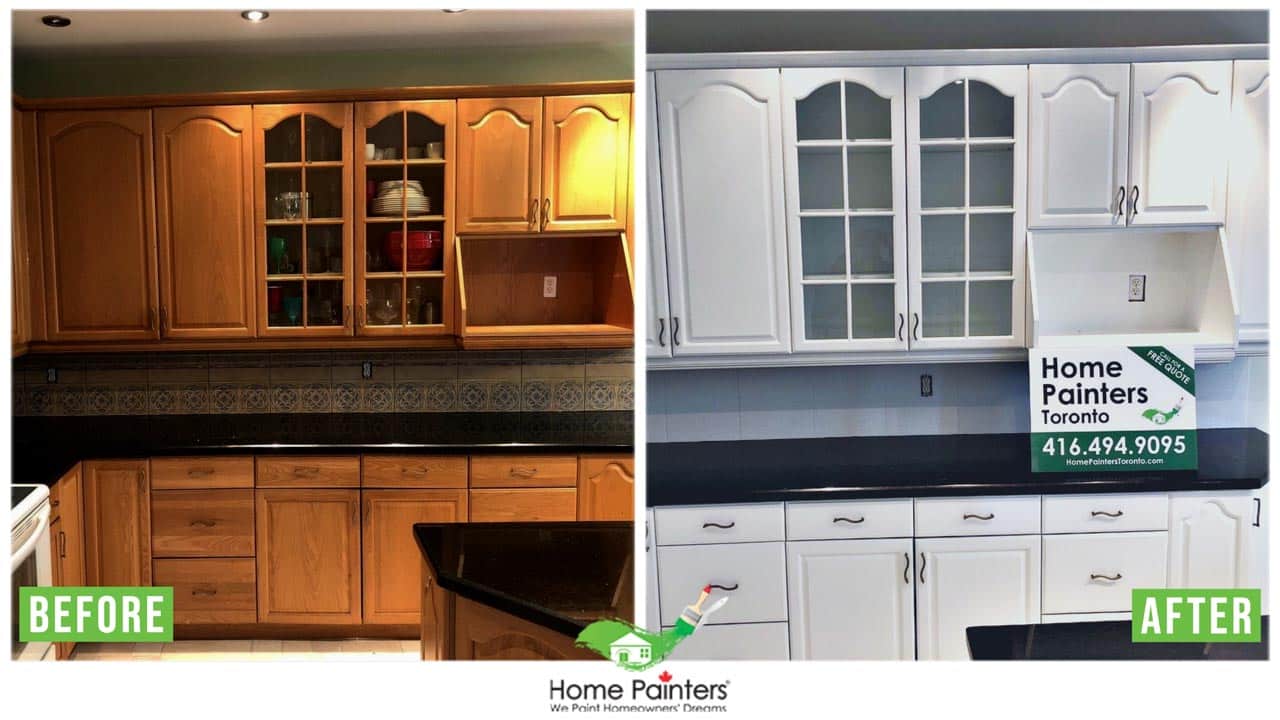
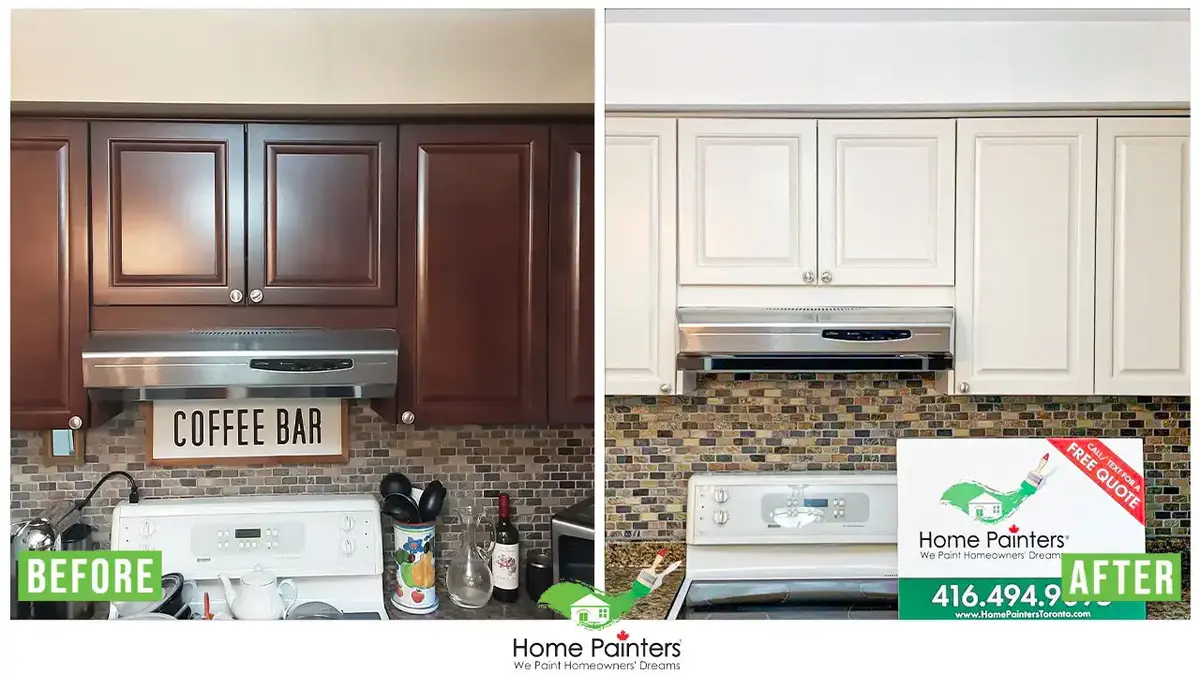
When your oak cabinets begin to look worn or outdated, you may consider refinishing them. This can be a daunting process, especially when you consider the step of stripping the old finish off. But did you know it’s possible to refinish your oak cabinets without stripping them first? In this blog post, we will be guiding you on how to do just that.
The process we will cover involves cleaning the surface, lightly sanding it for better paint adhesion, applying primer to prevent the oak’s natural tannins from bleeding through, and finally painting your cabinets. By skipping the stripping process, you can save time and effort while still achieving excellent results.
How to Refinish Oak Cabinets Without Stripping: Step-by-Step Guide
Step 1: Clean Your Cabinets
The first step is to clean your oak cabinets thoroughly. Years of cooking can leave layers of grease and grime, which will prevent the primer and paint from adhering correctly. Use a heavy-duty degreaser or a solution of warm water and mild dish soap. Wipe down all your cabinet surfaces with a non-abrasive sponge or cloth, and rinse with clean water. Make sure you let them dry completely before proceeding to the next step.
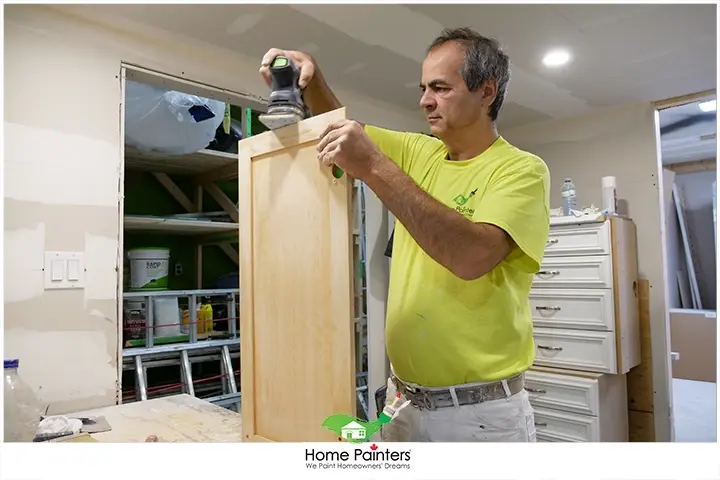
Step 2: Light Sanding
Now that your cabinets are clean, the next step is to do some light sanding. This is crucial for the primer and paint to stick to your cabinets. Using mid-grit sandpaper (around 150 grit), lightly sand the surface of the cabinets. Remember, your goal here isn’t to remove the finish entirely, but to scuff up the surface enough for the primer to grip onto properly. Once you’re done sanding, wipe away the dust with a damp cloth and let the cabinets dry.
Step 3: Apply Primer
When refinishing cabinets diy, primer is a must. Oak has a natural tendency to bleed tannins, which can discolour your paint if not properly sealed in. Choose a high-quality primer specifically designed to block stains and tannins. Apply the primer with a brush or foam roller, following the direction of the grain. Allow the primer sufficient time to dry as indicated on the can, usually overnight.
Step 4: Paint Your Cabinets
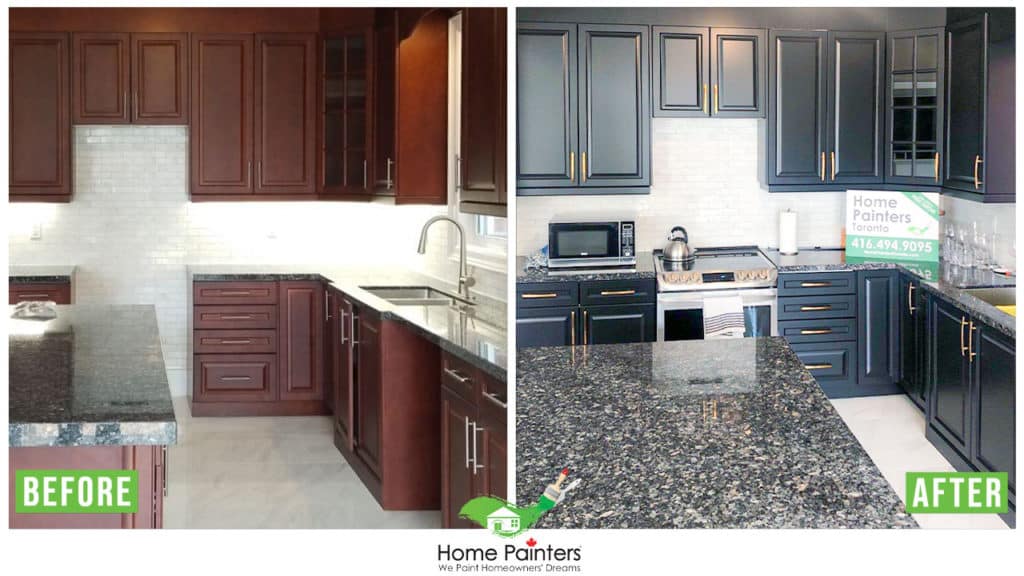
After the primer is completely dry, it’s finally time to paint your cabinets. Using a high-quality semi-gloss or gloss paint, apply your paint in thin and even coats. For the best results, consider using a mini foam roller for flat surfaces and a paintbrush for detailed areas. Allow the paint to dry completely between coats. You might need to apply additional coats for a solid and even colour.
Step 5: Install Your Hardware
Once the paint is thoroughly dried, you can reinstall your cabinet doors and hardware. If you want a completely new look, consider updating your cabinet hardware—pulls, handles, and knobs – this small change can have a significant impact!
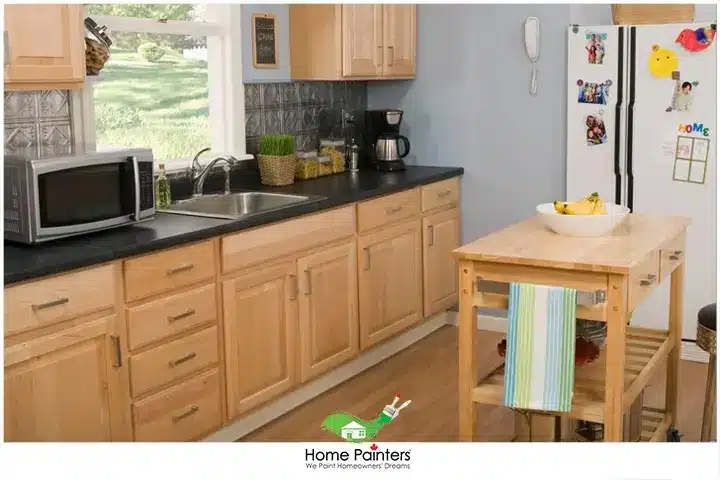
Kitchen Cupboards – Importance of its Shade or Colour of the Oak
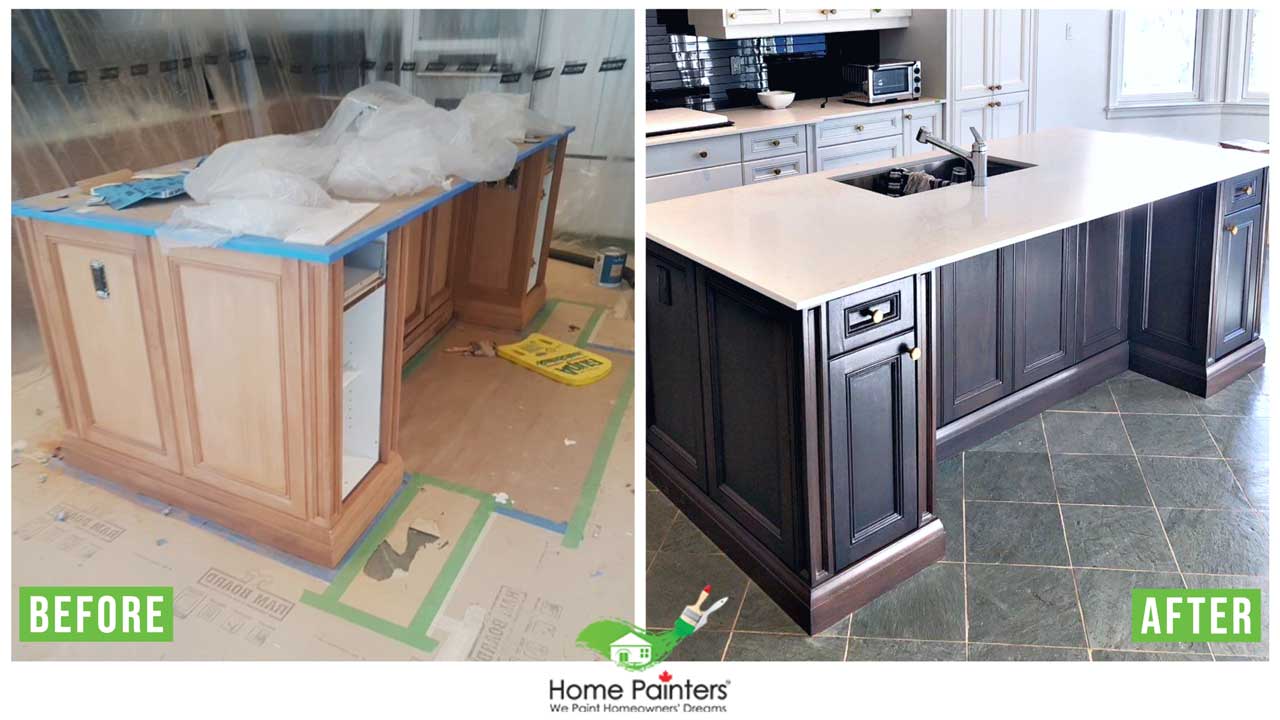
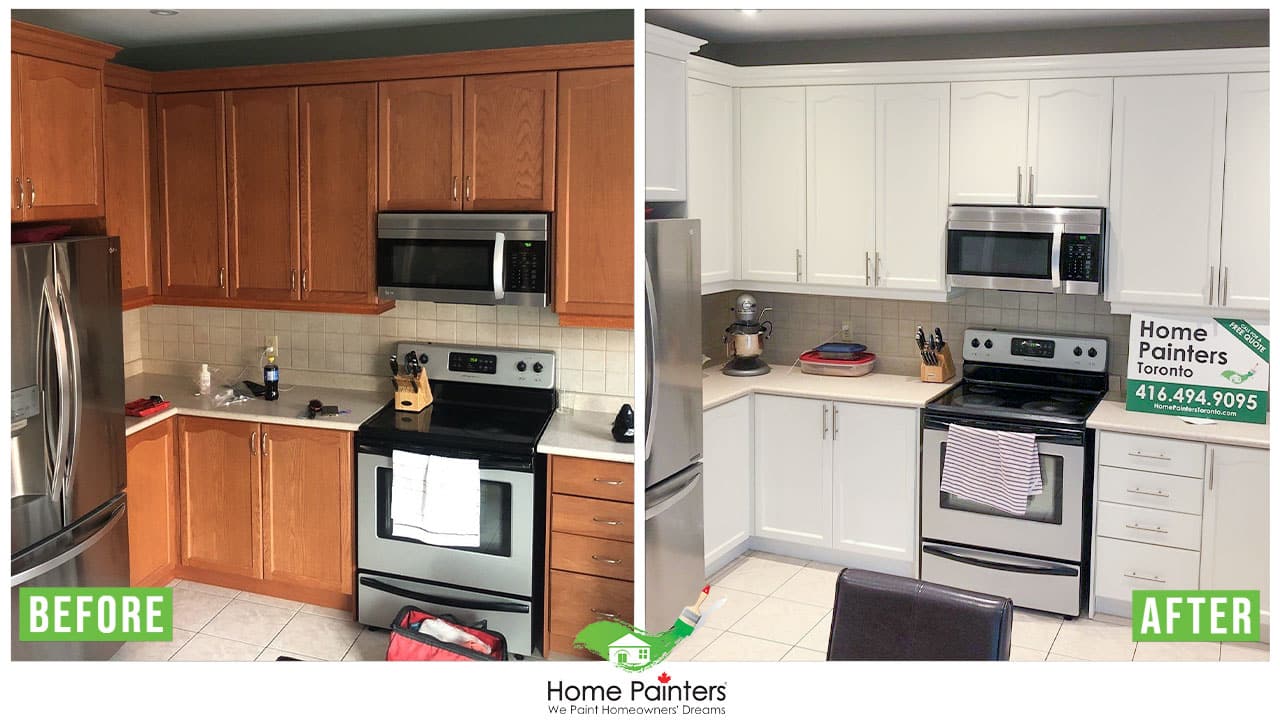
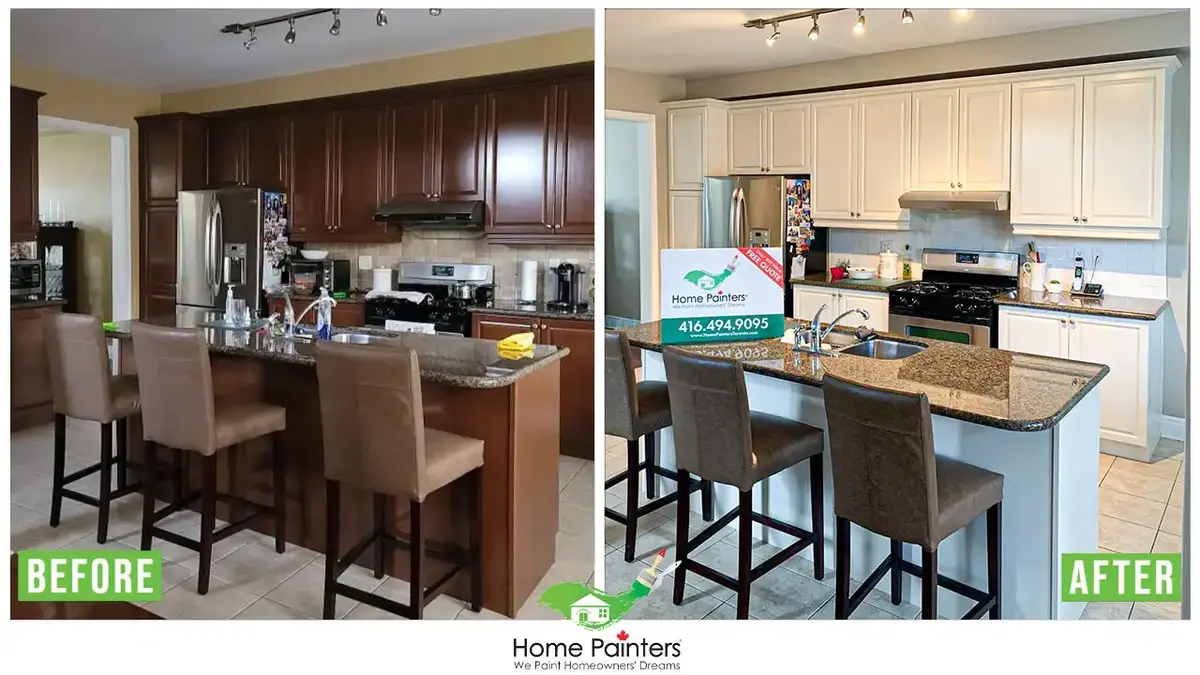
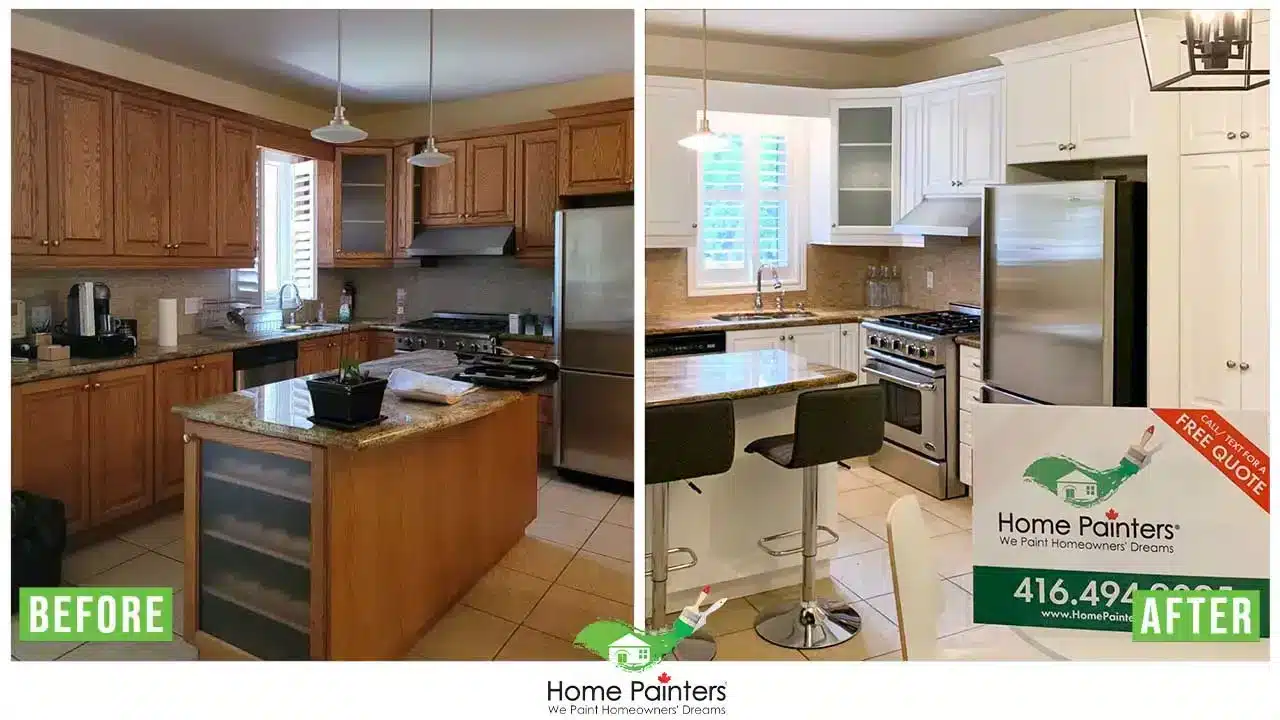
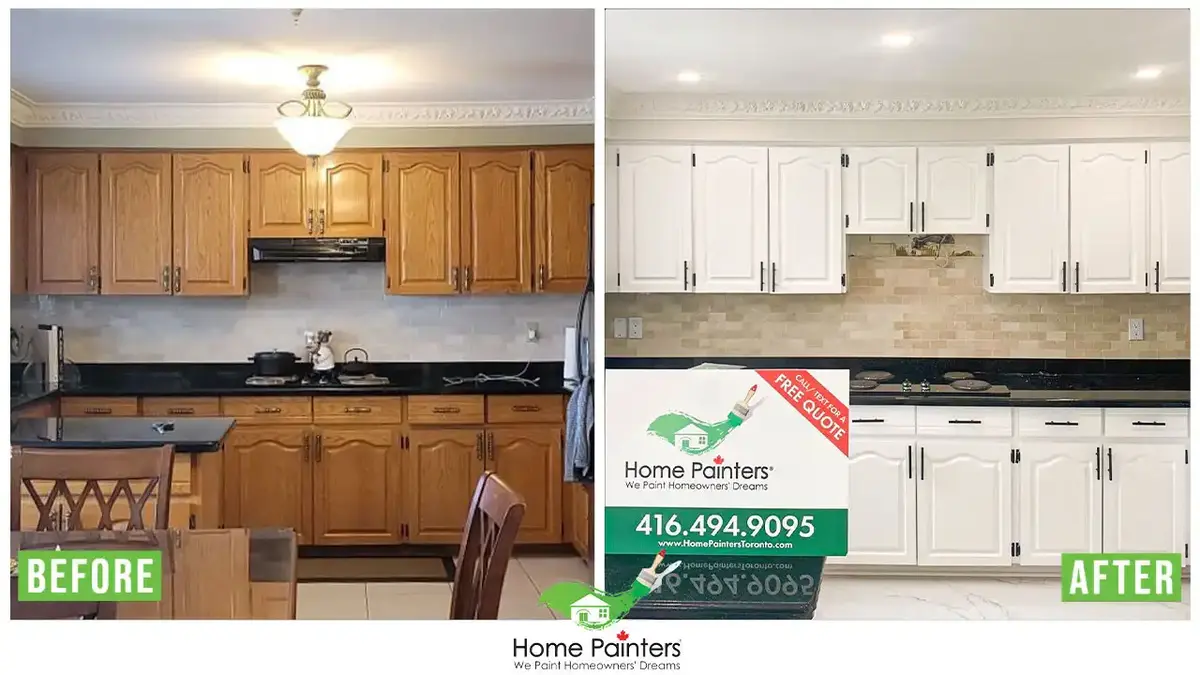
Having beautiful kitchen cupboards in your home doesn’t mean a whole lot if you don’t care for the shade or colour of the oak. That seems to be the main reason a lot of homeowners consider resurfacing cupboards with a stain that they actually enjoy. It can be a difficult task, but there is also that major satisfaction to come when you look around your kitchen and enjoy your surroundings. Before you start, in any case, it’s ideal to do a little analyzing work.
Oak cupboards are valued for their rich and brilliant shading that coordinates with an assortment of kitchen styles. They are a component in numerous kitchens. After some time, oak cupboards can wear or stain. Oak is a hardwood, but in general, it will still be powerless against surface checking, which is the presence of minuscule parts and splits on the wood surface. In order to avoid surface checking and different indications of wear and tear, your oak cupboards must be restored. The way toward revamping brilliant oak cupboards is a similar procedure utilized for any wood bureau.
- Remove the cabinet doors and drawers, including all the equipment, for example, pivots. While expelling the entryways, evacuate the base pivot first to abstain from focusing on the pivot, which can harm both the equipment and the entryway.
- Be sure to wear protective gloves and goggles beforehand for protection. You can blend 2 to 3 tablespoons of trisodium phosphate and 1 gallon of high temp water. Wash the cupboards with the trisodium phosphate solution to evacuate oil, soil and other debris from the wood. Afterward, wash the wood with clean water and give it ample time to dry.
- Be sure to protect your other furniture in the room with plastic sheeting. You can secure the plastic with painter’s tape to be sure it stays in place.
- Apply substance stripper to the cupboards and the entryways with a paintbrush. Leave the stripper on the wood until it starts to bubble. Scratch the mollified finish from the oak with a clay blade. Keep applying stripper to every entryway and cabinet front just as to the bureau bases until the former stain has been stripped.
- Wipe the cupboards with a moist material to expel stripper flotsam and jetsam. Be sure to give the wood to completely dry.
- Sand your dry oak cupboards with 220-coarseness sandpaper to smooth the outside of the wood as well as to set it up for your new stain. Sand toward the wood grain, on the grounds that moving across or contrary to what would be expected can make scratches that will be visible in the wake of recoloring. Wipe the sanded wood with an attached fabric to expel dust.
- Apply stain to your cupboards utilizing a quality paintbrush. Work in little segments, applying the stain equally and letting it sit on the wood for around 10 minutes. Wipe the abundance away with a clean cloth.
- Keep applying stain to the cupboards, entryways and cabinet fronts until you’ve recolored all surfaces. Let the wood dry as directed.
- Apply a small layer of oil-based polyurethane to the cupboards and allow it to dry.
- Softly sand the primary coat and wipe the residue off with a tack fabric. Finish off with a subsequent coat and let the wood dry totally before reinstalling the entryways and equipment.
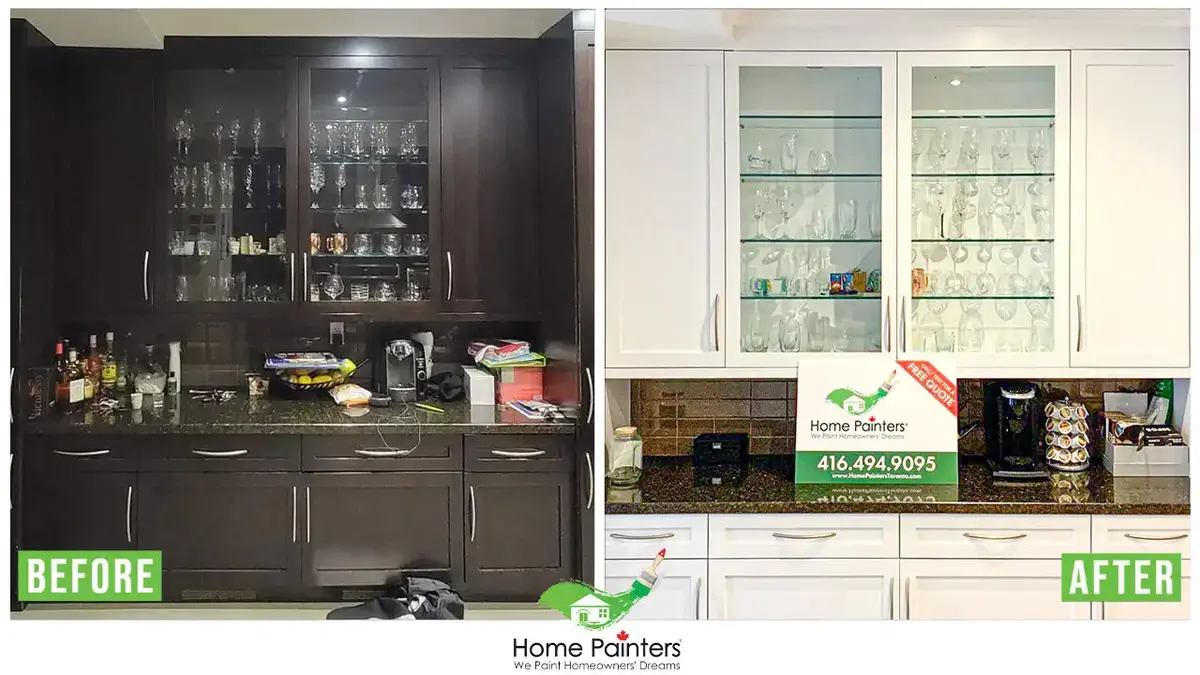
Hiring a Professional for your Oak Kitchen Cabinet Painting Project: Perks and How to Find One Near You
Although refinishing your oak cabinets yourself is both possible and rewarding, the process might be challenging and time-consuming for some homeowners, especially those tackling a DIY project for the first time. Hiring professional painters can ensure a flawless finish, and save you the time and effort of doing it yourself. Here’s why it can be beneficial and how to find a professional kitchen cabinet painting service near you:
Professional Quality
With specialized training and years of experience, professional painters have the skills to deliver superior results. They are adept at overcoming challenges like ensuring even coverage on detailed cabinet doors or achieving a flawless and durable finish – perks that come with their expertise.
Time and Convenience
Refinishing kitchen cabinets can take substantial time and energy, which might be a bit overwhelming for busy homeowners. Hiring professionals can save you this time – they can get the job done while you focus on your everyday activities, causing minimal disruption to your routine.
Right Tools and Materials
A professional painter will have access to commercial-grade tools and high-quality materials. These can significantly improve the results when compared to a DIY effort with consumer-grade products. They also know what products work best on specific surfaces, ensuring your oak cabinets get the best treatment.
Finding Kitchen Cabinet Painting Services Near You
When you’re ready to hire a professional, you might find yourself asking, “How do I find quality kitchen cabinet painting services near me?” Here are some ways to find reliable local services:
1. Use Online Search Engines
Most businesses have a digital footprint. Use search engines like Google by typing in keywords like “kitchen cabinet painting near me” or “kitchen cabinet refinishers near me.” Be sure to check the reviews and ratings left by previous clients.
2. Local Home Improvement Stores
Many local home improvement stores have bulletin boards where local professionals can advertise services. They may also have referral programs or recommendations for reliable local services.
3. Social Media Platforms
There are many local community groups on social media platforms like Facebook where you can ask for recommendations. Similarly, local professionals may advertise their services on these platforms.
4. Ask for Recommendations
Sometimes the best advice comes from family, friends, and neighbours. Ask them about their experiences and if they were satisfied with the painting services they used.
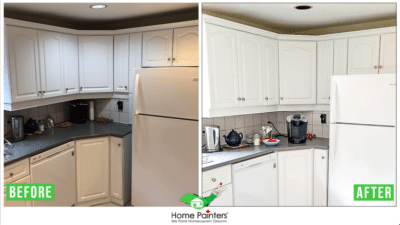

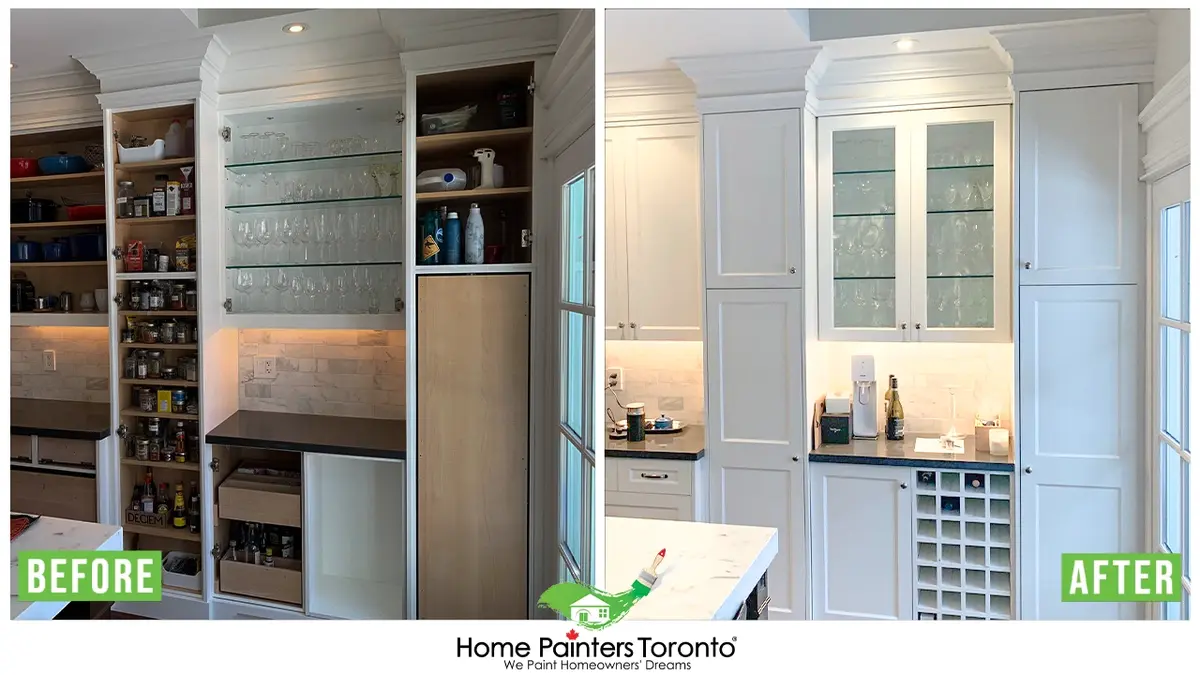


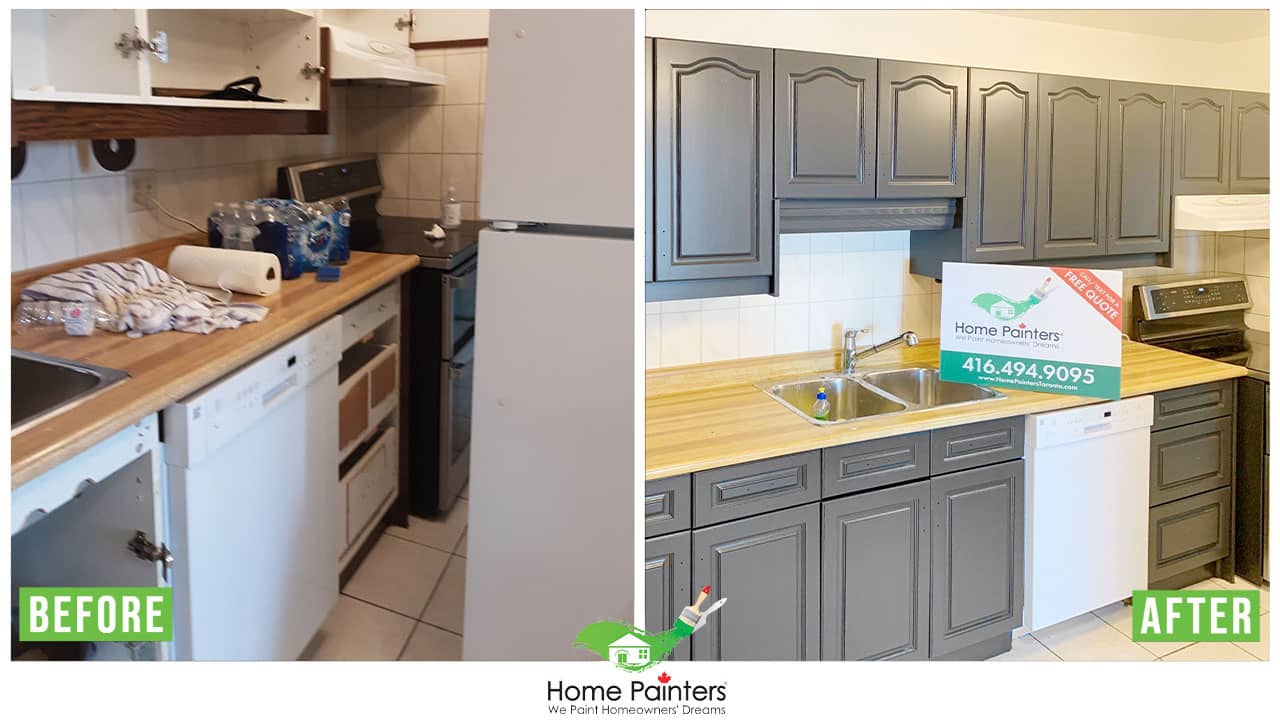
BOTTOM LINE
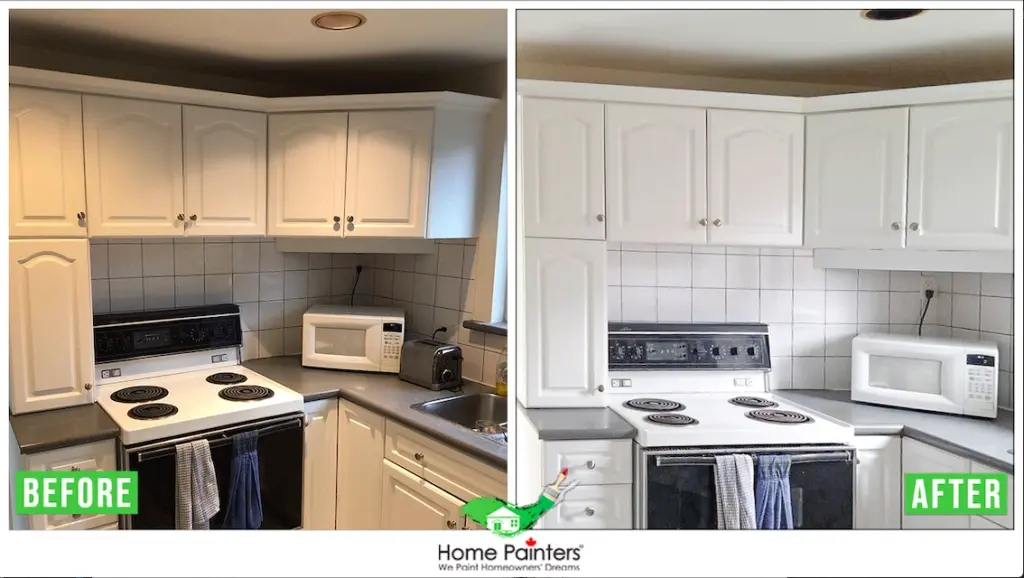
Refinishing your oak cabinets is a cost-effective way to upgrade your kitchen’s appearance and add value to your home, with the option of a DIY approach or hiring a professional service. Following the step-by-step guide provided for refinishing oak cabinets without stripping, you can successfully refresh your kitchen cabinets with a fresh coat of paint and a new look. If you prefer to hire a professional, remember to search all the resources near you to find a reliable local service with experience in oak cabinets. Whichever route you choose, you can expect to breathe new life into your kitchen space and enjoy the revitalized atmosphere it brings.
Are you ready to see your oak cabinets shine like never before? Don’t hesitate to contact the experts at Home Painters Toronto. With our 36 years of experience and hundreds of satisfied customers, we are the perfect choice for all your kitchen cabinet painting needs. Please give us a call at 416.494.9095, or email us at [email protected]. Also, don’t forget to follow us on all our social channels below as well!