
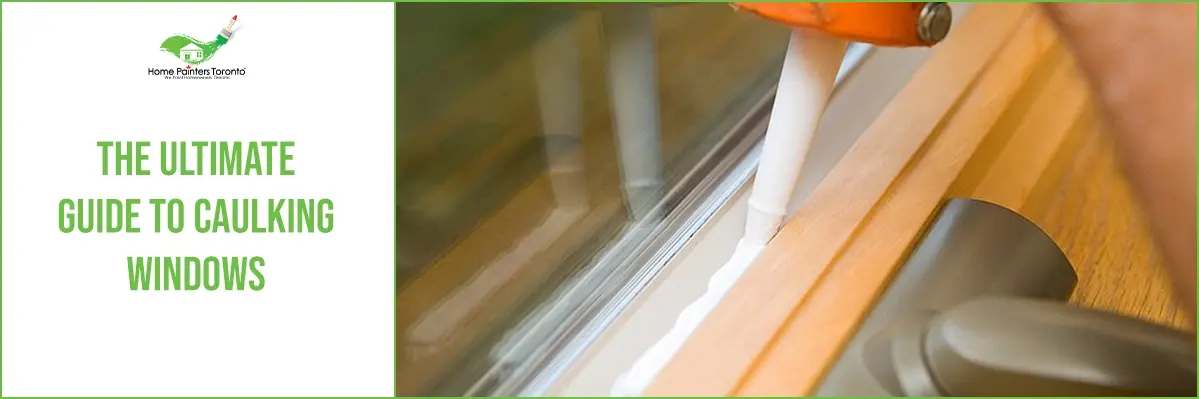
Window caulking plays an important role in protecting your home from moisture, drafts, and exterior damage. While often overlooked, properly sealed window frames help maintain energy efficiency and support the durability of exterior paint finishes.
Over time, caulking can dry out, crack, or separate from the surface due to weather exposure. When this happens, gaps may allow moisture to enter behind trim or siding.
If you are planning an exterior maintenance project, professional exterior painting Toronto services typically include inspection and replacement of deteriorated caulking to help protect exterior surfaces.
Not sure if your windows need recaulked? Request a free exterior painting estimate and have a professional assess your siding, trim, and window seals.
Why Caulking Windows Is Important for Your Home
Exterior window caulking helps create a protective seal between window frames and surrounding materials.
This seal helps:
- prevent moisture infiltration
- reduce drafts
- improve insulation performance
- support long-lasting exterior paint finishes
In Toronto’s climate, repeated freeze–thaw cycles can cause caulking to shrink or crack over time. Maintaining window seals is an important part of exterior home care.
Many homeowners address caulking as part of a full exterior house painting Toronto project.
Signs Your Windows Need Recaulking
Recognizing early signs of caulking failure can help prevent more serious exterior issues.
Cracked or Missing Caulking
Visible gaps, cracking, or missing sections of caulking indicate the seal has deteriorated.
These openings can allow moisture to penetrate exterior materials.
Drafts or Moisture Around Windows
Drafts near windows or visible moisture around trim may indicate failed caulking or gaps in sealing.
Addressing these issues early helps maintain comfort and prevent damage.
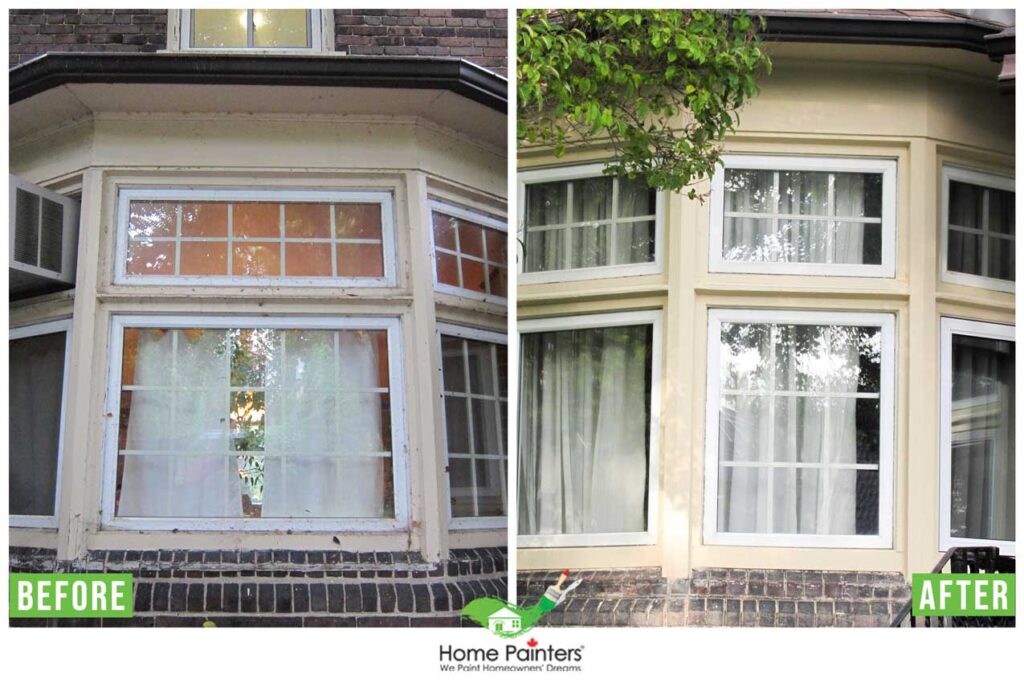
Peeling Paint Near Window Frames
Peeling or bubbling paint around windows may be caused by moisture entering through compromised caulking.
Recaulking and repainting can restore protection and improve appearance.
How Proper Window Caulking Protects Exterior Surfaces
Caulking does more than seal gaps—it supports the long-term durability of your home’s exterior.
Preventing Moisture Damage
Water infiltration can damage wood trim, siding, and interior wall structures.
Proper caulking helps redirect water away from vulnerable joints.
Improving Energy Efficiency
Sealing window gaps reduces air leakage and can improve indoor comfort during both winter and summer.
Supporting Exterior Paint Durability
Exterior paint performs best when applied to properly sealed surfaces.
Professional painters typically inspect and replace deteriorated caulking as part of a complete exterior painting Toronto service.
When Caulking Should Be Done Before Exterior Painting
Recaulking is often completed before repainting exterior siding or trim.
This preparation step ensures:
- paint adheres properly
- moisture is kept out
- exterior surfaces look clean and finished
Proper preparation helps improve the longevity of the paint job and reduces the likelihood of premature paint failure.
Professional Window Caulking and Exterior Painting in Toronto
Professional painters take a comprehensive approach to exterior preparation.
A typical project may include:
- inspection of window seals
- removal of deteriorated caulking
- application of new exterior-grade sealants
- repainting trim and siding
Our experienced team provides professional exterior painting Toronto services that include detailed preparation and caulking for long-lasting results.
If your window caulking is cracked or failing, addressing it early can help protect your home and improve the lifespan of your exterior paint.
Contact Home Painters Toronto today to request a free estimate for professional exterior painting Toronto services.
Frequently Asked Questions About Caulking Windows
How often should windows be recaulked?
Exterior window caulking may need replacement every several years depending on weather exposure and material condition.
Can caulking be done during exterior painting?
Yes. Caulking is commonly completed during preparation for exterior repainting.
What happens if window caulking fails?
Failed caulking can allow moisture infiltration, drafts, and potential damage to surrounding materials.
Should all window gaps be sealed?
Exterior gaps around window frames should typically be sealed to protect against weather exposure.
Is caulking necessary before repainting trim?
Yes. Proper sealing helps improve paint durability and overall exterior protection.