
Many homeowners finishing basements eventually need to drywall a basement ceiling to create a cleaner and more comfortable living space. Drywall ceilings can help improve appearance, reduce noise transfer, and make basement rooms feel more complete.
However, basement conditions such as moisture levels, ceiling height, and mechanical access must be considered before installation.
If you are planning a basement renovation, explore professional drywall repair and painting services to ensure ceiling preparation and finishing are handled correctly.
Why Homeowners Drywall Basement Ceilings
Installing drywall ceilings can help:
- Improve overall basement aesthetics
- Conceal pipes, wiring, and ductwork
- Enhance lighting distribution
- Support better temperature and sound control
In Toronto homes where basements are used as rental suites, home offices, or family rooms, ceiling finishing is often part of broader renovation projects.
Planning Before You Drywall a Basement Ceiling
Proper planning helps avoid costly adjustments later.
Checking moisture and insulation
Basements can experience higher humidity levels. Ensuring proper insulation and moisture control helps prevent drywall damage over time.
Framing and mechanical access
Framing layouts must allow access to electrical panels, shut-off valves, and duct systems when needed.
Lighting and ceiling height considerations
Recessed lighting placement and ceiling clearance should be evaluated before installing drywall panels.
Steps to Drywall a Basement Ceiling
Measuring and cutting drywall sheets
Accurate measurements help minimize waste and ensure panels fit securely between framing members.
Fastening and securing panels
Drywall screws or fasteners are used to attach panels to ceiling joists or framing supports.
Taping and mudding joints
Joint tape and compound are applied to seams to create smooth transitions between panels.
Skim Coating and Surface Preparation
After joints are finished, skim coating may be used to create a uniform surface. Sanding and priming help prepare ceilings for final paint application.
For full basement finishing projects, ceiling work is often coordinated with broader upgrades such as interior painting Toronto services.
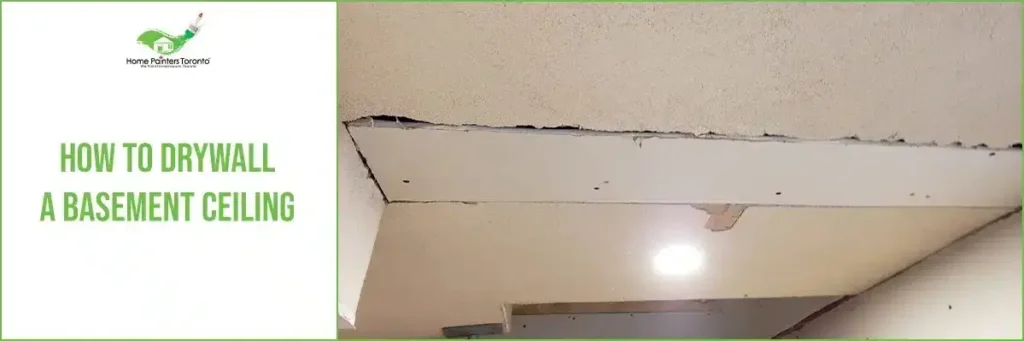
If your basement ceiling has cracks, water stains, or uneven finishes, learn more about professional ceiling repair and painting services before installing new drywall.
Painting a Finished Basement Ceiling
Painting helps improve brightness and visual cohesion. Lighter ceiling colours can make basements feel more open and inviting.
Proper priming and selecting suitable ceiling coatings can also help reduce visible patching marks or texture differences.
Common Mistakes When Drywalling Basement Ceilings
Homeowners may encounter challenges such as:
- Installing drywall before addressing moisture concerns
- Poorly aligned framing or uneven panel placement
- Insufficient sanding before painting
- Limited access planning for mechanical systems
Understanding these risks can help improve project outcomes.Understanding these risks can help improve project outcomes.
When to Hire Professionals for Basement Ceiling Drywall
Hiring professionals may be beneficial when:
- Ceiling layouts are complex
- Repairs are needed before installation
- Smooth finish quality is important
- Projects are part of larger renovations
Experienced painters and drywall specialists can help coordinate preparation, finishing, and final painting stages.
Frequently Asked Questions About Basement Ceiling Drywall
Should basements be waterproofed before drywall installation?
Moisture management is important to help prevent long-term drywall damage.
What type of drywall is best for basements?
Moisture-resistant drywall may be considered in certain basement conditions.
Can basement ceilings be painted without skim coating?
Skim coating helps create smoother finishes and improves paint appearance.
How long does drywall mud take to dry?
Drying times vary depending on humidity and compound thickness.
Is professional drywall installation worth it?
Professional work can improve finish consistency and reduce renovation delays.
Final Thoughts on Basement Ceiling Drywall Projects
Choosing to drywall a basement ceiling can significantly improve basement usability and visual appeal. Careful planning, preparation, and finishing are key to achieving durable and attractive results.
If you are finishing your basement or upgrading ceiling surfaces, contact Home Painters Toronto to request a quote and receive expert recommendations.
Call 416.494.9095 or email [email protected] for a FREE quote. And don’t forget to check us out on our social media channels below!