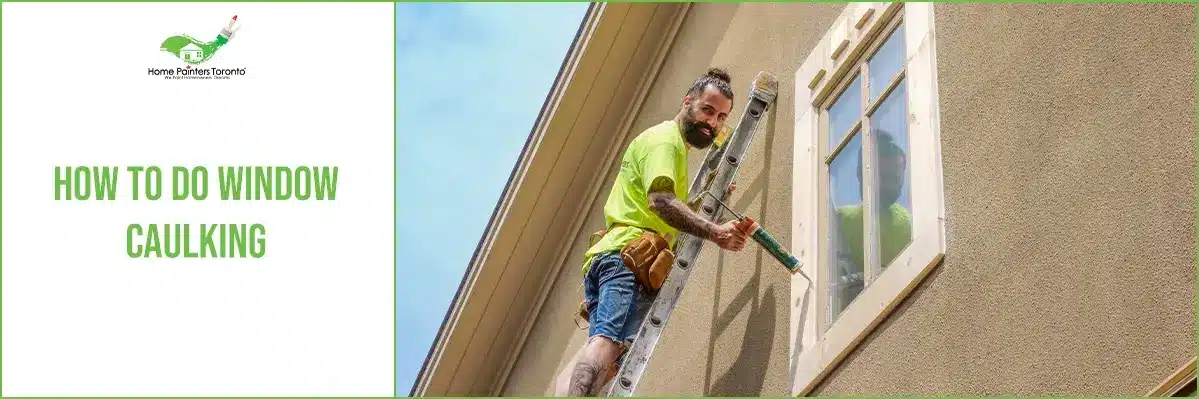
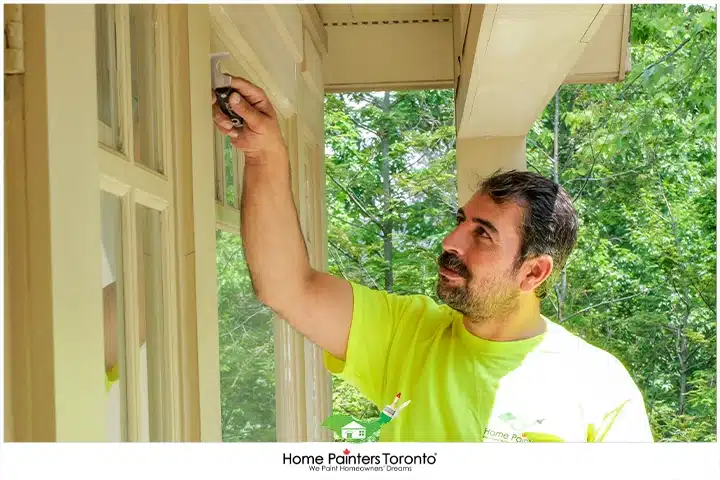
Window caulking is a great way to seal any cracks between your walls and windows.
Small cracks appear because of inclement weather or when your house is settling. Toronto homes are older; therefore, they need maintenance every year. If not properly maintained, the cracks will start small but will eventually get bigger. This is why you should seal your windows with caulk to prevent water from penetrating the walls inside your home. It can cause flooding, mould and moisture build-up. All this is to say that window caulking is very important for the overall appearance of your home!
Professional Caulking on Windows and Doors
Materials and Tools Needed
Before we begin, gather the following materials and tools:
- Caulking gun
- High-quality, exterior-grade caulking (preferably 100% silicone)
- A utility knife or a caulk removal tool
- Cleaning supplies (soap, water, sponge, and clean cloth)
- Painter’s tape (optional)
- A paper towel or a damp cloth
How to Caulk
Window caulking is applied around doors and windows, but you can use it to finish and seal other parts of your home’s exterior. This includes aluminum siding, trim and vinyl siding, concrete slabs, roof flashing, and many more. For anything that affects the weather, you use caulk. There are lots of different brands of caulking to choose from. Nonetheless, you will purchase caulk based on your budget and the circumstances you are currently dealing with.
Step 1: Choose the Right Caulk
When selecting window caulking, make sure you choose a high-quality, exterior-grade caulking that is waterproof, flexible, and able to withstand temperature changes. 100% silicone caulk is the best caulk for window interiors, as it is long-lasting and adheres well to a wide range of surfaces.
For exterior window caulking, you want to get the elements that best block out water and harsh temperatures. If you’re caulking interior windows, you should purchase a sealant that’s non-toxic and paintable, like an acrylic latex silicone caulk. How do you know what’s the right caulk? Look at the colour! There are many colours for caulking windows, and you don’t want your sealant to stick out.
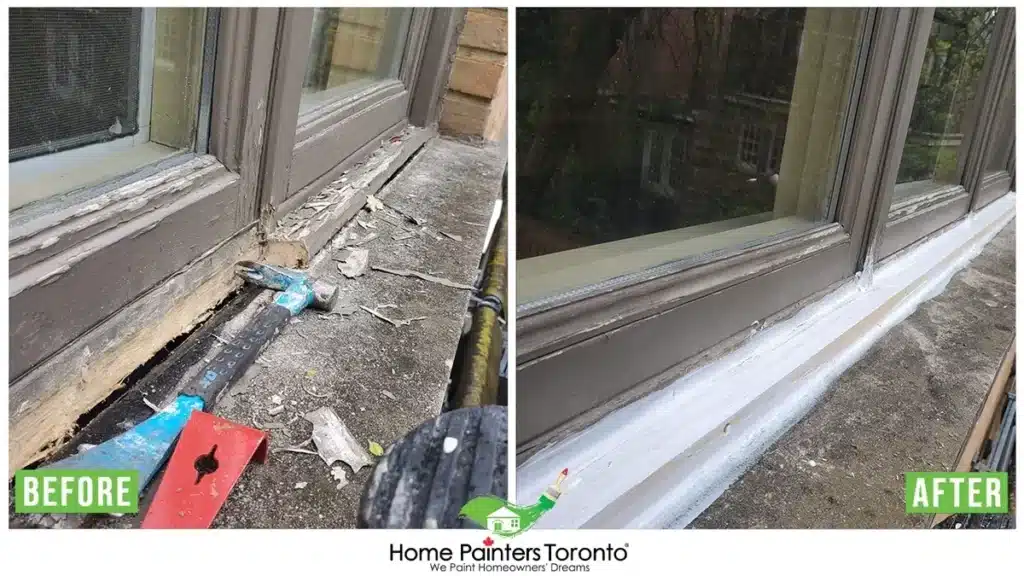
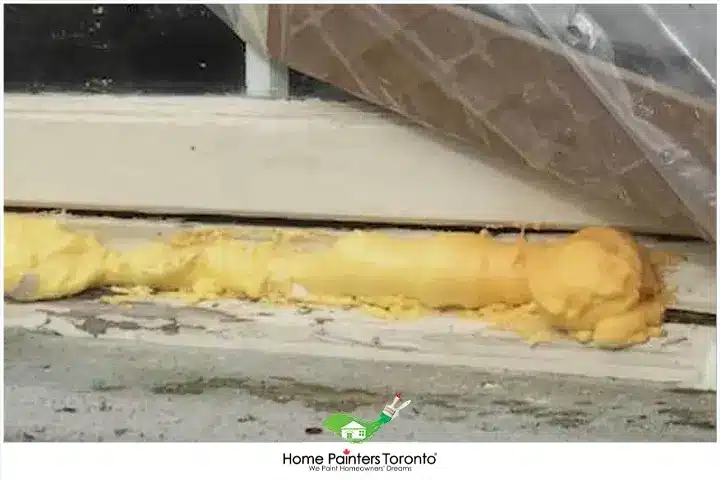
Step 2: Remove Old Caulking
Before you begin window caulking, you should get rid of old caulking first.
This is because the old caulk is causing air to get inside, so you want to completely remove it. If you do a new window caulking over a sealant that’s already there, the new caulk will be doing the same thing as the prior one. To get rid of the old caulk, scrape it with a steel putty knife. To avoid damaging your windows, keep a steady hand and remain calm throughout the process. If you are unable to remain calm, you can receive help from exterior painters.
Step 3: Clean the Surface
Before applying new caulking, thoroughly clean the area to ensure proper adhesion. Soap, water, and a sponge will suffice for this task. Be sure to dry the surface well with a clean cloth, as moisture can prevent the new caulking from adhering properly.
Step 4: Apply Painter's Tape (Optional)
For a clean and even bead, consider using painter’s tape to create boundaries for the caulking. Apply it to both sides of the gap along the window frame, leaving enough space in the middle for the caulking.
Step 5: Prepare the Caulking Gun and Caulk
Cut the tip of the caulking tube at a 45-degree angle, creating an opening approximately 1/8 inch in size. Insert the caulking tube into the caulking gun, making sure the cut tip is securely seated.
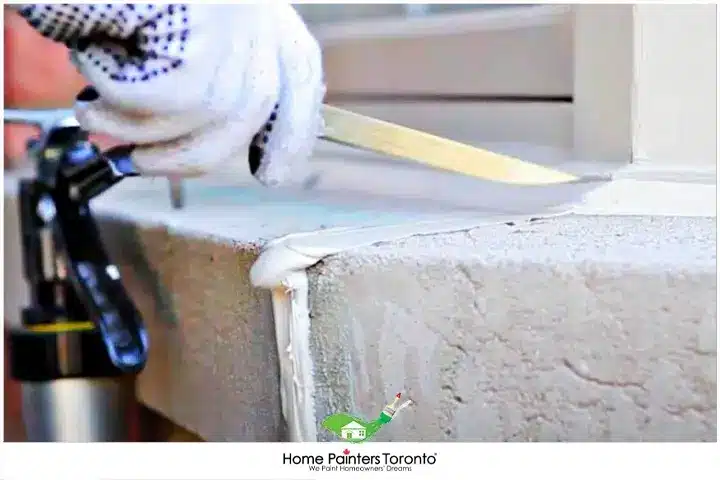
Step 6: Apply the Caulking
Starting at one corner of the window, hold the caulking gun at a 45-degree angle and steadily apply even pressure to the gun’s trigger as you slowly move the gun along the gap. The goal is to create a continuous bead of caulk without any breaks or gaps.
Step 7: Smooth the Caulking
Immediately after applying the caulking, use your finger or a caulk smoothing tool to press and smooth the caulk into the gap. This step ensures that the caulk forms a tight seal and removes any excess that may have been applied. Wipe your finger or the tool on a paper towel or a damp cloth as needed to remove excess caulk.
Step 8: Remove Painter's Tape (Optional)
If you use painter’s tape, carefully remove it before the caulking dries. Pull the tape away at a 45-degree angle for best results.
Step 9: Allow the Caulking to Dry
Finally, give the caulking ample time to cure according to the manufacturer’s recommended drying time, which can vary from a few hours to a couple of days. During this time, avoid touching the caulk or exposing it to moisture.
With these steps, you’ll be able to complete window caulking like a professional window caulking service. This simple home improvement project can significantly improve your home’s energy efficiency, keep out pests, and ultimately save you money in the long run.
Tips for Window Caulking
- If you are doing window caulking yourself, you should use a caulking gun with a thumb release. Also, it is best to always use both hands, one using the thumb release and the other on the body of the caulking device.
- This will ensure that the size of the bead is the same and steady. Another good tip for window caulking is not going end to end. This is because your thumb on the release will get tired. So, you should caulk from one end to the middle, then stop to take a break.
- Once your break is over, you can start from the opposite side and meet in the middle. Once you are completely done with window caulking, you should smooth the bead. You can apply this using an applicator or a wet finger, but to avoid mistakes, smooth small sections (six inches) at a time.
Check for Leaks
You should check for any leaks prior to window caulking. Examine the corners of your windows and the frames. Also, look at the prior caulking and weather stripping. If you notice any gaps or leaks, then you have done a good job inspecting. You can even check for cracks in the window panes. A little trick is to give your windows a little shake. If it rattles, that means that your frames are not secure with caulking. Lastly, if you see daylight coming through the window frame along the seam, that is another way to know that you need to do some window caulking.
If you need a little extra inspiration, feel free to visit our Pinterest page!
Top Related Blogs Related to
“HOW TO DO WINDOW CAULKING”


By following the steps above you have successfully learned how to properly do window caulking. If you need some exterior painting done, don’t hesitate to reach out to Home Painters Toronto! We have been in home painting services for over 36 years now. Our team of professional painters really knows their stuff. Call us NOW at 416-494-9095 or email Brian@HomePaintersToronto.com! And don’t forget to follow us on all our social channels below!