
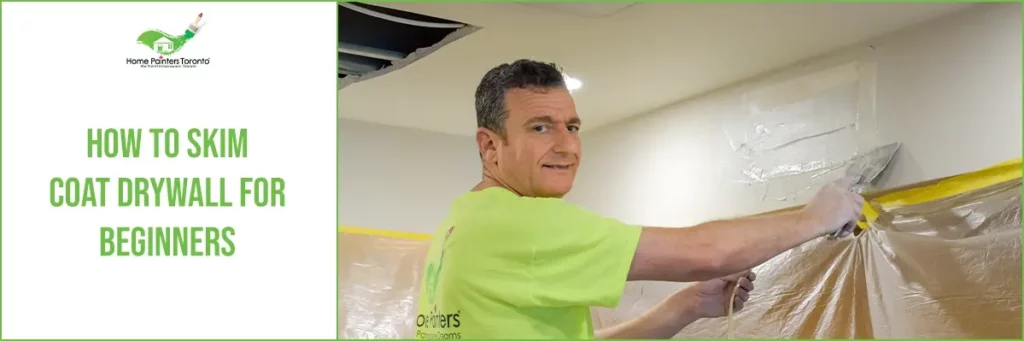
Skim coating drywall is a finishing technique used to create smooth, even wall and ceiling surfaces. Many Toronto homeowners consider skim coating when renovating older rooms, repairing damage, or preparing for repainting.
Understanding how the process works helps you decide whether to attempt small repairs yourself or hire professionals for larger projects.
If your walls or ceilings need repair before painting, explore professional interior painting Toronto services that include drywall preparation and finishing.
What Is Skim Coating and Why It Matters
Skim coating involves applying thin layers of joint compound across drywall to eliminate imperfections such as seams, dents, texture inconsistencies, or previous repair marks.
The goal is to create a uniform surface that allows primer and paint to adhere evenly while improving the overall appearance of the room.
When Skim Coating Drywall Is Necessary
After wallpaper removal
Removing wallpaper often exposes torn drywall paper or uneven adhesive residue. Skim coating restores a smooth finish before repainting.
Homeowners facing these issues can learn more about drywall repair after wallpaper removal.
Repairing damaged ceilings or walls
Water stains, cracks, or previous patchwork can create visible imperfections. Skim coating helps blend repairs into the surrounding surface.
In some cases, ceiling upgrades such as popcorn ceiling removal services may also require skim coating afterward.
Preparing surfaces for repainting
Older Toronto homes often have multiple paint layers or textured finishes. Skim coating creates a fresh base for modern paint finishes.
Tools and Materials Typically Used
Professional skim coating projects typically involve:
- Joint compound or finishing plaster
- Wide taping knives or drywall trowels
- Sanding tools and dust control equipment
- Primer suitable for new drywall surfaces
Proper material selection ensures durability and smooth visual results.
Step-by-Step Overview of the Skim Coating Process
Surface preparation
The wall or ceiling is cleaned, loose material is removed, and damaged areas are repaired before compound is applied.
Applying the first coat
A thin layer of compound is spread across the surface to fill imperfections. This coat establishes the base level.
Sanding and additional coats
Multiple coats may be required depending on the surface condition. Each layer is sanded lightly to improve smoothness.
Priming and painting
Once the surface is fully smooth, primer is applied to seal the drywall before repainting. Many homeowners complete this step with coordinated condo painting services or full interior repaints.
Common Skim Coating Challenges
While skim coating can improve wall and ceiling appearance, challenges may include:
- Visible sanding marks
- Uneven compound thickness
- Dust management during sanding
- Matching repaired areas to existing finishes
These issues are more common in large rooms or ceiling applications.
Benefits of Professional Skim Coating Services
Hiring experienced painters and drywall specialists helps ensure:
- Consistent surface smoothness
- Efficient project timelines
- Proper priming and paint adhesion
- Reduced likelihood of future repairs
For homeowners planning broader upgrades, viewing completed projects in the painting portfolio gallery can provide useful inspiration.
Not sure if skim coating is necessary? A professional inspection can help determine the best repair approach.
Frequently Asked Questions About Skim Coating
How many coats are needed when skim coating drywall?
The number of coats depends on surface condition. Most projects require two or more thin layers.
Can skim coating fix textured ceilings?
Yes, skim coating is commonly used after texture removal to create a smooth finish.
Is skim coating messy?
Dust control measures help reduce disruption, but sanding can create temporary dust during the process.
Should drywall always be primed after skim coating?
Priming is recommended to seal the compound and ensure consistent paint coverage.
Can skim coating be done on painted walls?
Yes, surfaces can be prepared and skim coated if repairs or smoothing are required.
Final Thoughts on Skim Coating Drywall
Skim coating is an effective way to improve the appearance and durability of walls and ceilings before painting. Whether addressing damage or modernizing finishes, proper preparation is essential for long-lasting results.
Planning a drywall repair or repainting project? Contact Home Painters Toronto to request a consultation and learn more about skim coating options for your home.
Call 416.494.9095 or email [email protected] for a FREE quote. And don’t forget to check us out on our social media channels below!