
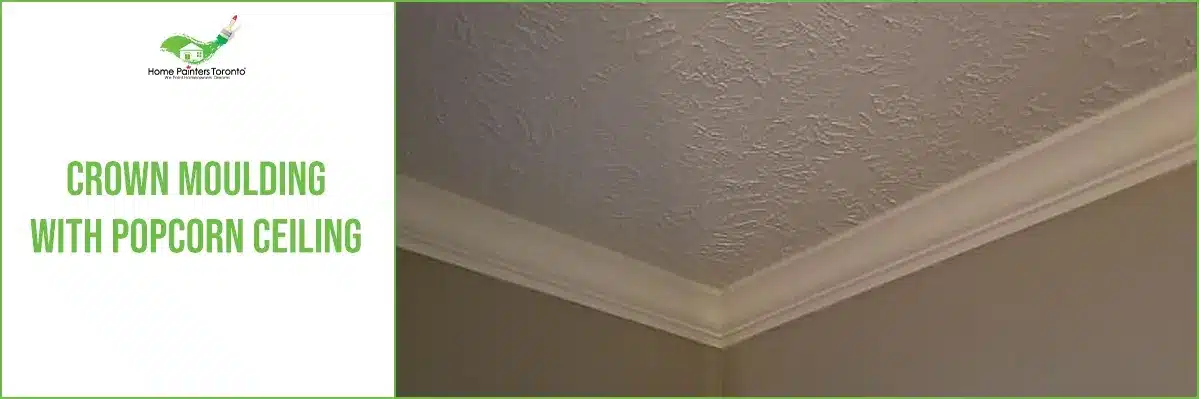
Many homeowners like the idea of adding crown moulding to a room with a popcorn ceiling because it can make the space look more finished and intentional. It adds architectural detail, improves the transition between wall and ceiling, and can help a plain room feel more complete.
The challenge is that popcorn ceilings are not smooth. That texture changes how crown moulding fits, how clean the finished lines look, and how much preparation may be needed before installation and painting.
The good news is that crown moulding can work with a popcorn ceiling. The best approach depends on the condition of the ceiling, how visible the room is, and whether the homeowner wants to keep the texture or remove it first.
For Toronto homeowners updating older interiors, this is often part of a broader ceiling and trim upgrade rather than a stand-alone decorative change.
If you are planning crown moulding in a room with textured ceilings, learn more about professional ceiling repair Toronto, popcorn ceiling removal, and interior painting Toronto services before the finish work begins.
Can You Install Crown Moulding With a Popcorn Ceiling?
Yes, crown moulding can be installed with a popcorn ceiling.
The real question is not whether it is possible, but whether the room will look cleaner if the popcorn texture stays in place or if the ceiling should be repaired or removed first.
In some rooms, crown moulding is installed while the texture remains. In other rooms, the better result comes from removing the popcorn ceiling so the moulding has a cleaner edge and a smoother transition.
That decision usually depends on how heavy the texture is, how even the ceiling is, and how refined the homeowner wants the final result to feel.
Why Popcorn Ceilings Make Crown Moulding More Complicated
Why Popcorn Ceilings Make Crown Moulding More Complicated
The ceiling texture affects fit
Crown moulding is designed to sit cleanly where the wall meets the ceiling.
A popcorn texture can interfere with that fit. If the texture is thick or inconsistent, the moulding may not sit as tightly against the ceiling line as it would on a smooth surface.
Uneven surfaces can show gaps
Popcorn ceilings can make small gaps more visible.
Even when the moulding is installed properly, irregular ceiling texture can create shadow lines or uneven transitions that stand out once the room is painted and lit. This is especially noticeable in dining rooms, living rooms, and other more visible spaces.
Older ceilings may need repair first
Some textured ceilings have more than just texture issues.
Older ceilings may have cracks, patch marks, previous repairs, or minor damage hidden by the popcorn finish. If crown moulding is being added as part of a room update, it can make sense to address those ceiling issues first with ceiling repair Toronto or drywall repair Toronto.
Crown Moulding With Popcorn Ceiling: Your Main Options
There are usually three practical ways to approach this type of project.
Install moulding against the existing texture
Some homeowners keep the popcorn ceiling and install crown moulding anyway.
This can work when the texture is relatively consistent, the room is not highly formal, and the goal is simply to improve the look without turning the project into a larger ceiling renovation. The finished result can still look better than leaving the room without any trim detail.
Remove the popcorn ceiling first
In many cases, the cleanest result comes from removing the popcorn ceiling before crown moulding installation.
This creates a smoother meeting point at the top edge of the moulding and usually makes the room feel more updated overall. If the homeowner already dislikes the popcorn ceiling, this is often the better long-term solution.
Homeowners considering that route should review popcorn ceiling removal before moving ahead with trim installation.
Repair and repaint after installation
Sometimes the best path is a combined approach.
That may mean limited ceiling correction, crown moulding installation, caulking and finishing, then repainting the ceiling, trim, and walls so everything feels unified. This often produces the most polished look when the room is being refreshed as a whole.
If crown moulding is part of a broader upgrade, it also fits naturally with interior painting Toronto services so the trim, ceiling, and walls all look coordinated.
When Popcorn Ceiling Removal Makes More Sense
Keeping the texture is not always the best choice.
Popcorn ceiling removal often makes more sense when:
- the ceiling texture is heavy or uneven
- the homeowner wants a cleaner, more modern finish
- the room is formal or highly visible
- ceiling repairs are already needed
- crown moulding is part of a larger room renovation
In those cases, leaving the popcorn ceiling in place can limit how refined the finished moulding will look.
Why Preparation Matters Before Crown Moulding Installation
Preparation is what determines whether the trim looks intentional or like an afterthought.
That preparation may include:
- inspecting the ceiling line
- correcting damaged drywall or plaster
- deciding whether popcorn removal is needed
- planning for caulking and finishing
- repainting the ceiling and trim after installation
This is one reason homeowners often combine crown moulding work with broader Toronto painters services rather than treating it like a simple trim add-on.
A well-finished room usually depends on more than just attaching the moulding. The ceiling, corners, seams, and paint all have to work together.
Common Mistakes Homeowners Make
The most common mistake is assuming crown moulding will automatically hide every ceiling issue.
Other common problems include:
- installing moulding against a heavily uneven popcorn ceiling
- skipping ceiling repairs first
- not planning for repainting afterward
- assuming gaps will disappear without proper finishing
- treating crown moulding like a stand-alone upgrade when the room needs broader prep
These issues can leave the room looking partially improved rather than fully finished.
When Professional Help Is Worth It
Professional help is often worthwhile when:
- the popcorn ceiling is thick or inconsistent
- the ceiling has cracks or past repairs
- the room is high-visibility and finish quality matters
- crown moulding is being added as part of a full room update
- the homeowner wants the ceiling, trim, and walls to look clean together
Crown moulding projects often become ceiling-and-painting projects at the same time. That is why many homeowners end up needing a combination of trim finishing, ceiling repair, and repainting rather than a simple installation only.
If you want crown moulding to look clean in a room with textured ceilings, explore professional ceiling repair Toronto, popcorn ceiling removal, and Toronto painters to plan the room properly before finishing.
Frequently Asked Questions About Crown Moulding With Popcorn Ceiling
Can crown moulding be installed with a popcorn ceiling?
Yes. It can be installed, but the final look depends on how even the texture is and whether the ceiling should be smoothed or repaired first.
Does popcorn ceiling texture make crown moulding look worse?
It can. Heavier or uneven texture may create visible gaps or less clean lines where the moulding meets the ceiling.
Is it better to remove popcorn ceiling before installing crown moulding?
In many cases, yes. Removal often creates a cleaner and more finished result, especially in more visible rooms.
Can crown moulding hide ceiling imperfections?
It can improve the transition between wall and ceiling, but it will not automatically fix major texture inconsistency, cracks, or damaged surfaces.
Should the room be repainted after crown moulding is installed?
Usually, yes. Repainting helps unify the ceiling, moulding, and walls so the room looks complete.
Ceiling Paint for Bathroom: What Toronto Homeowners Should Know
If you are deciding whether crown moulding will work with a popcorn ceiling, the best choice depends on the condition of the ceiling and the level of finish you want in the room.
Learn more about professional popcorn ceiling removal, ceiling repair Toronto, and interior painting Toronto services for a cleaner, more polished final result.
Call 416.494.9095 or email [email protected] for a FREE quote. And don’t forget to check us out on our social media channels below!