
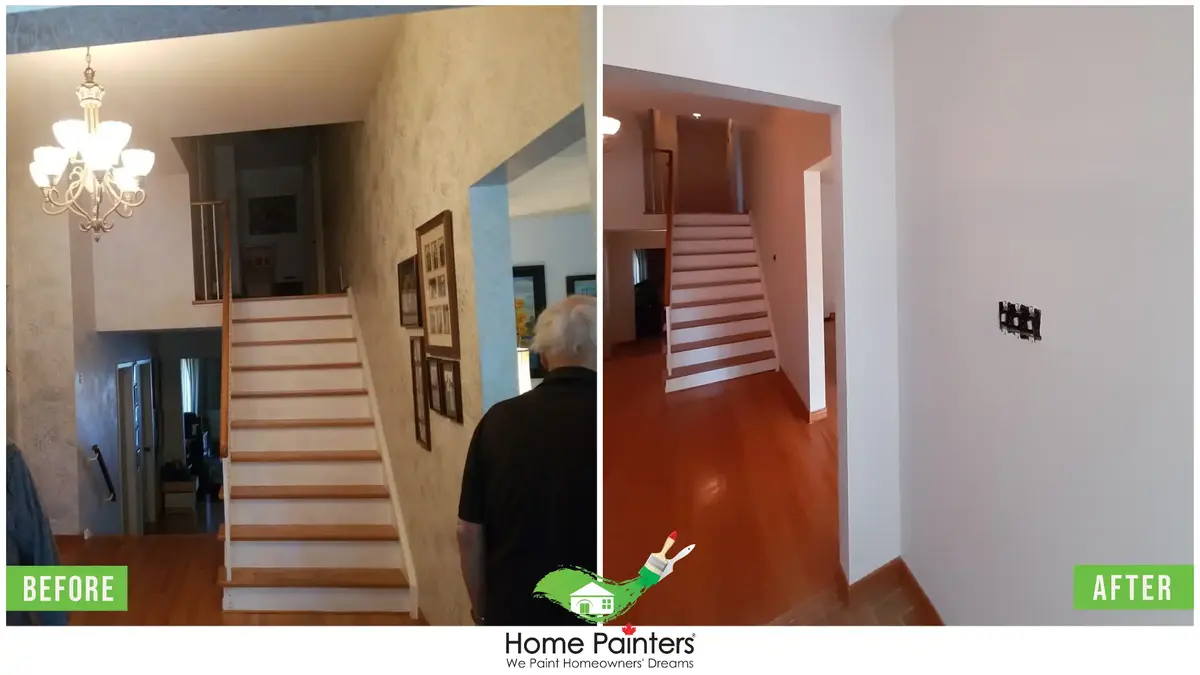
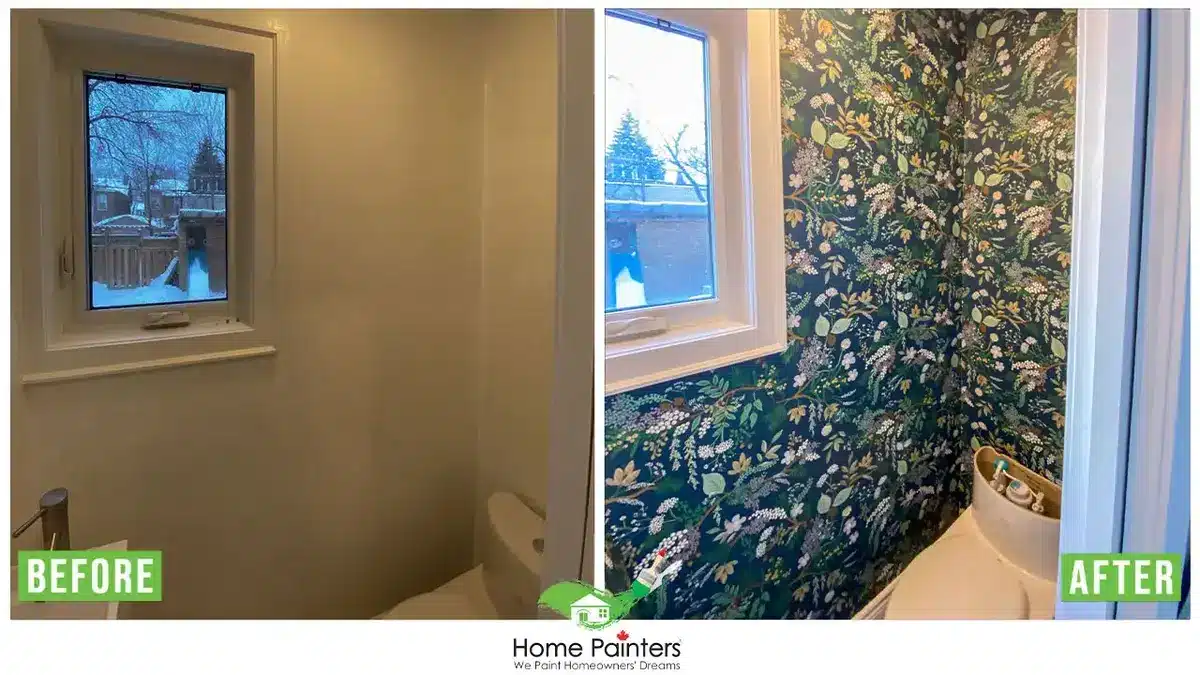
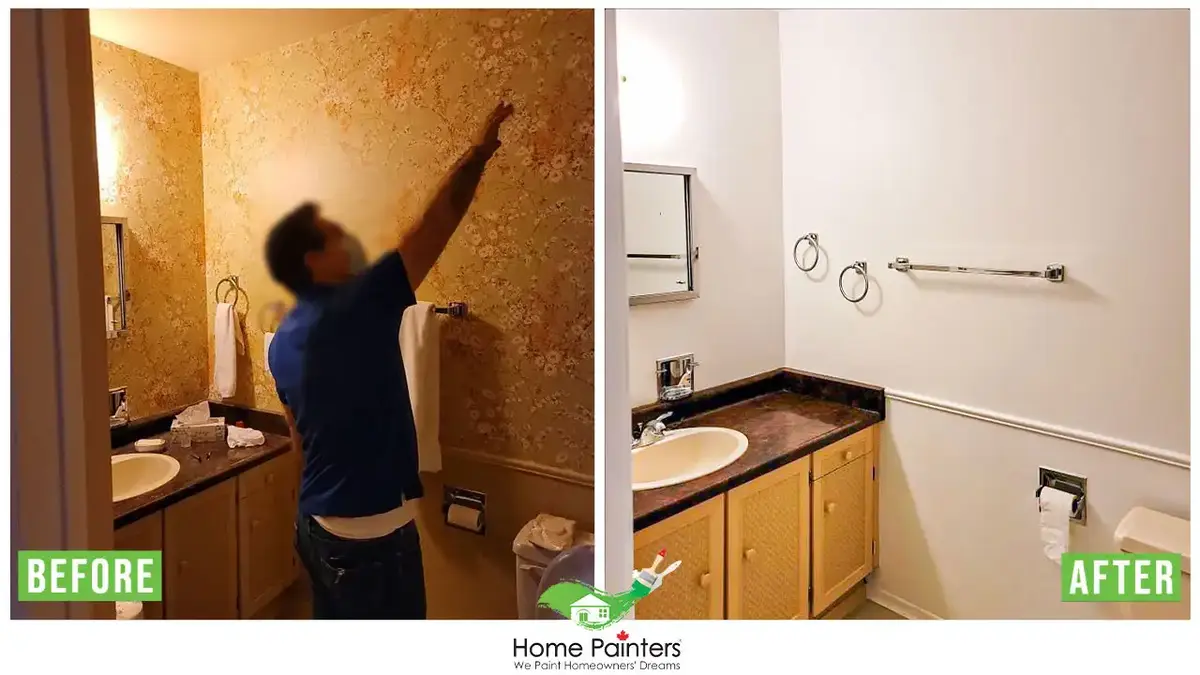
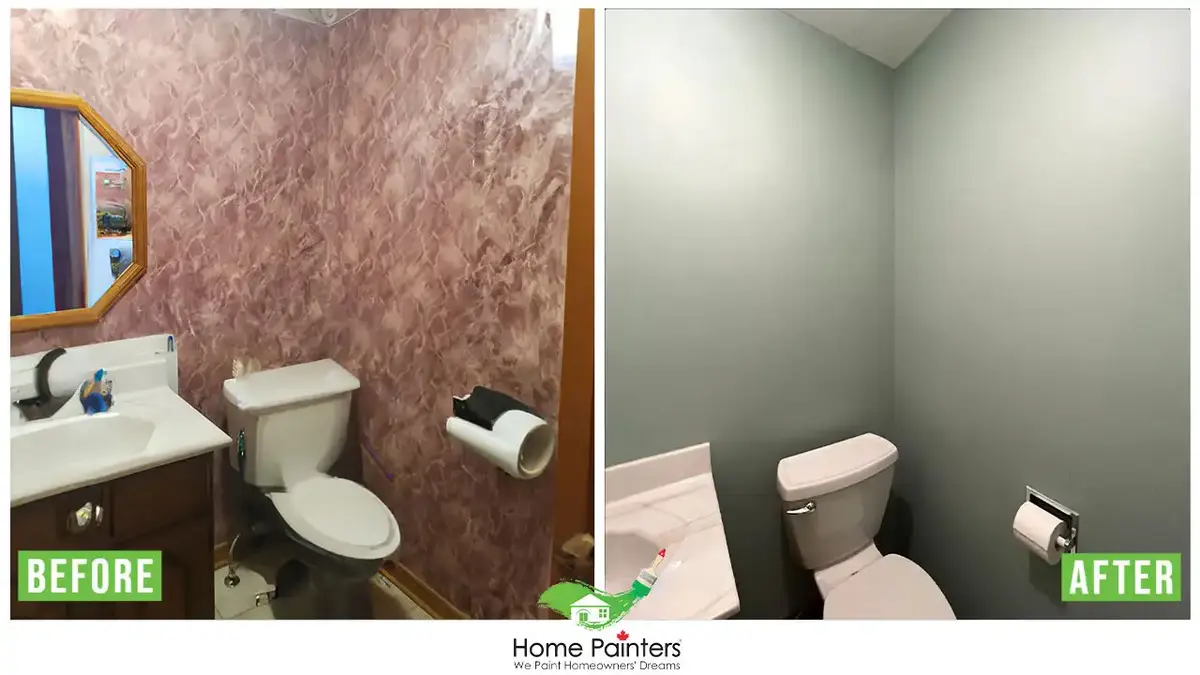
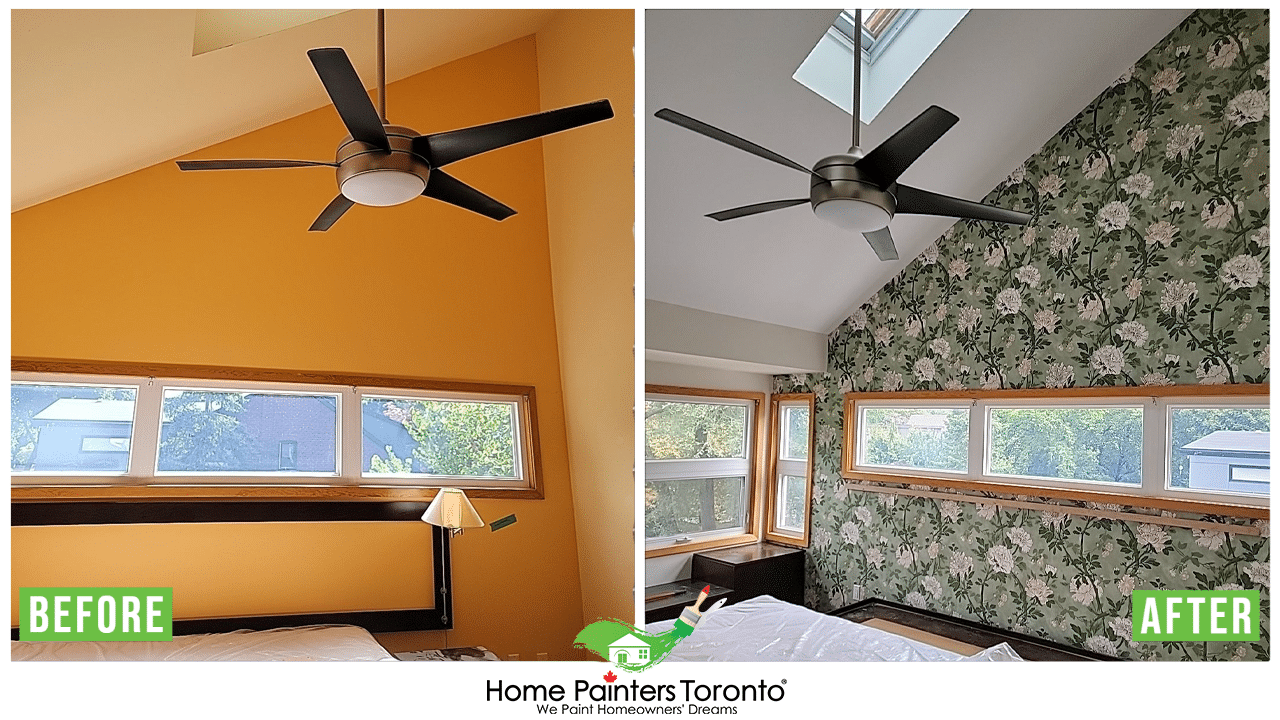
Wallpaper removal is often the first step when updating interior spaces. Whether homeowners plan to repaint walls or install new wallpaper, proper removal and wall preparation play an important role in achieving a smooth, long-lasting finish.
While some wallpaper can be removed easily, other installations may require more time and careful preparation to avoid damaging drywall surfaces.
If you are planning to remove wallpaper and repaint your walls, explore professional interior painting Toronto services to ensure proper wall preparation and finishing.
Why Wallpaper Removal Can Be Challenging
Wallpaper adhesives can bond strongly to drywall or previous paint layers.
Over time, moisture exposure or multiple wallpaper layers may increase removal difficulty. Improper removal techniques can result in:
torn drywall paper
gouges or dents
adhesive residue
uneven wall surfaces
These issues must be addressed before repainting or installing new wallpaper.
Common Methods Used for Wallpaper Removal
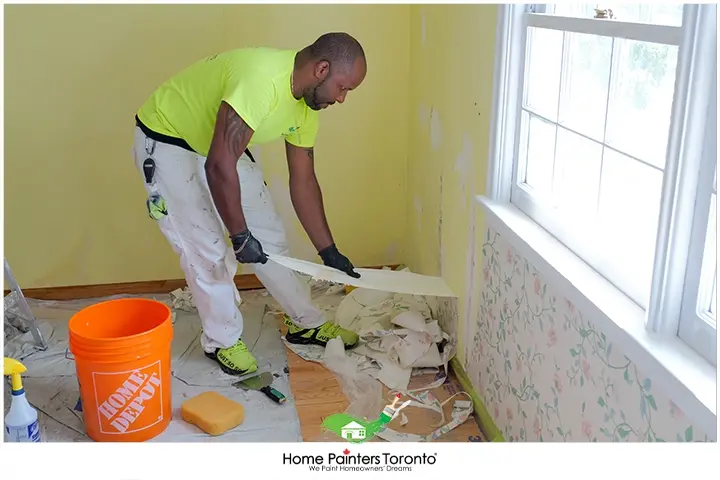
Dry Stripping
Some modern wallpaper products are designed for easier removal and may peel away in large sections.
However, older wallpaper installations often require additional preparation.
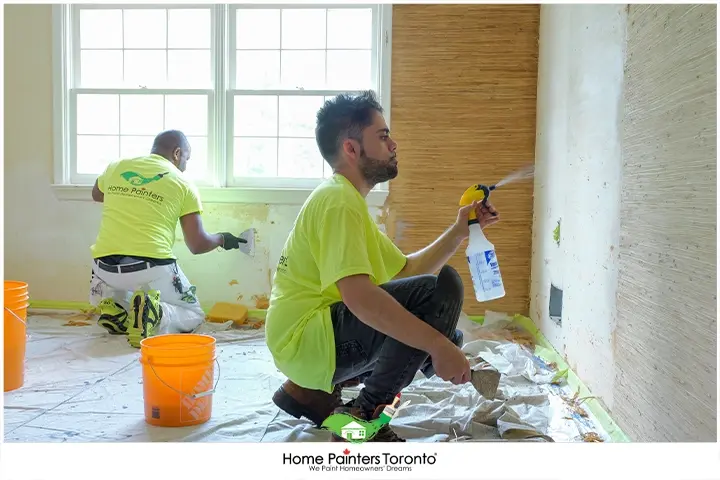
Water and Softening Solutions
Applying water or wallpaper removal solutions helps soften adhesive and loosen paper backing.
This method can reduce the risk of damaging drywall when done carefully.
Steam Removal Techniques
Wallpaper steamers can help break down adhesive bonds on stubborn installations.
Steam removal must be controlled to prevent excessive moisture penetration into drywall surfaces.
If walls become damaged during removal, homeowners may require drywall repair Toronto before repainting.
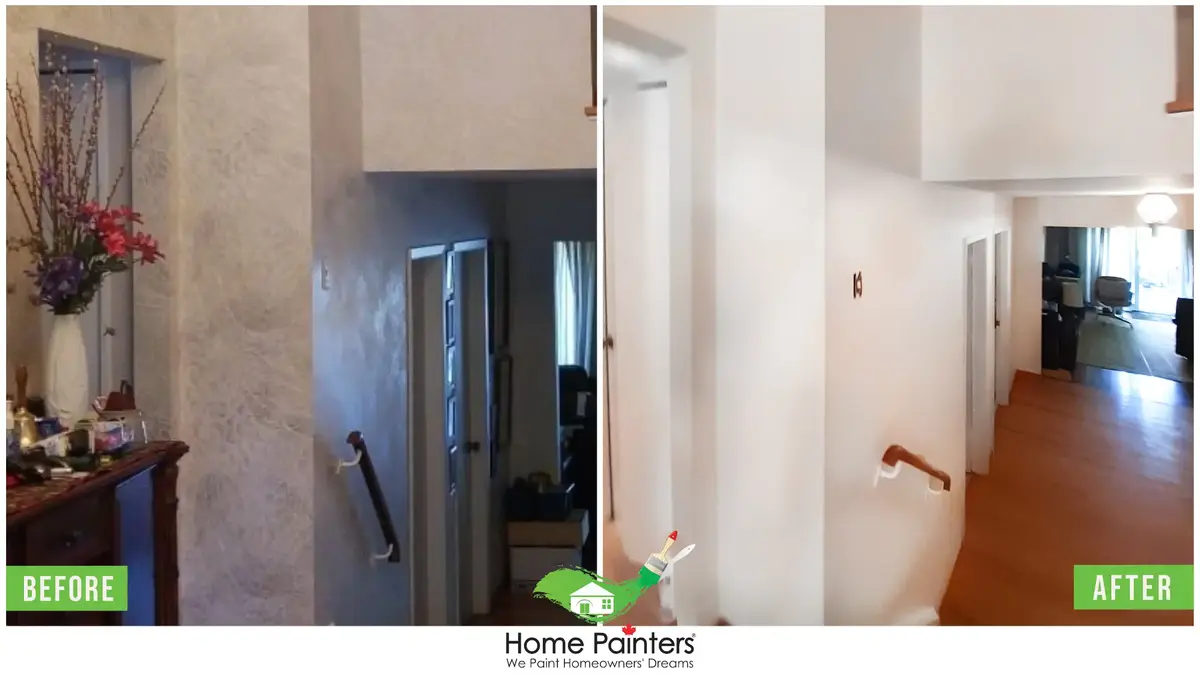
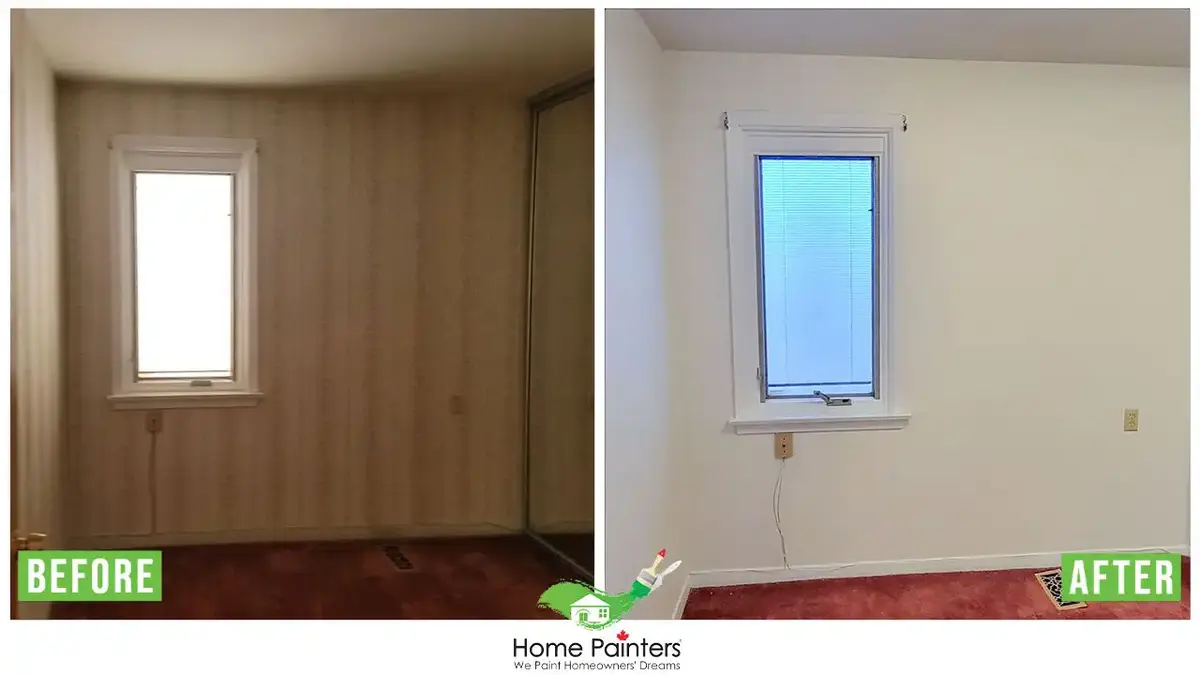
What to Expect After Wallpaper Is Removed
After wallpaper removal, walls may show:
adhesive residue
minor dents or scratches
uneven texture
areas requiring sanding or skim coating
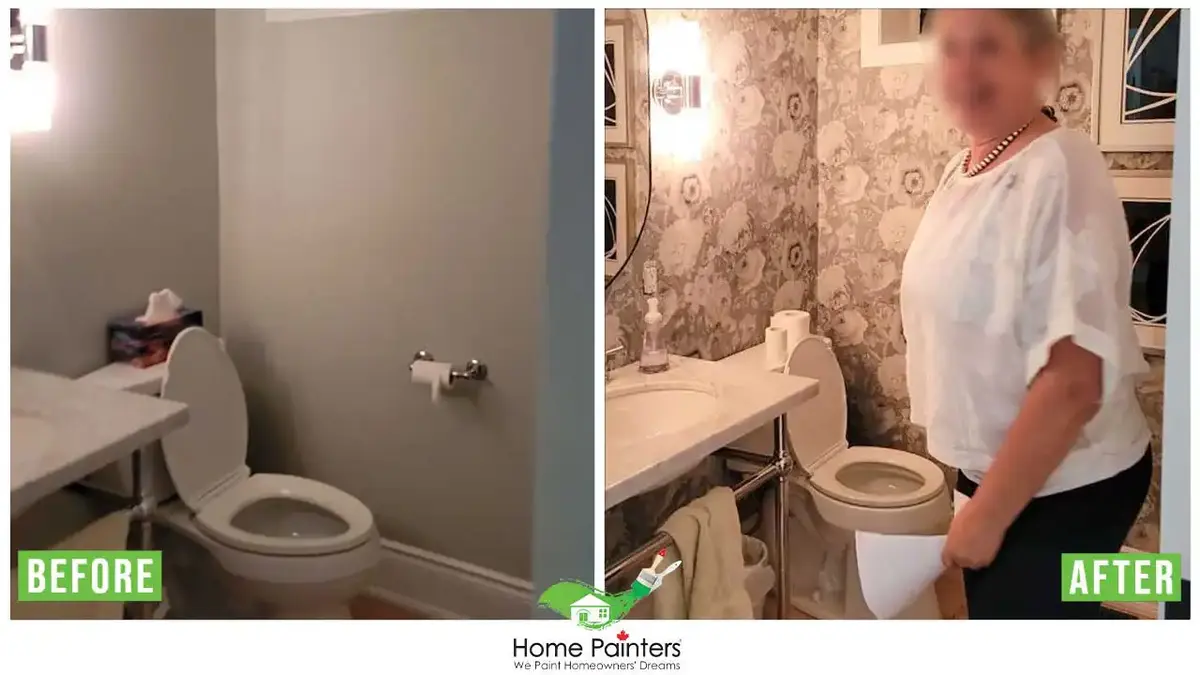
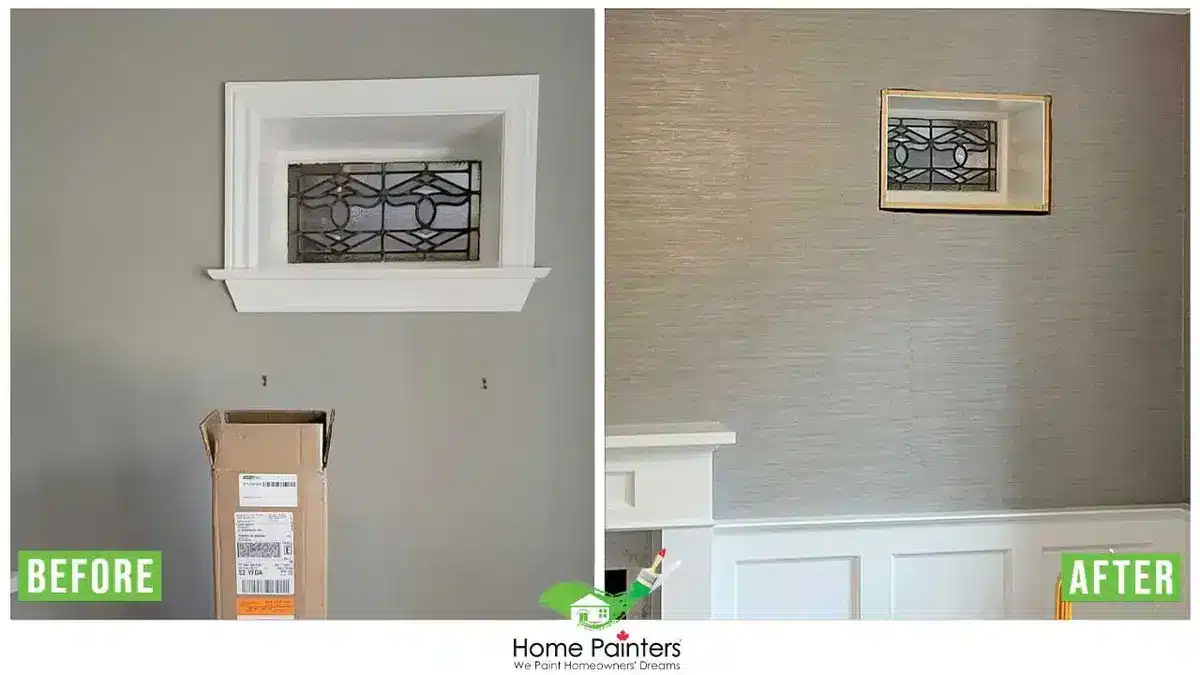
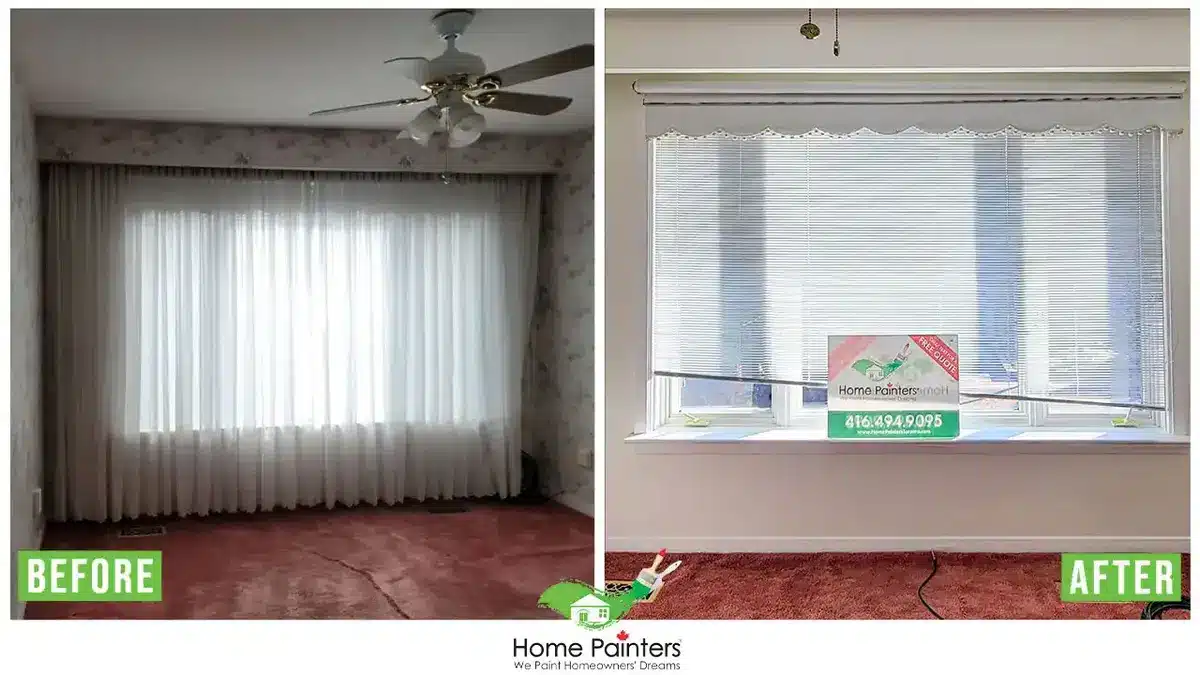
Preparing surfaces properly helps ensure new paint or wallpaper finishes perform well.
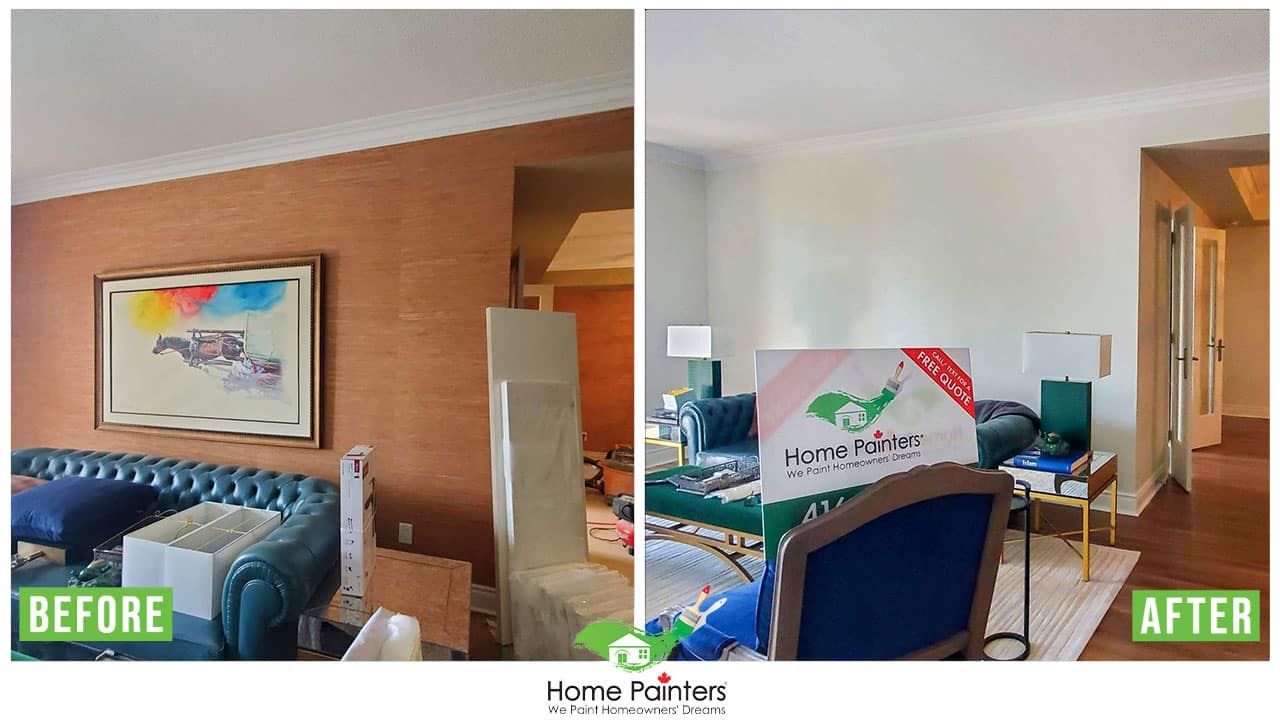
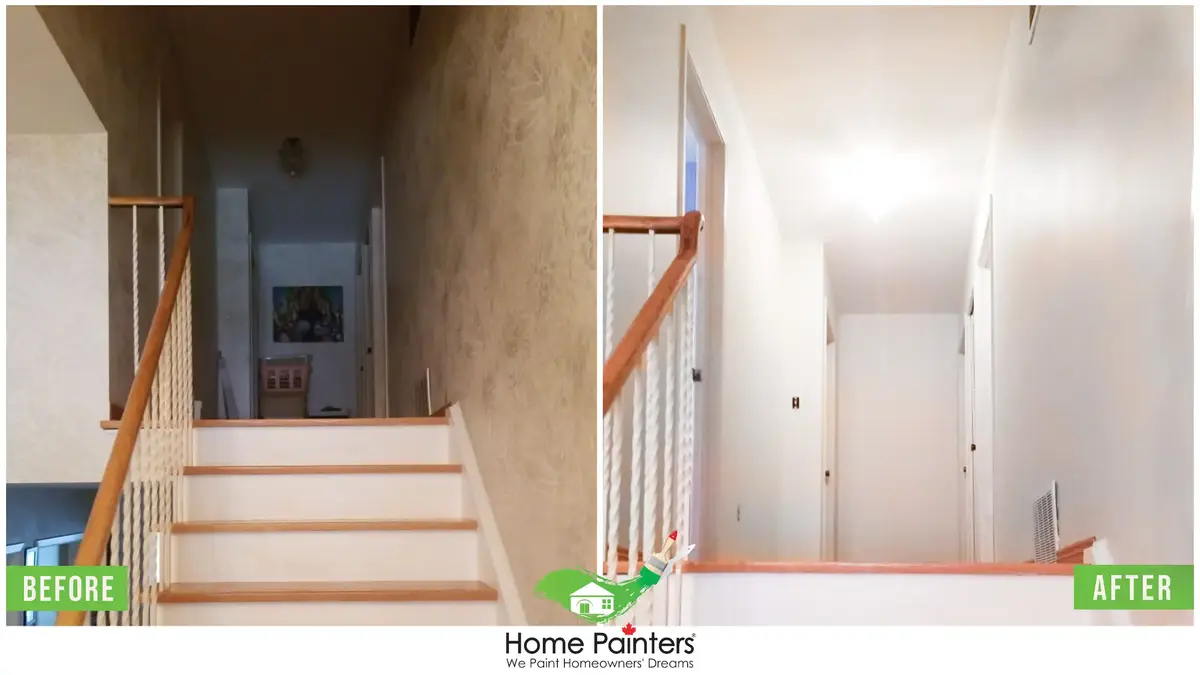
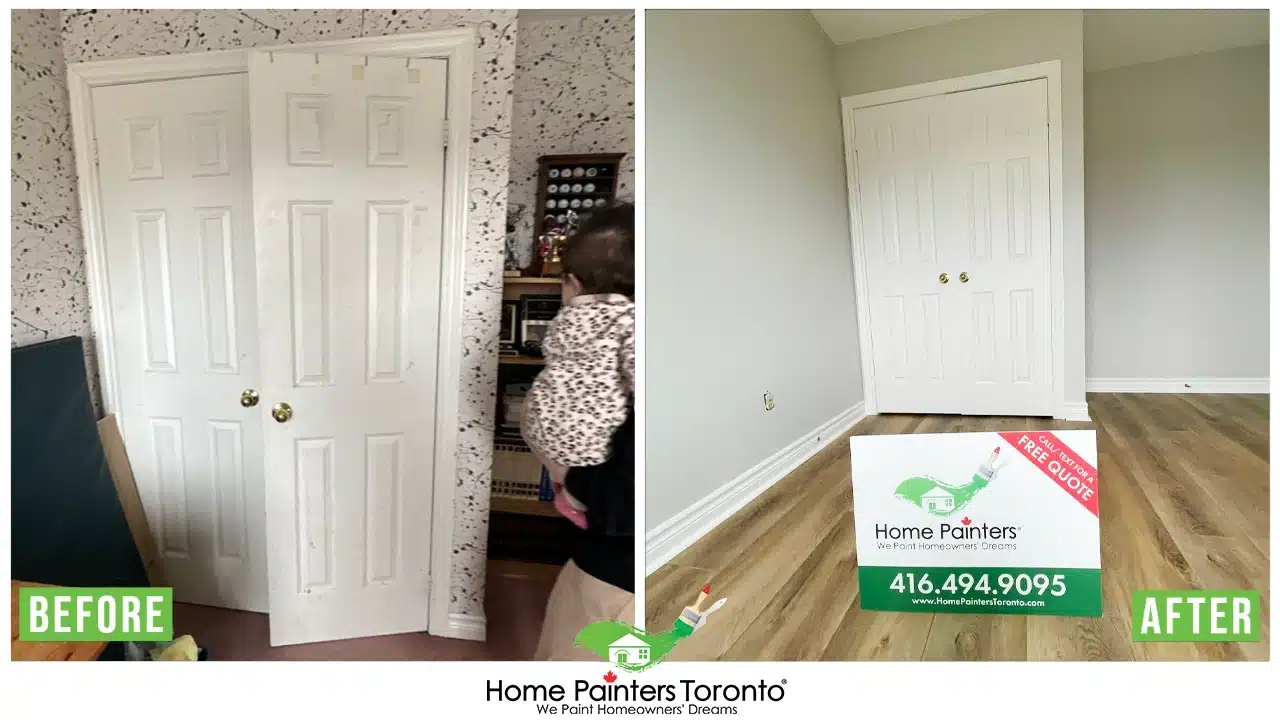
Repairing Walls Before Repainting or Installing New Wallpaper
Wall preparation often includes:
removing residual adhesive
sanding rough areas
repairing drywall damage
priming surfaces
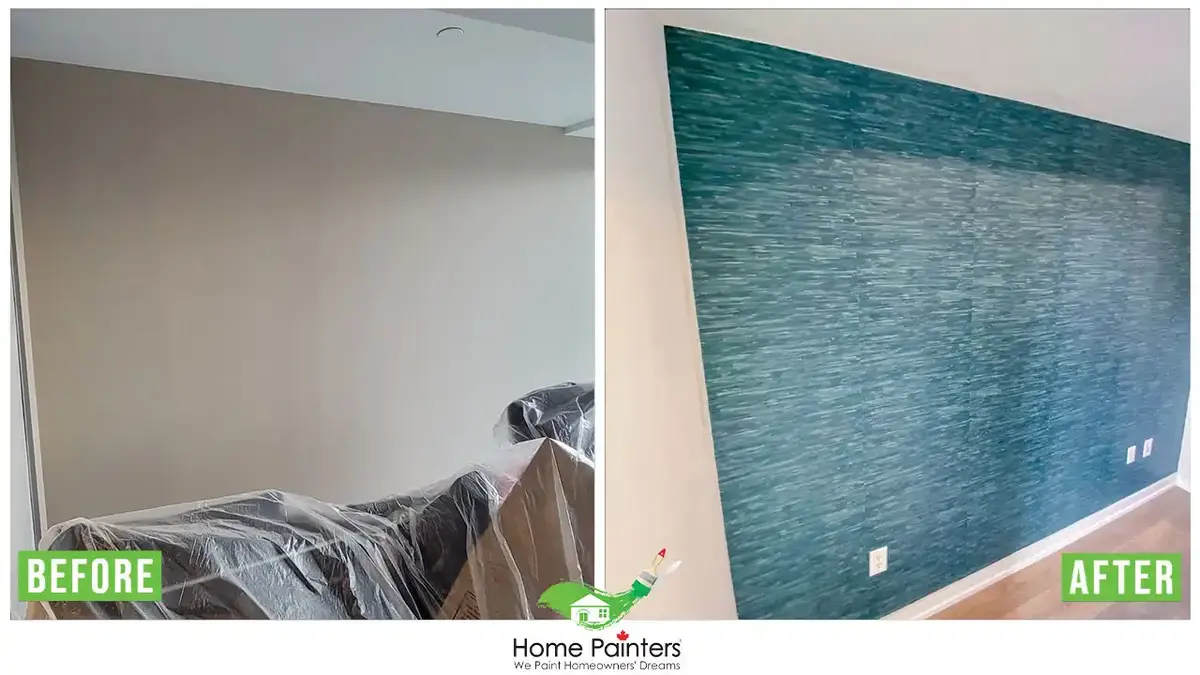
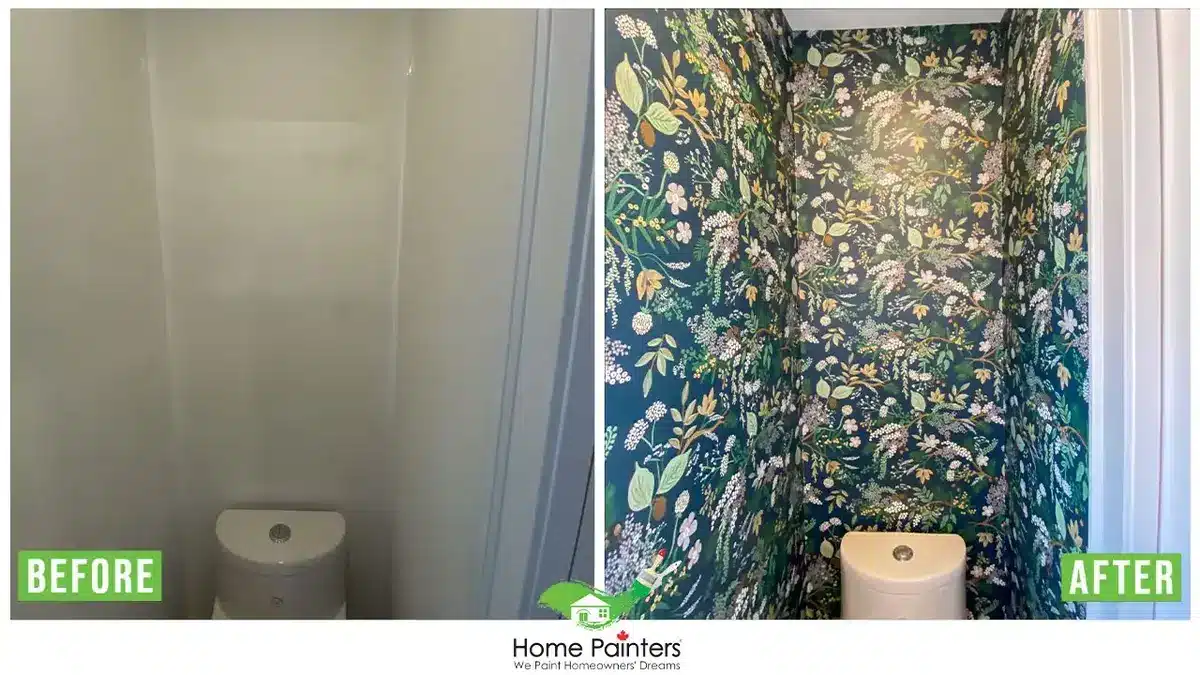
Professional preparation and refinishing through interior painting Toronto helps create smooth, consistent wall finishes.
If multiple rooms require wallpaper removal and repainting, explore interior painting Toronto services for coordinated interior upgrades.
When Professional Wallpaper Removal Makes Sense
Professional removal may be recommended when:
wallpaper covers large areas
multiple layers are present
walls are delicate or damaged
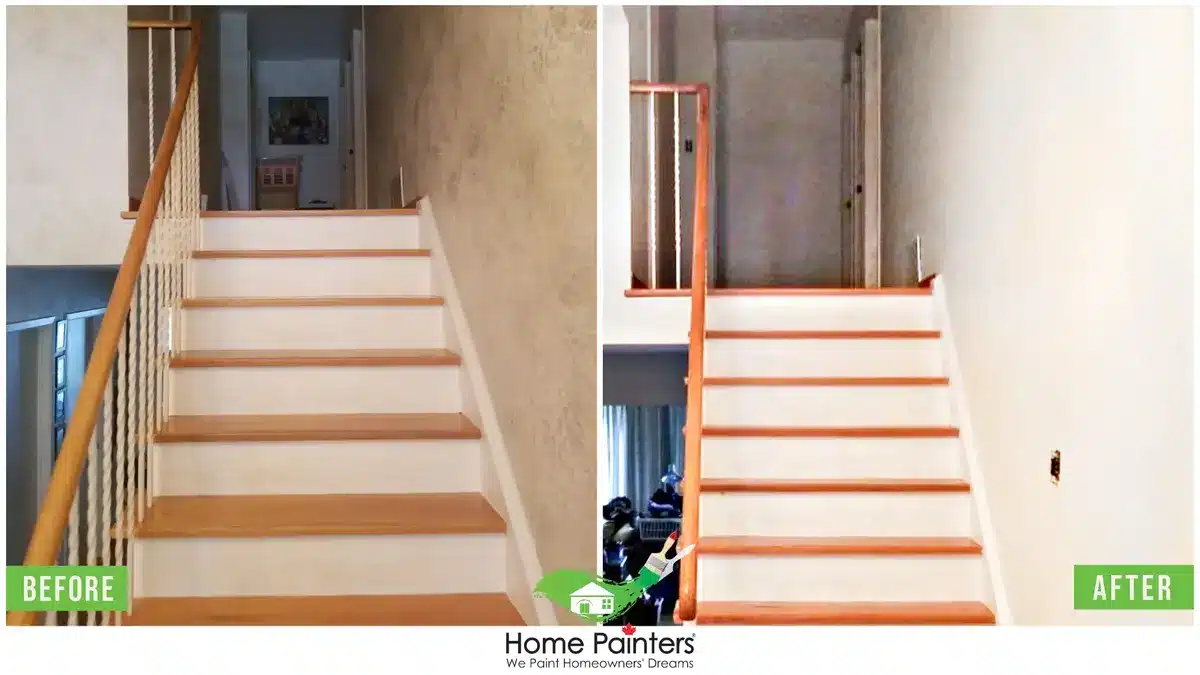
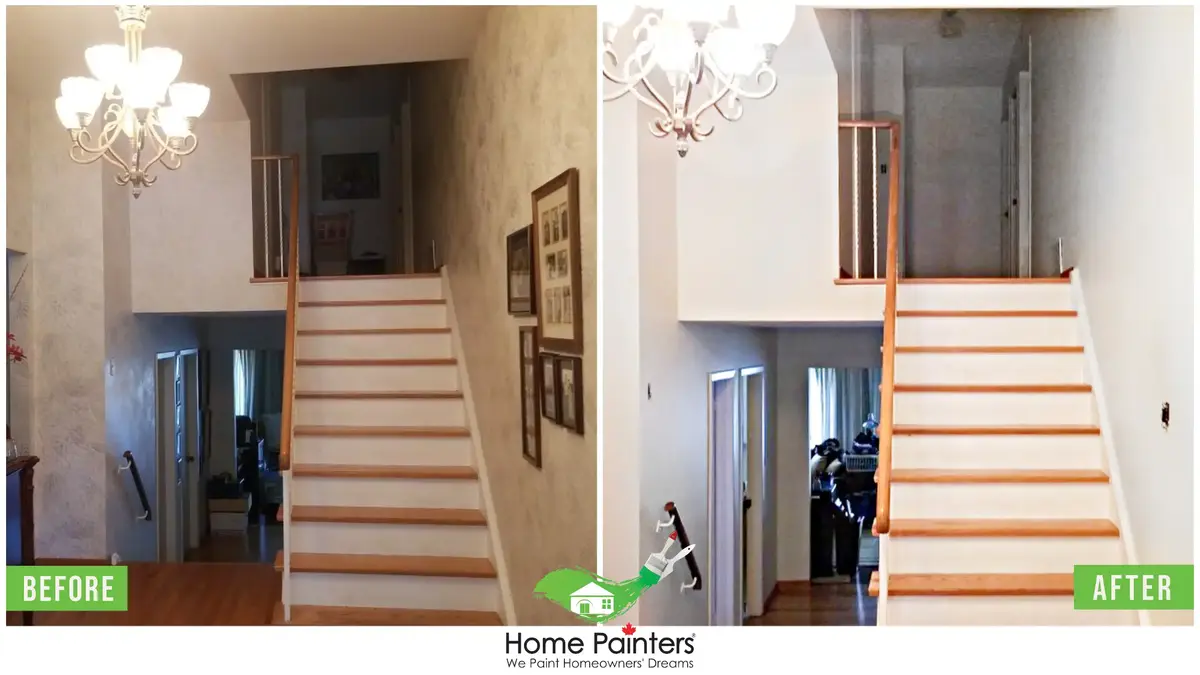
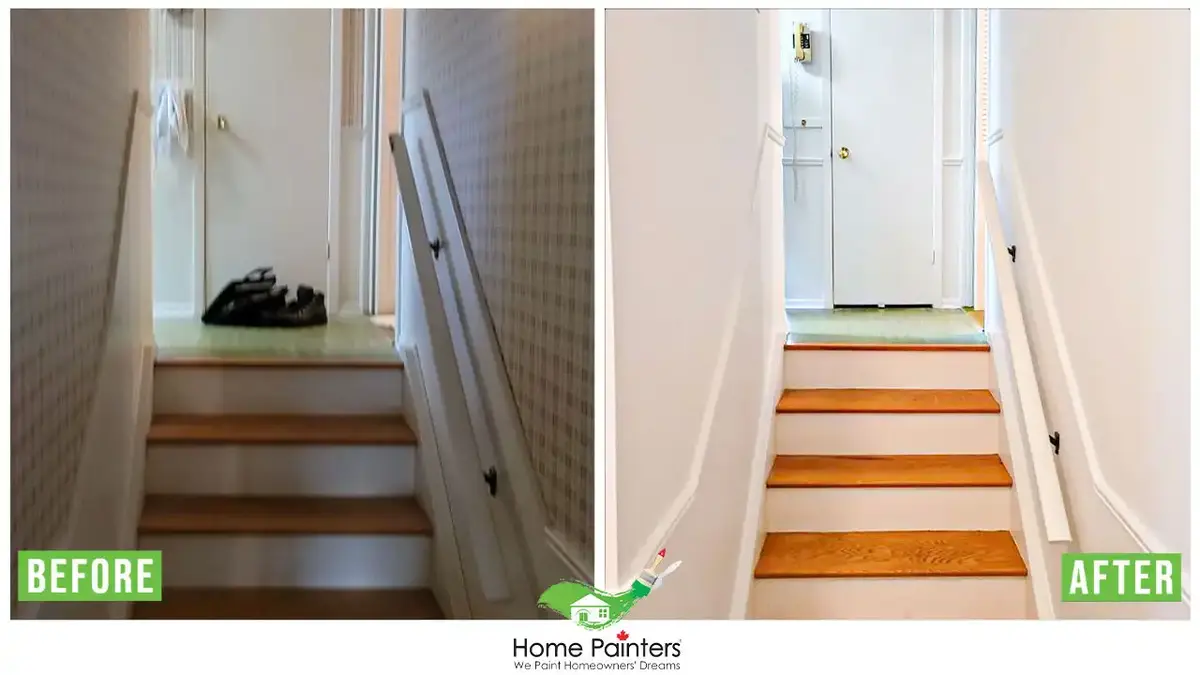
ceilings or stairwells are involved
Experienced painters use controlled techniques that help protect drywall and surrounding finishes.
How to Prepare for a Wallpaper Removal Project
Homeowners can prepare by:
clearing furniture from work areas
protecting flooring and trim
planning for drying time and surface repairs
coordinating repaint or new wallpaper installation
Proper planning helps reduce disruption and improve project outcomes.


Get a Wallpaper Removal Quote in Toronto
If you are planning wallpaper removal or wall refinishing, learn more about interior painting Toronto services and request a professional consultation.
Request a professional consultation for wallpaper removal and wall refinishing.
Frequently Asked Questions About Wallpaper Removal
Is wallpaper removal difficult?
Difficulty depends on wallpaper type, adhesive strength, and wall condition.
Can wallpaper removal damage drywall?
Improper removal techniques may tear drywall paper or create dents.
Should walls be repaired after wallpaper removal?
Yes. Surface preparation helps ensure new finishes adhere properly.
Can new wallpaper be installed immediately after removal?
Walls typically require cleaning, sanding, and priming first.
When should professional wallpaper removal be considered?
Professional help is useful for large areas, multiple layers, or delicate surfaces.