Drywall installation can be a necessary part of repairing and repainting parts of your home. As a homeowner, you’ll likely encounter this project sooner or later. If you’re new to installing drywall, there are some essential things to know about working with it.
It can be a fun job, but it’s often messy, and it’s vital for your health and safety that you know how to contain and clean up drywall properly.
Here are some proactive ways to keep your drywall dust contained and how you can keep the cleanliness of your home as good as new.
The Importance of Cleaning Up Drywall Dust
During the installation process, you’ll apply a joint compound to your drywall that will require sanding. Sanding drywall and joint compound causes a cloud of fine dust to float in the air. It’s one of the reasons why wearing a mask and safety goggles is so vital during any home repair project you might undertake. When you are exposed to high concentrations of dust and respirable silica, it can cause irreparable damage to your body. The ingredients in joint compounds include calcite, gypsum, silica, talc, and mica, which can lead to irritation of the eyes, nose, respiratory tract, and throat. Extended exposure to drywall and joint compound dust can lead to various issues. Like irritation of the throat and airways, difficulty breathing, phlegm, and coughing. Silica is known to lead to an increased risk of lung cancer and silicosis.
Proactive ways to contain drywall dust
Before you start your drywall project, there are some things you can do to limit the amount of drywall dust that can linger around your home.
Here are some valuable items you’ll need:
- Dust mask
- Damp Cloth
- Eye protection
- Spray bottle with water
- Thick plastic drop cloths
- Broom and dustpan
- Painters’ tape
- Shop-vac
- Zip-up dust containment doorway
- Fan
- Sander with vacuum attachment
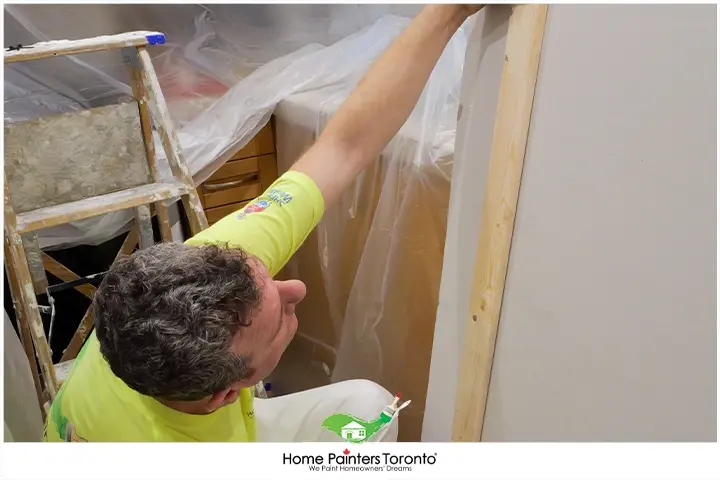
If you can remove all the furniture from the room, that will be your first step. If this isn’t realistic, you can wrap the furniture in plastic and tape up all the edges, keeping the furniture protected from dust. Next, you’ll want to cover the entire floor, including vents and closet doors. Make sure to seal the edge of any plastic with painter’s tape. When there are spots where the plastic pieces meet, there should be a sizeable overlap. If you have a significant drywall installation job ahead of you, consider investing in a zip-up dust containment doorway. If you want to make your own, you can do that with two vertically hung pieces of plastic covering the doorway of the room you’re working in. Ensure there is considerable overlap between the two pieces, and you will be in good shape. While you’re working, tape the doorway shut. Depending on your sanding method, you could opt for wet sanding or a sander with a vacuum attachment. Which helps minimize the amount of dust overall.
Cleaning Up Drywall Dust
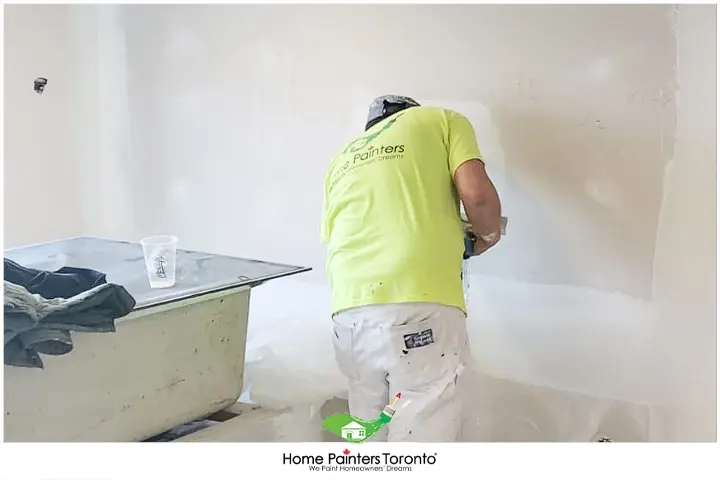
First, suppose you’ve started the job, and now there is dust everywhere. Here’s what you should do. First and foremost, always ensure you’re wearing a mask and protect your eyes with safety goggles. This will help protect you from the dust. Second, the best way to combat drywall dust is with water. The dust absorbs water, making it too heavy to float. Keeping a few spray bottles around will help you be able to sweep up or vacuum the dust as it settles on the ground. Lastly, using a damp cloth, you can wipe down the walls once you’ve finished sanding. You’ll notice where the dust is collected, and you can spray every surface in the room, including any furniture covered with plastic. Be a bit conservative on the amount of water you’re spraying as you don’t want to have a huge water mess to clean up instead. From here, you can do whatever is easiest for you in terms of method. Whether continuing with a cloth, mop, shop vac or sweeping, any of these methods work fine. Repeat one or two more times to ensure you have done an excellent job. Change into clean clothes and take a damp cloth to the room once you’ve removed all the plastic.
How to get drywall dust off your furniture
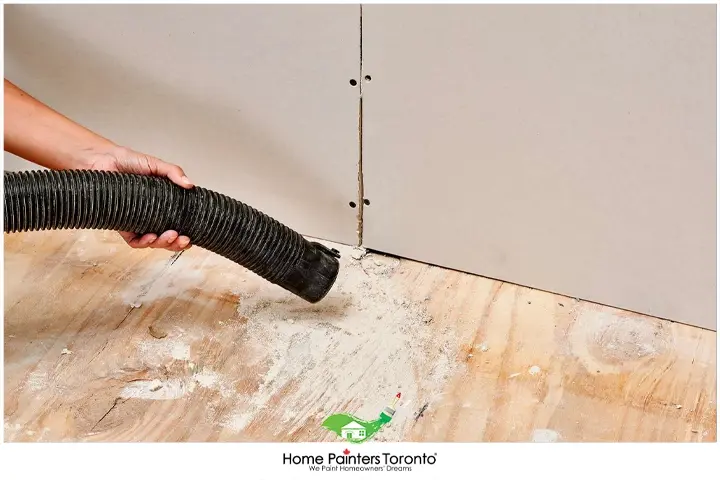
Even after all the prep work and being diligent, drywall dust can make its way onto your furniture. Whether it’s from your clothing or somehow got under the plastic coverings, the fine dust can be sneaky. It often ends up around your house in small amounts. Using a shop vacuum is important, as your everyday vacuum likely doesn’t have a heavy-duty HEPA filter on it. Drywall dust can clog and break your household vacuum. So investing in a shopvac or borrowing one from a family member or neighbour will help you immensely. If you have significant dust on a piece of upholstered furniture, take it outside, set up a fan, and keep it directly on it. The fan will help get rid of the dust. You can use a damp cloth to pick up any residual dust afterward.
You can use a damp cloth or a product that can help you trap the dust on a cloth for wooden furniture.
Best Way to Control Drywall Dust: Step-by-Step Guide
Drywall repair and installation are critical home improvement tasks that often require the expertise of a professional drywall contractor. As important as these projects may be, they tend to generate significant drywall dust—a stubborn byproduct that can wreak havoc in your living spaces. However, there is no reason for dust to dampen your drywall experience. Through tried-and-tested methods utilized by expert drywall contractors, this step-by-step guide showcases the best ways to control drywall dust during repair and installation. With a solid game plan in place, you can enjoy a smooth, clean, and hassle-free transition to refreshed and revitalized walls. Read on to learn the steps and precautions shared by industry-leading drywall contractors to keep drywall dust in check and breathe easier throughout your home improvement journey.
STEP 1: INITIAL DUST REMOVAL
Drywall dust is light but omnipresent, capable of invading every corner of your home even when precautions are in place. Start with an initial dusting to remove the top layer of dust.
• For floors: Use a vacuum cleaner equipped with a High-Efficiency Particulate Air (HEPA) filter to clean the flooring, paying particular attention to corners.
• For walls: Dry dusting is recommended. Use a microfiber dust wand or feather duster to dust off the freshly installed drywall.
• Fixtures and Appliances: Wipe down all fixtures, appliances, and furniture in the room using dry or lightly damp microfiber cloths. Remember to clean off ceiling fan blades, as dust often gathers here.
After the initial dust removal, focus on cleaning different surfaces more thoroughly:
• Walls: Wipe down the finished drywall surfaces using a lightly damp cloth to remove any remaining dust. Be careful not to saturate the cloth, as too much moisture can damage newly installed drywall.
• Hard Surfaces: Use a damp cloth or cleaning wipes to clean hard surfaces such as countertops, cabinets, windowsills, and baseboards.
• Upholstery and Carpets: If drywall dust has settled on your upholstered furniture or carpet, use a vacuum cleaner with the appropriate attachments to effectively clean these surfaces.
STEP 3: DEALING WITH HARD FLOORS
After the initial vacuuming, you might notice a thin layer of dust still covering your hard floors. Here’s how to treat them:
• Hardwood and Laminate: Damp-mop the floor with a gentle cleaning solution diluted in warm water. Use a mop designed for your specific type of flooring to avoid damage.
• Tile or Vinyl: How to remove drywall dust from tile floors? Wet-mopping with a mild detergent solution can effectively clean these types of floors. Ensure the mop is wrung out well, as too much water can seep into grout lines or seams in the floor.
Don’t forget to clean the mop regularly during the process to prevent re-depositing dust back onto the floor.
STEP 4: AIR PURIFICATION
Even after thoroughly dusting and cleaning, some drywall dust may still linger in the air. Consider using an air purifier equipped with a HEPA filter to capture these airborne particles.
STEP 5: REPEAT IF NECESSARY
Depending on how much dust was produced by the drywall installation, you might need to repeat steps 1–4 several times until your home is completely dust-free.
STEP 6: FINAL TOUCHES
Once your home is free from renovation remnants, finalize your cleaning with a general freshening up. Replace your air filters, wash your curtains or blinds, and clean your HVAC vents if necessary, as they can harbour residual dust.
TOP BLOGS RELATED TO
“After Drywall Installation: Best Way To Get Your Home Clean Again”
Skip the extensive clean-up that can be frustrating and hire Home Painters Toronto to take care of it. We leave your home as clean as when we are welcomed into it, regardless of how big your drywall installation job is.
Our team of professionals will get the job done within your budget. Drywall installation can be a lot of work if you’re not a seasoned pro, so let us take it off your hands.
If you’re thinking about enlisting the help of a professional for your drywall and painting job, give us a call, and let’s settle the details together.
Call 416.494.9095 or email Brian@HomePaintersToronto.com
Also, don’t forget to check and follow us on our social media channels below!


