

A home painting punch list is the written list of small fixes a crew must finish before a Toronto painting project is truly complete. It gets built at the final walkthrough, when the homeowner and project lead check each room under real household lighting. Most items are minor, like a missed spot behind a door, a baseboard drip, or a switch plate left off after cleanup. The process matters because it decides whether your final payment covers finished work or work that only looks finished from the doorway at a glance. Home Painters Toronto has served the GTA since 1991 and earned 1,200+ positive reviews on HomeStars, Google, and Houzz, and every project we finish ends with a documented punch list.
A home painting punch list is a written record of flaws found at the final walkthrough, such as missed spots, drips, wavy cut lines, or hardware left off. The crew fixes every item, the homeowner rechecks the work, and only then should the homeowner pay the final balance and sign off on completion.
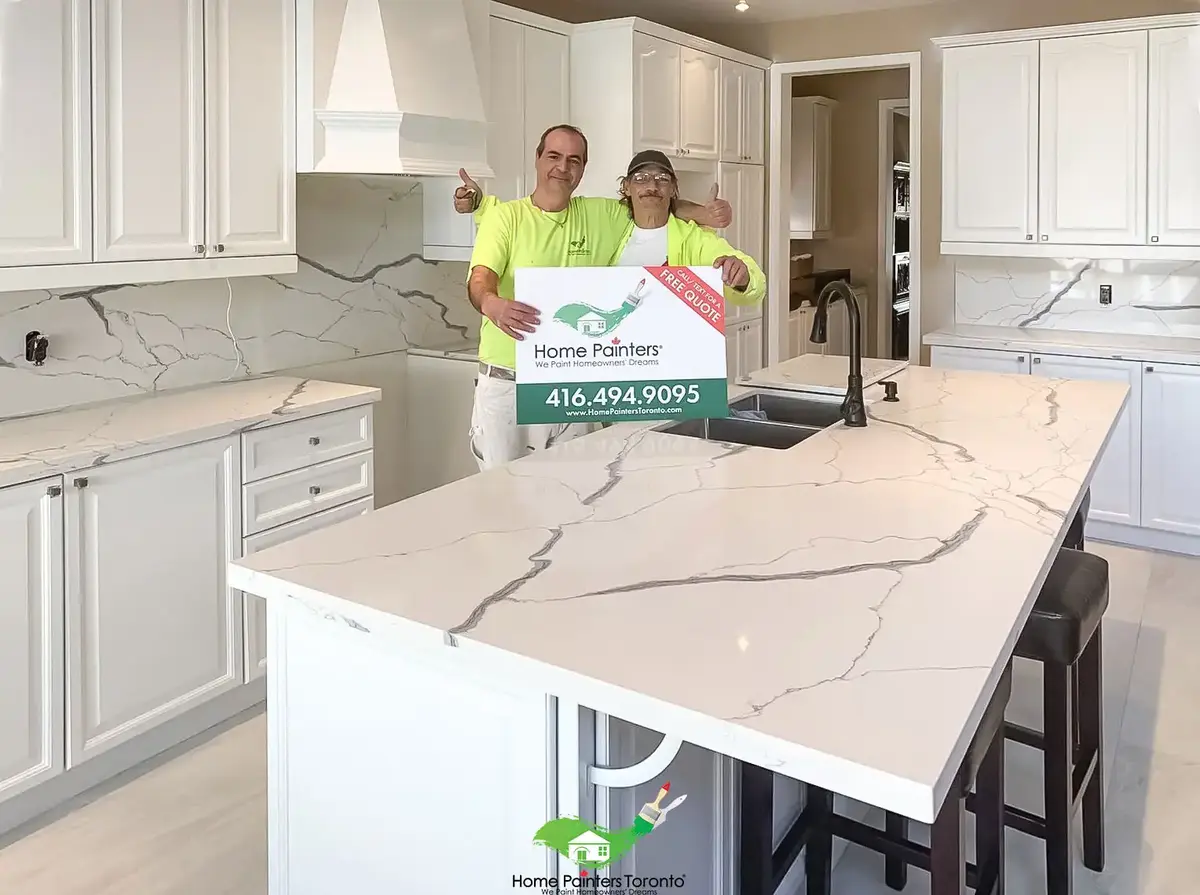
The final walkthrough decides whether final payment covers finished work
What a Home Painting Punch List Actually Is
A home painting punch list is the itemized record of touch-ups that stand between a painted room and a signed-off project. The term comes from general construction, where a punch list closes out every contract. In painting, it measures the finished work against a clear standard. The Painting Contractors Association (PCA, formerly PDCA) sets that standard in its Standard P1. It defines a properly painted surface as uniform in colour, texture, hiding, and sheen, with no runs, sags, drips, or misses.
That same PCA standard defines a touch-up as the correction of deficiencies in the contracted work. This matters for homeowners. A punch list is for the painter's own misses, not for new scope added at the end. Painting a closet that was never in the contract is new work, and it needs its own price.
The PCA also separates two other categories from touch-ups. "Damage caused by others" covers things like a mover scuffing a fresh wall. "Latent damage" covers problems that appear later, such as settlement cracks or nail pops. Neither belongs on a punch list, and a clear contractor will explain that difference before the walkthrough starts.
A good punch list is written, dated, and visible to both sides. Each item names the room, the surface, and the problem. Vague notes like "fix the hallway" slow everything down. Specific notes like "north wall, top left, missed spot above the light switch" get fixed the same day.
How the Final Walkthrough Works
The final walkthrough is a room-by-room inspection where the homeowner and project lead check every painted surface and record each fix. It happens once the last coat is dry and the rooms are cleaned up. Furniture should be back in place, since some flaws only show once the room is lit and arranged normally. The process follows a fixed order so nothing gets skipped.
- Confirm the scope. The project lead brings the signed estimate and checks each listed surface against the named product and sheen.
- Walk the rooms in order. Start at the front entrance and move clockwise through each space, checking ceilings, then walls, then trim and doors.
- Check from a normal viewing position. Each surface is judged from standing height at a set distance, as explained below.
- Flag each item with low-tack tape. A small tab marks the exact spot so the painter can find it quickly.
- Write the list. Each flagged item gets a line with room, surface, and issue.
- Fix and recheck. The crew completes every item, and the homeowner walks the flagged spots again.
- Sign off. Both sides confirm the list is closed before the final invoice is settled.
Checking Each Surface From One Metre Away
Each wall should be judged from at least one metre away, at eye level, under the room's finished lighting and without magnification. That is the viewing rule written into PCA Standard P1. It exists because any painted wall shows roller texture when a bright work light is held flat against it. No finish passes that test, so it is not a fair measure of quality.
The one-metre rule protects both sides. The homeowner still catches every real flaw that a visitor would notice. The painter is not asked to chase marks that only appear under a flashlight at arm's length. Exterior surfaces follow the same logic, judged from where people normally stand, such as the driveway, sidewalk, or deck.
What Typically Ends Up on a Punch List
The most common punch list items are missed spots, drips, uneven cut lines, paint on hardware, caulk gaps, and loose fixtures. Most of them sit in low-traffic or awkward spots where lighting changed during the job. Behind doors, above cabinets, and inside closet returns are the usual suspects. The table below shows what each item looks like and how a professional crew corrects it.
| Punch List Item | Where It Usually Shows Up | How the Crew Fixes It |
|---|---|---|
| Holiday (missed spot) | Behind doors, above upper cabinets, closet returns | Spot-prime if bare, then apply the finish coat across the full section |
| Run or sag | Door panels, window stools, trim under windows | Let it dry fully, sand it flat, then apply a thin, even coat |
| Wavy cut line | Wall-to-ceiling line, wall-to-trim joint | Re-cut the line with a steady brush pass in the correct colour |
| Paint on hardware or glass | Hinges, door knobs, window glass, outlets | Remove with a blade or a cleaner suited to the surface |
| Nibs or debris in the film | Trim and doors in dusty rooms | Light sand, wipe clean, and recoat the full piece |
| Caulk gaps | Baseboard-to-wall joints, crown moulding seams | Re-caulk with paintable caulk, then touch up once it sets |
| Missing covers or hardware | Switch plates, vent covers, closet doors | Reinstall and check that everything sits level |
Interior jobs tend to produce more cut-line and hardware items. Trim, doors, and stair parts create more edges, and every edge is a place for a wobble. Rooms with pot lights also reveal flaws that daylight hides. That is why a careful walkthrough checks rooms under the lighting the family uses at night.
Home Painting Punch List Items on Exterior Jobs
Exterior punch list items usually involve missed drip edges, lap siding bottoms, soffit corners, and paint on masonry, glass, or landscaping. The bottom edge of each siding board is easy to miss from a ladder. Window glazing and muntins also collect small misses. Overspray on brick or walkways is another common flag after exterior painting.
Weather adds a timing problem outdoors. Each exterior touch-up must wait for temperatures within the range on the product's technical data sheet. A late-season walkthrough in Toronto can leave a few items waiting for the next warm, dry day. A good contractor writes those items down with a target date so nothing gets lost.
Why Spot Touch-Ups Can Make a Wall Look Worse
Spot touch-ups often look worse than the flaw because fresh paint dries with a different sheen and texture. Painters call this flashing. A small dab can look like a shiny patch from across the room, even when the colour matches perfectly. The higher the sheen, the easier it is to see.
Texture causes the same problem. A rolled wall has a fine stipple, while a brush dab leaves a flat, smooth spot. From the side, that spot catches light differently. On a large wall with ten scattered marks, the result can look blotchy.
The professional fix is often to repaint a full section from one natural break to the next. That means corner to corner on a wall, or end to end on a door panel. PCA Standard P1 addresses spot repairs directly, and it expects a reasonable match in colour, gloss, and texture. A homeowner asking for twenty tiny dabs on an eggshell wall may get twenty shiny spots. Asking for the whole wall to be recoated usually gives a cleaner result.
How Sheen and Film Thickness Cause Flashing
Flashing comes from differences in gloss and film thickness between the original coat and the touch-up. Sheen is measured with a gloss meter at a 60-degree angle. Benjamin Moore's data sheet lists Regal Select Semi-Gloss at 50 to 60 gloss units at 60 degrees. A heavy touch-up can read shinier than that range, even with paint from the same can.
Film thickness is the second factor. The same Benjamin Moore data sheet calls for 3.6 to 4.0 mils wet, which dries to 1.5 to 1.7 mils. A brush dab often lays down more, which leaves a raised edge in raking light. Good crews use the same tool the surface was finished with, and they feather the edges into the existing coat.
Timing also plays a role. Paint is dry long before it is fully hardened. Benjamin Moore notes that Regal Select surfaces can be washed after two weeks, with cool, humid conditions stretching that time. Scrubbing a fresh wall at the walkthrough can burnish it and create a new shiny spot. Flag the flaw with tape and let the crew handle it.
Punch List Fixes vs. Warranty Claims vs. New Work
A punch list fix corrects the contractor's misses before sign-off, and a warranty claim covers failures after sign-off. New work is anything outside the original contract. Knowing which category an issue falls into avoids most end-of-project disputes. Each category has a different timeline and a different answer to the question of who pays. The table below lays them out side by side.
| Category | When It Applies | Typical Examples | Who Covers It |
|---|---|---|---|
| Punch list fix | Before final payment and sign-off | Missed spots, drips, wavy cut lines, loose hardware | Included in the contract price |
| Warranty claim | After sign-off, within the warranty term | Peeling, blistering, or adhesion failure on painted surfaces | The contractor, under written warranty terms |
| Damage caused by others | After the crew leaves | Mover scuffs, furniture dings, pet scratches | The homeowner, priced as new work |
| Latent damage | Any time after completion | Settlement cracks, nail pops, water stains | The homeowner, priced as a repair |
| New scope | Any time | An extra room, closet interiors, a colour change | The homeowner, through a signed change to the contract |
HPT's written warranty terms set how long post-completion coverage lasts. We back interior painting with a lifetime warranty and exterior painting with a 3-year warranty. Exterior brick staining carries a 15-year warranty, and kitchen cabinet spraying carries a 5-year warranty. All claims follow the current terms and conditions.
New work is priced like any other job. HPT's published ranges put a living or dining room at $400 to $900 CAD + HST. Trims, doors, and baseboards run $700 to $1,200 CAD + HST. Nail pops and cracks usually need drywall repair before paint, so they are quoted as a repair. Ontario's Consumer Protection Act caps the final price at 10% over an estimate included in the contract. The exception is new work or a new price the homeowner agrees to.
Want to know exactly what your warranty covers before you book? Ask our team about warranty terms on your free estimate call.

Repainting a full section from corner to corner usually gives a cleaner result than spot dabs
A Recent Punch List Walkthrough in Leslieville
Our recent interior repaint of a semi-detached home in Leslieville shows how a punch list works in practice. We finished all trim, doors, and the open stair stringer in Benjamin Moore Regal Select Semi-Gloss. During application, our wet film gauge read 3.8 mils on the door panels, inside Benjamin Moore's 3.6 to 4.0 mil range. The house held at 21°C and 45% relative humidity, so we allowed extra time past the data sheet's 3-hour recoat window.
- The daytime walkthrough found seven items. Two holidays sat behind a bedroom door, and one sag showed on a six-panel door. Two switch plates were still off, and two short cut-line wobbles ran along the kitchen ceiling.
- The homeowner asked us to come back after dark. Under the pot lights, two more wobbles showed up along the staircase painting line where the stringer meets the wall.
- We let the sagged door dry overnight, sanded it flat, and recoated that panel end to end. The stringer line was re-cut with a fresh brush in one continuous pass. The next morning, the homeowner rechecked all nine taped spots from standing height, signed the completion form, and the final balance was paid that day.
The lesson was simple. A walkthrough under daylight alone missed two of nine items. We now offer an evening look on any project with pot lights or a staircase.
How Final Payment and Sign-Off Should Work
Final payment should come after every punch list item is fixed and rechecked, not during the walkthrough and not before it. Ontario's consumer protection guidance tells homeowners to never pay the full contract amount before the work is done. The same provincial guidance recommends keeping down payments to no more than 10%. It also lists cleanup responsibility as an item every renovation contract should spell out.
A good sign-off process should include these steps:
- Every punch list item is marked complete and rechecked by the homeowner in person.
- A written or digital completion form records the date and both signatures.
- Warranty terms are provided in writing, with the start date stated.
- Leftover paint is labelled with the colour name, product, sheen, and room.
- Cleanup is finished, including tape, drop sheets, and paint on hardware.
- The final invoice matches the contract and any signed change orders.
Crew credentials matter at this stage too. A WSIB-compliant, fully insured contractor can stand behind its work if a fix causes new damage. HPT carries $5M in general liability insurance and runs criminal background checks on crew members. That coverage is part of what makes warranty-backed work more than a promise on paper.
Home Painting Punch List FAQs
A punch list in painting is a written list of small defects the crew must fix before the job is complete. Typical items include missed spots, drips, wavy cut lines, and switch plates not yet reinstalled. The list is dated and shared with the homeowner. Once every item is fixed and rechecked, the project is signed off.
You should pay the final balance after the walkthrough items are fixed and rechecked. Ontario's consumer guidance advises against paying the full contract amount before the work is done. Paying at the end keeps both sides focused on closing the list. A deposit at the start and a final payment at sign-off is a common, fair structure.
Touch-ups for the painter's own misses should be raised at the final walkthrough, and later issues fall under the written warranty. At HPT, interior painting carries a lifetime warranty and exterior painting carries a 3-year warranty. Damage from movers or furniture is not a warranty issue. It gets quoted as new work.
Touch-ups look shiny or patchy because fresh paint dries with a different sheen and thickness than the cured coat around it. This effect is called flashing. It shows most on eggshell, satin, and semi-gloss finishes. Repainting the full section from corner to corner usually solves it.
A nail pop is usually not covered by a painting warranty, because framing movement causes it. The PCA treats this kind of issue as latent damage. The fix involves resetting the fastener, patching the drywall, and repainting the section. Most contractors quote it as a repair.
Yes, you should attend the final walkthrough because you are the one approving the finished work. Your eyes catch things a crew may overlook, especially in rooms you use every day. If your schedule is tight, ask for an evening walkthrough. It also lets you check the rooms under your normal night lighting.
Making Sure Your Home Painting Project Ends the Right Way
A home painting project ends the right way when every punch list item is fixed, rechecked, and signed off before the final payment. The walkthrough should follow the PCA's one-metre viewing rule under finished lighting. Touch-ups should match colour, sheen, and texture, which often means recoating a full section. Warranty terms and leftover paint should both be handed over in writing.
Home Painters Toronto has painted 20,000+ homes across Toronto and the GTA. Every project we take on ends with a walkthrough. Founder Brian Young has worked in the painting industry since 1987, and that experience shaped our completion process. You can see how we work on our Why Homeowners Choose Home Painters Toronto page.

Ready for a project with a clear completion process from the first quote to the final signature? We offer fast, free quotes and warranty-backed work across Toronto and the GTA, with a documented punch list on every job.
Get a Free Estimate