

Siding Repair Around Windows, Doors, and Trim: Where Leaks Start
Most siding leaks in Toronto homes do not start in the middle of a wall. They start at the seams, around windows, doors, and trim, where two materials meet, and water management can fail. Siding repair around windows is one of the most misdiagnosed jobs in the industry because the panel usually looks fine while the flashing and caulking underneath have already failed. Homeowners patch the visible crack, and the leak returns within a season because the real entry point was never addressed. This guide explains where these leaks actually start, what a proper repair involves, and why the details around an opening matter more than the siding material itself.
Siding repair around windows, doors, and trim usually starts at failed flashing, dried-out caulking, or gaps behind trim boards, not the siding panel itself. Water gets behind the cladding at these joints, soaks the sheathing, and shows up later as staining, soft trim, or interior leaks near openings.
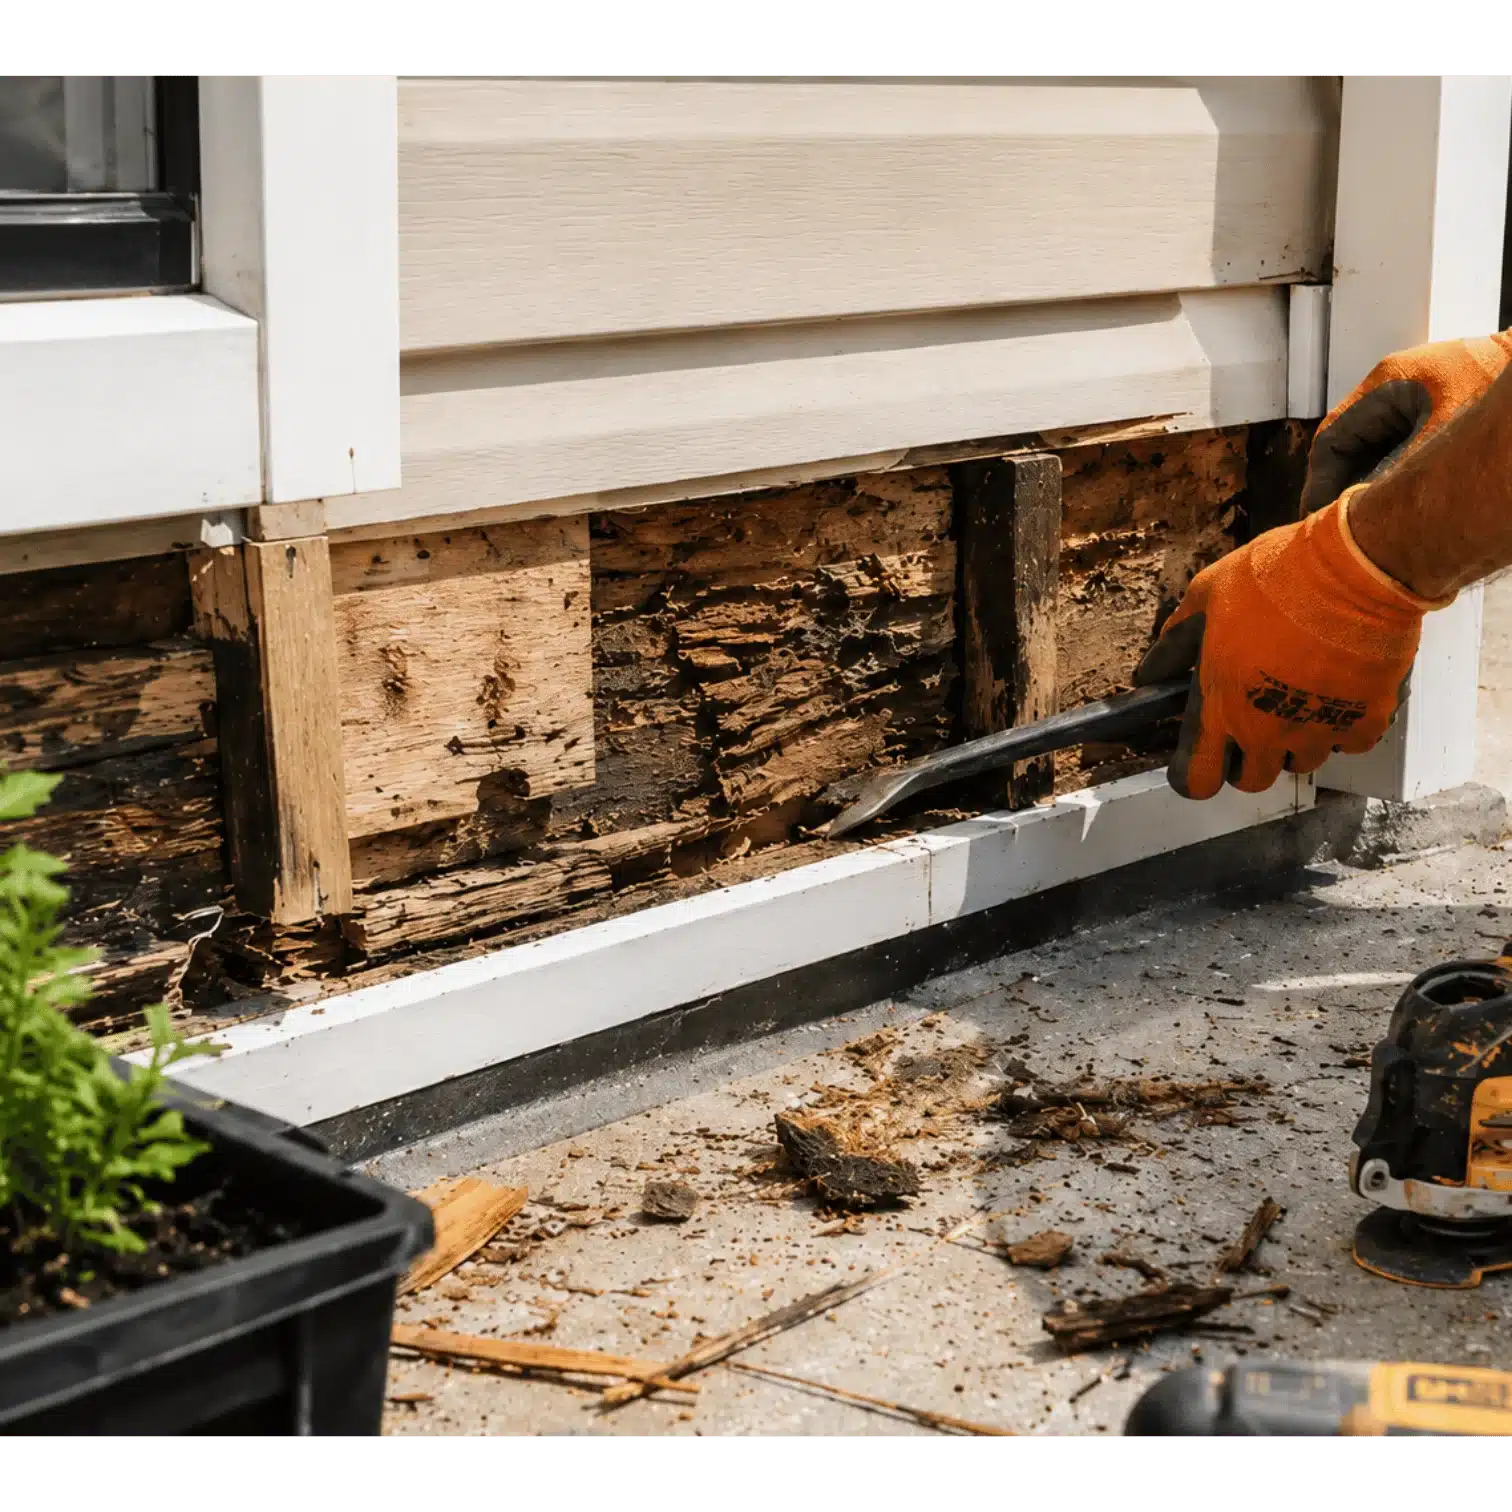
The panel usually looks fine while the flashing and caulking underneath have already failed
What Causes Siding Repair Around Windows, Doors, and Trim to Fail
Siding repair around windows, doors, and trim fails most often at the flashing, the caulking joint, or the trim board itself, not at the siding panel people usually blame. Home Painters Toronto has handled this exact call thousands of times across our 17,000+ completed GTA projects, and the pattern rarely changes. A homeowner sees a stain below a window and assumes the panel cracked. In most cases, the panel is only where the water finally showed itself.
Siding Repair Around Windows: The Most Common Failure Points
A handful of failure points account for almost every leak we find around an opening:
- Caulking that has dried, shrunk, and pulled away from the trim edge
- Flashing installed flat or sloped the wrong way, so it channels water inward instead of out
- Gaps where trim meets siding, wide enough for wind-driven rain to push through
- Nail holes in the siding that reopen as panels expand and contract with the seasons
- Corner joints near a window where two cladding runs meet and caulking alone was used instead of proper flashing
Vinyl, aluminum, wood, and fibre cement all fail at these same joints for the same reason. The panel material rarely causes the leak on its own. Our crews see this on vinyl siding and window painting, aluminum siding, and wood siding projects across the GTA.
Toronto adds a specific mechanism on top of these generic failure points. Wind-driven rain here usually comes from the west and southwest, so west-facing openings take the brunt of it during a storm. The building envelope around a window relies on a continuous moisture barrier and a drainage plane behind the cladding to manage that load. Once a joint at the trim breaks that continuity, the wall has no backup layer stopping the water. That single gap is often the only thing separating a dry wall cavity from months of hidden saturation.
Why Flashing and Caulking Failures Lead to Leaks in Toronto Homes
Flashing and caulking failures lead to leaks in Toronto homes because freeze-thaw cycles move every joint around a window through dozens of expansion and contraction swings each year. A joint that was sealed tight in June can crack open by February. Once the seal breaks, water has a direct path down to the sheathing behind the wall, and it does not need much of a gap to get through.
Caulking Failure Signs Homeowners Miss
Homeowners usually notice a leak long after the caulking first failed. Watch for these earlier signs instead of waiting for a stain to appear:
- Caulking that looks chalky, cracked, or pulled away at the edges
- A faint gap you can fit a fingernail into along the trim line
- Soft or slightly spongy trim near a window corner
- Peeling paint on trim boards even when the rest of the wall looks fine
Building Science Corporation has documented how properly lapped flashing directs water away from wall openings, and why a caulking bead was never meant to do that job alone. Our caulking around windows and doors works follows the same water management logic.
Not every sealant belongs at this joint either. Sealants rated under ASTM C920 as Class 25 can stretch or compress up to 25 percent of the original joint width and spring back, which is what a window or door opening actually needs through a Toronto winter. A generic acrylic caulk with almost no movement capability looks fine going in, then splits at the first hard freeze because the joint moved more than the product could handle.
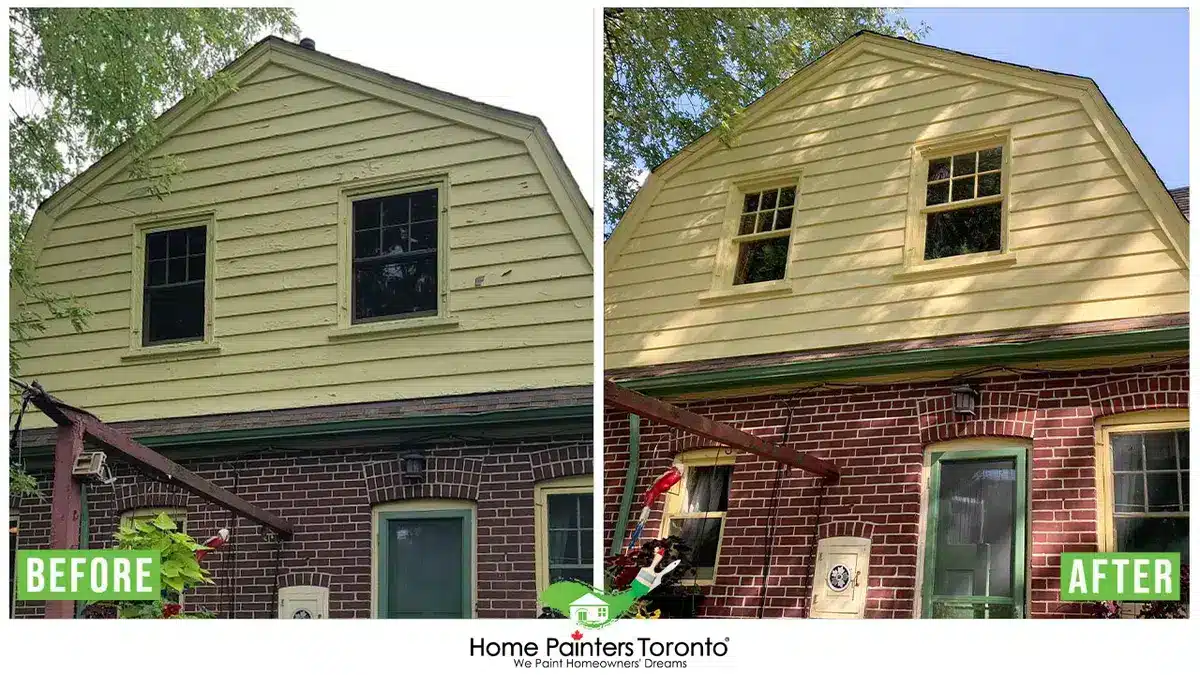
A generic acrylic caulk with almost no movement capability splits at the first hard freeze
How Water Travels Behind Siding Once It Passes the Trim
Once water gets past a failed joint at a window or door, it does not stay in one place. It runs down behind the siding along the sheathing, following gravity until it reaches a stud, a header, or the sill plate. That is why a stain often shows up a foot or two below the actual opening, which sends homeowners looking in the wrong spot entirely.
This pattern holds across siding types. Stucco, wood, and fibre cement all channel trapped water downward the same way behind the cladding, which is part of why exterior stucco siding repairs near openings get inspected the same way we inspect vinyl and wood.
Left long enough, trapped moisture behind siding creates the damp conditions mould needs to grow, and the EPA has published guidance on how quickly that process can start once water is sitting behind a wall.
Door Thresholds and Sill Pans: Where Door Side Leaks Start
Door thresholds and sill pans cause a different kind of siding leak than windows do, because a door opening sits at grade level and pulls in ground splash back and pooled water instead of just wind-driven rain. A window leak usually comes from the top and sides of the opening. A door leak usually comes from the bottom.
The threshold sits close to grade, and without a proper sill pan underneath, any water that gets past the door sweep or the siding joint above it has nowhere to go but into the wall cavity. A sill pan should slope outward and carry water back outside the wall plane. When a door was installed without one, or with one cut too short, water pools against the sheathing every time it rains hard enough to splash back off a porch or a walkway below.
| Opening Type | Typical Entry Point | Telltale Sign |
|---|---|---|
| Window | Head flashing or side jamb caulking | Staining a foot or two below the sill |
| Door | Threshold, sill pan, or door sweep | Soft flooring or trim right at floor level |
| Sliding or garden door | Track pitch or jamb flashing | Water sitting in the track after rain |
Sliding and Garden Doors: A Different Failure Pattern
Sliding and garden doors add another failure point because the track itself collects water. A track that was never pitched to drain sends water sideways into the siding at the jamb, not down and away from the house. We check the track slope and the jamb flashing together, not the siding alone, on almost every garden door repair, and the same logic applies to exterior wood siding around a door frame, where end grain at the trim cut absorbs water faster than the face of the board.
The door slab material rarely matters here, since the leak point sits in the framing around it, not the slab itself. Steel and fibreglass entry doors still sit inside a wood buck and jamb, and that wood buck is exactly where flashing and sill pan details either work or fail. A new steel door installed over a compromised sill pan will leak just as fast as an older wood door would.
Material by Material: How Repair Around Openings Differs
Repair around openings differs by material because vinyl, wood, fibre cement, aluminum, and stucco each expand, absorb water, and fail at a joint in a different way, which changes how our crew approaches the flashing and the patch.
| Material | Common Failure Near Openings | Repair Consideration |
|---|---|---|
| Vinyl | Panels bow away from trim in heat, opening the joint | Needs slack built back in so the panel can move without popping the seal |
| Wood | Absorbs water at end grain near trim cuts | Cut ends get resealed and primed before the panel goes back on |
| Fibre cement | Chips at cut edges around window returns | Cut edges need a factory-matched sealer, not paint alone |
| Aluminum | Denting and sealant failure at corner trim | Corner flashing gets replaced, not just recaulked |
| Stucco | Cracking at the sealant joint where stucco meets the frame | Backer rod and sealant joint get redone at the right width, not just topped up |
Our crews carry different sealants and fasteners for each of these repairs, because a one-size-fits-all patch is exactly how these leaks come back. A vinyl fix sealed too tight fails the same way a stucco joint packed too tight does. Both need room to move with temperature swings.
Refinishing after a repair depends on the substrate too. Vinyl and aluminum need a bonding primer formulated for slick surfaces before any topcoat goes on. Wood and fibre cement need standard substrate preparation and a breathable finish that will not trap moisture back into the board. We use low-VOC compliant coatings on every exterior refinish, which matters most right at a repaired joint, where the material underneath still needs to release whatever moisture is working its way out.
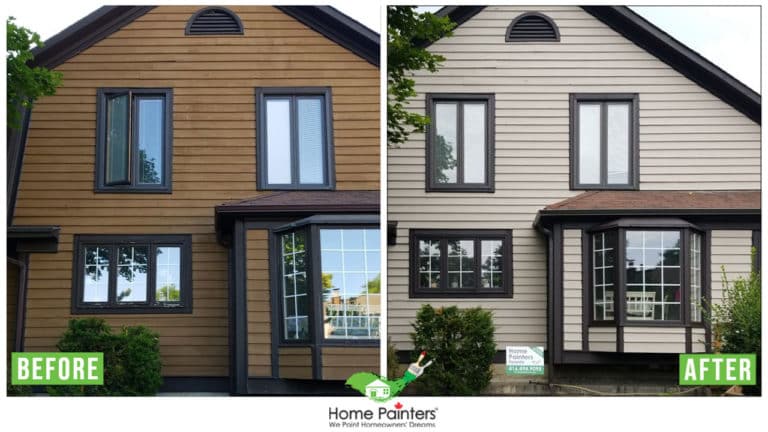
A one-size-fits-all patch is exactly how these leaks come back, since each material fails at a joint differently
Our Professional Process for Repairing Siding Around Windows and Doors
Our process for repairing siding around windows and doors always starts by removing the surrounding panels to inspect the flashing and sheathing, never by patching the visible crack on its own. A patched crack without an inspection behind it is a temporary fix at best.
Before we ever quote a fix, we check specific things behind the opening, not just the visible crack out front:
- Moisture readings behind the trim on both sides of the opening
- Flashing slope and lap direction at the head, jamb, and sill
- Condition of the building paper or house wrap behind the siding
- Whether a sill pan or pan flashing even exists under a door
Sequencing the Repair: Flashing First, Panel Second
- Remove siding panels around the affected opening
- Check the sheathing underneath with a moisture meter
- Replace or relap any flashing that is sloped wrong or missing
- Rebed the trim and reseal with a proper exterior-grade sealant
- Reinstall or replace siding panels, matched to the surrounding wall
- Repaint or refinish the trim to blend the repair
- At a recent siding repair project in Leaside, our crew pulled the vinyl panels beside a bay window and found the sheathing reading 28 percent moisture content on the meter, well above what dry framing should show.
- The flashing had been installed flat instead of sloped, so every rain event pushed water straight back into the wall.
- Our team corrected the slope, let the sheathing dry to a safe range, then refinished the trim in Benjamin Moore Aura Exterior in Low Lustre finish to match the rest of the elevation.
- The homeowner had already painted over the stain twice before calling us.
We photograph the sheathing, the flashing, and the moisture readings before any panel goes back on, so homeowners have a record of what was actually found behind the wall, not just a description after the fact. That documentation also becomes useful later if a homeowner needs to show an insurer what condition the wall was in before the repair. Home Painters Toronto has been family-owned and operated for 38+ years, carries $5 million in general liability insurance, and runs criminal background checks on every crew member before they set foot on a property.
Once the structure is dry and sealed, refinishing the trim is part of a broader exterior house painting scope, and matching sheen across a wall takes the same care as the repair itself.
Repair vs. Replacement: How We Decide Around Openings
We decide between repair and replacement around openings by checking how far the moisture has travelled past the trim. A contained failure gets a targeted repair. Spread-out rot or saturated sheathing calls for a wider replacement of that section.
| Condition Found | Typical Approach | Why |
|---|---|---|
| Dry sheathing, cracked caulking only | Reseal and reflash | Water never reached the structure |
| Localized soft trim near one corner | Targeted trim and panel repair | Damage is contained to a small area |
| Wet sheathing beyond the opening | Section replacement | Moisture has spread past the original joint |
| Soft or rotted framing | Full wall section replacement | Structural material is compromised |
Moisture readings guide that decision more than a visual look at the wood. Forest Service research shows wood generally will not decay below about 20 percent moisture content, while readings above 30 percent create active decay conditions. When our meter reads sheathing or framing in that higher range, we treat it as a replacement candidate even if the wood still looks solid from the outside, because the damage is already happening where nobody can see it.
Wood frame repair around an opening is sometimes enough on its own, and other times the wood trim above and below the window needs to come off too.
What Unrepaired Leaks Around Windows Cost You Over Time
Unrepaired leaks around windows cost more the longer they sit, because water damage moves from the trim to the sheathing to the framing in stages. Each stage is more expensive to fix than the one before it.
| Timeframe | What's Happening Behind the Wall | Typical Repair Scope |
|---|---|---|
| First season | Caulking cracks, minor water intrusion at the joint | Exterior Small: $2,000 to $4,000 |
| One to two years | Sheathing absorbs moisture, trim softens | Exterior Small to Medium: $2,000 to $8,000 |
| Two plus years | Framing affected, mould risk increases | Exterior Medium to Large, case dependent |
Scheduling matters too. Sealants and coatings need stable, dry weather to cure properly, so repairs booked in late fall get pushed into a narrower window before the first hard freeze. Booking an assessment as soon as a stain appears, instead of waiting for the exterior painting season everyone else is booking, gives our crew room to finish the flashing and sealant work while conditions still allow a proper cure.
Soffit and fascia nearby often show the same kind of water staining once a window leak has been running long enough, since the water travels along the same wall plane. Comparing that range against a full cost of painting a house project shows how much less an early repair costs compared to waiting.
Signs the Leak Has Reached the Interior Wall
Interior signs mean the leak has already moved well past the siding and the sheathing, and they usually show up only after the exterior problem has been active for a while. Watch for these along interior walls near windows and doors:
- Bubbling paint or lifting drywall tape below a window sill
- A musty smell that shows up only during or right after rain
- Discoloration on baseboards near an exterior door
- A soft spot in the flooring near a patio or garden door threshold
By the time an interior sign appears, the exterior repair is rarely the small kind. This is usually the point where the condition has moved from the reseal and reflash category into the section replacement category described above, and it is worth booking an inspection the same week the sign appears, not after another rain.
Interior damage also changes the scope of the job. A siding fix behind drywall usually means opening the interior wall too, replacing insulation that got wet, and treating for mould growth before anything gets closed back up. That work sits outside a typical exterior painting scope and often needs to be coordinated with a restoration contractor alongside the siding repair itself.
Choosing a Contractor Who Checks Flashing, Not Just Panels
Choosing a contractor who checks flashing, not just panels, starts with asking whether they remove siding to inspect behind it before quoting a fix. A contractor who quotes over the phone from a photo is guessing at the cause.
Ask to see photos from a past repair that show the flashing and sheathing, not only the finished siding. Any contractor who has actually done this work will have that documentation on hand, and one who has not will have only exterior before and after shots. That gap alone tells you which company is checking behind the wall and which one is only patching what shows.
Home Painters Toronto crews are WSIB compliant and fully insured, and every repair comes with warranty-backed results, not a verbal promise. We have completed 17,000+ projects across the GTA and carry a HomeStars Best of Award 2026 win alongside 1,200+ verified reviews on HomeStars, Google, and Houzz. That track record also includes a Three Best Rated 2025 selection and a Best of Houzz 2025 award.
Read through our client reviews and recent projects before you hire, and ask any contractor you are considering the same questions we expect to answer ourselves.
Frequently Asked Questions
Home insurance often covers repair around windows when the damage comes from a sudden event like a storm or wind, but it typically excludes damage from wear, poor sealing, or age. A professional assessment helps show which cause applies to your claim.
A moisture inspection behind the trim usually settles this. If the sheathing around the window frame is wet but the window unit itself tests dry, the siding, flashing, or caulking around the opening is the likely source.
Yes, in most cases. A contained leak with dry sheathing beyond the joint only needs the panels, flashing, and trim around that opening replaced. Full wall replacement is only needed when moisture has spread well past the original failure point.
Most single window repairs take one to two days, including removing the affected panels, correcting the flashing, and refinishing the trim. Larger jobs with multiple openings or hidden rot take longer.
Costs typically fall in the Exterior Small to Medium range, from about $2,000 to $8,000, depending on how many openings are affected and whether the sheathing or framing needs work too.
Yes. Trim finish and colour should match the surrounding wall so the repair blends in, which is part of why the same crew handling the repair usually also handles the refinishing.

Get a Professional Assessment Before the Damage Spreads
A leak around a window rarely means the siding itself failed. In most Toronto homes, the real cause sits at the flashing, the caulking joint, or the trim board next to the opening, and finding it takes removing panels, not guessing from the outside. Home Painters Toronto inspects behind the siding before quoting any repair, so the fix addresses the actual cause instead of the symptom.
Contact Home Painters Toronto for a fast, free quote and warranty-backed work on your next siding repair around windows, doors, or trim.
Get a Free Assessment for Siding Repair Around Windows and Doors
Fast, free same day estimates and warranty backed repairs from a WSIB compliant, family owned GTA contractor with 38+ years of experience.
Get Your Free Estimate