

Silicone vs Polyurethane: Which Caulk Holds Up Best in Toronto's Climate?
Homeowners across Toronto and the wider GTA face the same seasonal headache every spring: cracked, peeling, or missing caulk around windows, doors, and trim. Choosing the wrong sealant for caulking windows and doors in Ontario's climate is not just a cosmetic problem. It allows moisture to penetrate your wall assembly, which drives rot, mould, and thermal loss.
The two most common options are silicone and polyurethane caulk. Each performs very differently on Toronto's brick, wood, and concrete substrates. Home Painters Toronto has completed 1,200+ exterior projects across the GTA, and our crews have field experience with both materials across every season Ontario throws at a home.
For most Toronto exteriors, silicone caulk is the better choice on masonry, glass, and metal substrates because it withstands freeze-thaw movement without cracking. Polyurethane caulk works on wood trim and concrete joints where paintability matters, but it degrades faster under UV exposure and requires reapplication every 5 to 7 years.

Silicone at masonry joints, polyurethane on painted wood trim — the substrate-specific product selection that separates a 20-year seal from one that needs reapplication every five
Silicone vs Polyurethane: A Full Performance Comparison for GTA Homeowners
Silicone caulk outperforms polyurethane on most Toronto exterior substrates because it maintains full elasticity from minus 40°C to plus 150°C, covering the full range of Ontario seasonal extremes. Polyurethane caulk is stiffer, more adhesion-dependent, and starts to degrade under direct UV exposure within 5 to 7 years on south and west-facing surfaces.
| Performance Factor | Silicone Caulk | Polyurethane Caulk | Winner |
|---|---|---|---|
| Freeze-thaw flexibility | Excellent (full elasticity at −40°C) | Moderate (stiffens below −15°C) | Silicone |
| UV resistance | Excellent (no degradation) | Poor to moderate (chalks within 5 yrs) | Silicone |
| Paintability | Not paintable once cured | Paintable after 24-hour cure | Polyurethane |
| Bond to masonry | Superior (no primer needed on glass and metal) | Good (primer required on porous substrates) | Silicone |
| Bond to wood trim | Moderate (poor adhesion on porous wood) | Excellent (penetrates open grain) | Polyurethane |
| Expected lifespan in GTA climate | 20+ years on masonry | 5 to 7 years on exposed joints | Silicone |
| Mould resistance | High (non-porous surface) | Moderate (can harbour surface mould) | Silicone |
| Ease of tooling on site | Requires experience to tool cleanly | Easier to tool for DIY-adjacent use | Polyurethane |
How Toronto's Freeze-Thaw Cycles Destroy the Wrong Caulk
Toronto averages over 70 freeze-thaw cycles per winter season. Each cycle puts mechanical stress on every exterior joint as the substrate contracts and expands. A sealant that has lost elasticity cracks under this stress, opening a gap that allows water infiltration. Silicone sealant maintains an elongation at break of 400 to 600 percent throughout its service life, as documented in Dow Corning 786 Silicone Sealant technical data sheets. Polyurethane products typically drop to 150 to 200 percent elongation after 5 years of UV exposure, which is below the threshold needed to accommodate joint movement on a multi-storey Toronto home.
This is not a minor performance gap. On a brick veneer home in North York or Scarborough, using polyurethane caulk around window flanges is a decision that leads to wall assembly moisture damage within a decade.
When Silicone Wins — and When Polyurethane Is the Right Call
Silicone Caulk
The correct product for brick, concrete, metal window frames, glass-to-frame joints, vinyl flanges, and HVAC penetrations. Maintains full elasticity through Ontario's full temperature range without degradation. A bond on brick or masonry that may not need reapplication for 20 years. The only limitation is paintability — silicone is a non-paintable substrate once cured. Latex and acrylic paint do not bond to cured silicone, so any paint applied over the bead will peel within one season.
Polyurethane Caulk
The correct product for exterior wood siding joints and trim boards where a colour-matched painted finish is part of the specification. After a 24-hour cure, polyurethane accepts Sherwin Williams Duration Exterior or Benjamin Moore Aura Exterior in Low Lustre finish without adhesion failure. Also the correct choice for concrete control joints where higher hardness handles foot traffic. The tradeoff is UV-driven degradation requiring reapplication every 5 to 7 years on exposed south and west-facing joints.
Polyurethane often looks intact from street level because it retains its shape even after it has debonded. A contractor running a finger along the joint will feel the gap between the caulk bead and the substrate. Water has already been infiltrating behind the bead for one or two seasons before the problem is visible. This is the most common cause of moisture damage we find behind painted surfaces on GTA brick homes — the homeowner had no idea the caulk had failed.
Homeowners planning a full exterior house painting Toronto project should clarify the caulk specification with their contractor before work begins. The wrong choice at the prep stage cannot be corrected without full removal of the cured bead, which adds labour time and cost.
Cost, Coverage, and Lifespan: What You Actually Pay Over 20 Years
The product cost difference between silicone and polyurethane caulk is small at the tube level. Where costs diverge is in the service interval. Silicone on masonry joints may not need reapplication for 20 years. Polyurethane on an exposed south-facing elevation needs reapplication every 5 to 7 years. Over a 20-year ownership period, the true cost of polyurethane on the wrong substrate is 3 to 4 times the apparent product cost.
| Cost Factor | Silicone Caulk | Polyurethane Caulk | Notes |
|---|---|---|---|
| Product cost per tube (CAD) | $8 – $18 | $6 – $14 | Commercial-grade products at contractor cost |
| Expected reapplication interval | 15 – 20 years on masonry | 5 – 7 years on UV exposed joints | GTA climate, south and west elevations |
| Labour to remove and reapply | Rarely needed in service life | $300 – $600 per reapplication cycle | As part of exterior prep scope |
| 20-year total cost (masonry joints) | Low (one application) | Moderate to high (3 to 4 cycles) | Does not include consequential water damage |
| Best use case | Masonry, glass, metal, HVAC penetrations | Painted wood trim, concrete control joints | Use each product in its correct substrate category |
For reference, the total cost of painting a house in Toronto ranges from $2,000 to over $10,000 CAD plus HST depending on home size, storey count, and surface condition. Proper caulking preparation is part of the exterior scope and directly affects how long the paint film adheres.
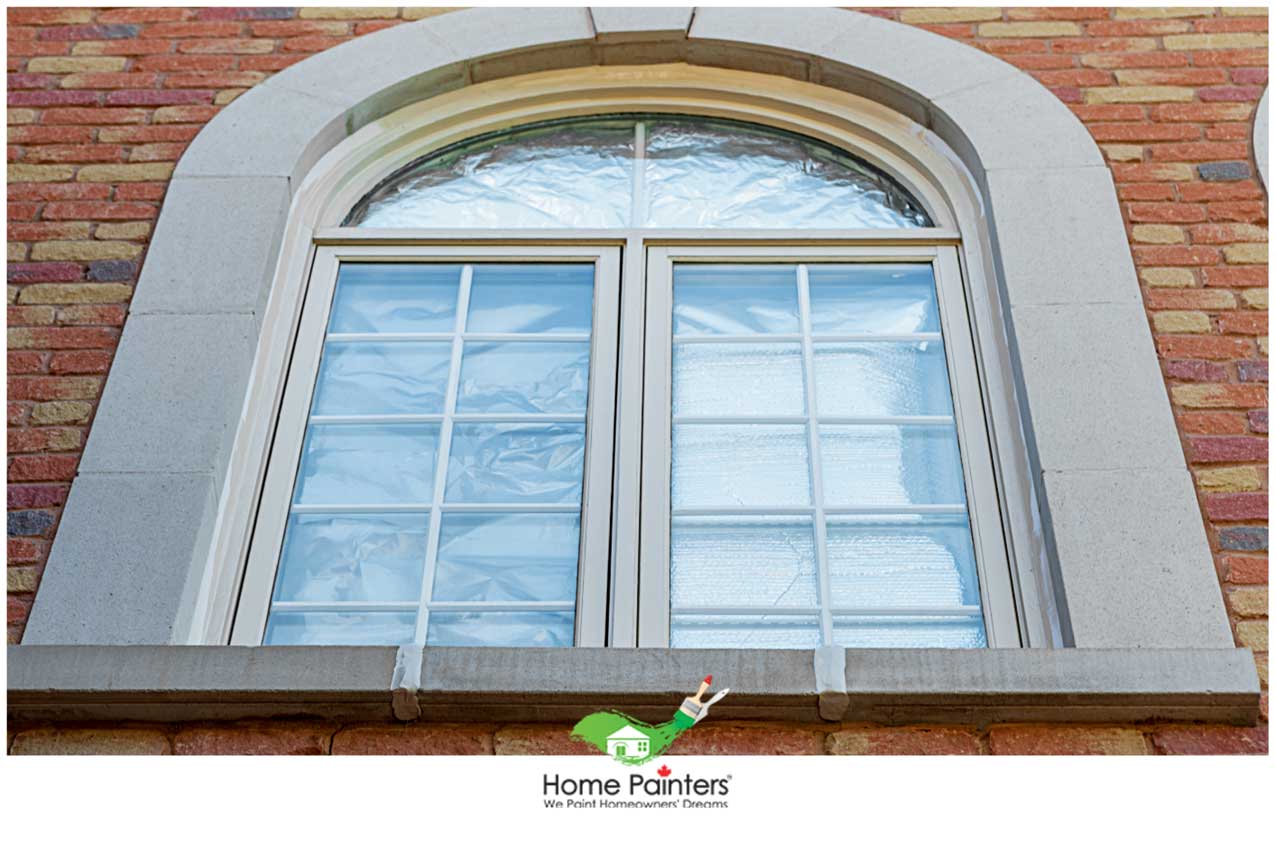
Silicone at brick-to-frame joints, polyurethane on painted wood trim — the two-product approach that eliminates UV failure on masonry and preserves paintability on trim boards
Surface Compatibility: Matching Caulk Type to Substrate
Mismatching caulk type to substrate is the primary cause of premature joint failure on Toronto homes. The table below gives the correct product category for each common exterior surface. These are the substrate-specific specifications our crews use in the field.
| Substrate | Recommended Product | Key Reason |
|---|---|---|
| Brick and mortar joints | Silicone (neutral cure) | Breathable, flexible, UV-stable over 20+ years |
| Metal window frames | Silicone | No primer needed, excellent adhesion, non-shrink |
| Glass to frame joints | Silicone | Non-corrosive cure, watertight bond without primer |
| Painted wood trim | Paintable polyurethane | Accepts paint after 24-hour cure, penetrates wood grain |
| Concrete control joints | Polyurethane (self-levelling) | Higher hardness suitable for foot-traffic joints |
| Stucco to wood joints | Silicone or acrylic urethane | Movement accommodation critical at dissimilar substrate interface |
| Vinyl window flanges | Silicone | Vinyl expands at high rate, requires maximum elasticity |
| HVAC and pipe penetrations | Silicone (fire-rated where required) | Temperature resistance, no shrink, no off-gassing |
Homes with exterior stucco siding require particular attention at the stucco-to-wood interface. This joint type experiences high differential movement because stucco and wood expand at different rates. It is one of the most commonly failed joints we inspect on GTA homes built between the 1960s and 1990s.
The Professional Application Process That Makes Either Product Last
The product choice matters less than the application process when it comes to long-term joint integrity. Professionals follow a three-stage process for every exterior caulking joint: substrate preparation, primer application where required, and sealant tooling.
- Full Removal of Old Caulk All old caulk removed using an oscillating tool or caulk remover blade. Surfaces must be clean, dry, and free of chalk or paint flake before any new sealant is applied. A moisture metre reading above 19% on wood substrates means the joint is not ready. Caulk applied over damp wood will lose adhesion within one winter season.
- Priming Where Required Silicone on glass and metal typically bonds without a primer. On porous brick or concrete, a silane-siloxane primer improves adhesion by penetrating the substrate surface and creating a chemical anchor point. Polyurethane caulk on bare wood requires a full coat of a penetrating oil-based primer across the adjacent substrate before the bead is applied.
- Sealant Application and Tooling Bead applied at the correct width for the joint dimension. Tooled firmly into the joint to create contact with both substrate faces. A well-tooled bead is pressed into the joint, not simply draped over it. Silicone requires a gloved finger technique and a steady single pass. Polyurethane on painted trim is tooled with a caulk tool and excess removed before the product begins to skin.
- Cure Time Compliance Before Paint For painted polyurethane joints, a full 24-hour cure before any paint is applied. Painting over partially cured polyurethane is the most common cause of paint-over-caulk failure on GTA exteriors. Silicone joints are never painted over.
A Recent Exterior Caulking Project in Etobicoke
Wrong Product on Brick-to-Wood Interface: Paint Lifting Within One Season
On a 1960s-era brick bungalow in the Mimico neighbourhood of Etobicoke, our crew was called in to assess why a freshly painted exterior was showing paint lifting around every window frame within one season of a competing contractor's work. The cause was clear on inspection. The previous contractor had applied a standard polyurethane caulk to the brick-to-wood window frame interface, then painted over it immediately with an acrylic topcoat before the sealant had reached full cure. The moisture metre read 38% on the window frame substrate, well above the 19% threshold for safe application.
Our approach: full removal of all caulk beads using an oscillating multi-tool. We then allowed the substrate to dry to below 15% moisture content over three dry days. We primed the brick reveal with a Sherwin Williams Loxon Conditioner at a 4 mil wet film thickness, then applied Dow Corning 786 Silicone Sealant in a 3 mm bead width to all masonry-to-frame interfaces. For the painted wood trim joints, we used a paintable polyurethane in 5 mm beads and allowed a full 48-hour cure before applying Benjamin Moore Aura Exterior in Low Lustre finish.
Two seasons later, all joints remain intact and the paint film shows zero lifting. The homeowner had no further callbacks. This outcome reflects what happens when the correct product is applied to the correct substrate by a crew that reads moisture before they apply sealant.
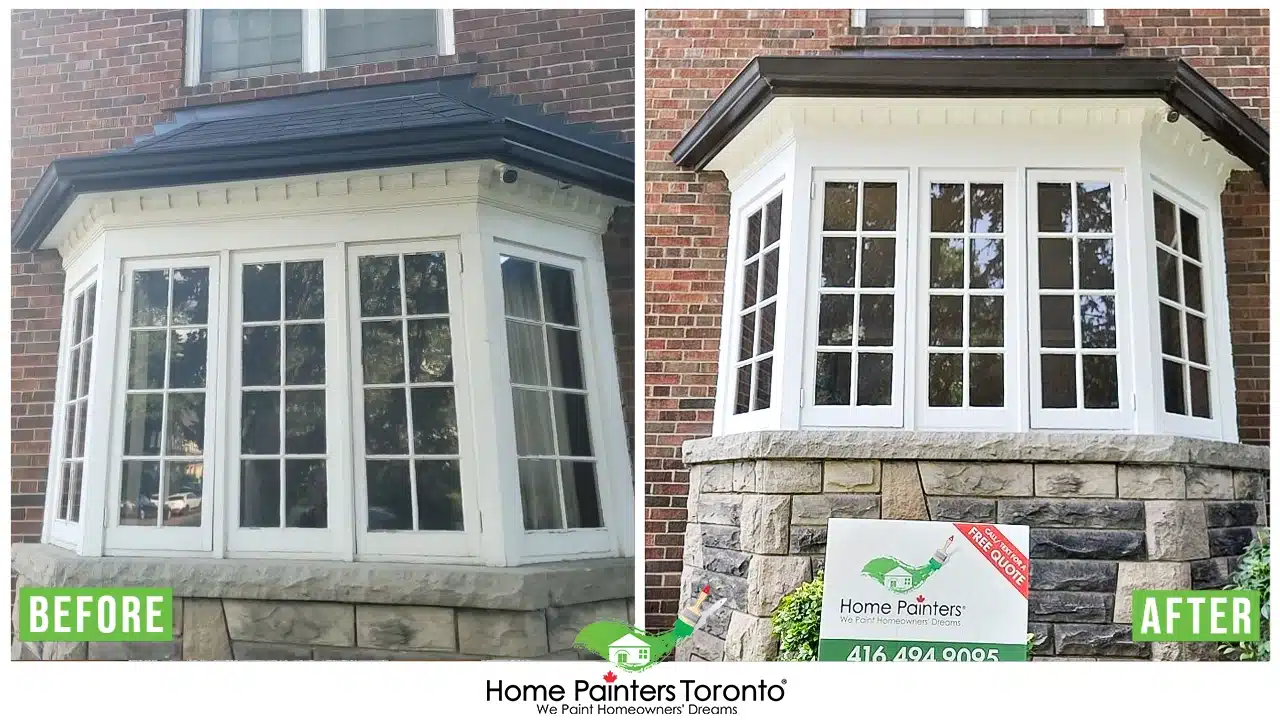
Mimico project: substrate dried to below 15%, Sherwin Williams Loxon primer at 4 mil WFT, Dow Corning 786 Silicone at masonry joints, paintable polyurethane at wood trim, Benjamin Moore Aura Exterior after 48-hour cure — two seasons with zero lifting
Why Toronto Homeowners Trust Home Painters Toronto for Exterior Caulking
Home Painters Toronto has served over 17,000 clients across the GTA over 38 years in business. We are a family-owned and operated company, and our team carries $5M general liability insurance and is fully WSIB-compliant on every exterior job site. Our client reviews include 1,200+ verified ratings on HomeStars, Google, and Houzz, and we were awarded the HomeStars Best of Award 2026.
Every exterior project we complete is backed by warranty-backed results. Exterior painting work carries a 3-year warranty. Brick staining carries a 15-year warranty. All work is covered by our 100% Satisfaction Guarantee. Caulking is part of our standard exterior prep scope, and we use the correct product for the correct substrate on every job.
Browse our project portfolio to see completed exterior painting and caulking projects across GTA neighbourhoods, or read about why Home Painters Toronto has been the trusted choice for Toronto homeowners for nearly four decades. Whether your home needs aluminum siding painting or a full deck and fence staining project, proper caulking and sealing is always part of the scope.
Frequently Asked Questions About Exterior Caulking in Toronto
No. Silicone will not bond to a cured polyurethane surface. All old caulk must be fully removed, the substrate cleaned and dried below 19% moisture content, and the joint allowed to air out before any new sealant is applied. Applying silicone over polyurethane leads to adhesion failure within one season.
Silicone sealant applied to brick and masonry joints in Toronto typically lasts 15 to 20 years when correctly specified and applied to a dry, primed substrate. Polyurethane caulk on exposed joints lasts 5 to 7 years before UV degradation causes stiffening and debonding. Joint width and substrate movement also affect service life.
Paintable acrylic urethane caulk is the closest product to a compromise. It accepts paint after 24-hour cure and outperforms standard acrylic latex caulk in flexibility. It does not match the longevity of silicone on masonry, but on painted wood trim in Toronto it gives a reliable 7 to 10 year service interval when applied over a properly primed substrate.
Cracking within one or two winters typically points to one of three causes: the substrate was too wet at the time of application, the wrong product was specified for the substrate type, or the joint was painted over before the sealant reached full cure. A moisture reading above 19% on wood or masonry at the time of application is the most common single cause of early failure on GTA homes.
Exterior caulking is part of our standard exterior painting preparation scope. For homes that need spot caulking as a standalone maintenance service, contact us for a same-day estimate. Our crews assess substrate condition, moisture content, and existing sealant type before recommending the correct product and approach.
The highest-risk joints on a Toronto home are window and door frames (especially brick-to-wood and metal-to-frame interfaces), HVAC and pipe penetrations through the wall assembly, deck ledger boards against the foundation, and any joint between dissimilar materials such as stucco-to-wood or brick-to-vinyl. These joints experience the highest differential movement across Ontario's freeze-thaw cycle range.

Choose the Right Exterior Caulking for Long-Term Protection
The silicone vs polyurethane decision comes down to substrate and paintability. Use silicone on masonry, glass, metal, and vinyl. Use paintable polyurethane on wood trim and concrete joints where a painted finish is required. Use the wrong product and Toronto's 70+ annual freeze-thaw cycles will open the joint within a few seasons, letting moisture into your wall assembly.
For expert exterior brick staining, brick painting Toronto, or vinyl windows and siding painting projects where proper caulking is part of the scope, trust a contractor who reads the substrate before they apply the sealant.
Get a Fast Free Quote on Exterior Caulking in Toronto
Contact Home Painters Toronto today for a same-day estimate on your exterior caulking or painting project. Warranty-backed work, 7 days a week across the GTA.
Contact Us for a Free Quote