

Woodpecker and Pest Damage to Siding: Why Professional Repair Beats a Quick Patch
Woodpecker holes and pest damage show up on siding across the GTA every spring. Toronto homeowners often hear the pecking before they ever spot the hole underneath it. A few taps on wood siding can turn into a cluster of holes within days. That damage rarely stops at the surface, since each hole lets moisture and insects reach the wall assembly behind the panel. This guide covers why woodpeckers target certain siding materials and why professional woodpecker siding damage repair holds up better than a quick patch job. Home Painters Toronto has fixed this exact problem for homeowners across the GTA and carries 1,200+ positive reviews on HomeStars, Google, and Houzz, and is a HomeStars Best of Award 2026 winner.
Professional woodpecker siding damage repair beats a quick patch because it fixes the moisture, insulation, and pest access the hole created, not just the hole itself. A patch seals the surface for one season. A full repair replaces the damaged material, corrects the cause, and comes with warranty-backed results.
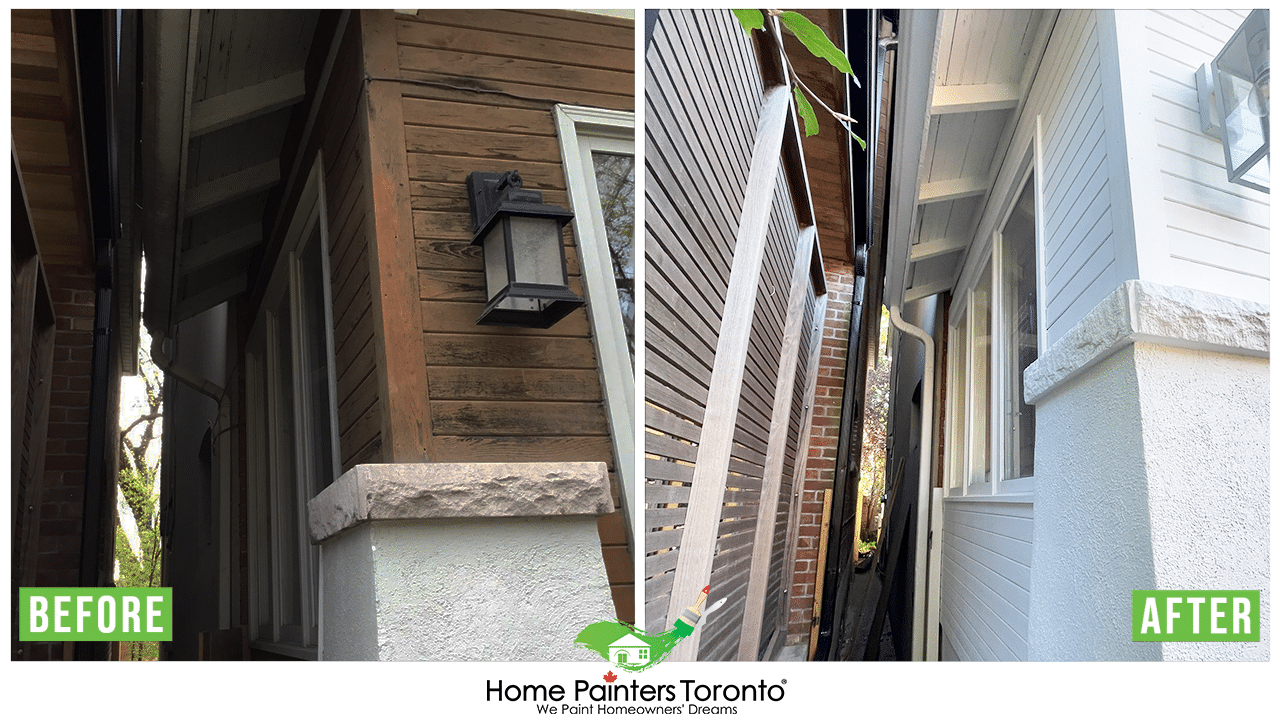
Handyman Quick Patch vs Professional Woodpecker Siding Repair: Which One Actually Stops the Damage
A handyman patch covers the hole for a season, while professional woodpecker siding damage repair replaces the damaged material and stops the pattern for years. Homeowners often call a handyman first because the fix looks simple. Fill the hole, dab on some paint, and move on. That approach treats the symptom. It does nothing about the insulation, the moisture, or the reason the bird chose that spot in the first place.
| Factor | Handyman Quick Patch | Professional Repair |
|---|---|---|
| Materials used | Caulk, wood filler, touch up paint | Matched siding material, exterior grade primer, professional sealant |
| Moisture check | Not performed | Moisture meter reading behind the panel |
| Insulation behind hole | Left as is | Inspected and replaced if compromised |
| Warranty | None or verbal only | Written, warranty backed |
| Woodpecker return rate | High, same spot often reused | Low, cause addressed before resealing |
| Typical lifespan | One to two seasons | Multiple years |
The right approach also depends on the siding material. Cedar and other wood siding projects need matched profiles and grain direction, while vinyl and aluminum walls call for different repair steps entirely. Our vinyl and siding painting crews and our aluminum siding painting specialists follow separate protocols for each material so the repaired section blends into the wall instead of standing out.
Toronto's freeze-thaw cycle raises the stakes on every repair. Moisture trapped behind a patch expands when it freezes, which pries gaps open wider each winter. A professional repair accounts for that cycle by sealing the assembly correctly the first time, instead of just covering the hole until spring. Homes near ravines, wooded lots, and mature tree cover see the highest woodpecker activity across the GTA, since these areas offer the most natural food and nesting sites nearby.
Why a Quick Patch Over a Woodpecker Hole Almost Always Fails
A quick patch fails because it traps moisture inside the wall instead of removing it. Caulk and wood filler seal the surface, but they do nothing about water vapour that is already inside the cavity. That moisture has nowhere to go. Over one or two Toronto winters, it feeds rot in the framing behind the panel, and the freeze-thaw cycle widens any gap the patch missed.
Material and colour matter too. Research cited by the International Association of Certified Home Inspectors found that stained wood siding suffers far more woodpecker damage than painted siding, with incidence rates of 79 percent versus 29 percent in the study area. Painted surfaces fill in small gaps that harbour insects, and lighter colours tend to draw less attention from the birds. That is one reason our crew primes and repaints a repaired section instead of leaving bare wood exposed once the patch goes in.
Sealant choice matters as much as the patch itself. A proper repair uses exterior-grade caulking rated for the local climate, applied the same way our window and door caulking crews seal gaps against wind-driven rain. A dab of hardware store filler is not built for the same job.
A proper repair also restores the wall's moisture barrier, not just its surface. Behind most siding sits a weather-resistant barrier or building paper designed to shed water away from the framing. A woodpecker hole can puncture that barrier along with the siding itself. Patch jobs rarely address this layer, since it sits behind the visible panel. Our crew checks and repairs the barrier whenever a hole is deep enough to compromise it, which keeps the wall assembly working as it was designed to.
How Woodpecker Siding Damage Differs From Insect Damage
Woodpecker siding damage usually appears as clustered, round holes near corners, eaves, or trim boards. Insect damage looks different. It shows up as soft, crumbling wood, small exit holes, and sawdust-like frass near the base of the wall. The bird is often chasing the insects, not the wood itself, which is why a repair that ignores the insect problem invites the woodpecker right back.
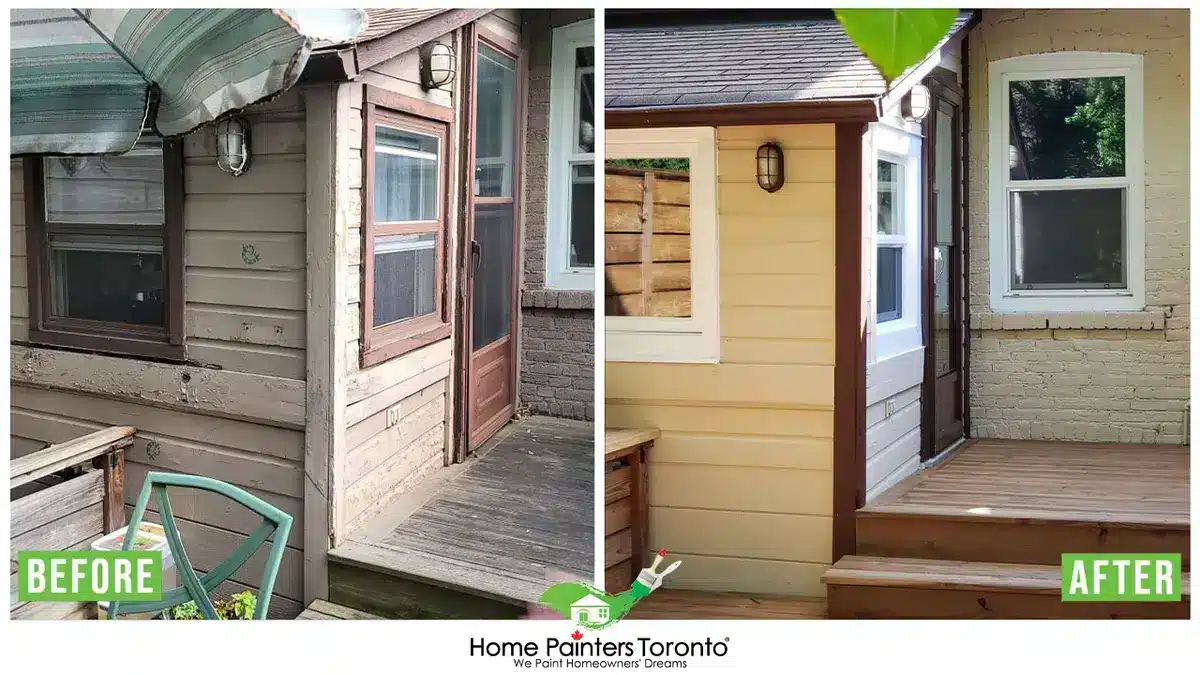
A repair that ignores the insect problem behind the hole often invites the woodpecker right back
What's Really Behind That Hole: Carpenter Ants, Larvae, and Hidden Rot
Behind most woodpecker holes sits an insect or moisture problem, not just a bird problem. According to the Cornell Lab of Ornithology's research on woodpecker behavior, the birds hammer on houses for one of three main reasons: to claim territory and attract a mate, to excavate a nest or roost hole, or to forage for insects living inside the siding.
Foraging holes tend to be small, irregular, and clustered in a line following a seam or core gap. Nesting holes are larger, rounder, and often appear near the roofline. Carpenter ants and carpenter bee larvae are two of the most common targets, and both cause structural damage long before a woodpecker ever shows up looking for a meal.
Our crew checks for these insects on every repair call, since sealing over an active ant colony only hides the problem for a season. If the colony is still active, we flag it before closing the wall back up. Hidden rot behind older, uninspected patches is one of the most common surprises our crew finds once a panel comes off.
Signs of Hidden Pest Damage Behind Siding
A few warning signs point to pest activity beyond a simple woodpecker hole. Soft spots that give slightly under light pressure often mean rot or insect tunnelling underneath. Small piles of sawdust-like material near the base of a wall usually point to carpenter ants or bees working inside the cavity. A hollow sound when you tap near a hole, compared to a solid sound elsewhere on the wall, can also signal that insects have hollowed out the material behind the surface. Any of these signs is reason enough to book a professional inspection instead of a surface-only patch.
Repair Cost Comparison: Quick Patch Versus Full Professional Restoration
A small professional woodpecker repair on one to three holes typically costs between $2,000 and $4,000 CAD plus HST, while a full restoration across multiple panels runs between $4,000 and $8,000 CAD plus HST.
| Scope | Estimated Cost Range (CAD + HST) | What's Included |
|---|---|---|
| Small: one to three isolated holes | $2,000 – $4,000 | Section replacement, sealant, moisture check |
| Medium: multiple holes, several areas | $4,000 – $8,000 | Multiple panel replacement, insulation check, prime and repaint |
Price depends on the siding material, how many elevations are affected, and whether insulation or framing needs attention behind the panel. A written quote should account for all of that up front, not just the visible hole. For a broader look at exterior project pricing across the GTA, see our cost of painting a house guide, which covers full exterior projects beyond isolated repairs.
Our Recent Woodpecker and Pest Damage Repair Project in Aurora
- At a recent woodpecker and pest damage repair project in Aurora, our crew found six foraging holes along the eaves of a stained cedar-sided home.
- A pin-type moisture meter read 24 percent moisture content inside the wall cavity once the first board came off, well above what we consider a safe range for wood framing.
- We removed and replaced three damaged cedar boards, treated the exposed framing, and refinished the wall in Benjamin Moore Aura Exterior in Low Lustre finish to match the rest of the elevation.
- The crew also found early-stage carpenter ant activity behind one hole and treated it before resealing the wall.
The homeowner's repair came with our standard warranty-backed guarantee, and our crew stayed WSIB compliant and fully insured on site throughout the job. You can see more completed exterior repair work like this one in our project portfolio.

Removing and replacing the damaged boards, then treating the exposed framing, kept the same colony from returning
How Our Crew Diagnoses and Repairs Woodpecker and Pest Damage
Our crew starts every woodpecker and pest damage repair with a full moisture and insulation check before any new material goes on. The process follows the same order on every job, regardless of siding material or hole size.
- Inspect every hole and confirm no bird is currently nesting inside before any work begins
- Test moisture levels behind the damaged panel with a pin-type meter
- Remove and replace compromised insulation or framing where the moisture reading is high
- Match and install new siding material to the existing profile, grain, and reveal
- Treat exposed wood against future insect activity before closing the wall
- Prime and repaint the repaired section for a consistent colour and finish across the wall
Each step matters on its own, but skipping any one of them is what turns a one-time repair into a repeat service call. A hole that looks the same size as the one next to it can hide a completely different problem once the panel comes off. That is why every inspection starts from scratch, instead of assuming the last repair on the street covers this one too.
Moisture Testing Behind the Damaged Panel
We test moisture behind every hole before closing it up. In our experience, readings above 20 percent point to an active leak or trapped water problem that needs attention before any patch or panel goes back on. Sealing over a wet cavity only speeds up rot, and it is the single most common reason a repeat repair call comes in within a year.
Damage near the roofline often overlaps with our soffit and fascia repair work, since woodpeckers frequently target that transition area. Pest damage is not limited to walls either. Our crews see the same insect and moisture pattern on wood deck repair calls, especially on older decks near tree cover.
Choosing a Siding Contractor Experienced with Woodpeckers and Pest Damage
A contractor experienced with woodpecker and pest damage checks insulation, structure, and insect activity, not just the visible hole. That level of inspection takes training and time, which is why the right hire matters more than the lowest quote. Ask about experience with your specific siding material too, since a crew used to vinyl repairs may not have the same depth of experience matching cedar grain or fibre cement profiles.
Home Painters Toronto crews are WSIB compliant and fully insured, with $5M general liability coverage on every job. Every crew member passes a criminal background check before stepping onto a client's property. All work carries a 100% Satisfaction Guarantee, and our exterior repairs are backed by our standard exterior warranty terms. You can read more about our approach on our About Home Painters Toronto page, or browse verified feedback on our client reviews page.
Questions to Ask Before You Hire
- Do you check for moisture and insulation damage behind the hole, or only patch the surface
- Are you WSIB compliant and fully insured for this type of repair
- Do you offer a written, warranty-backed estimate before work starts
- Can you match my siding material, profile, and colour
- Have you handled woodpecker or pest damage on this siding material before
Frequently Asked Questions About Woodpecker and Pest Damage to Siding
These are the questions Toronto homeowners ask most often before booking a repair. For general questions about our services, see our full FAQ page.
Most standard homeowners policies exclude damage caused by birds, insects, or general wear over time. Woodpecker damage typically falls under that exclusion because insurers treat it as a maintenance issue instead of a sudden covered loss. Check your specific policy wording, since some insurers make exceptions for extensive structural damage.
A repair that removes the food source or the nesting opportunity works better than scare tactics alone. Priming and repainting the repaired section, replacing damaged insulation, and correcting any insect issue all lower the odds of a repeat visit. Reflective deterrents can help in the short term but rarely solve the underlying cause on their own.
Yes, over time. A single hole is mostly cosmetic, but repeated pecking in the same area can penetrate sheathing, expose framing, and let water reach structural wood. Left alone through a few Toronto winters, that moisture cycle leads to rot that spreads well beyond the original hole.
Fibre cement and painted, light coloured siding see the least woodpecker activity. Stained or dark, natural wood siding, especially cedar, is the most common target. Vinyl and aluminum siding are rarely damaged, though woodpeckers will occasionally drum on them for territorial noise instead of food.
Small, isolated repairs generally cost between $2,000 and $4,000 CAD plus HST. Larger jobs covering multiple holes, panels, or elevations typically run between $4,000 and $8,000 CAD plus HST. The exact price depends on siding material, access, and how much hidden damage the crew finds once the panel comes off.
Yes. Homes backing onto ravines, forested lots, or mature tree cover see more woodpecker activity than homes in open, treeless areas. The birds already treat the nearby trees as territory and a food source, so a house at the edge of that habitat becomes an easy extension of it. Homeowners in these areas often deal with repeat activity even after a repair, which makes matching paint colour and sealing exposed wood especially important.

Get Your Siding Repaired the Right Way
Woodpecker and pest damage to siding rarely stays a small problem for long. A quick patch buys a season, but it does not address the moisture, insulation, or insect activity behind the hole. Home Painters Toronto brings a WSIB-compliant, fully insured crew to every call, backed by 38+ years in business and a 100% Satisfaction Guarantee. Contact Home Painters Toronto for a fast, free quote and warranty-backed repair before the next storm or nesting season adds to the damage.
Get a Free Woodpecker and Pest Damage Repair Quote
Fast, free same day estimates and warranty backed repairs from a WSIB compliant, family owned GTA contractor with 38+ years of experience.
Get Your Free Estimate