

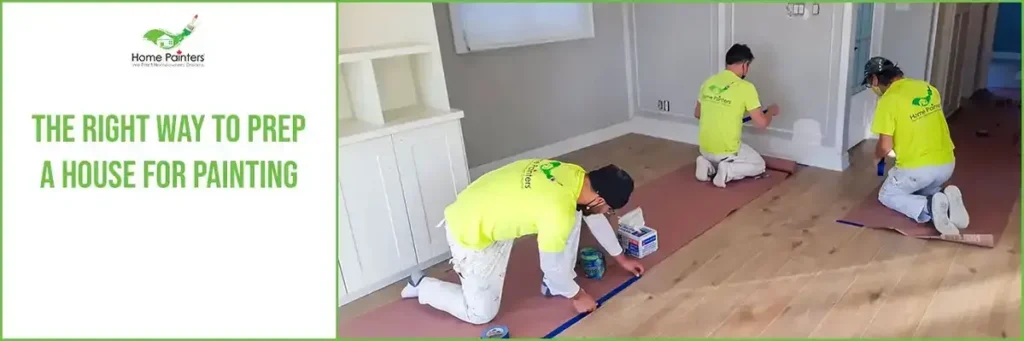
Prep a House for Painting
The preparation of a house is one of the most overlooked and ignored steps when it comes to painting. Learning proper paint preparation after you’ve already started the job will cost you time, and money and will lead to a sub-par finish. Preparing your home before the paint even hits the wall is a critical step in the renovation process. Here is what you need to know to prepare your home for a fresh coat of paint.
Importance of House Painting
House painting is one of the most important home maintenance projects you can do. House painting upkeep and caulking help protect your home from weather damage caused by water and sun. Neglecting obviously peeling exterior paint can lead to high siding replacement costs.
Importance of Preparing your Home for Painting
Preparing your home for painting is not only important, but it can save you time and money. It will ensure that the paint adheres properly to the surface and lasts longer.
Prep the right way for Painting Interior
- Remove smaller objects
- Move larger objects out or to the room’s center
- Unscrew the outlet and light switch covers
- Put painter’s tape around windows, doors, and baseboards
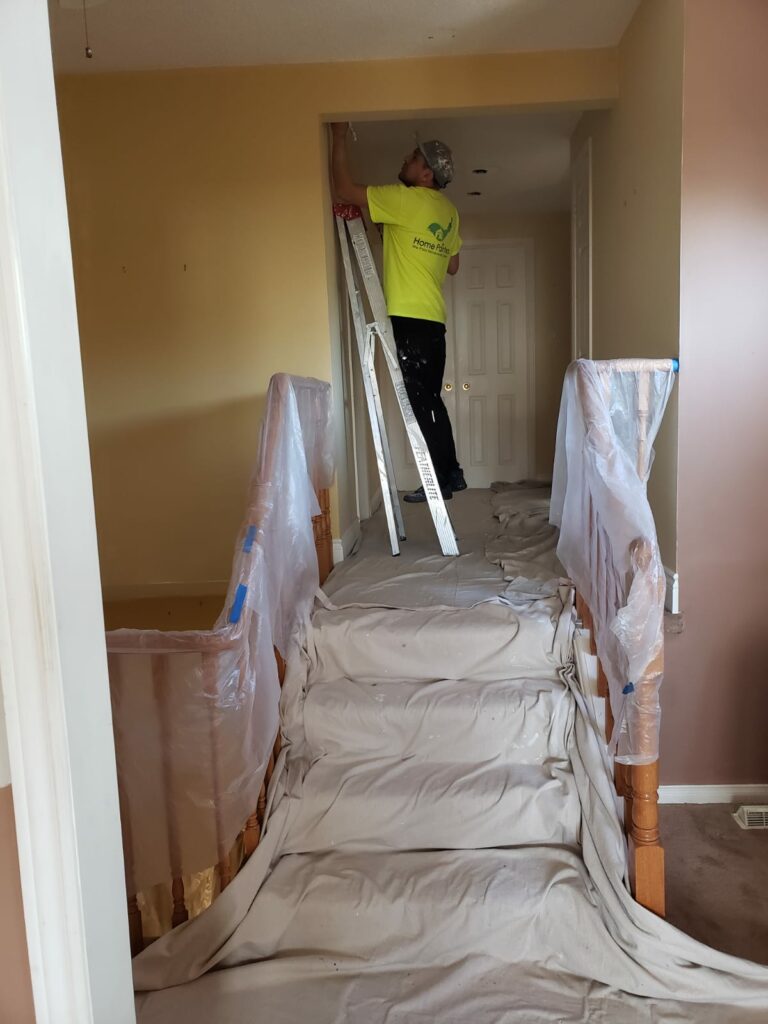
- Lay down drop cloths
The smaller objects include wall hangings, curtains, and stuff inside the larger objects. Throw a covering over any large objects in the room’s center. Don’t forget about your ceiling when prepping a house interior for painting! Ceiling fans and lights need to be taken care of too. Take off the fan blades and cover the fixture with plastic. For recessed lights, remove the bulb and pull the fixture’s trim down a bit. Release the cover and tape plastic over it.
How do I Prepare the Exterior of my House for Painting
- Wash the house – Washing the house gets the dirt off. This makes it easier for the paint to stick to the walls. Same for scraping off the loose paint as well as sanding and priming repaired areas.
- Scrape off any loose paint
- Make any repairs
- Sand
- Re-caulk if needed
- Apply painter’s tape to doors and windows
- Put down drop cloths
- Prime if needed
How Much Paint for Home Painting?
A rough rule of thumb is that 1 gallon of paint will cover about 350 square feet. You’ll need more if you’re painting bare drywall which absorbs more paint, are painting several coats or are covering the old paint that is darker.
So, the first step in preparing your home for painting as a DIY project is to estimate how much paint you need for painting.
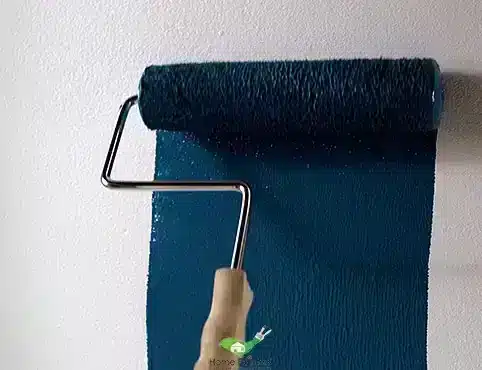
How to Prep a House for Painting Project
How do Professional Painters Prep?
They do a lot of prep-work before they start painting your home. It’s not just the paint that makes your house look beautiful. It’s the prep-work that goes into it. Home preparation is a crucial step to ensure lasting quality, durability and beauty for your home or professional project. How to prep the house for painting?
Below are some tips for preparing the house for painting interior from our resident painting expert:
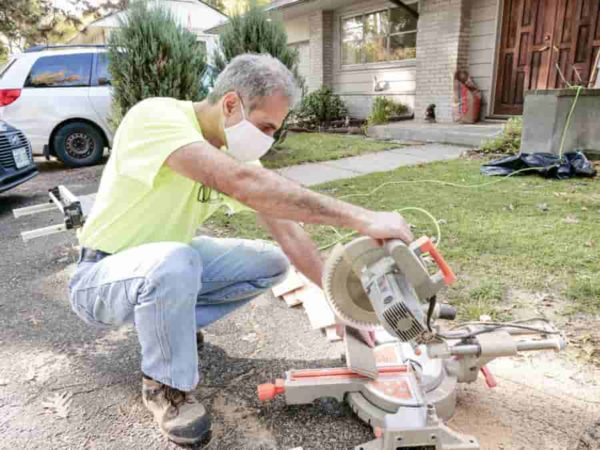
Remove Hardware before painting
When preparing your home, the first step once you’re ready is to remove all hardware from the walls such as:
- Electrical plug covers
- Cable and phone outlet covers
- Curtains
- All pictures and artwork
- Nails
- Light fixtures if you’re painting the ceiling
Splatter Prevention
Paint is messy, so you’ll need to prep a house before start painting it by drop sheets all along the walls and floors.
Tape them down so that they stay in place. Next, you’ll need to apply painter’s tape around all moldings, window frames, and door frames to prevent stray paint.
Also, any furniture should be removed if possible and if not then tightly covered to protect them.
Any furniture that can’t be removed should be organized in the center of the room to keep the areas around the walls clear.
Wall Preparation for Painting
- Many people make the mistake and start painting after removing hardware and laying drop sheets and tape. But preparing your home for painting has not finished yet.
- It is very important to prepare the walls to ensure imperfections are fixed and you get the most durable hold for your paint.
- Whether you’re tackling a house painting job yourself or hiring someone, always ensure that proper paint preparation is executed before starting any house paint job
- Inspect walls for cracks and holes. Repair any damage with a spackling compound using a putty knife. Spread the compound over the defect several times and scrape off the excess.
- Allow it to dry according to the product’s instructions. Then use fine-grit sandpaper (150-200 grit) and smooth it out until there is a seamless transition to the original wall.
- Wash the walls. Washing the walls is very important to remove grease and dust which will seriously compromise the life of your paint if you ignore this step. If the walls are very dirty you may need to start with a chemical cleaner like Tri-Sodium Phosphate.
- After, rinse all walls with clean water and a sponge. Allow your walls to properly dry before applying your primer or paint.
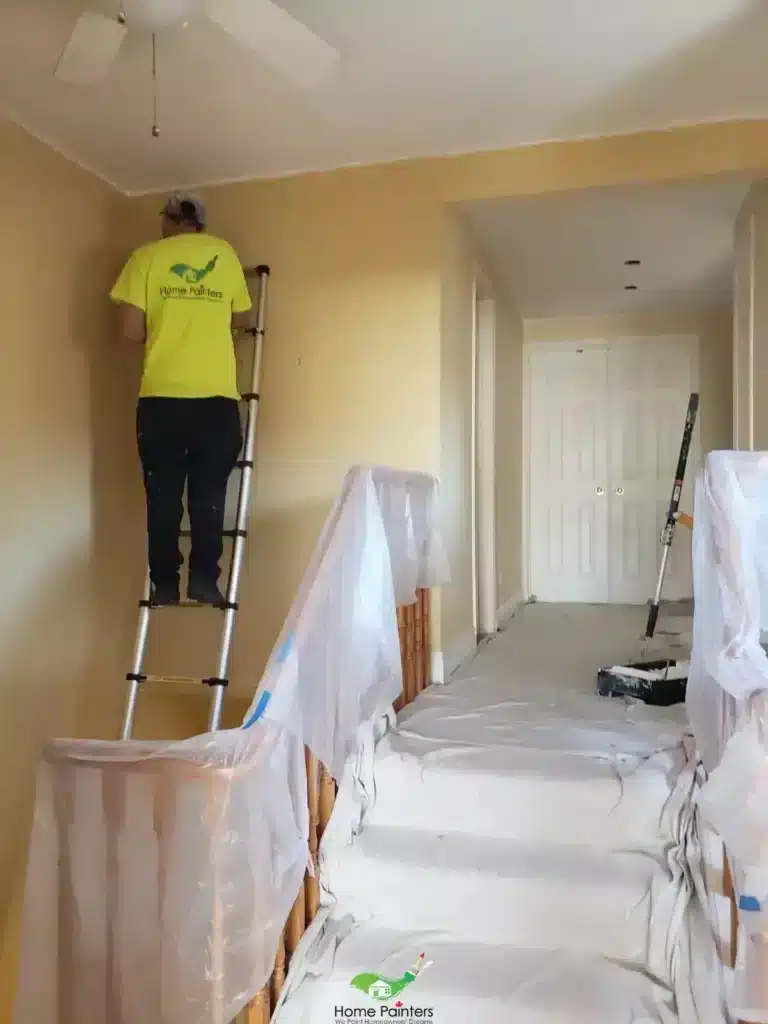
Wall Preparation Before Painting
Use sandpaper or a sanding block to dull and uneven surfaces, wipe away dust with a damp cloth and let dry thoroughly. Smoothing walls before painting is necessary for surfaces previously painted with a gloss or high-gloss paint. For previously painted water-based paint, sand with a fine-grit sandpaper.
How to Paint Walls Like a Pro
Painting doesn’t have to be a job strictly for professionals. With the right tools and preparation, you can master the art of painting an interior wall yourself.
Sweep and Dust Walls
Use a broom or dust mop to sweep dust and cobwebs from the room’s ceilings, walls, and woodwork. If there is a lot of dust in the room, vacuum as well to get rid of particles that could get stuck in the paint. Wipe baseboards and trim with a microfiber cloth.
Tape Trim
Lay down a drop cloth. Protect woodwork, ceilings, and other non-wall surfaces with painter’s tape. Adhere the tape firmly to surfaces in a straight line, making sure tape edges don’t intrude on areas to be painted.
Repair Wall Surface
Next use a putty knife and surfacing compound to fill nail holes. Thinly spread surfacing compound across each hole using an X-motion. Scrape off excess. Let it dry. For any hole larger than a screw or nail hole, use a drywall patch or drywall repair kit.
Paint Wall
Starting in a corner, roll paint in a W-pattern across the walls. Work in small, 3- to 4-feet sections, getting even coverage before moving too far along the wall. If your reach is short, attach the roller to an extension pole. Once you’ve filled in the area, finish it with light vertical strokes to smooth the paint and remove roller marks. Alternate between cutting in and rolling until you’ve completed a wall.
Sand Patches
Sand the patched areas with fine-grit sandpaper until it is smooth and flush with the wall. If you sanded too aggressively or your putty shrank in the hole, repeat the previous step and sand again until you reach the desired finish. Wipe away any residue with a microfiber cloth.
Check for Flaws
Check painted walls for flaws, missed spots, texture paint, or drips; try to repair defects before the paint dries. How much time you need to allow for latex paint to dry and properly cure depends on what you intend to do with it after it’s applied.
Wash Wall
Working from the baseboards up, wash walls and woodwork with TSP and water. Take special care to remove greasy residue; grease may interfere with paint adhesion and create a bumpy finish. Rinse walls with water and let dry fully before starting to paint.
Remove Tape
Remove the painter’s tape as quickly as possible while the paint is still tacky. This will prevent the tape from getting stuck to the wall.
Professional painting tips and tricks
Wait for Dry Weather
Humidity means drips and slow drying, so avoid painting on a rainy day. If you must paint when it’s humid, take your time — and take advantage of slow-drying paint to correct your errors before moving on to the next coat. But don’t overwork or it will show when you’re finished.
Do a Thorough Visual Inspection and Prep
Any cracked, flaking or peeling areas need to be lightly sanded or scraped (and then thoroughly rinsed) before applying new primer and paint because the weight of the new coat will pull the old paint loose. “You’ll just end up wasting your time and money if you don’t tackle that first,” says Tom Lee, Senior VP of Consumer Marketing for Behr. Greasy spots may also need a bit of washing with soap, followed by a rinse with clean water. Otherwise, wipe down with a damp cloth so that paint will have a clean, dust-free surface to stick to
Buy High-Quality Brushes, Roller Covers, and Painter’s Tape
If you’re splurging on great paint, you definitely don’t want to pinch pennies on the application. Good brushes and roller covers give excellent coverage so that you don’t waste time and paint on re-application, and high-end painter’s tape is the real deal when it comes to sealing out drips and blurs.
Know Your Nap
The more texture your walls have, the thicker the nap you’ll want on your roller cover so it can reach into crevices and give complete coverage. For example, you’ll want to go with a thick nap if you’re painting concrete walls. But for drywall, a thin nap is preferred. If you go with a nap that’s too thick, you might actually create texture where you don’t want it, so be prepared to give the salesperson details about what you’re painting when you’re buying your painting supplies.
Protect Anything You Don’t Want to be Painted
You will never regret the time you spend covering floors, furniture and hardware before you begin a paint project. Drop cloths are a must and small plastic sandwich bags secured with tape are an easy way to protect door knobs.
Paint From Top to Bottom
After you’ve cut in your edges at the ceiling and baseboard using a brush, use your roller to apply paint from the ceiling downward. Amateurs often have telltale drips and spatter at the end of a paint job, but pros paint right over their mistakes as they work their way down the wall. Once an area starts to dry, it’s best to leave it alone. Going back over it can leave marks and colour streaks on the paint’s surface.
How to Prep a Stucco House for Exterior Painting
Step #1
Prepare the surrounding area. Put drop cloths on the floor and furniture that can’t be moved, and tape trim.
Step #2
Clean stucco surfaces of dirt and dust. For most exterior stucco, this simply requires a thorough going over with a stiff brush or push broom. Interior walls may be more easily vacuumed using a dusting attachment. If your walls have grease or grime or mildew build-up, apply an appropriate cleaner, following manufacturer’s directions. Deeply grooved exteriors can be power washed, if necessary, to get dirt out of the crevices. Be sure to rinse thoroughly, and allow to dry completely for 24 hours before you begin to caulk and repair.
Step #3
Fix any small cracks with masonry caulk. Cracks larger than 1/16-inch-wide will require a patch. Remove the loose stucco with a putty knife, and repair it with a stucco patching compound. Pay attention to the manufacturer’s suggested curing time on your patching compound. You may need to wait for up to 10 days before you can paint.
Step #4
Prime with a high-quality acrylic primer, using a synthetic brush to cut in, and a large napped roller to roll it on. Acrylic primers and paints are preferred because their binders mean better adherence to the uneven stucco finish.
A large napped roller makes for easier application into all the nooks and crannies.
Step #5
Due to its texture, a stucco finish has a much greater overall surface area than a flat wall, so you’ll need more paint than you think to achieve adequate coverage. If a gallon of paint says it gives you 400 square feet of coverage, assume you’ll cover 200 square feet of stucco.
Apply paint as you did primer, with a synthetic brush for cutting in, and a large napped roller for rolling the walls.
Roll on one to two coats, as necessary, and follow the manufacturer’s guidance with regard to drying time between coats.
More interesting blogs related to
“THE RIGHT WAY TO PREP A HOUSE FOR PAINTING”


If you reside in Toronto and the GTA and need some help figuring out the interior and exterior painting costs per square foot, don’t hesitate to call us! We will help you pick the colours you want and show you the latest painting and home renovation trends. Our home painting services with the best pro painters have been around now for over 37 years.
Call 416.494.9095 or email [email protected] for a FREE quote for your home painting needs. And don’t forget to check us out on our social media channels below!