

A Toronto homeowner renovating a main floor often books flooring early and calls the painter last, once the boards are already down. That habit creates the most common house painting renovation sequence mistake: drips on new floors, scuffed baseboards, and rooms that need repainting. Home Painters Toronto is a family-run residential painting company that has painted 20,000+ homes across Toronto and the GTA, and we see this problem in North York and Etobicoke renovations regularly. Our 1,200+ positive reviews on HomeStars, Google, and Houzz come from homeowners who wanted clean finishes, on-time schedules, and no surprise repaints. This guide shows where painting fits among drywall, flooring, trim, and cabinets, so no crew has to redo another crew's work.
Paint after the drywall crew finishes, sands, and primes, and before flooring, final trim, and cabinets go in. Book a short touch-up visit after every other trade leaves. This order keeps drips off new floors, keeps trim edges crisp, and prevents repainting. In most Toronto renovations, painting sits between drywall and flooring.
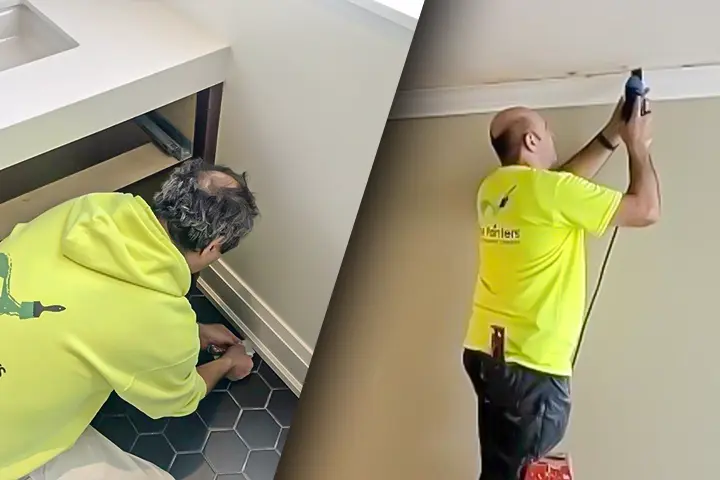
Painting sits between drywall and flooring in most Toronto renovations
What Is the Correct House Painting Renovation Sequence?
The correct house painting renovation sequence puts painting after drywall finishing and before flooring, final trim, and cabinet installation. Framing, rough-ins, insulation, and drywall come first because you can't paint an unfinished surface. On permitted house projects, the City of Toronto requires inspections of framing, rough-ins, fire separations, and insulation before interior finishes go on. The City requires crews to uncover any element they covered before it passed inspection, so painting never starts early. Once the crew sands and primes the drywall, painting takes its slot ahead of the finish trades.
| Trade or task | Before or after painting | Why the order matters |
|---|---|---|
| Rough-in electrical, plumbing, and HVAC | Before | Inspectors must see this work before walls close. |
| Insulation and vapour barrier | Before | It passes inspection before drywall covers it. |
| Drywall hanging, taping, and sanding | Before | Paint needs a smooth, dry, dust-free surface. |
| Primer, ceilings, and wall coats | Painting | It sets the base colour before floors and trim arrive. |
| Flooring | After | It keeps drips, tape adhesive, and ladders off finished floors. |
| Baseboards, casings, and crown moulding | After, then finished | Trim goes on after floors, then gets filled, caulked, and coated. |
| Cabinets and countertops | After | Installers work against finished walls without scuffing cabinet faces. |
| Switch plates, fixtures, and hardware | After | It keeps paint off metal and plastic parts. |
| Final touch-up visit | Last | It fixes marks left by every trade. |
Hidden work comes first, and visible finishes come last. Rough-ins, insulation, and drywall disappear behind the paint, so they must be complete and approved. Flooring, trim, and cabinets are visible finishes, so they follow painting. The touch-up visit sits at the end because every trade leaves small marks.
House Painting Renovation Sequence Step by Step
A full house painting renovation sequence runs in seven stages, from rough-ins to the final touch-up.
- Finish framing, rough-ins, insulation, and any required inspections.
- Hang, tape, and sand drywall, then let every compound coat dry fully.
- Repair damage, caulk gaps, and prime new drywall and bare wood.
- Paint ceilings first, then walls, and prime or pre-coat trim that installs later.
- Install flooring, then baseboards, casings, and cabinets.
- Fill nail holes, caulk trim joints, and apply final coats to trim.
- Refit switch plates and hardware, then complete the touch-up visit.
Within each room, ceilings come first, walls second, and trim last. Gravity sends drips and spatter downward, so lower surfaces stay clean until the end. Our interior painting crews follow this room order on every job.
Why Does Painting Come Before Flooring?
Painting comes before flooring because bare subfloor is easier to protect than a finished floor. Drips, roller spatter, and tape adhesive can mark new hardwood, laminate, and vinyl. Ladders and paint trays also scratch or dent finished surfaces. Painting first lets the crew cut in low along the wall without worrying about the floor.
The flooring installer then sets planks close to finished drywall. Floating floors need a small expansion gap along every wall, and baseboards or shoe moulding cover it later. Painted walls are ready for that trim, so nobody has to mask or repair a new floor. Our carpenters handle hardwood floor installation and laminate floor installation within the same schedule.
Sometimes flooring goes in first because of a delivery date or a tenant move-in. In that case, painters protect the floor with taped rosin paper and hardboard, and the job takes longer. Masking and moving ladders across finished boards add labour to every room. Booking painting first avoids that extra step.
| Flooring type | Paint before or after | Reason |
|---|---|---|
| Pre-finished engineered hardwood | Before | Drips, tape, and ladder feet can mark the factory finish. |
| Laminate | Before | Floating planks need clean, finished walls and a trim-covered gap. |
| Vinyl plank | Before | Adhesive residue and spatter are hard to remove from vinyl. |
| Site-finished hardwood | Split visits | Sanding dust and finish odours affect fresh paint, so the order needs planning. |
How Site-Finished Hardwood Changes the Order
Site-finished hardwood changes the order because sanding and finishing happen inside the house after installation. Sanding throws fine dust into the air, and that dust can settle on fresh paint. Floor finishes also give off strong odours that drift through the home. Many crews prime and apply one wall coat first, let the floor contractor finish, then return for the final coat. We agree on the order with the flooring contractor in writing before either trade starts.
Why Does Painting Come Before Final Trim and Cabinet Installation?
Painting comes before final trim and cabinet installation in most renovations because walls are easier to finish when nothing blocks them. Trim follows a two-stage path. Carpenters or painters prime and coat baseboards and casings before installation. After the trim goes on, the crew fills nail holes, caulks joints, and applies the final coat. This hides fasteners and leaves a straight caulk line where trim meets wall.
Priming the back and edges of trim before installation seals bare wood and MDF against moisture. That limits swelling at the joints once winter heating starts. It also means the painter only touches the visible face after the carpenter finishes. Pre-coating is a small step that protects the finish.
Our carpenters handle baseboard installation and repair and trim installation and repair, so the final coat follows the last nail. Cabinet installers arrive after wall paint so ladders, clamps, and tape do not scar cabinet faces. Existing cabinets follow a separate path. Most kitchen cabinet painting happens off-site, so doors and drawer fronts leave before wall painting and return afterward.
The order shifts in four cases:
- Factory-finished trim goes in after painting, and painters only fill nail holes.
- Custom millwork with a sprayed finish ships painted, so painters cut the walls to fit around it.
- Carpenters install wainscoting and crown moulding, then the crew caulks and finishes them with the wall colour.
- Tile backsplashes go in after wall paint, followed by caulking and a final touch-up.
How Long Should Drywall Dry Before Painting?
Drywall joint compound must dry fully before priming, and USG lists about 24 hours at 70°F (21°C) and 70% humidity. Higher humidity and lower temperatures slow that timeline. A cold, damp basement can need much longer than a warm main floor. Painters check by colour and hardness, not the calendar. Wet compound looks darker and feels cool to the touch.
Skipping that wait causes cracking, blistering, and visible joint lines under the finish. Primer comes next because paper faces and joint compound absorb paint at different rates. Without primer, the joints show as dull bands under the final coat, and painters call this defect flashing. Our drywall repair and installation team handles taping, sanding, and priming as one scope.
Dust control matters as much as dry time. Drywall dust left on the surface stops primer from bonding and leaves a gritty finish. Crews vacuum and wipe every surface before priming. They also seal doorways with plastic to keep dust out of finished rooms.
| Stage | What must be true before moving on | How painters check |
|---|---|---|
| Compound coats | Each coat is fully dry with no dark, damp patches. | Colour and touch |
| Final sanding | The surface is smooth, vacuumed, and wiped free of dust. | Raking light inspection |
| Priming | Primer is dry for the time stated on the label. | Manufacturer label |
| Finish coats | Surface temperature is above the product minimum. | Thermometer and hygrometer |
Winter Heat and Humidity Rules for Interior Painting
Toronto winter renovations need steady heat and ventilation before painting starts. USG finishing guidance says the building should stay at a minimum of 13°C (55°F) with enough ventilation to carry off excess moisture. Benjamin Moore lists a 10°C minimum application surface temperature for Regal Select Eggshell, and it notes that cool, humid rooms extend dry and recoat times. Temporary heaters can spike humidity, so we check room temperature and moisture at the start of each painting day. Surfaces close to the dew point stay damp, and paint applied over them fails to bond.
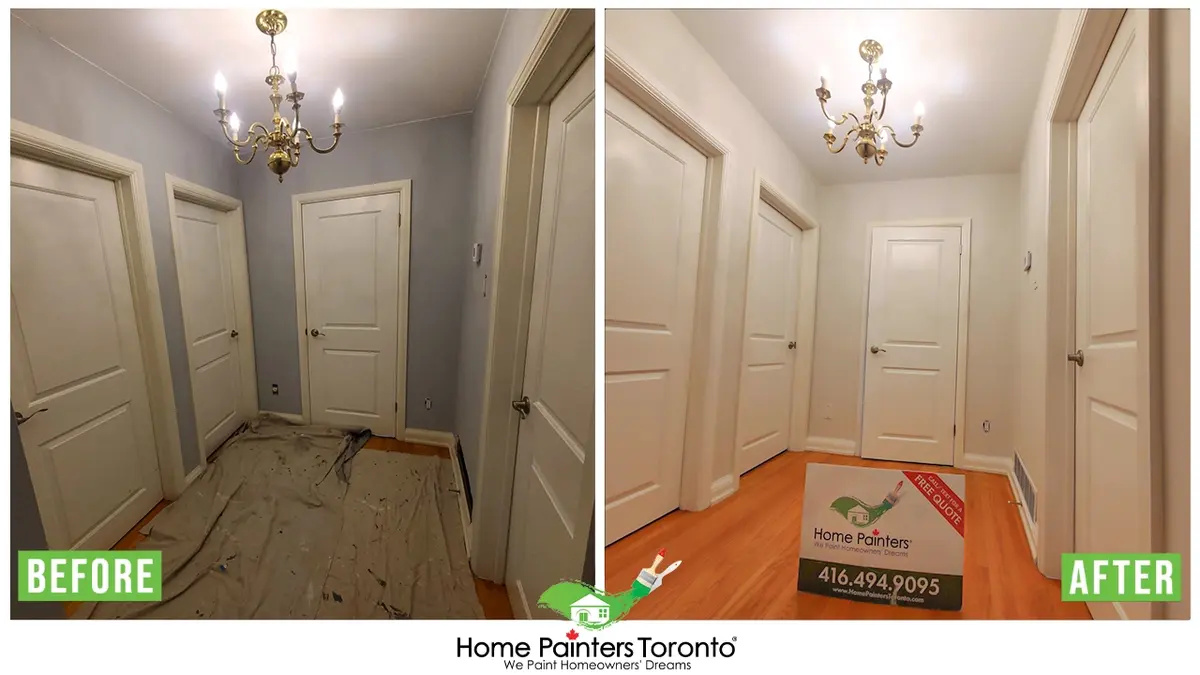
Painting between the drywall crew and the flooring installer keeps the schedule tight
How Should Painting Be Coordinated With Other Trades on a Toronto Renovation?
Book painting as two visits: a main visit between drywall and flooring, and a short touch-up visit after every other trade leaves. One visit cannot work because electricians, flooring installers, and cabinet installers all touch finished walls. The main visit covers primer, ceilings, and wall coats. The touch-up visit repairs scuffs, completes trim finishing, and fixes anything the other trades marked.
Booking both visits together keeps the schedule tight. Each trade needs a clear handoff date, so we share a written sequence with the site lead. Our guide on how long house painters take to paint a house helps size each visit. Because our carpenters and painters work for one company, interior carpentry and handyman services fit into the same plan. Each handoff follows the same logic:
- Electricians: rough-in before drywall, then devices and covers after the final coat.
- Flooring installers: after wall and ceiling paint, before final trim.
- Trim carpenters: after flooring, before the final trim coats.
- Cabinet installers: after wall paint, with floors protected.
- Plumbers: fixtures after the final coat.
Late materials can break a plan as easily as late crews. A back-ordered floor or cabinet delays every trade behind it, and painting sits idle in the middle. We build a buffer day between drywall and painting, and another between flooring and the touch-up visit. That buffer absorbs small delays without moving the whole schedule.
Field Example: A North York Main-Floor Renovation
- At a recent main-floor renovation in North York, we painted between the drywall crew and the flooring installer. We waited a full 24 hours after the last compound coat, the drying time USG lists at 70°F (21°C) and 70% humidity. The room held 19°C, cooler than that reference, so we added a second day before sanding and priming.
- We then applied two coats of Benjamin Moore Regal Select Interior in Eggshell. A wet film gauge read 3.6 to 4.0 mils, the data sheet range, and the room stayed well above the 10°C application minimum.
- Flooring went in next, and our return visit took half a day to caulk trim and touch up scuffs. Nothing needed repainting.
This is the same schedule our North York painting crews use on multi-trade renovations.
Which Sequencing Mistakes Force a Repaint?
Four sequencing mistakes force most renovation repaints: flooring before final paint, trim before cut-in, early ceilings, and late colour choices. Each one turns a single painting visit into a second job. The table shows what breaks and what the repaint typically costs.
| Mistake | What goes wrong | Repaint scope | Typical HPT range (CAD + HST) |
|---|---|---|---|
| Flooring installed before final paint | Drips and tape marks land on new floors, and baseboards get scuffed. | Trims, doors, and baseboards | $700–$1,200 |
| Trim installed before walls are cut in | Wall paint bleeds onto finished trim and caulk lines wander. | Bedroom or living room repaint | Bedroom $400–$800; living or dining room $400–$900 |
| Ceilings painted before overhead work ends | Patches, dust, and fixture scuffs mark fresh ceilings. | Ceilings | $1,000–$1,300 |
| Colours chosen after primer and coats begin | Extra coats and stalled trades follow a late change. | Bathroom or bedroom repaint | Bathroom $250–$500; bedroom $400–$800 |
These ranges reflect typical HPT interior pricing and vary with room size, surface condition, and prep. Late colour choices stall the whole schedule, so browse colour inspiration for interiors before the drywall crew finishes. Use our interior painting calculator to size the scope early. A short planning conversation before demolition prevents most of these repaints.
Renovation Sequencing FAQs
Paint before installing hardwood flooring in most cases, and agree on the order with the flooring contractor when the hardwood is site-finished. Drips and tape can mark pre-finished hardwood, so walls and ceilings go first. Site-finished floors create sanding dust and finish odours, so we often split painting into a main visit and a final coat. Baseboards and shoe moulding go on after the floor either way.
Carpenters install trim after the first coats of paint, and the crew finishes it in place. Crews prime and coat baseboards and casings first, then install them after flooring. The crew then fills nail holes, caulks the joints, and applies the final coat. This gives clean edges and hides every fastener.
Drywall compound should dry fully first, which USG lists as about 24 hours at 70°F (21°C) and 70% humidity. Cold or humid rooms take longer, so painters check colour and hardness before sanding. Painters apply primer only after sanding and dust removal. Thick patches can need extra time, so ask your painter to check every repair before priming.
No, painting and flooring installation should not overlap in the same room. Sanding dust, drips, and foot traffic all work against fresh paint and new floors. On larger homes, crews can work in separate zones on the same day. A written room-by-room schedule keeps the trades apart.
Paint walls before installers set new cabinets, then touch up afterward. Cabinet installers get clear access, and painters get clean lines without masking cabinet faces. The touch-up visit fixes small marks around cabinet edges and countertops. Crews can spray existing cabinets off-site while painters work on the walls.
Painting done out of order usually forces a repaint of trim, baseboards, or whole rooms. That adds cost and pushes back every trade that follows. Typical HPT repaint ranges run from $250 to $1,300 CAD + HST, depending on scope. Planning the sequence before demolition prevents most of it.
Getting Your Renovation Sequence Right the First Time
You get the sequence right by fixing painting's slot early: after drywall, before flooring, with a touch-up visit booked at the end. That single decision protects new floors, keeps trim crisp, and prevents repainting. Share the plan with every trade before demolition starts. A written order of work removes most scheduling guesswork, and it gives each crew a clear start and finish. Renovations in Toronto and the GTA rarely run in a straight line, so the plan should include buffer days.
Home Painters Toronto is a family-run residential painting company serving Toronto and the GTA since 1991, founded by Brian Young, who has worked in the painting industry since 1987. Our crews are WSIB-compliant and fully insured, with $5M in general liability insurance. Every interior job carries a lifetime warranty on interior painting, so renovation clients get warranty-backed results.

Ready to slot painting into your renovation schedule? Get fast, free quotes and warranty-backed work from a crew that plans around your other trades.
Get a Free Estimate