
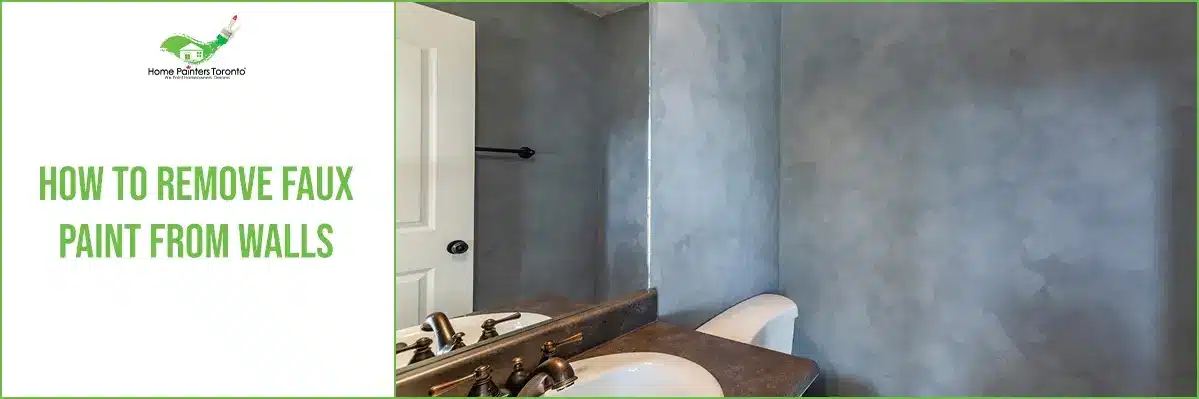
If you have a faux-painted wall, painting over that faux finish may be something that has been on your mind. Faux finishes can be especially tricky to remove, so be sure you have the time set aside to see this particular project through to the end. On a more positive note, learning how to remove faux finish paint will bring you one step closer to painting your walls and making your home look better than ever!
Understanding Faux Paint
Before we dive into how to remove paint from walls fast, it’s essential to understand what sets faux paint apart. Derived from the French word for ‘fake’, faux paint creates the illusion of textures and surfaces such as marble, wood, or stone. This paint technique often involves applying multiple layers of paint or glaze, effectively embedding the finish into the wall. This complexity enhances the final aesthetic but also complicates the removal process.
Identifying Faux Paint Types
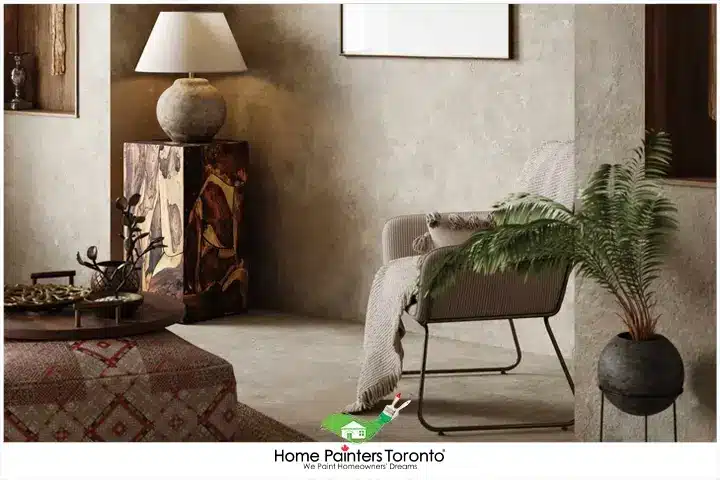
The artistry with which faux paint finishes mimic more expensive or challenging-to-install materials can often dazzle the eye. Whether it’s the delicate veining of marbling, the textured surface of a sponged wall, or the depth provided by ragging, each technique brings its character to your spaces. Understanding the nuances of these faux finishes is not just an appreciation of artistry—it is a practical step in devising the most efficient removal strategy.
Sponging
The sponging technique uses a sea sponge or sponge roller to apply layers of glaze in a random yet controlled pattern. This method provides a depth and texture variation that replicates a stone-like finish. When removing this type of paint, one might find it less labour-intensive due to the glaze’s lighter application, which can often be removed without heavy sanding.
Ragging
Ragging involves a similar layered technique, yet here, rags are dabbed or twisted on a glazed surface, creating a softer, more fabric-like pattern. This method can sometimes leave heavier paint deposits. A strategic approach would include a thorough sanding process, which targets these thicker painted areas, and a follow-up with finer sandpaper to ensure a smooth base for subsequent treatments.
Marbling
Marbling is a masterpiece of faux finishes, mimicking the luxurious look of actual marble. This sophisticated finish involves layering several tints and hues, topped with painstakingly hand-painted veins. Due to its complexity and the possibility of denser layers of paint and glaze, removing a marbled finish may require a combination of scraping, sanding, and possibly the use of solvents or strippers to break down the layers before complete removal.
Graining
Much like marbling, graining replicates the intricate patterns of wood grain. It requires meticulous layering and detailed handwork, often resulting in a finish bound tightly to the base wall layer. When dealing with graining, patience is paramount. The removal process may necessitate softening the paint layers with a heat gun before scraping can begin, followed by a thorough sanding procedure.
Materials You Will Need to Remove Faux Paint Finish
- Rags/Cloth
- Drop Cloth
- Safety Goggles
- Face Mask
- Rubbing Alcohol
- Scraper
- Electric Sander/Sandpaper
- Drywall Sander
- Shop Vacuum
- Sheets
- Plastic Sheets
- Paintbrushes/roller
- Primer
- Paint
Step-by-Step Guide to Removing Faux Paint
Now, let’s delve into the removal process.
1. Prepare
- Lay down a drop cloth or tarp on the floor beneath the walls you will be working on. This will quicken the cleanup process later.
- Put on your safety goggles and a face mask before you start to sand the wall smooth.
- If you have any furniture nearby move it out of the room or protect it with cloth or plastic sheets.
2. Sand
- With either an electric sander or sandpaper pads begin sanding the wall.
- Move the sander/sandpaper in a circular motion and complete this method until you have sanded the entire surface of the wall.
- This can be a time-consuming process, depending on the size of the room, so take breaks when needed and remember that you don’t necessarily have to get it all done in one day.
- If you come across some areas that are hard to get to with your electric sander try using a drywall sander by hand.
3. Clean
- Now you need to clean up all the dust created by the sanding with a shop vacuum.
- Wipe the wall with a moist rag/cloth to further remove any dust stuck on the walls.
- Make sure the wall is completely smooth.
4. Prime & Paint (Optional)
- Apply primer with a roller or paintbrush and let dry.
- A good interior latex primer and interior paint combination to check out is Benjamin Moore’s Regal Select Premium Interior Primer and Paint in the Ulti-Matte Finish.
- Also, if you’re unsure about whether or not you have a more classic or modern style in terms of interior painting, check out this blog here!
- Apply two coats of interior paint to the walls and you’re finished!
HINT:
There are so many colours and types of faux finish that it’s always a good idea to figure out what you’re working with before starting. Take a rag and soak it in rubbing alcohol before wiping it across the faux finish. If any paint comes off on your rag you know that the faux finish was water-based. If none of the faux finish is removed it is oil-based. This is handy to know when deciding what type of paint to use later.
Don’t forget to visit our Pinterest page for all sorts of exterior painting and interior painting inspiration!
Conclusion
While the challenge of removing faux paint may seem daunting, this guide should equip you with a clear understanding of the process. Remember, as a construction or DIY project, removing faux paint requires patience, effort, and respect for safety guidelines. However, by adhering to these steps, you can efficiently transform your space, achieving a fresh aesthetic imbued with your personal style. As always, striking a balance between exertion, cost-effectiveness, and desired results will aid in the success of your project.
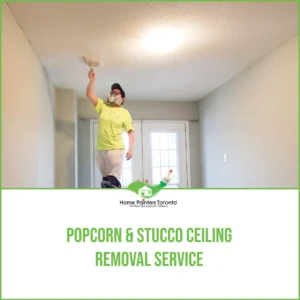
Top Related Blogs Related to
“HOW TO REMOVE FAUX PAINT FROM WALLS”

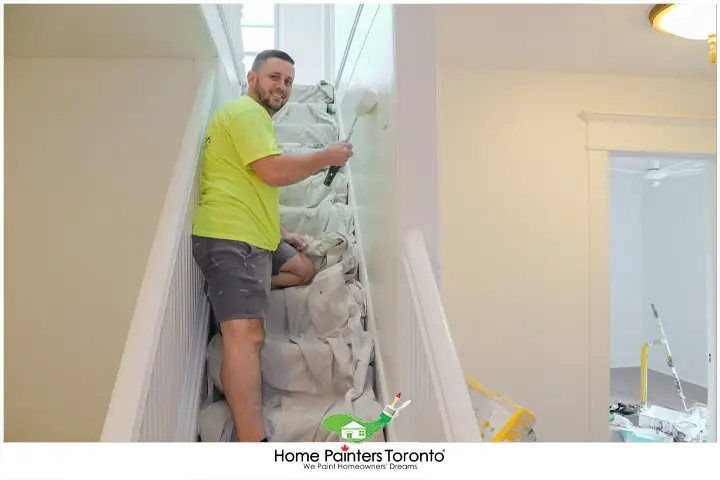
With all of these steps on how to remove faux painting from walls, you’re probably exhausted! Why not skip Step 4 and let our professional home painting services handle everything for you? Faux finish techniques like sponge application, plastering, dry brushing, and more may have looked nice to previous homeowners, but now it’s time to modernize your living space for yourself!
Call us NOW at 416.494.9095 or email [email protected]! And don’t forget to follow us on all our social channels below!