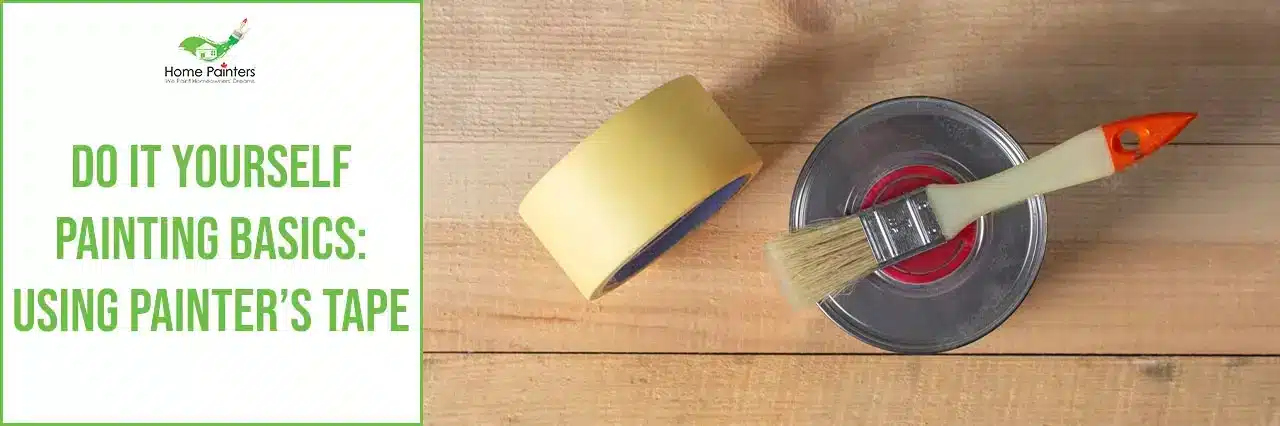
Using Painters Tape Is One Way of Getting Crisp, Clean Lines For Your Interior Painting Project
There is nothing worse for a painting project than wavy, messy lines in corners, trim or when making stripes. Even when you have a fairly steady hand, messes can still happen. For Do-It-Yourselfers, taking longer and doing things right is more important. Rushing can lead to mistakes that you may not be able to fix easily. Using the right tools and taking your time will make your project shine. While we recommend using the “Cutting In” Technique for taking care of the hard-to-reach places of painting a wall, some people feel more comfortable using painter’s tape.
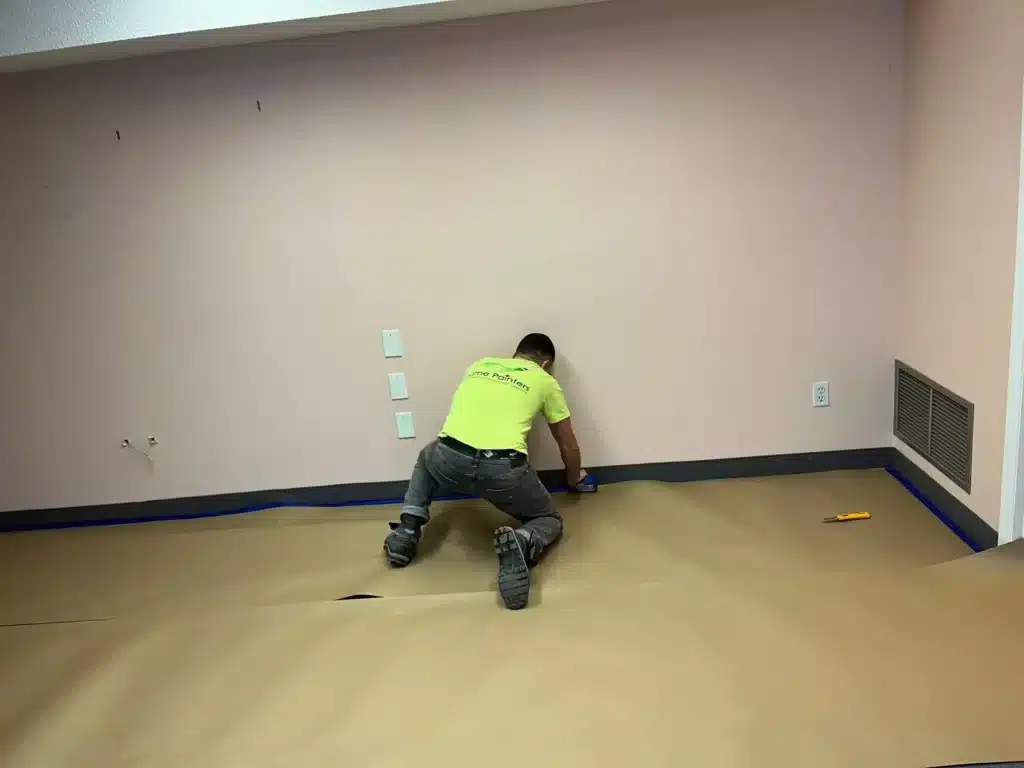
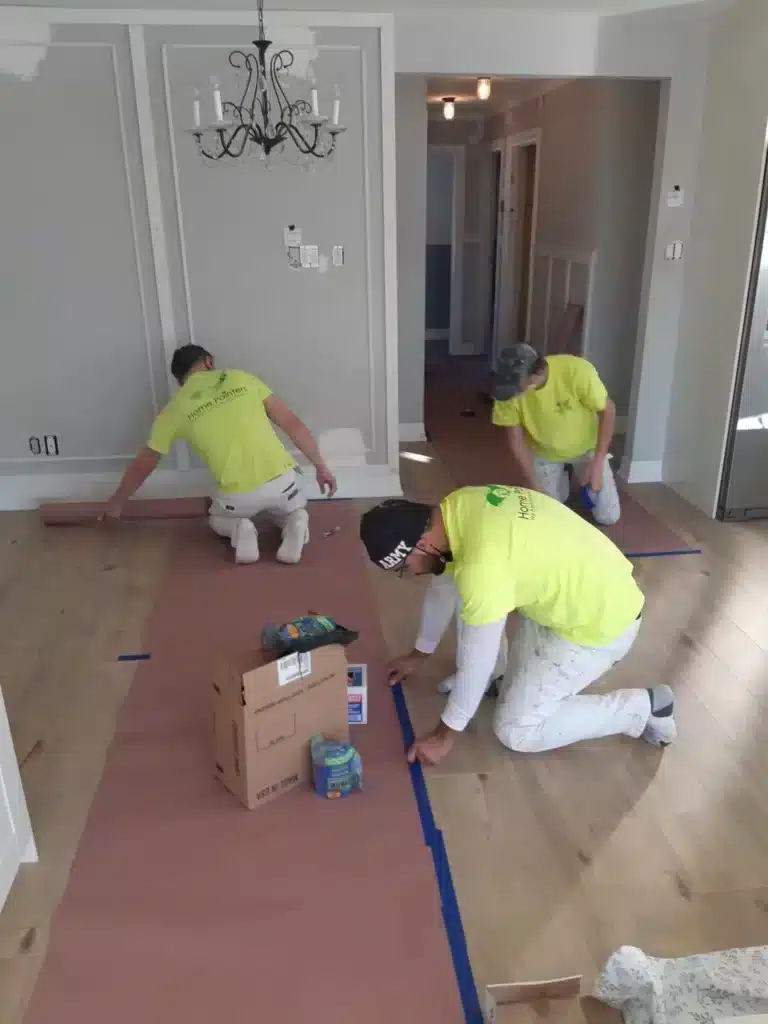
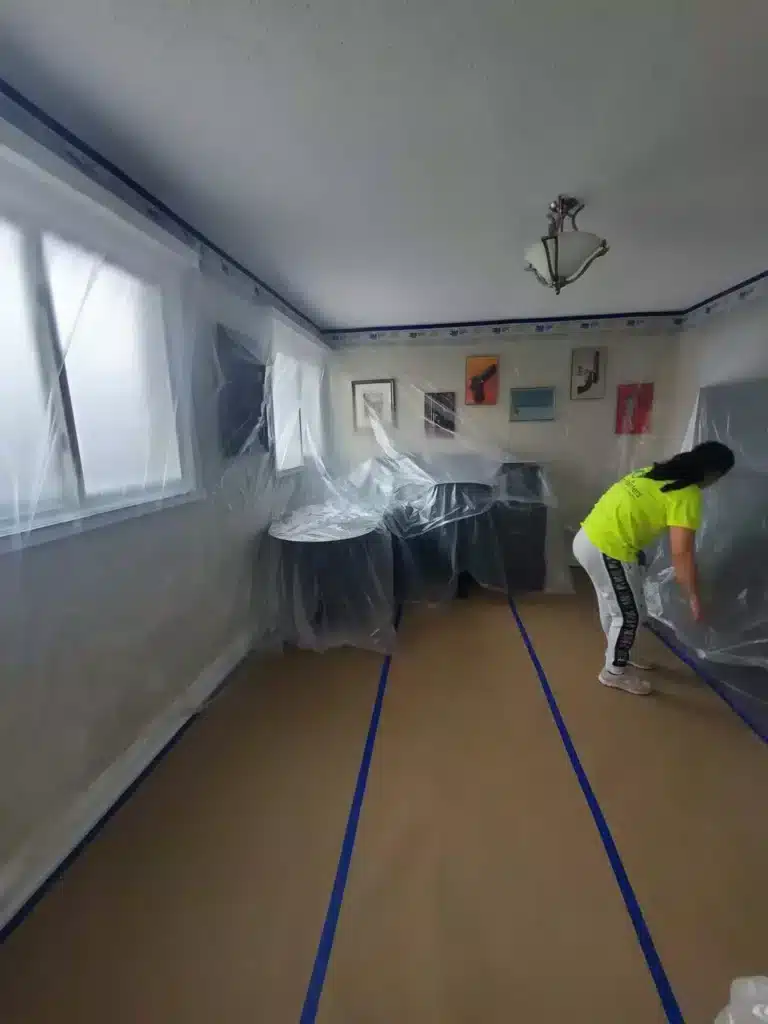
Using painter’s tape to cover a surface can be a great way to protect it from getting painted on it. But sometimes, the tape doesn’t stick perfectly or the paint seeps under the tape and bleeds onto your walls. This can be especially frustrating when you have a lot of surface area to cover and are trying to finish quickly. If this happens, don’t panic!
Now, Home Painters Toronto will reveal our professional painter’s tips for amateur home painters on how to use painter’s tape without bleeding. And we will share with you some of the best tricks for taping before painting, so you can finish your projects quickly and easily.
Tip#1 – Start With A Clean Workspace:
Clean the area you want to tape with a damp cloth
Allow the tape to stick properly to the surface leading to straighter lines
Tip #2 – Use Low Tack Painters Tape:
We prefer to use blue painter’s tape that is low tack, meaning it will not peel the paint when it comes off.
Carefully, apply the tape along the area you want to paint. Use a plastic putty knife to make sure the tape is placed firmly.
With a small amount of paint on your brush, paint along the tape. Being careful not to get paint on the side of the tape that you do not want to paint.
We recommend using a 2-3″ brush and to apply less paint to start off with.
It’s better to have to go back over the area a second time than to have drips from too much paint on your brush. You will have better control of your paint leading to a better final result.
Home Painters Toronto Pro Tip – Be Aware
Using painter’s tape may be harder than “cutting in” with a brush. If the tape is not placed correctly, the paint can bleed in and cause messy lines. This method can also lose effectiveness if the walls or drywall is not straight, to begin with.
Remove Tape:
To remove the tape, wait until the paint is dry to the touch. This means that there should not be any shiny or wet looking spots.
Don’t leave the tape on for more than 24 hours unless the weather is humid.
Begin pulling the tape slowly at a 45-degree angle. If you hear a ripping sound, you are pulling too fast and the paint may be coming off with the tape. Pull slower and be patient. The best results come when you take your time.
You will know that you have done the taping correctly because you will be left with a crisp, clean line and no mess on your baseboards and trim.
Many people head straight for the painters tape when it is time to paint. While painters tape CAN help keep lines straight, cutting in with a brush is usually better.
If you are worried about making a mess, or that your lines won’t be straight, a professional painter can tape your trim for you for a fee or you can hire Home Painters Toronto to paint your house.
Please call us NOW at 416.494.9095, or email us at Brian@HomePaintersToronto.com to get a quote for your interior house painting project today! And don’t forget to follow us on all our social channels below as well