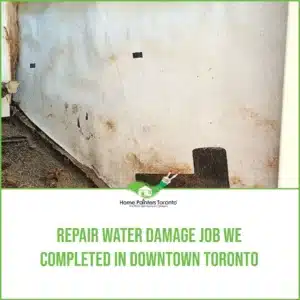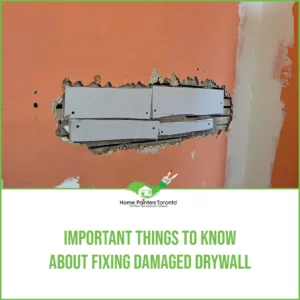
Every homeowner’s worst nightmare is going to bed one night and waking up to find that they must deal with water damage in their home. If you happen to endure the same flood as they did, you also know that working with a professional painting contractor will be your best course of action.
However, if you are looking for ways to alleviate some of the stress from the situation, you may want to try your hand at do-it-yourself (DIY) repairs to cut down on expenses. That’s where paint comes in. Since these areas have experienced water damage, you need to prepare everything to make sure that your coatings will look their best and will last you a lifetime.
Without the right execution, you could spend so much and achieve so little in the end.
Thankfully, this guide is here to show you how to do just that.
1. Understand the Difference between Wet Walls and Dry Walls
After a water damage incident, it is often possible for water to get through to your walls. Depending on how much water gets through and how long the water damage event lasts, you may have wet or dry walls. Wet walls are walls that have been immersed in water. These walls will be saturated and will not have the standard drywall finish. In contrast, Dry walls are walls that have not been fully immersed in water. The drywall finish on the wall will still be present in its normal state, and it may still be intact after the water damage event. The length of time it has been immersed in the flood. How much water gets through them will determine which type of wall you have, wet or dry. Since water and paint do not mix well, you should either avoid painting wet walls or hire a water damage restoration company to tape off these walls. And let them dry before beginning the painting process.
2. Know Your Paint and Their Drying Timespan
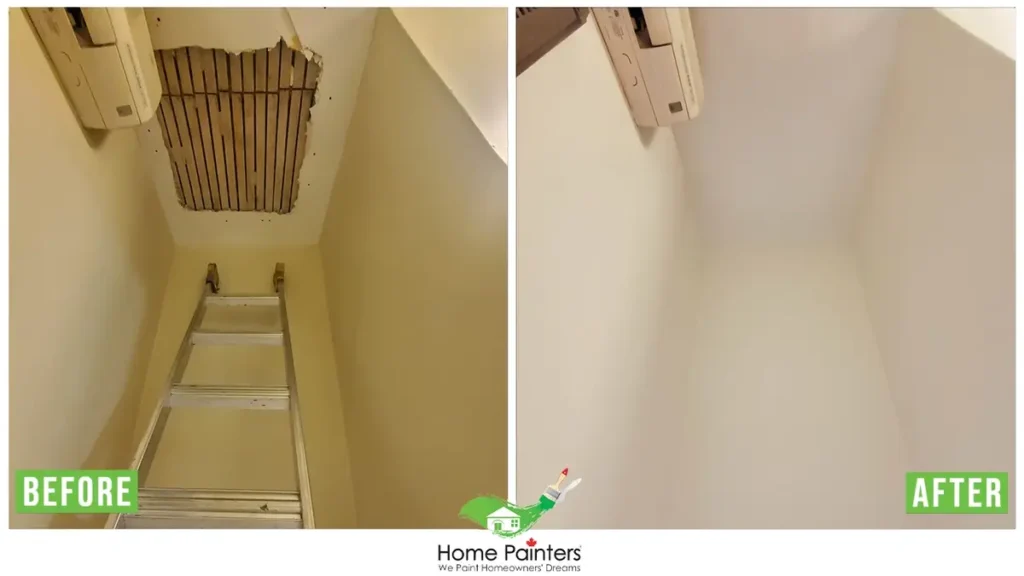
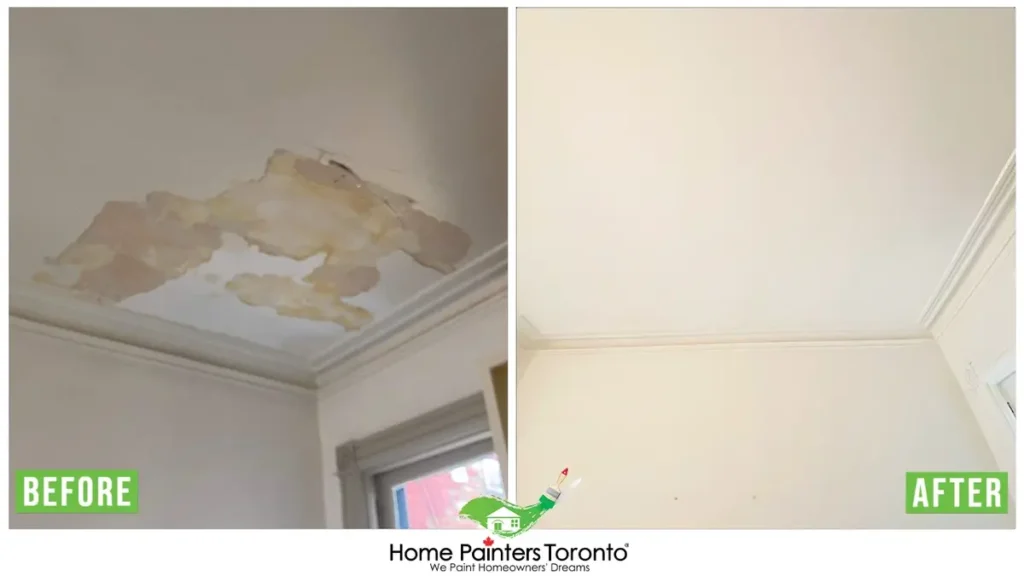
After a water damage incident, you may have plaster walls and ceilings that are cracked. The plaster will not be as strong as it was before the water damage, and you will have to keep that in mind when you are painting. If you paint over dry plaster, you may encounter some problems with the paint not sticking very well to the wall. If you paint wet plaster, you may have issues with the paint not sticking at all. The type of paint you choose will also affect how well the paint sticks to the walls. If you are unsure which paint will work best for the job, ask a professional about it and which paint you should use. Mould growth may be possible, depending on how long the wall has been wet and how much water damage there has been. Before you paint over any mould, you find in your home, hire a mould removal expert to get rid of it.
If you paint over them, you will be spreading the spores throughout your home, making the problem even worse.
3. Do It Right the First Time
After the water damage is dealt with, you may be tempted to start painting the walls as soon as possible. While this may initially sound like a great idea, you’ll realize it will result in a lot of extra work for you in the end. The drywall treated for water damage may be weak and require more than one coat of paint. If the first coat is not done right, you may want to remove that paint and do it again. Water damage is a very serious situation. You should never try to paint your walls before the water damage has been taken care of professionally. Know your paint, know its drying length, and avoid painting over wet walls to achieve an excellent colour finish indoors.
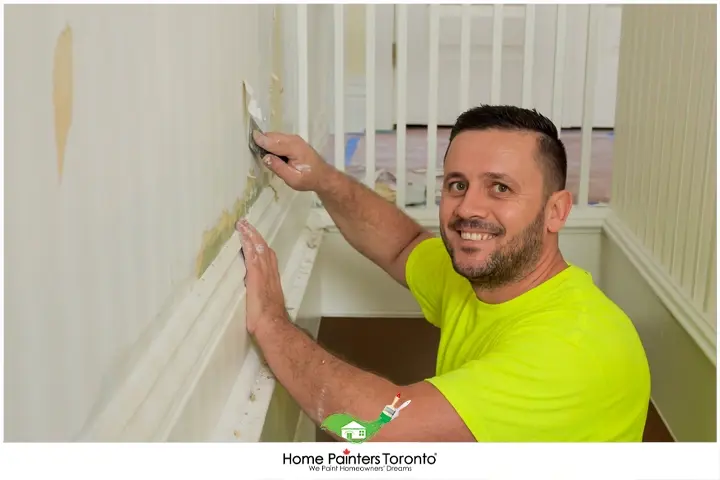
The Step-by-step Roadmap to a Successful Paint Job Post Water Damage
So, how do you fix paint after water damage? Here’s a step-by-step roadmap to help you get started on a water-damage wall.
Step 1: Inspection and Damage Assessment
Start with a thorough inspection to assess the extent of water damage. This step is vital for understanding the repairs required before rushing into repainting.
Step 2: Drying and Dehumidification
Ensure complete dryness of the affected surfaces. It might involve using dehumidifiers and fans for a certain period. Skipping this step can lead to premature paint peeling.
Step 3: Cleaning and Sanitisation
Remove any residues, dirt, or mildew. Use suitable cleaning agents and be sure to sanitize the area to prevent future mould growth.
Step 4: Repairs
Fix any structural repairs like replacing drywall or plaster, before painting. Any damage left unaddressed might nullify your painting efforts.
Step 5: Primer Application
Apply a stain-blocking primer to mask any water stains and to add an extra layer of protection against moisture.
Step 6: Repainting
Choose a high-quality, moisture-resistant paint. Apply evenly and ensure full coverage for a great finish.
Remember, each step of this water damage repair process plays a crucial role in restoring the original beauty of your premises, and no step should be left unchecked.
More Interesting Blogs Related to
“Things You Need to Know About Paint Jobs after Water Damage”
If you need help from professional painters in Toronto who will tend to your dry walls, our experts here at Home Painters Toronto can give you a hand. We offer a wide range of painting services, ranging from interior painting to exterior residential painting. Contact us today and let us handle your home’s paint job for you. Call 416.494.9095 or email Brian@HomePaintersToronto.com. Also, don’t forget to check out and follow us on our social media channels below!


