
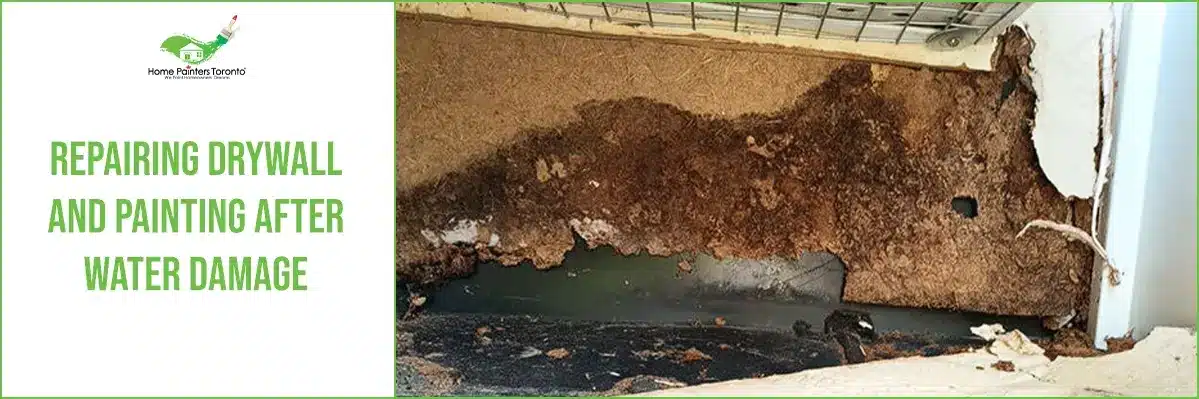
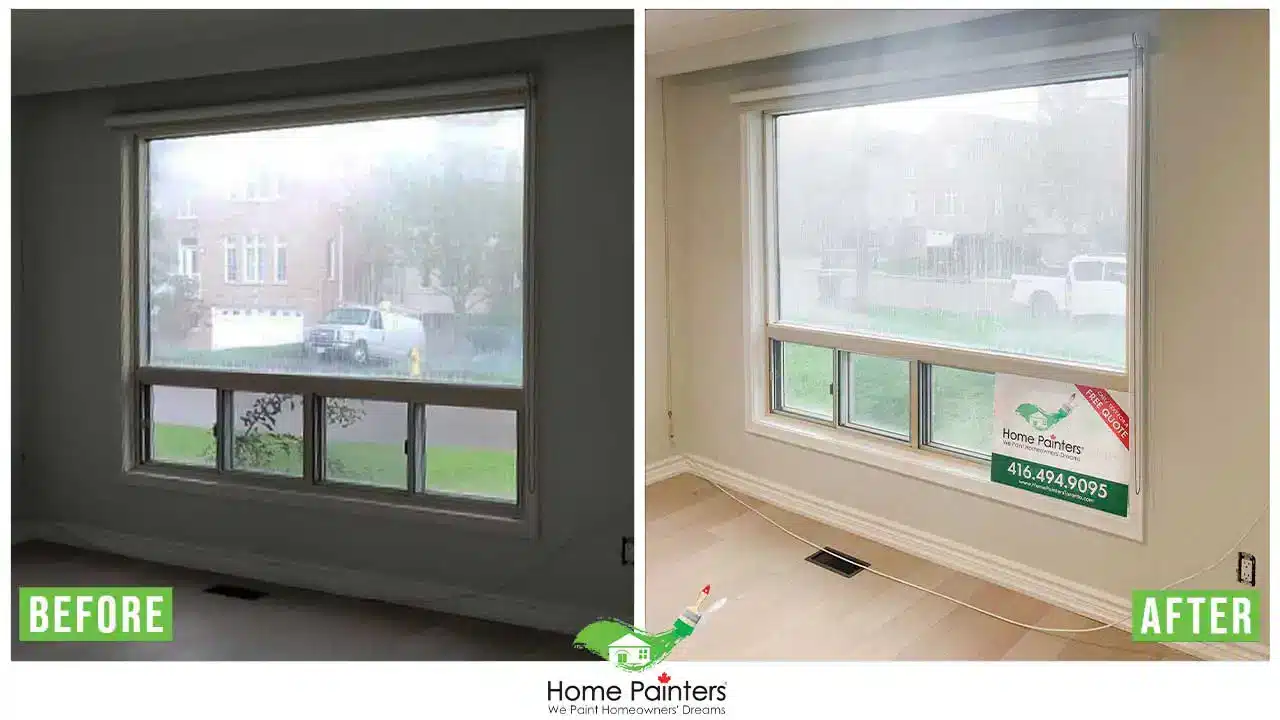
Water damage can occur in a variety of different ways. Whether it’s from a burst pipe, a leaking drywall basement ceiling, or condensation, water is not drywall’s best friend. It doesn’t take much for you to require drywall water damage repair. While it can be incredibly stressful to be in this situation, especially if you’re a new homeowner or haven’t had to deal with it. It’s actually a bit easier than you might think. It does take some work, but drywall repair can be done with some care and patience.
Things to Know About Drywall
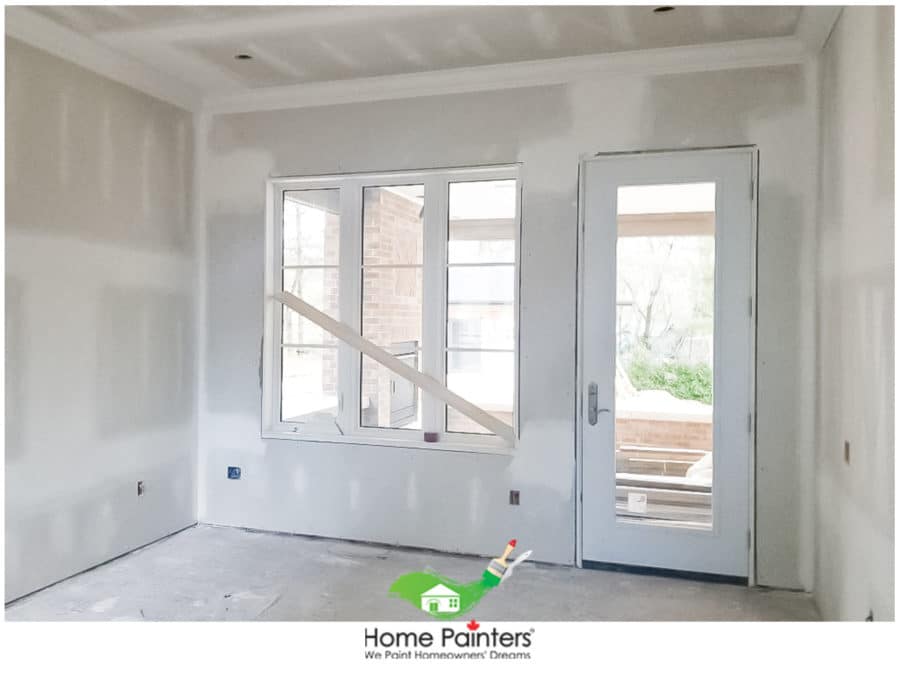
Drywall is made of calcium sulphate dihydrate, or gypsum, between two types of paper. Typically, interior drywall sheets are ½ an inch thick when used for walls and ceilings. Commonly, ceiling drywall can also be ¾ inch thick. Gypsum is incredibly porous and starts to dissolve in water, so water damage can lead to some major headaches. Drywall has a bound edge, or long edge, and a butt edge. The bound edge is significantly thinner than the rest of the sheet, so it’s easier to hide when the seams are taped under the joint compound. The butt edge is as thick as the rest of the sheet, so you want to ensure you’re not putting bound edges on the butt edges if you want a professional, even look. The studs are vertical, so you want to attach the drywall with the long side running perpendicular to the studs to help it become strongly reinforced. Doing it this way will help it become less noticeable when the job is finished by breaking up the vertical seams.
Recognizing the Warning Signs: Identifying Water Damage on Drywall
Before commencing any repair work, it is crucial to accurately identify water damage on your drywall. Awareness of the warning signs can save you time and money, preventing further harm. Here’s how to spot the telltale signs of water damage:
Discolouration or Stains
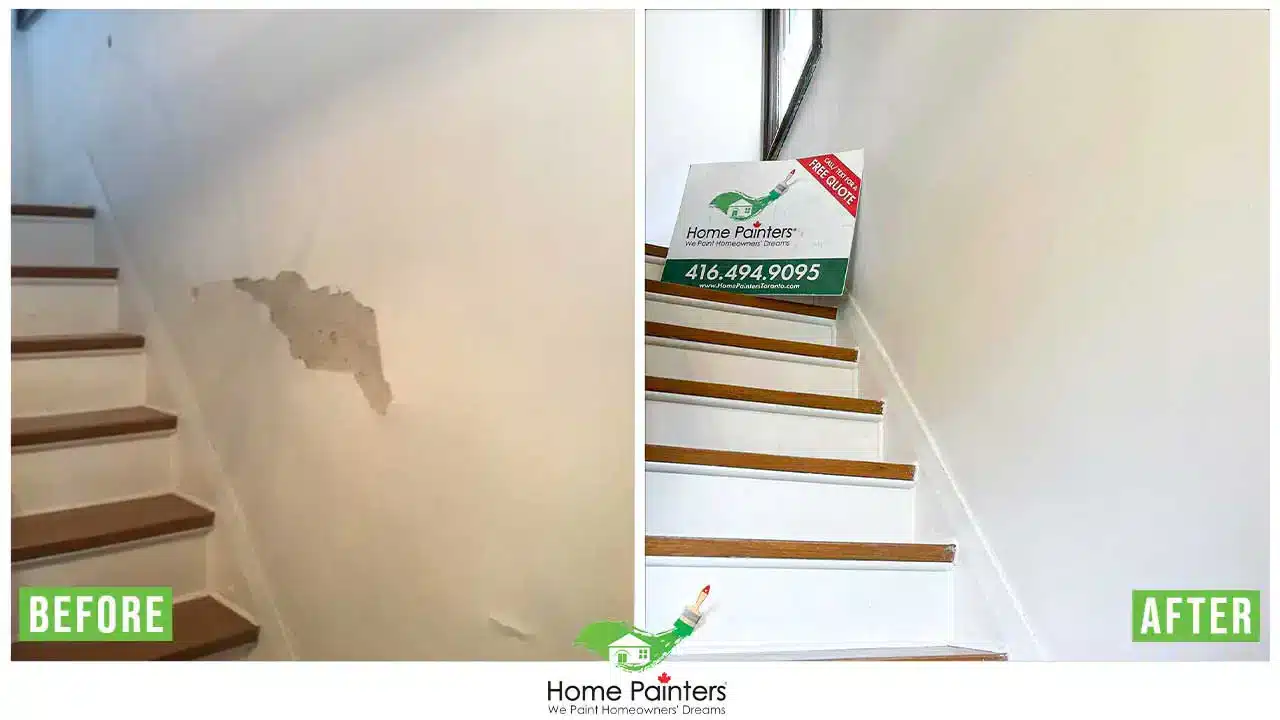
One of the most common indicators of water damage is discolouration or dark spots on your walls. If you notice any unusual spots or a patch of colour that doesn’t match the rest of your wall, there’s a high chance of water damage.
Peeling Paint or Wallpaper
Water can compromise the adhesive bond between paint or wallpaper and drywall, causing them to peel off or bubble. If you see your paint or wallpaper flaking, bubbling, or peeling in certain areas without any known cause, it could be a sign of hidden water damage.
Soft or Swollen Drywall
Touch the area you suspect has water damage. If it feels softer than the surrounding wall or appears swollen or warped, that’s a strong sign of water damage. Drywall typically becomes soft and begins to swell when it has been exposed to moisture over a prolonged period.
Unpleasant Odours
Water damage often leads to mould and mildew formation, which emits musty and unpleasant odours. If your room has persistent mildew-like smells even after cleaning, this could indicate hidden water damage in your drywall.
Visible Mould
Mould growth on your wall’s surface is a clear sign of water damage. Mould can appear in various colours: black, white, green, or brown. If there’s a persistent, unchecked moisture problem, you’ll likely spot visible mould spores growing on your drywall.
Realizing your walls have water damage can be disconcerting, but early detection is half the battle won. Once you spot these signs, it’s time to mitigate the damage and start the recovery operation straight away. Remember, it’s always a good idea to consult a professional if you are unsure of the extent of the damage.
Step-by-Step Guide: Water Damage Wall Repair
Determining the Damage
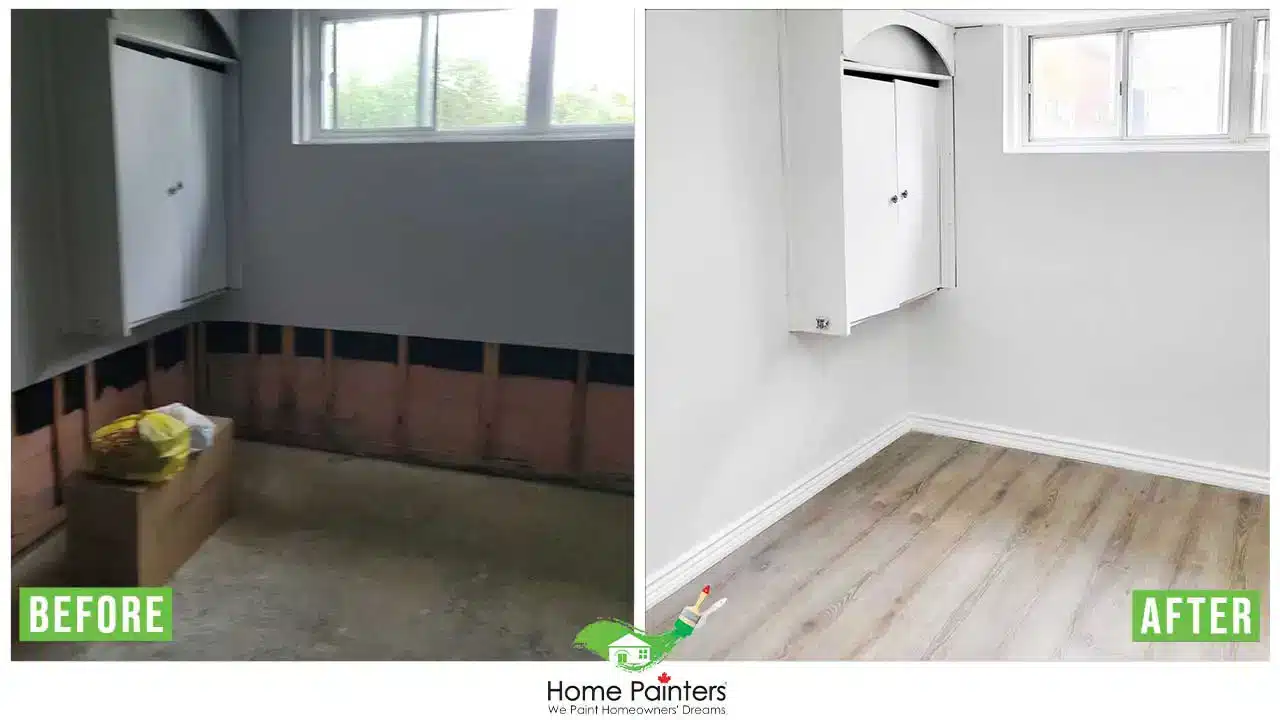
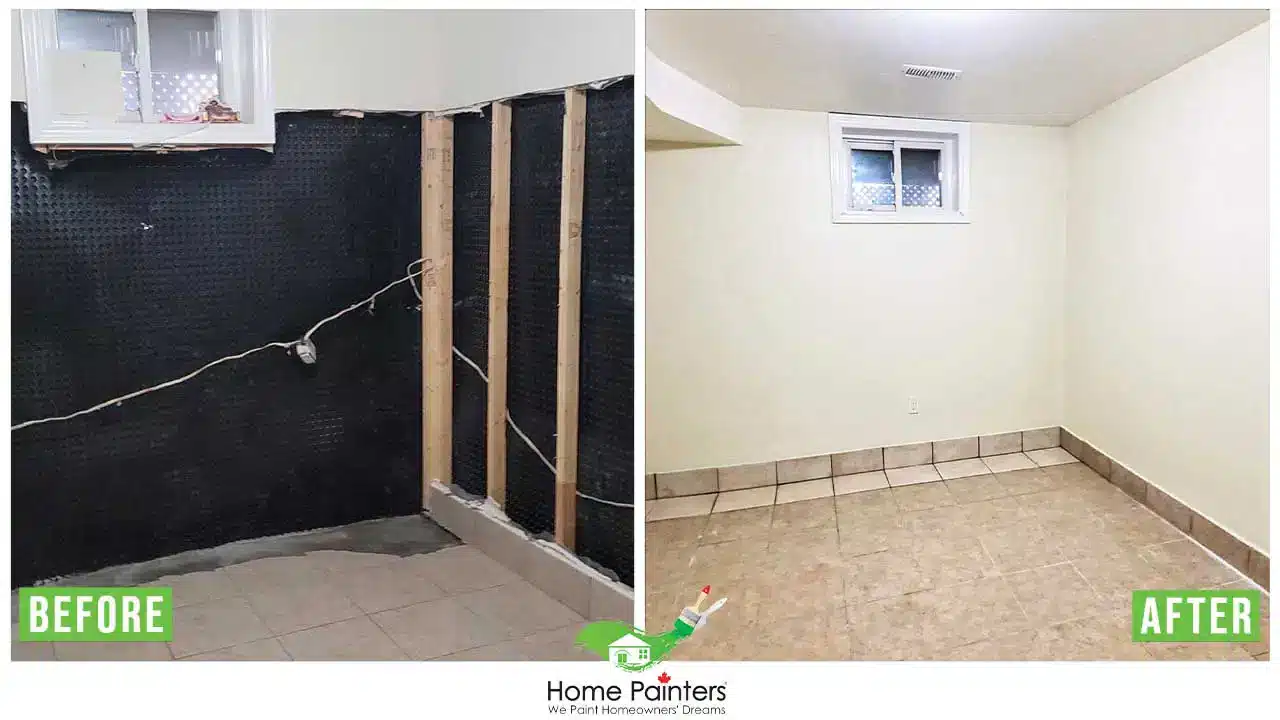
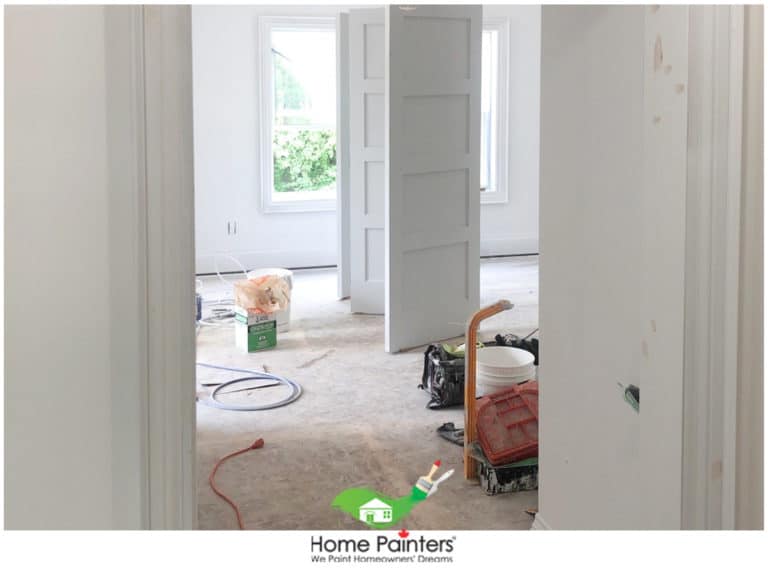
First things first, you will want to assess the damage. When drywall becomes wet, it can become heavy due to the nature of the material, causing damage to any nails that are holding it in place. If you’re lucky and there’s not too much damage, you may be able to just push it back into place with some fresh screws and repaint with some stain-resistant, high-quality paint, and be good as new. If the drywall has become soft, you’re going to have to do a bit more work. Wet drywall is the perfect place for mould to grow, so you won’t be able to deal with it with a quick fix, and you’ll want to take care of it as soon as possible.

Repairing Water Damaged Drywall
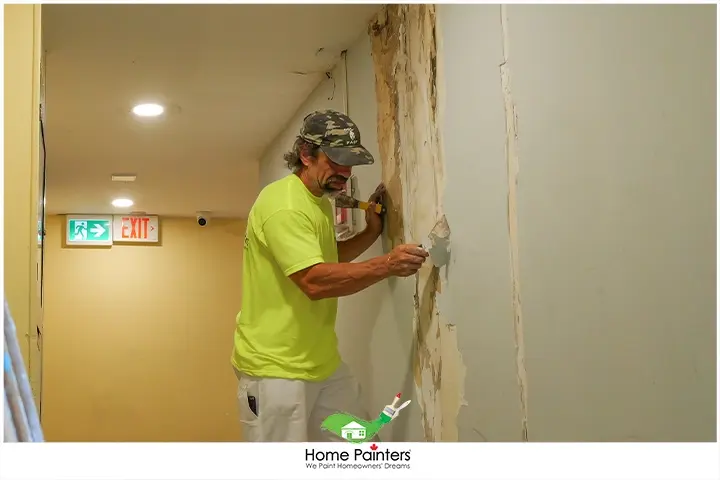
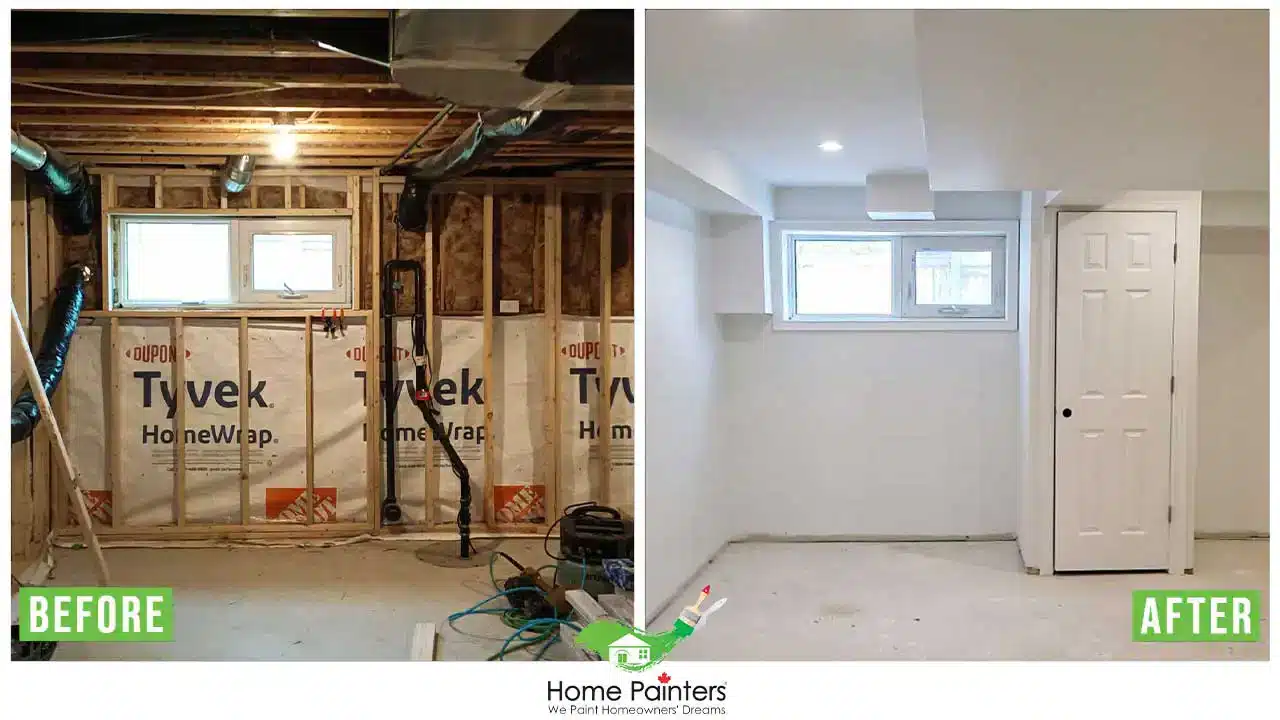
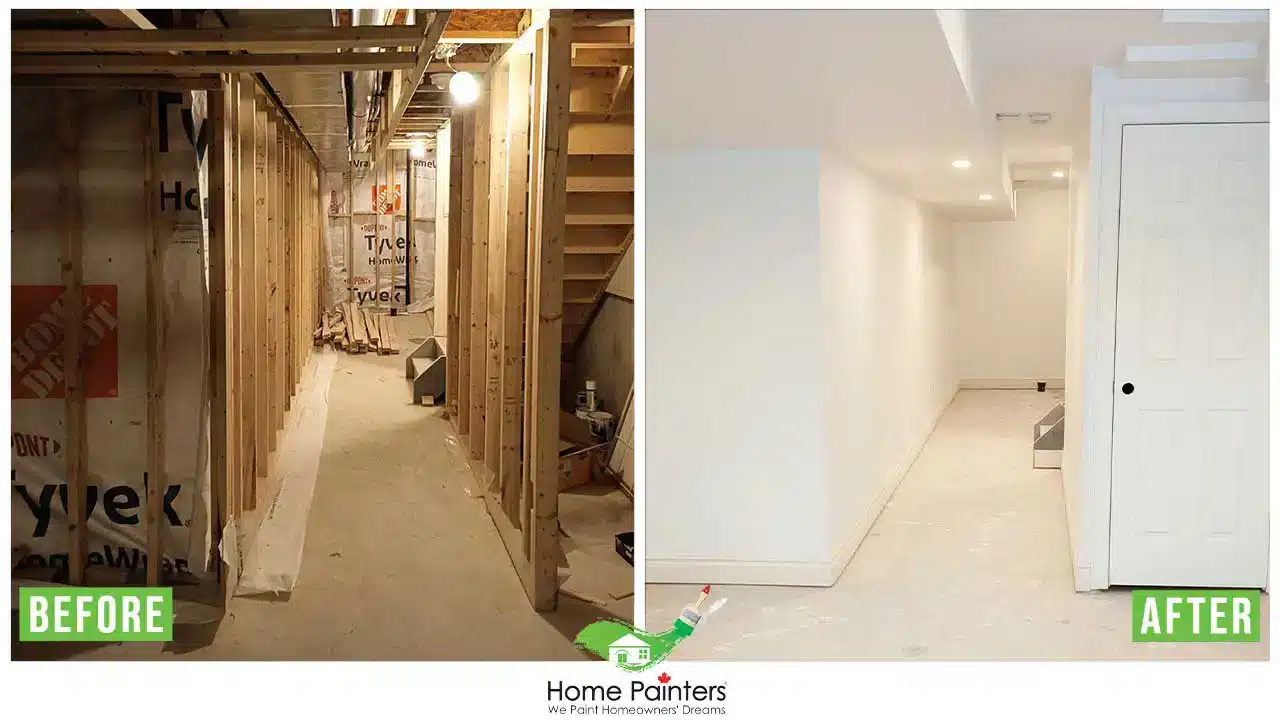
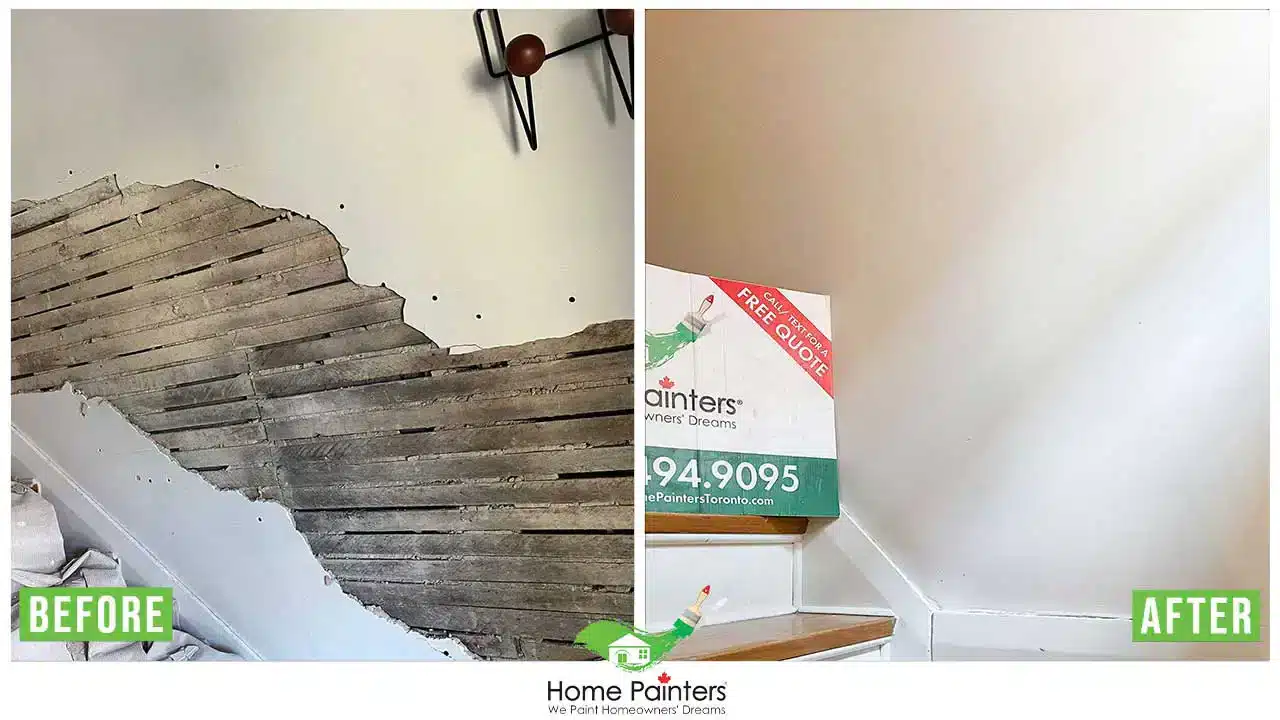
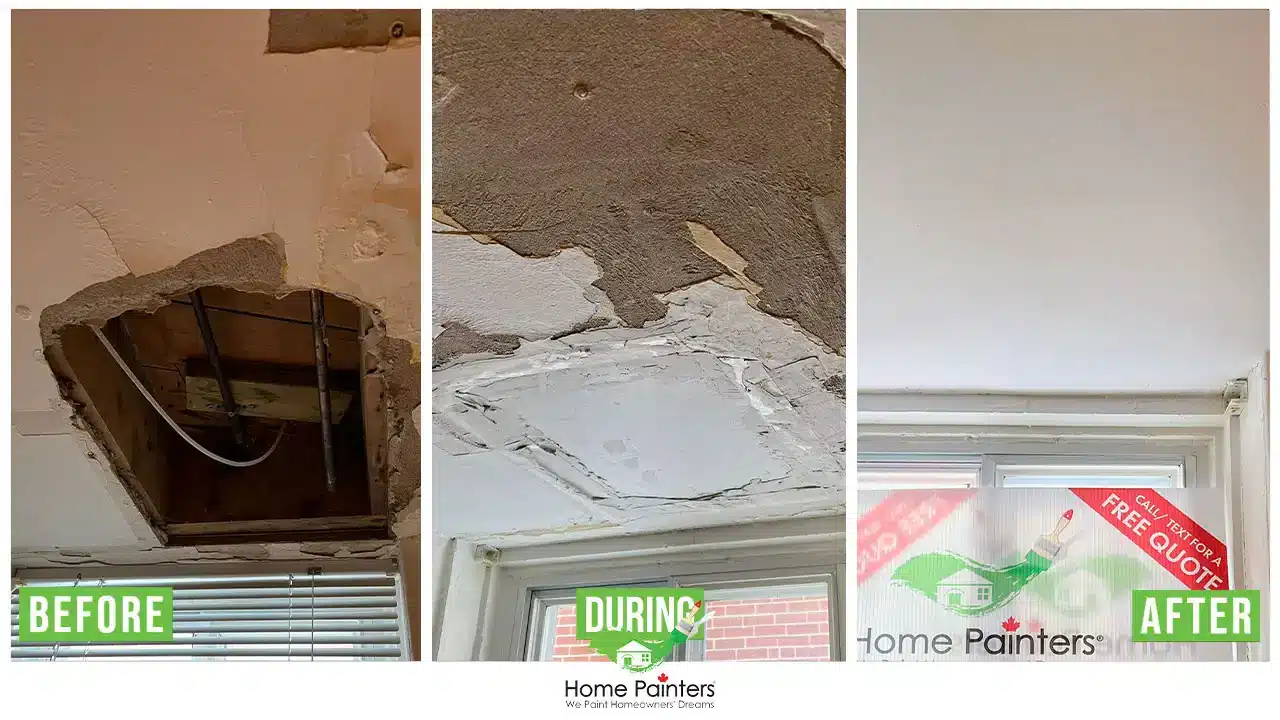
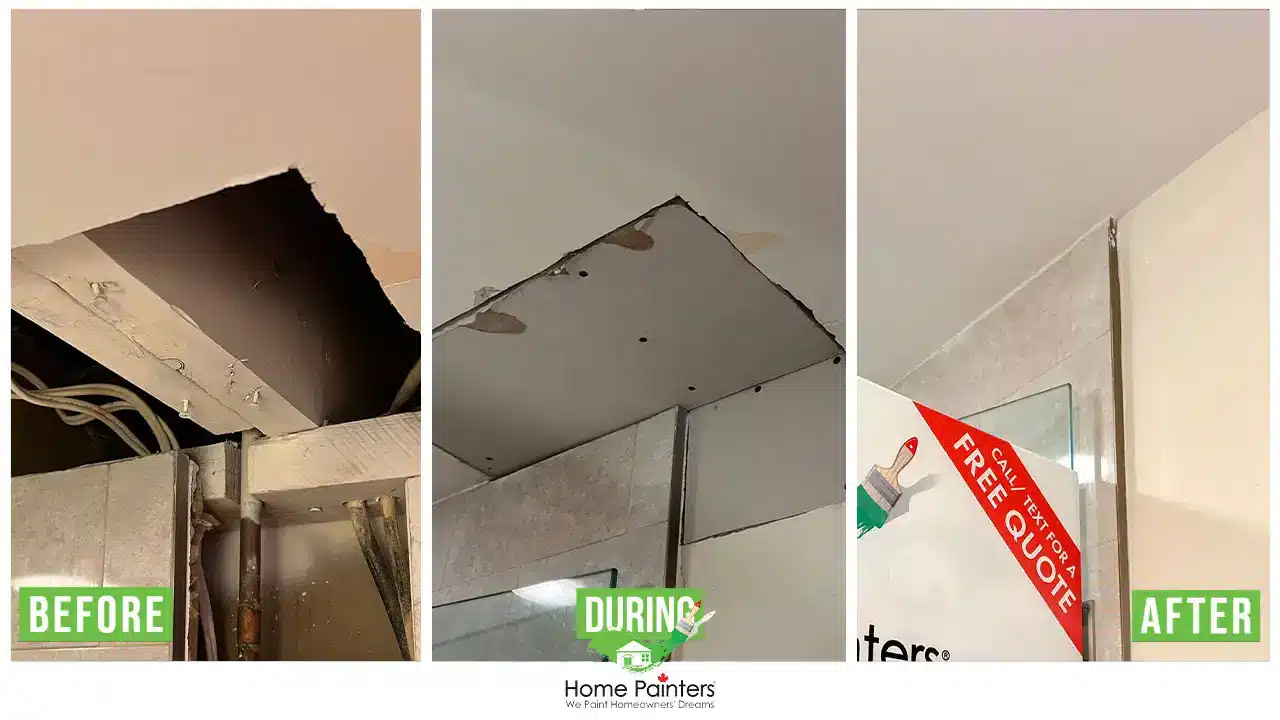
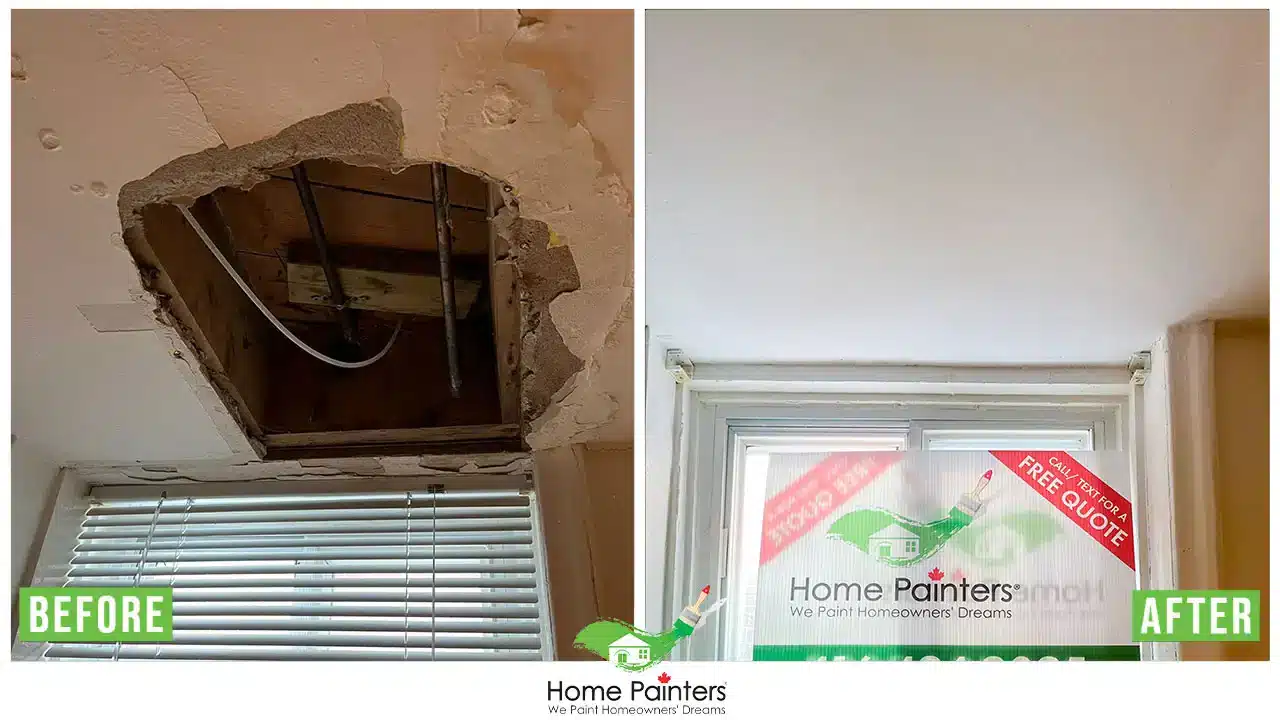
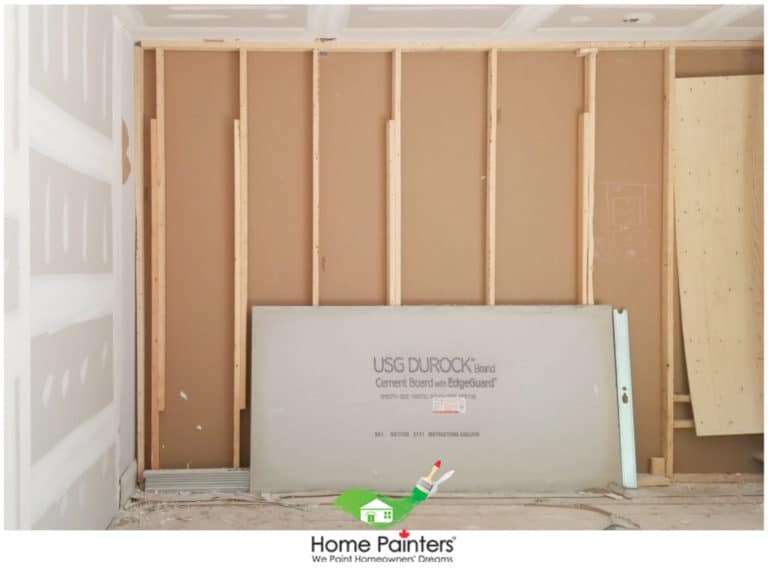
The first step to starting this project is to cut out the damaged sections of drywall and remove them. You will want to ensure you’re disposing of the drywall properly, especially if you’re dealing with a significant amount of water damage or you’ve waited long enough that mould is starting to appear.
When cutting out the damaged drywall, try to cut it in square or rectangular shapes and keep it as uniform as possible. Doing this makes it easier to replace pieces and fit the new patches together. It also helps to make mudding and taping a bit easier. If you’re working on a ceiling, damaged spots under twelve square inches will need drywall clips to be held in place.
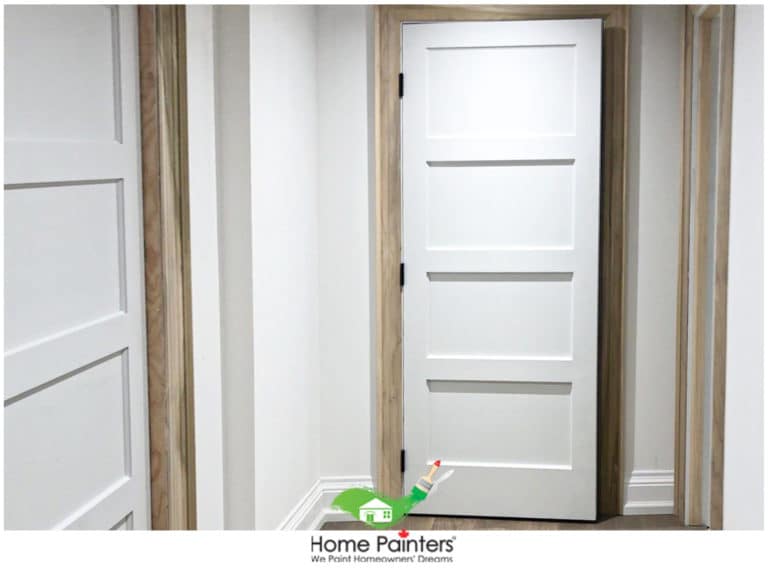
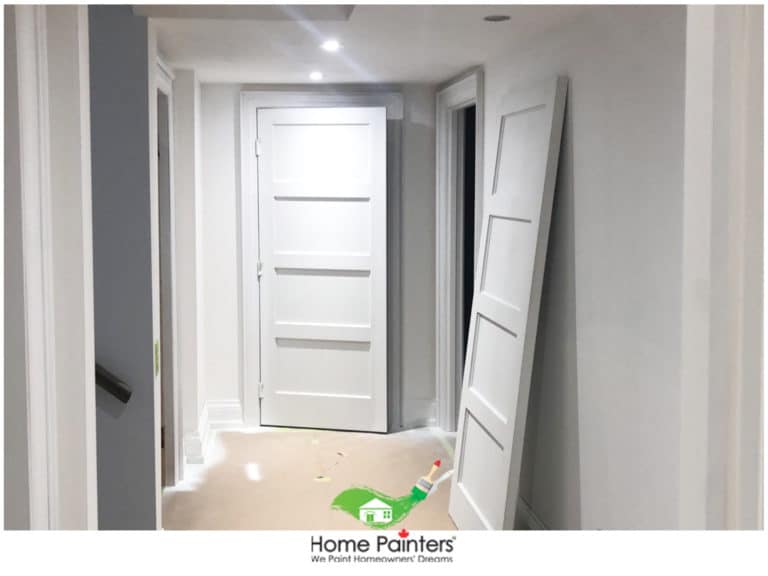
Otherwise, ceiling joists will be required. You can use a drywall saw, or keyhole saw to cut the patches. Be careful and patient when completing this step, and watch for plumbing and electrical as well. Once all your damaged drywall is removed, you can measure the replacement pieces and get them ready for installation. Drywall clips will be extremely helpful during this step. For each hole, place four clips around it. You can secure them with a drywall screw, but be sure not to overdrive the screw. Cut out the replacement patch from your new drywall and insert it, securing it with the clips and drywall screws. If the wall that has been water-damaged has an outlet, make sure you cut out the space for that before you insert it into the open patch.
Painting Your Newly Repaired Walls
Now that your new drywall is installed, you’ll want to blend the seams and give your room a fresh coat of paint. Tape over the drywall seams with paper or mesh tape. The paper tape will give you a more professional look, but mesh tape can be easier to use because it’s self-adhesive.
- Once everything is taped, you can apply your joint compound.
- Cover any joints and use a scraper so they become flush with the wall. Spreading the compound a good four to six inches beyond the repair spot is ideal for ensuring a good job.
- While you’re done mudding the wall, you want to let the coat of joint compound dry entirely for up to twenty-four hours.
- When it’s completely dry, you can sand away any rough patches. When doing this kind of work, always wear safety gear, like a dust mask and goggles.
- Now that everything is sanded, you can clean up any lingering dust do a second coat and repeat the process.
- It can take a few days for the entire process to be completed.
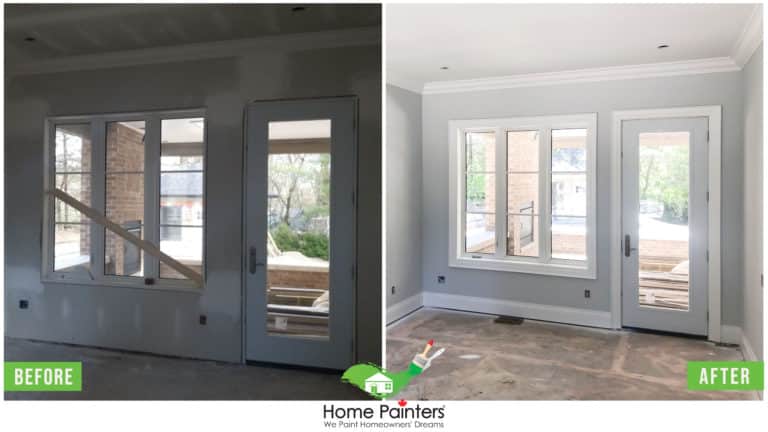
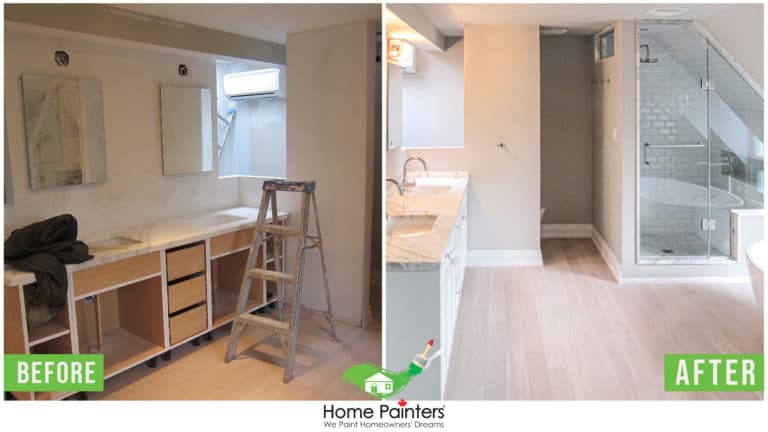


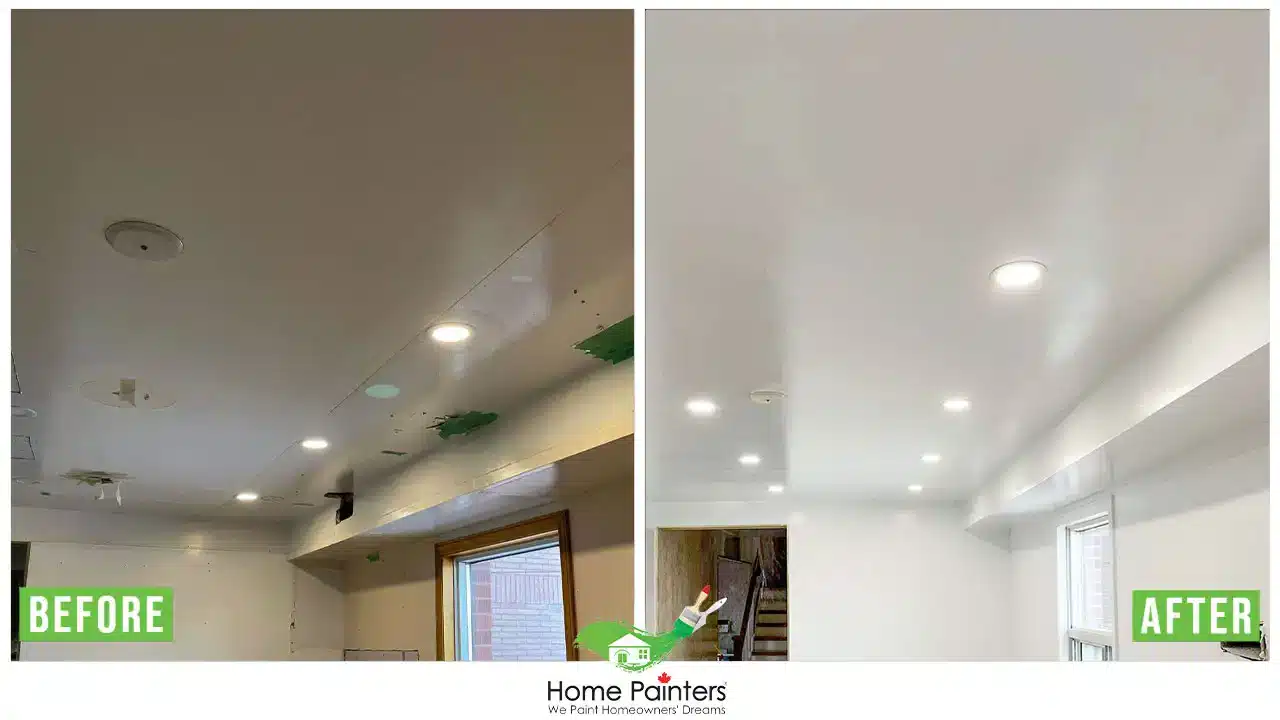
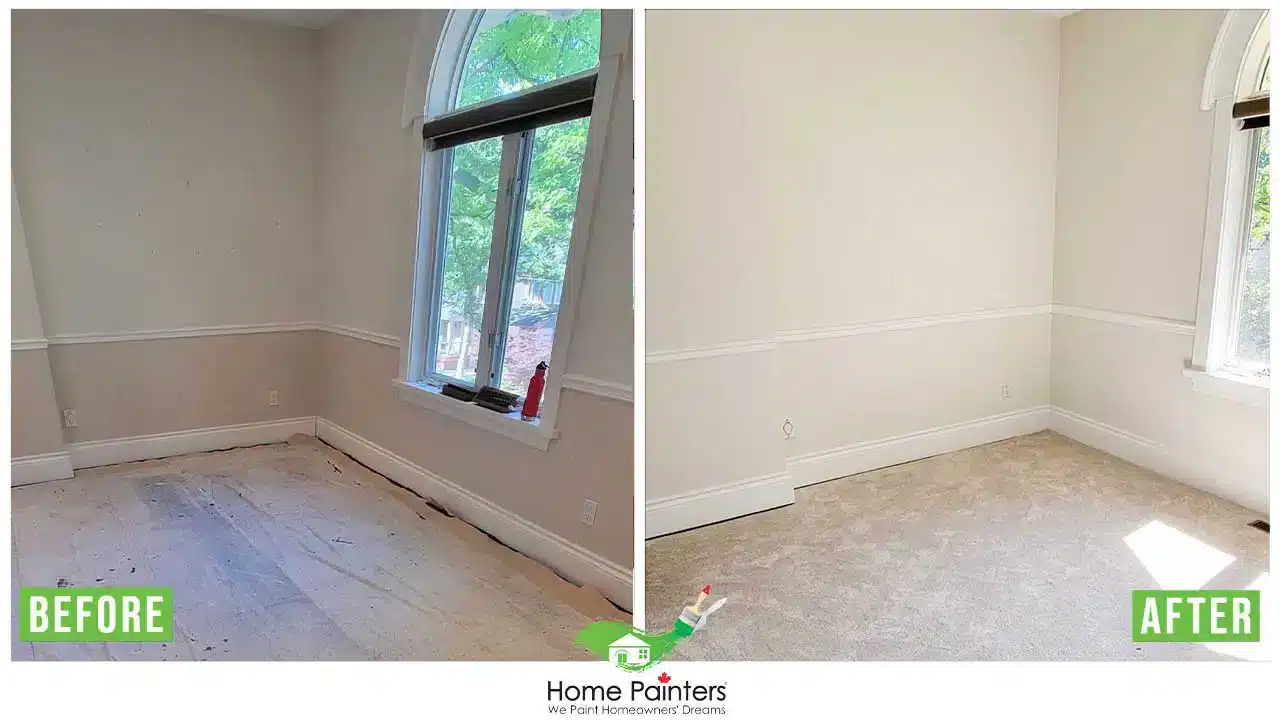
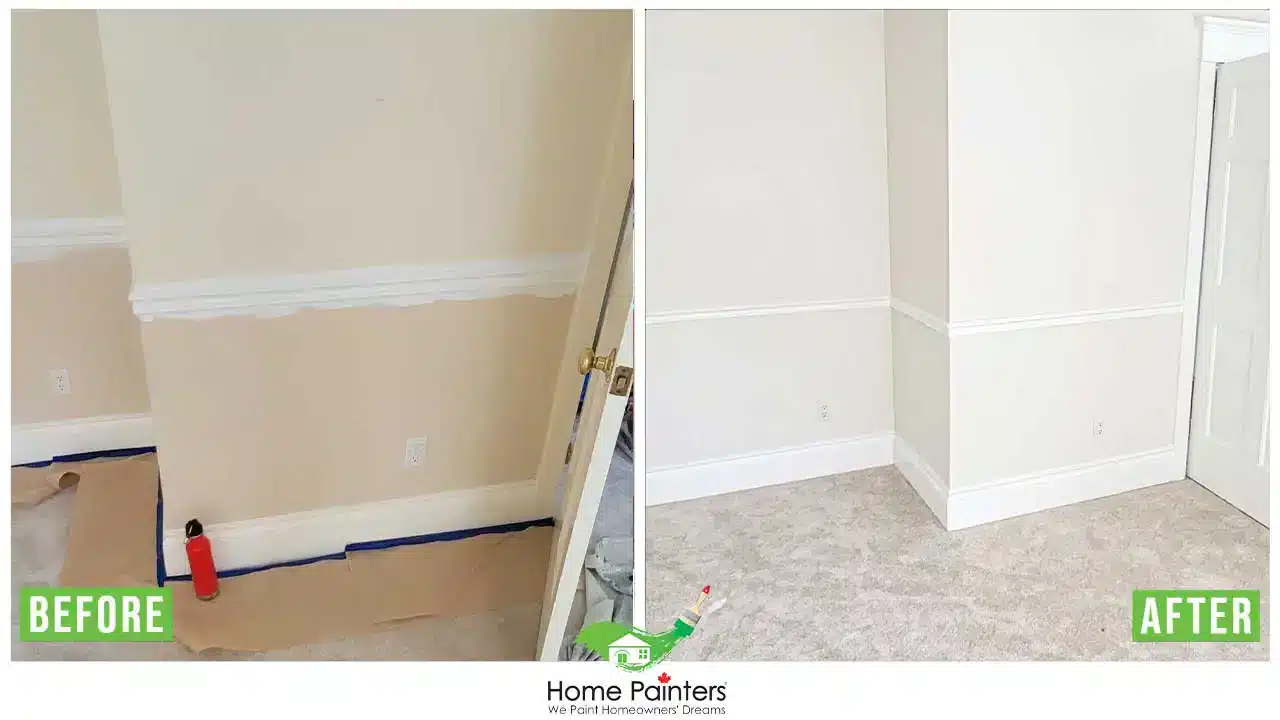
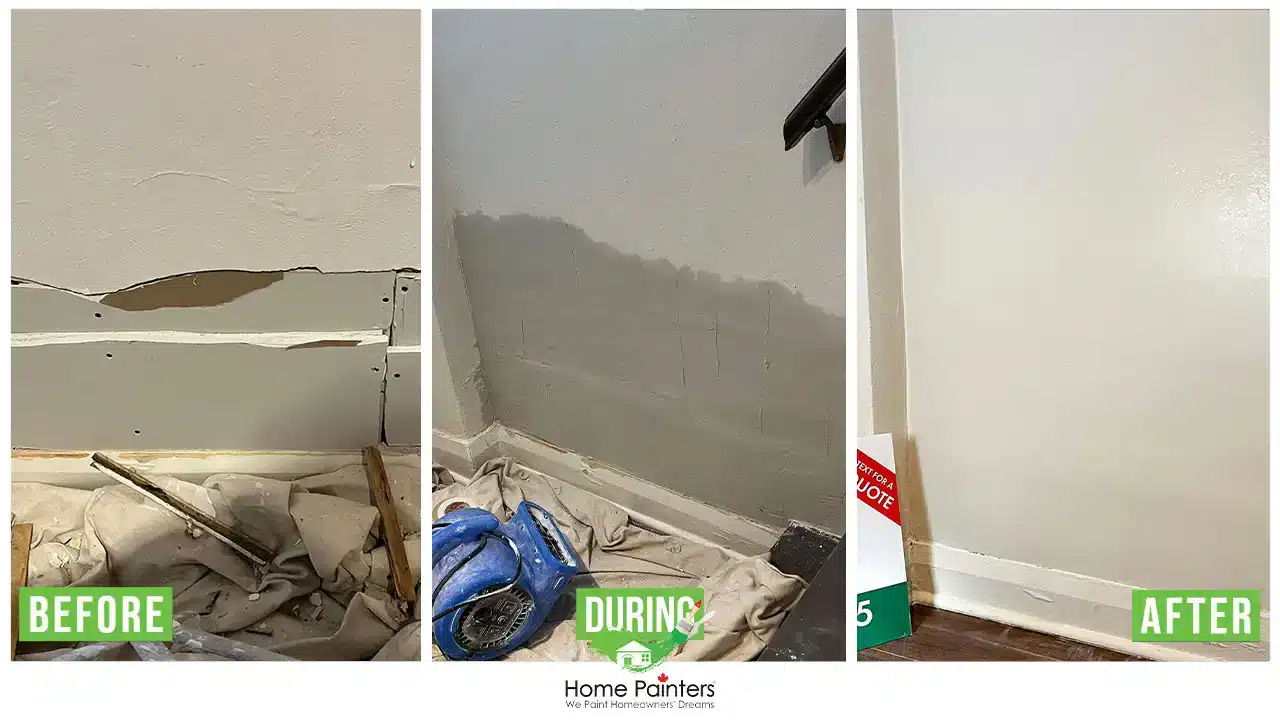
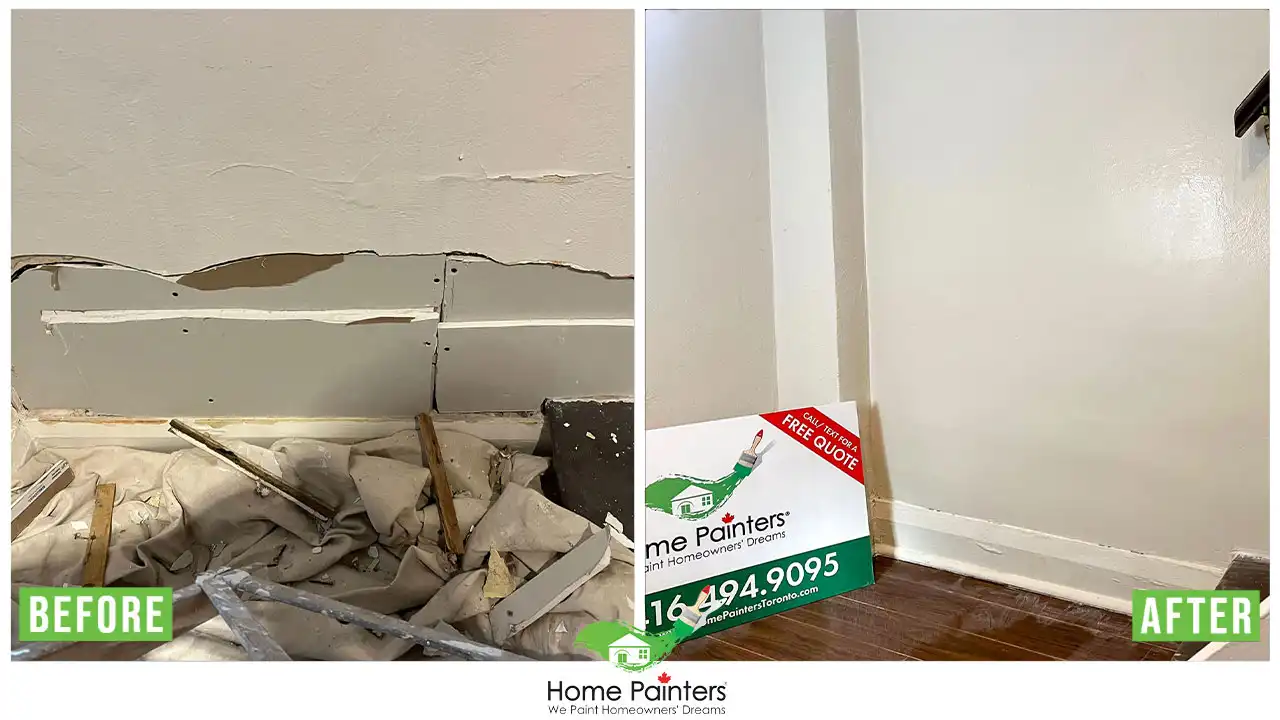


Since your wall now has a lot of joint compound on it, you’ll want to ensure you prime the walls before you paint, just to avoid them retaining moisture. Spending the extra money to get a high-quality primer and paint will pay off in spades over time.
Once your primer is applied to the product’s specifications, you’re good to paint your room whichever colour you want. If you need a second coat, make sure you let the first coat dry entirely before starting round two.
Why Hiring a Professional Drywall Contractor is the Ultimate Choice
While DIY repairs can be an exciting adventure for handy homeowners, water damage can lead to extensive and potentially hidden issues. Here are some reasons why hiring a professional drywall contractor is often the best approach:
Expert Skills and Knowledge
Professional contractors have vast expertise in treating water damage, assessing the structural integrity of the wall, and making necessary drywall repairs. They also have deep knowledge of material properties, local building codes, and safety standards.
Specialized Equipment
Proper drywall repair and repainting require specific tools and machinery. Professional contractors utilize advanced equipment such as industrial fans, dehumidifiers, infrared cameras to detect hidden moisture, and specialized tools for cutting and installing drywall. This ensures quality and efficient service.
Time and Effort
Drywall repair can be labour-intensive and time-consuming. By hiring a professional, you are saving yourself the time and effort of performing the task on your own.
Quality Workmanship
A professional drywall contractor guarantees a higher level of workmanship, ensuring that your walls look pristine and seamless after repair. They are skilled at blending repaired sections with the rest of the wall, which can be challenging for a non-professional to achieve.
Insurance Purposes
Many insurance companies require a certified professional’s services to ensure that the work is done correctly. Also, professional contractors often carry liability insurance, adding an additional layer of protection for homeowners.
Mold Prevention and Treatment
Drywall companies are experienced in preventing and treating mould, which one could easily overlook during a DIY project. This know-how is crucial since mould poses significant health risks and structural degradation to your home.
In conclusion, when your home experiences significant water damage, a professional drywall contractor becomes your fast track to successful repairs. Their expert skills, high-quality tools, time efficiency, quality craftsmanship, and mould prevention knowledge ensure your home is well-protected and restored to its full glory.
If you’re looking to skip the DIY and hire a team of professionals to take care of your repair project, Home Painters Toronto should be your first call. Home Painters Toronto is the leading commercial painting company in Toronto, but we also specialize in drywall water damage repair. Our team members excel in making every house look perfect, from the ceiling to the floor. If you’re thinking about enlisting the help of a professional for your drywall and painting job, give us a call and let’s settle the details together.
Call 416.494.9095 or email [email protected]. Also, don’t forget to check out and follow us on our social media channels below!