
Aluminum siding, synonymous with durability and convenience, is a popular home exterior option. Its unmatched versatility, rust resistance, and robust conductor properties place it atop its counterparts. As with any longevity-focused thing, maintaining aluminum siding ensures it continues to provide you with excellent value for the long haul. One excellent way to maintain and revamp your aluminum siding is through painting, which starts with priming the surface.
Primed aluminum siding gives you an excellent base for your final topcoat of paint, and it plays a critical role in determining the durability and longevity of your paint job. The undercoat primer also assists with adhesion, sealing, stain blocking, and enhanced pigmentation of the topcoat. Most importantly, a correctly primed aluminum siding can withstand time, weather, and even heat extremes. Therefore, understanding the proper techniques and methods for priming aluminum siding is crucial.
Why Aluminum Siding Needs Primer in the GTA
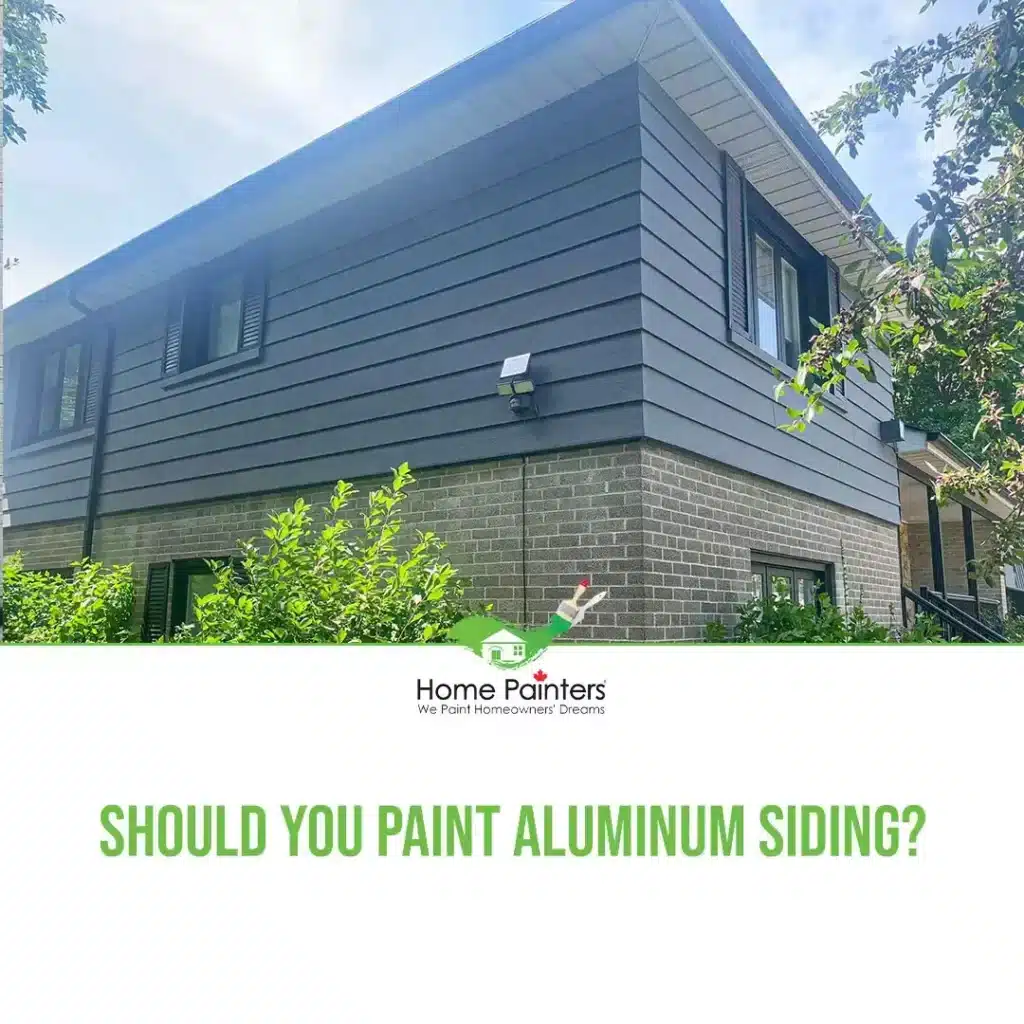
Priming aluminum siding before painting may or may not be necessary, depending on the project. But getting ready to paint aluminum siding is definitely cheaper than replacing it.
Whether you are choosing a paint colour or scheduling your time, priming and painting aluminum siding is a big job. Making sure the weather will cooperate as much as possible and that you have enough time for preparation is key.
If it is your first time washing or painting your siding, the tools and materials necessary will need to be gathered beforehand.
Oxidation
Generally, aluminum panels are “factory finished” which means that for most houses, they don’t need to be painted until they are “aging.” When the siding is around two decades old, many homeowners will clearly see a chalky residue.
This is called oxidation and will need to be washed thoroughly before starting the painting process. Depending on how long it takes between washes, the chalkiness may not come off completely, but with a good coat of primer, the end result will still be fantastic.
Step-by-Step: Apply Primer for Long-Lasting Paint
Step 1
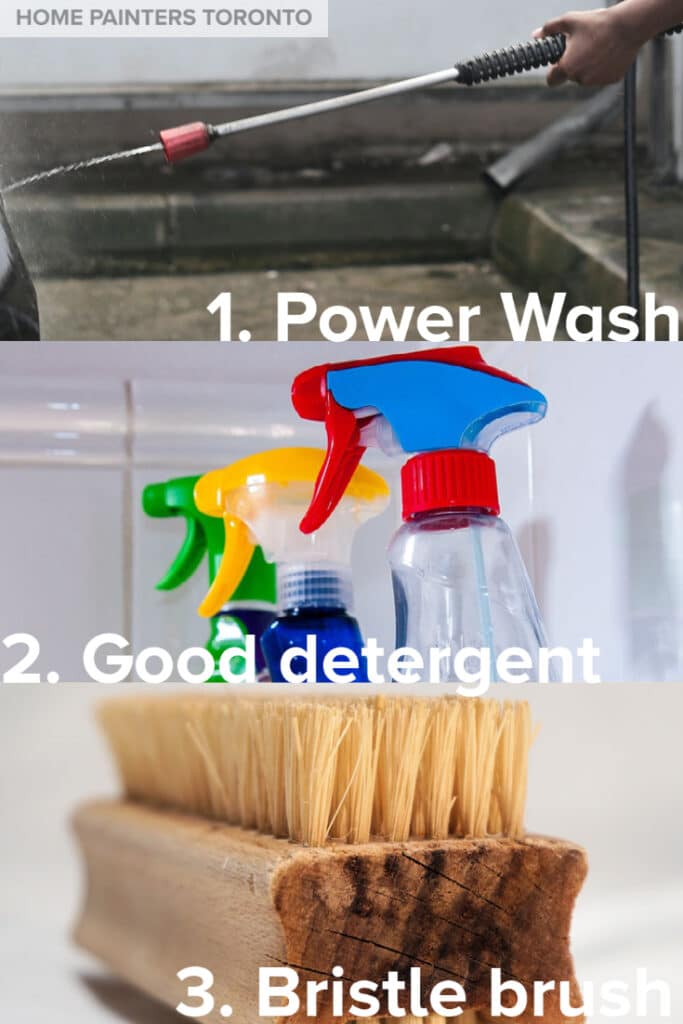
A power washer can make things easier, especially when it comes to time management. This is the most important step to ensure your painting job is on point. Make sure to use any necessary protective clothing and equipment before you begin.
Start on a lower setting so you can get used to the intensity.
Step 2
Using bleach and water, a good detergent or TSP from your local hardware store will help separate the dirt and grime from the metal or baked-on surface.
There may be mildew, cobwebs, bird droppings and other accumulated stuff that you need to get rid of.
Step 3
With good power washing, the white chalky powdery residue will rinse away. If you are not using a power washer then you can try a regular bristle brush and good old-fashioned scrubbing. While this method takes longer, the end result will still be great for painting –
But not to worry if your siding is old and run down, after the next couple steps, it will look as good as new.
When you are done with the washing process then you can move onto caulking. If you spot any little dents or holes, make sure everything is filled in smoothly before painting. And if there are any more heavily damaged panels then you may decide to patch or replace that part before you move onto painting.
After Washing and Caulking
1. Once your washing and caulking are complete, then it is time to tape off all the windows, doors, and trims.
2. That way they won’t get misted or splattered in the next part of the process.
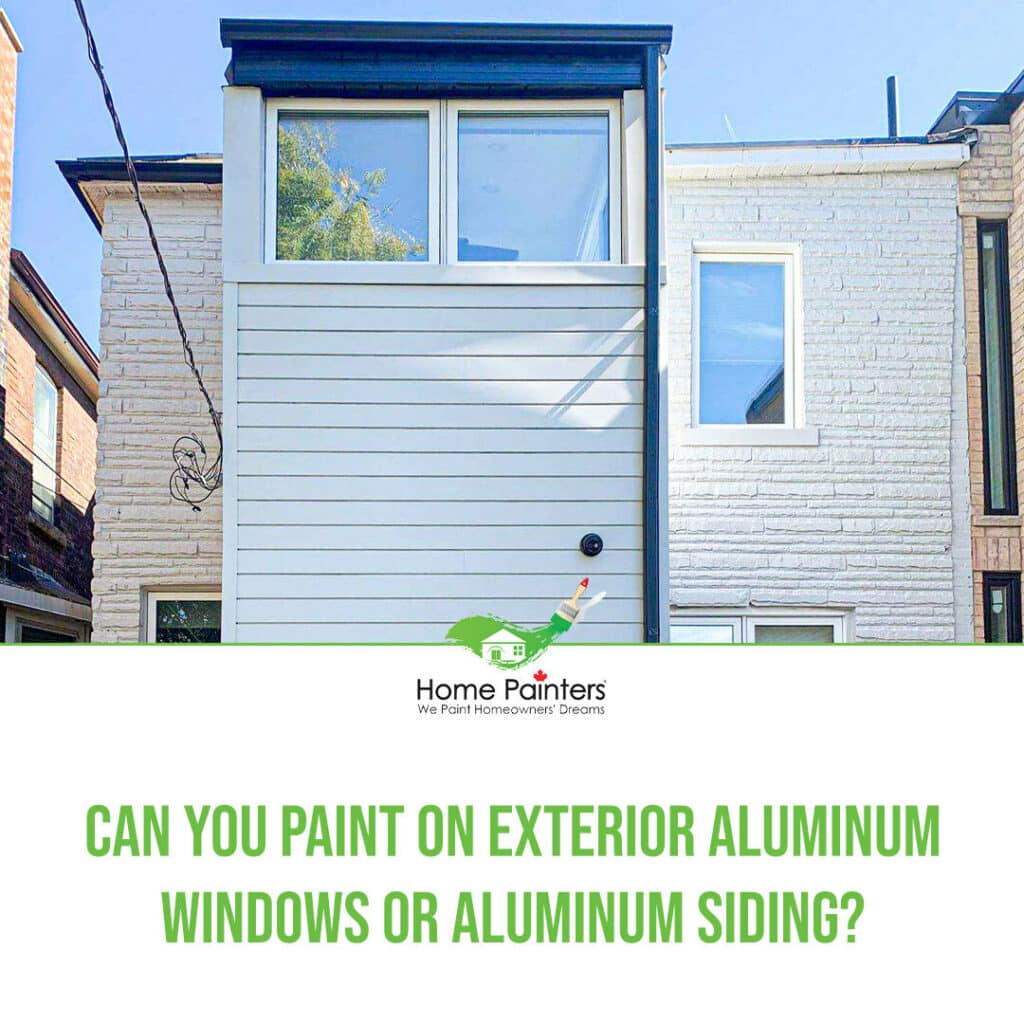
3. When it comes to primers, many exterior paints come with built-in primer but if not, choosing an oil-based one is better if raw aluminum is exposed. You may also decide on a metal etching primer.
4. During the time you select what is best for your project, then you can start off slowly to master your technique – especially if you are using a sprayer. It can take a little getting used to, moving your arm back and forth at the same distance from the siding to coat the surface evenly.
5. One coat should be enough but if you feel you need another, then go right ahead. Because painting a house is such a big job, you can prime on one day and paint on another. But most houses will take three to four days to complete.
When it comes to the actual paint, a high-quality acrylic latex paint is most often recommended. Remember there are many exterior metal paints that have a built-in primer, so the previous step of separately priming may not be necessary. Once you move onto the painting stage, two coats should do the trick.
Using a sprayer will help speed the process along but you can also use a roller on aluminum siding effectively. When it comes to the style of paint, a matte finish is best as opposed to a glossy one. This ensures that if there are some dents or other imperfections on your panels, they are not highlighted. And metal siding paints last a very long time, about five to ten years.
How Much Does It Cost To Paint Exterior Vinyl & Aluminum Siding?
So there you have it! When you are complete, you can remove the tape and plastic around windows, doors, and trims and enjoy your brand-new looking aluminum siding. It will up your curb appeal and make your house into what you envision.
But remember, Home Painters Toronto is here to help, if you have questions, we have answers. And if you need some help, we have lots of hands!
More interesting blogs related to
“Priming Aluminum Siding”
If you reside in Toronto and the GTA and need some help figuring out the interior painting costs per square foot, don’t hesitate to call us! We will help you pick the colours you want and show you the latest painting and home renovation trends. Our home painting services with the best pro painters have been around now for over 37 years.
Call 416.494.9095 or email [email protected] for a FREE quote for your home painting needs. And don’t forget to check us out on our social media channels below!