
Shoe moulding or quarter rounds are lengthy, flexible pieces of wood. In this blog, you will learn how to install shoe moulding or quarter-round on your walls. You’ll also learn how to cut shoe moulding as well. We’ll go over the shoe moulding installation process and the cost of this project. Read on to learn all about it below!
Shoe Moulding vs. Quarter Round: Understanding the Nuances
Before we delve into the installation process, it’s vital to clarify the often misunderstood distinction between shoe moulding and quarter-round. These terms are frequently used interchangeably, but in the sphere of carpentry and interior design, the differences, while subtle, can have significant implications for the aesthetic and functional results of your project.
The Subtle Difference
Quarter Round is precisely as it sounds—a quarter of a round dowel, a simple, unadorned piece with a 90-degree angle on the back that fits snugly into interior corners where the floor and wall meet. Its most notable feature is its uniform, rounded face that symmetrically curves outward.
Shoe Moulding, on the other hand, features a more complex profile. It is typically not a perfect quarter circle but has a slightly squashed appearance, giving it an elongated S-like shape when viewed from the end. This less pronounced curve allows it to sit more flush against the baseboard and floor, accommodating a broader range of floor contours.
Choosing Between the Two
While both quarter-round and shoe moulding trim serve a similar functional purpose—to cover the gap between the floor and baseboard—the decision to use one over the other can be driven by both aesthetic preference and practical needs.

When to Use the Quarter Round:
- You’re looking for a more traditional look.
- Your baseboards and flooring gaps are uniform and even.
- You want a trim that matches the size of existing rounded baseboard profiles.
When to Use Shoe Moulding:
- Your floor-to-wall space has varying gaps that a more flexible shoe moulding could accommodate.
- You prefer a more subtle, trim profile that doesn’t attract too much attention.
- You’re working with larger baseboards and need a trim that doesn’t overpower the design.
Installation Considerations
It’s also worth noting that the installation methods for both quarter-round and shoe moulding are comparable. Miter cuts for corners, measuring accuracy, secure nailing, and seamless caulking are universal steps across both applications. The choice between the two will not significantly alter the installation process but can subtly enhance the room’s finished look.
How to Install Shoe Moulding or Quarter Round Corners
Here’s a thorough, step-by-step guide to help you expertly tackle the installation of shoe moulding and quarter-round corners:
Materials You Will Need to Install Shoe Molding:
- Pencil
- Safety Goggles
- Miter Saw
- Shoe Molding/Quarter Round Pieces
- Measuring Tape
- Finishing Nails
- Nail Gun
- Stud Finder
- Painters Tape
- Wood Glue
1. Prep the Molding before Installing Shoe Molding or Quarter Round
- Some might prefer to paint/prime the moulding before installation to save the hassle of doing it later and getting paint spills on the floor, but it might be a better idea to wait until after the installation process in case of any damages that could occur to them.
- Clear the area of dangerous items and make a good space to work around.
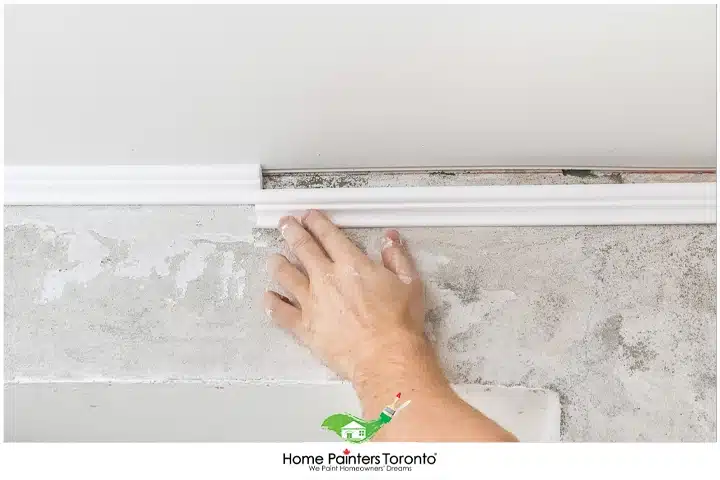
2. How to cut shoe moulding: Mark, Cut and Line Up
When figuring out how to cut shoe moulding, you want to use a pencil mark from the end of the wall to point out which direction you will cut.
- Measure out the angle of the corner and cut the angle with a miter saw, but do not cut right on the cut point, or the moulding will be too short.
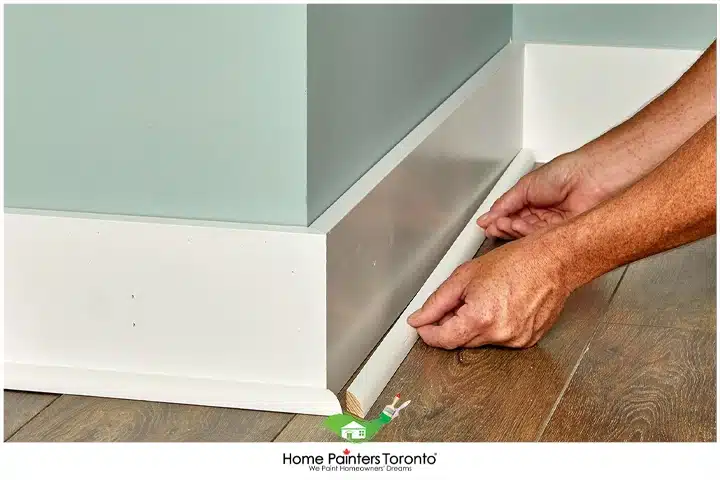
- After you have cut the shoe moulding, put it down where you want to install it, but don’t nail it yet in case you need to make some alterations later.
- Repeat this process for the other angled piece. Cut this piece at the opposite angle from the first cut.
- Find where the studs are in the wall with a stud finder and mark it with painter’s tape.
3. Install the Quarter Round
- Put the two angled pieces together, hold them together firmly and nail the moulding securely using a nail gun
- You may choose to make a returned piece of moulding. This can be used to make the moulding appear neater and add a finishing touch that looks very clean. Use glue to put it in place.
- Now, once it has been installed, you can prime/paint it
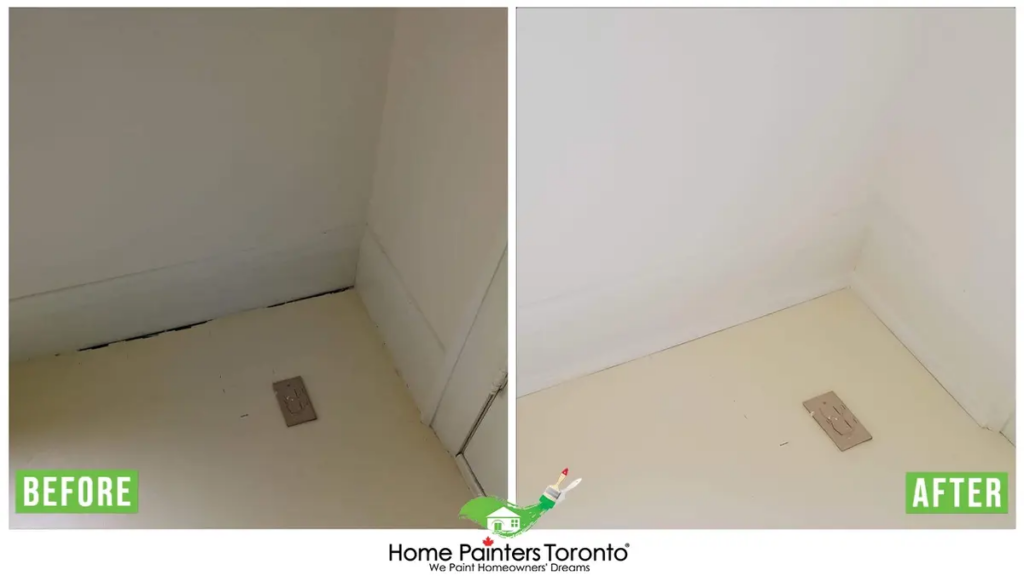
Final Thoughts
Remember, the shoe moulding installation might seem intimidating at first, but there is a certain satisfaction in seeing the improved charm of your room with the moulding in place. Plus, like all DIY projects, practice makes perfect. The more you engage in it, the better you become.
More Interesting Blogs Related to
“How To Install Shoe Moulding Or Quarter Round”


Discovering how to install shoe moulding or quarter-round is really quite simple and quick, isn’t it? It adds a very flawless appearance to the walls that surround your home and it is a great idea to do when you have a gap that needs to be filled in. Want some help with carpentry work around your house? Give HPT a call! They’re standing by to give you assistance! Call us NOW at (416) 494-9095 or email Brian@HomePaintersToronto. And don’t forget to follow us on all our social channels below!