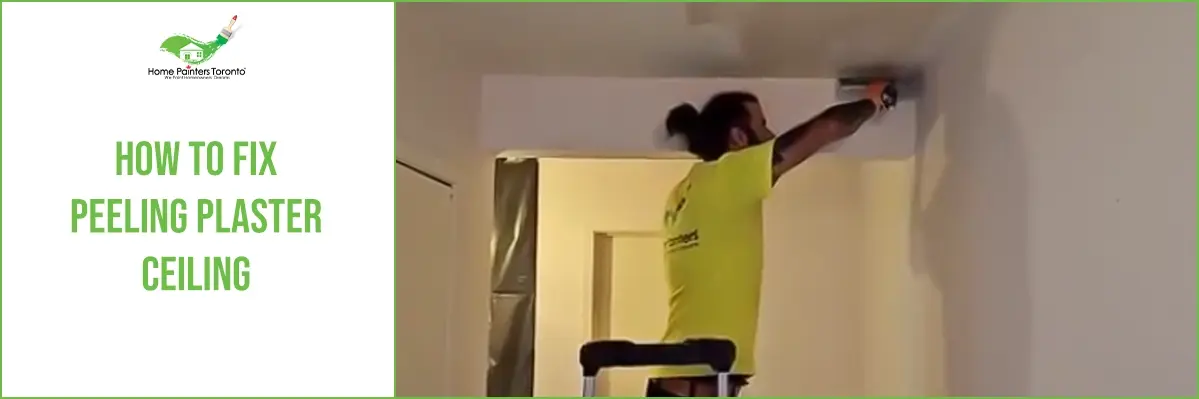
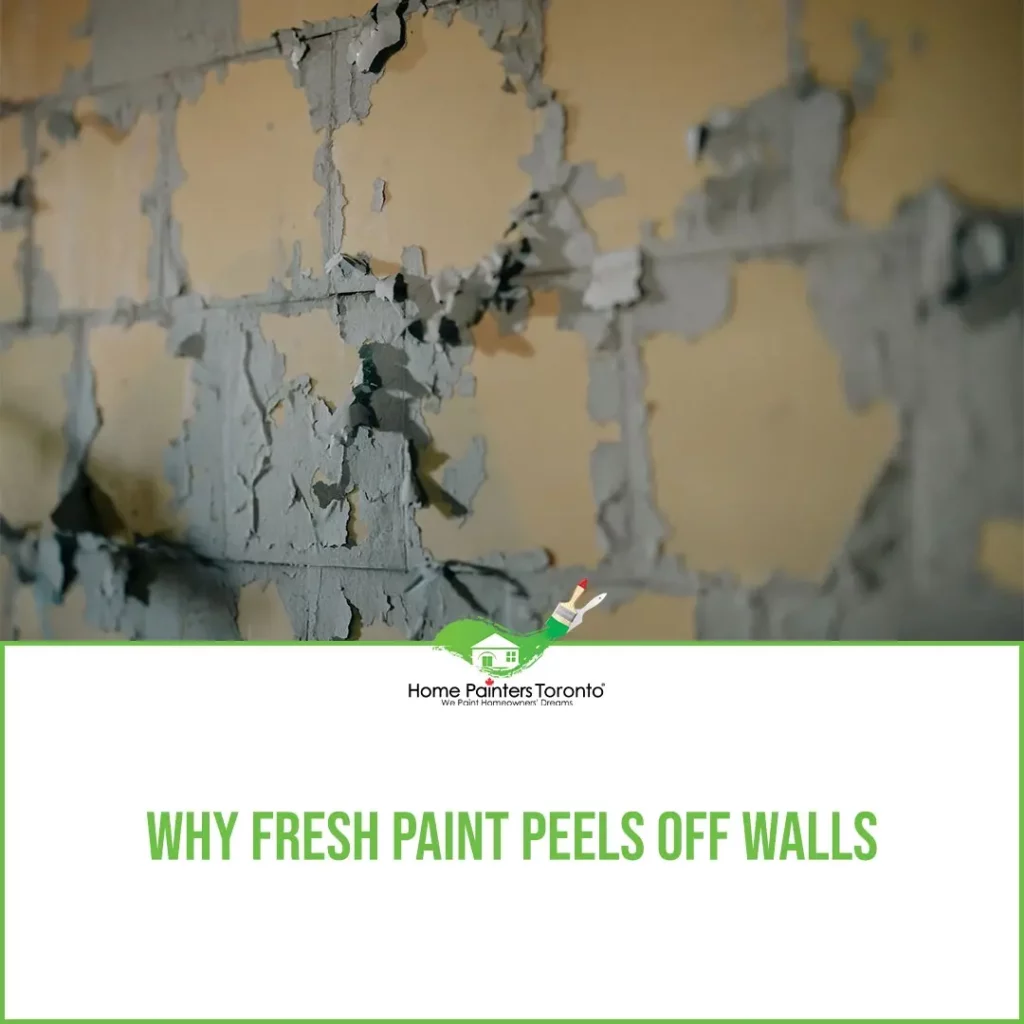
Peeling plaster on a ceiling is not only an eyesore but can also lead to more serious problems if not addressed promptly. This issue is usually caused by moisture, poor adhesion, or aging. In this blog post, we’ll guide you through the process of fixing a peeling plaster ceiling and restoring it to its former glory.
Ways to Fix Peeling Plaster Ceiling
A peeling plaster ceiling is anything but appealing, so here’s how to restore it to perfection.
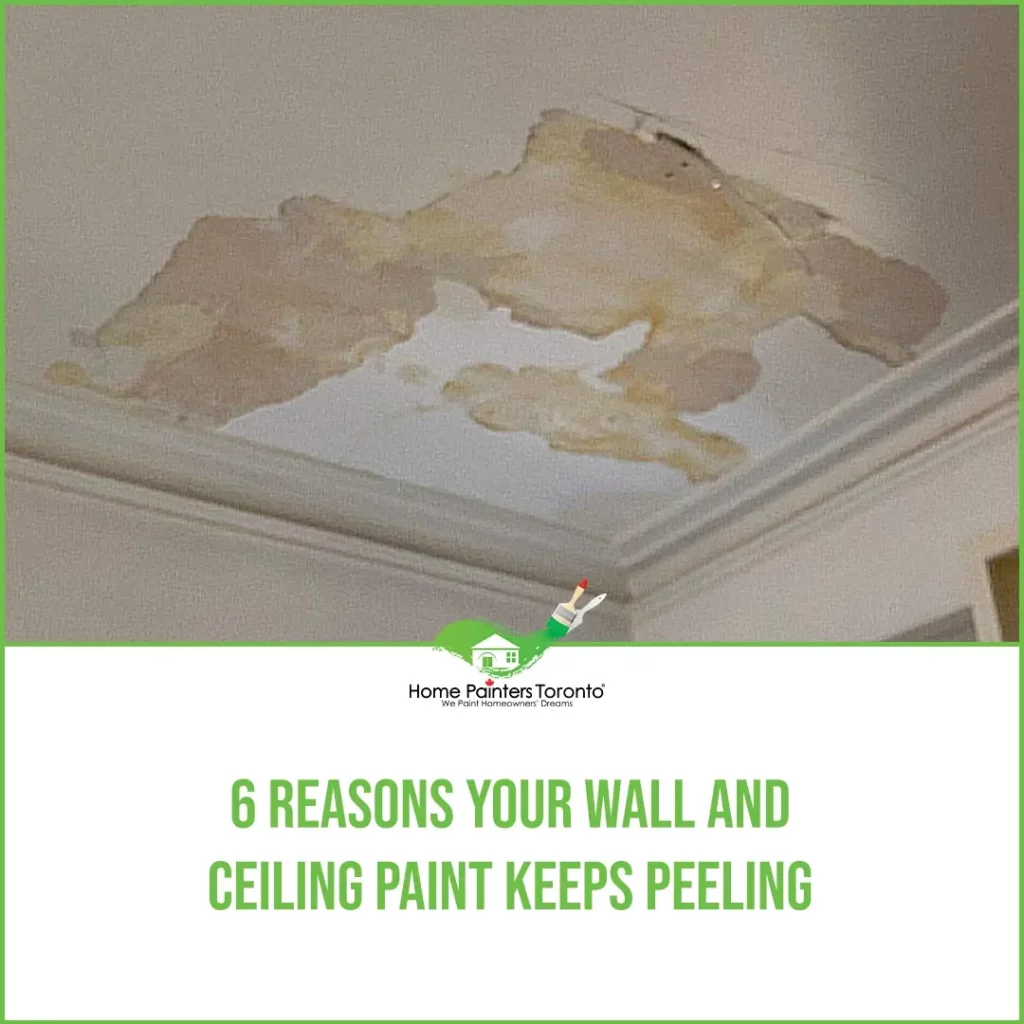
There can be several reasons why your plaster ceiling is peeling, so it’s best to get to the root of the problem so it doesn’t reoccur.
Reasons For Peeling Plaster Ceiling
“My ceiling is peeling! My ceiling is peeling!” It’s a common call we get from clients. It might feel like the sky is falling in your home, but fear not. We know how to fix a peeling plaster ceiling. Before we talk about how to fix it, let’s talk about why it happens.
The peel could happen due to a leak, high humidity, or the age of the house. It doesn’t matter the cause; the steps you take in repairing are the same.
The problem could be a water leak, high humidity in the room if it’s in a bathroom, heat from cooking if it’s in a kitchen, a poor quality product used years ago, or just plain old age. To investigate the problem and have it repaired first, whether it’s fixing your roof or installing a better exhaust fan. Then you can get to work on fixing the ceiling’s peeling plaster.

How to Repair Peeling Paint on Plaster
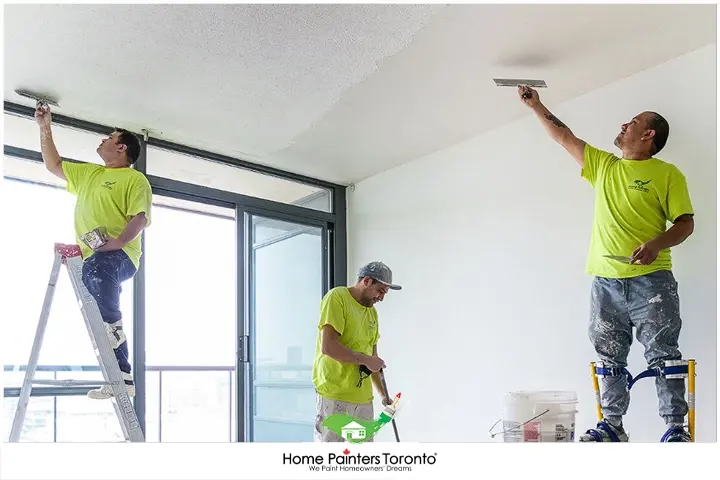
Now that we have determined the peeling paint on the ceiling cause, let’s take a look at the ceiling repair process. The guide we have laid out above is a simple, five-step method. By following it, you can remedy the peeling plaster and restore your ceiling to its original, pristine condition.
From gathering your supplies to applying paint, the process is step-by-step and straightforward. Even if you have never undertaken a painting project before, this guide will ensure you end up with a smooth, even ceiling once again.
The peeling and flaking need to be removed, so prepare yourself for an intense upper body and arm workout. That is scraping, re-plastering, sanding, priming, and painting—as well as hands that start to go numb from raising them over your head so much. Take frequent breaks, as this repair job is going to involve an awkward and uncomfortable stance to endure.
Tools you’ll need:
- Steady Step Ladder
- Wide Putty Scraper
- Trowel
- Goggles
- Mask
- Drop Cloths
Step 1: Prepare the Area
Before starting, clear the room or cover your furniture and floors with drop cloths to protect them from debris and dust. Putting on protective gear is essential, as ceiling repair can get messy. Cover the floor and any fixtures or furnishings with the drop cloth because flakes are going to be flying.
Work on one part of the house at a time. Seal the work area from the rest of the house. This includes any heating or ventilation ducts. Everything in the room must be removed or covered. Use two sheets of plastic, all taped. Use duct tape.
Step 2: Prepare Yourself
Wear goggles and a mask for protection, and start scraping the flakes and bubbles. If you have excellent balance, consider using your other hand to hold a tray for the falling flakes to minimize clean-up if you like.
Gear is important. Wear disposable coveralls, shoes, hair coverings, goggles, and a good-fitting respirator. Only High-Efficiency Particulate Air (HEPA) respirators can filter lead dust and fumes. Paper or fabric dust masks will not do the trick.
So you don’t ingest lead and do not eat, drink, or smoke while working.
Make sure you clean up properly. Before leaving the work area, get rid of coveralls and remove dust from your clothes with a HEPA-fitted vacuum cleaner. Shower as soon as possible, as you don’t need to spread lead dust around your home.
Step 3: Scraping and Cleaning
• Plaster ceilings are more commonly used in older homes than drywall, so it’s important to rid the plaster of any mildew so it doesn’t grow mould.
• Scrape the entire peeling plaster ceiling area and the surrounding area, since the peeling may occur nearby later. Now is the time to be proactive about potential peeling.
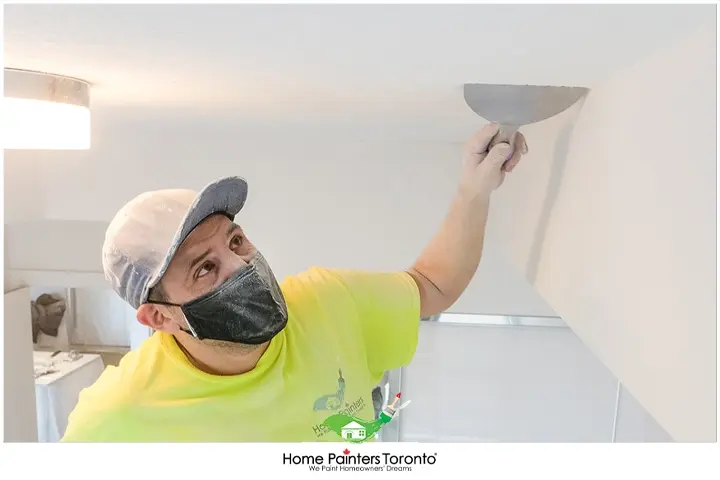
Step 4: Patch the Repair
• After you’ve scraped all the flakes off, clean the area with a mould cleaner and wait until it fully dries so that you know it has seeped into the area.
• Then wipe the area with water and let it dry fully to ensure that your mould cleaner doesn’t interfere with the ability for fresh plaster, primer, and paint to adhere.
• Patch the scrapes, dents, and hollows caused by scraping with new plaster. Most plaster products are bought dry and need to be mixed with water, so follow the instructions on the label.
• Use a putty knife or trowel, depending on the size of the repair, to apply it to the ceiling. It will likely take several hours to dry and cure, depending on how many layers you need to use.
• When it’s dry, sand the area so that it’s perfectly smooth. The slightest imperfections can show when dry and painted, so use a good work light to check the surface.
Step 5: Prime and paint
• When the compound is hard and dry, use a latex-based primer to preserve your repair.
• After it has dried, use latex paint to paint the whole ceiling.
• If you only paint the repaired area, it will likely not match the old paint and be unattractive. Even if you know the exact paint colour, the paint on the ceiling will change in colour with age.
Safety
• Your safety is important. We need to take all precautions before getting started.
• Make sure the work area is ventilated. Use a stepladder, and if possible, have somebody hold the ladder for you when you are working.
• Wear a dust mask when you are sanding. This will prevent you from inhaling the fine pieces of paint or old plaster.
• When applying paint, wear safety goggles. The paint may drip, especially the undercoat, and may get into your eyes. It could cause serious, long-term damage, and you don’t want that.
• If you have an older home, keep in mind that old paint may contain lead. It can be dangerous.
Important Tips: If you do know that the paint is toxic, keep these reminders in mind: children and pregnant women must not work with any lead paint. They should stay away until everything is done.
Keep in Mind
Be sure your first coat of paint is dry before applying the second coat to ensure a permanent finish. Plaster ceilings are appreciated for the character they add to a home, especially if there are textures or patterns.
Hiring a Professional for Your Ceiling Repair
While repairing a peeling plaster ceiling yourself can save money, there are situations when hiring a professional is the better option. Here are some reasons you might want to consider working with an expert for your peeling paint on the ceiling repair:
Complex Issues
If the cause of the peeling plaster is not easily identifiable or requires specialized skills, like addressing a water leak or fixing structural problems, it’s best to call in a professional. They have the expertise and equipment to handle these more complex situations efficiently.
Safety Concerns
Working on a ceiling, especially at significant heights or on an unstable surface, can be hazardous. Hiring a professional ensures your safety, as they are experienced in working in such conditions and have the necessary equipment to do the job safely.
Aesthetic Considerations
If you are concerned about the final appearance of your ceiling and want a seamless repair, a professional can guarantee a higher-quality result. They have the expertise to blend the repair seamlessly into the surrounding plaster and paint the ceiling evenly for a polished finish.
Saving Time and Effort
Handling a ceiling repair can be time-consuming and labour-intensive, particularly for those with limited DIY experience. In such cases, hiring a professional will save you both time and effort, allowing you to focus on other important aspects of your life while the expert takes care of the repair.
CONCLUSION
In summary, tackling the peeling plaster on your ceiling is a necessary task to preserve the appearance and integrity of your home. While you can choose to take the DIY route by following the step-by-step guide provided above, there are situations in which hiring a professional would be the smarter and safer choice. Consider the complexity of the issue, safety concerns, and the desired quality of the final result when making your decision. Whether you decide to embark on this project yourself or seek the help of an expert, addressing the problem head-on will result in a beautiful, well-maintained ceiling that enhances your living space.
More Interesting Blogs Related to
“HOW TO FIX PEELING PLASTER CEILING”
Fix your peeling plaster ceiling, and you’ll likely be preserving a bit of history too. If the work involved in repairing a peeling plaster ceiling sounds like it involves too much time and energy to do yourself, call 416.494.9095 or email Brian@HomePaintersToronto.com for a FREE quote, or visit our website, Home Painters Toronto. And don’t forget to follow us on all our social channels below!