
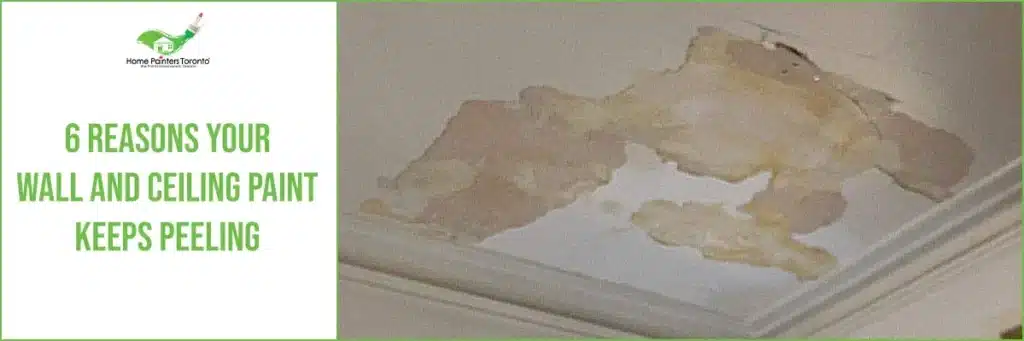
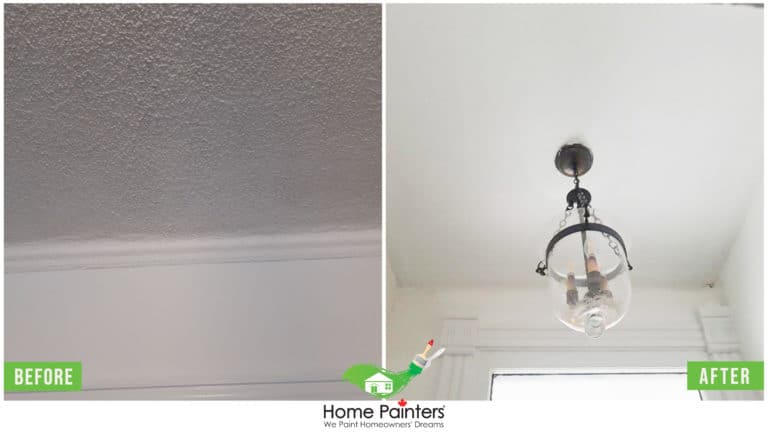
Peeling paint on interior walls or ceilings is a common issue for homeowners. While it may appear to be a simple cosmetic problem, paint failure often indicates underlying surface or moisture concerns.
Understanding why paint peels can help prevent recurring problems and ensure new finishes last longer.
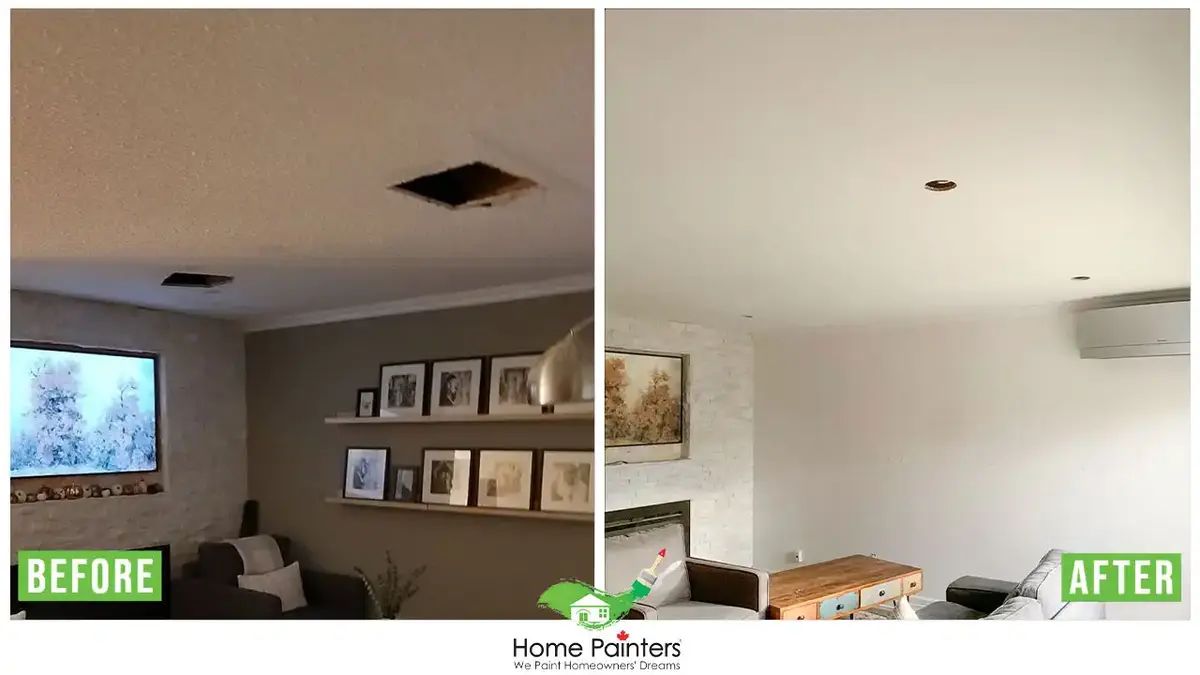
If you notice peeling paint or damaged wall surfaces, learn more about professional drywall repair Toronto services before repainting.
Reason #1 — Moisture Problems
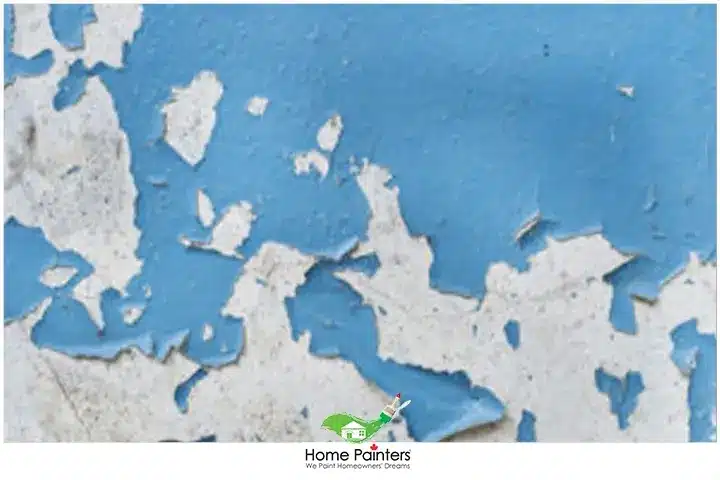
Moisture is one of the most common causes of peeling paint.
Sources of moisture may include:
bathroom or kitchen humidity
roof or plumbing leaks
condensation buildup
poor ventilation
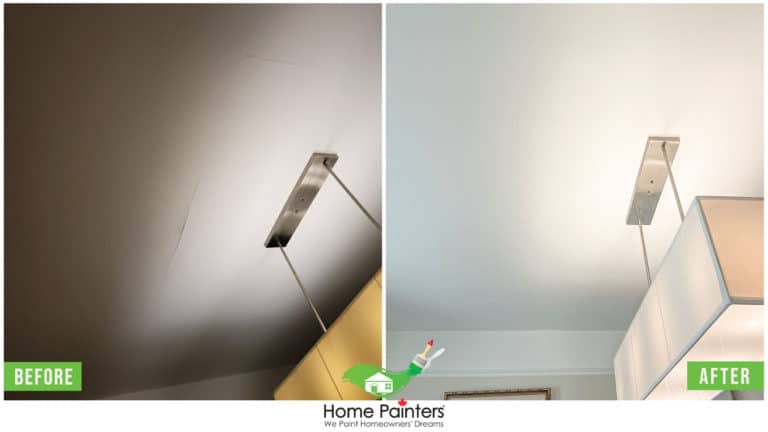
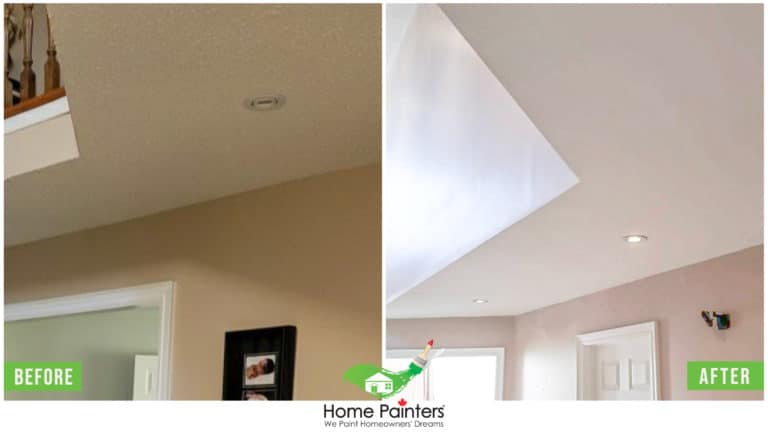
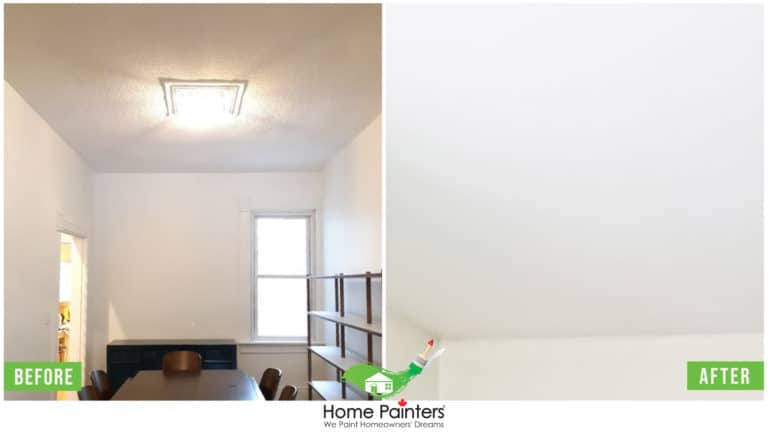
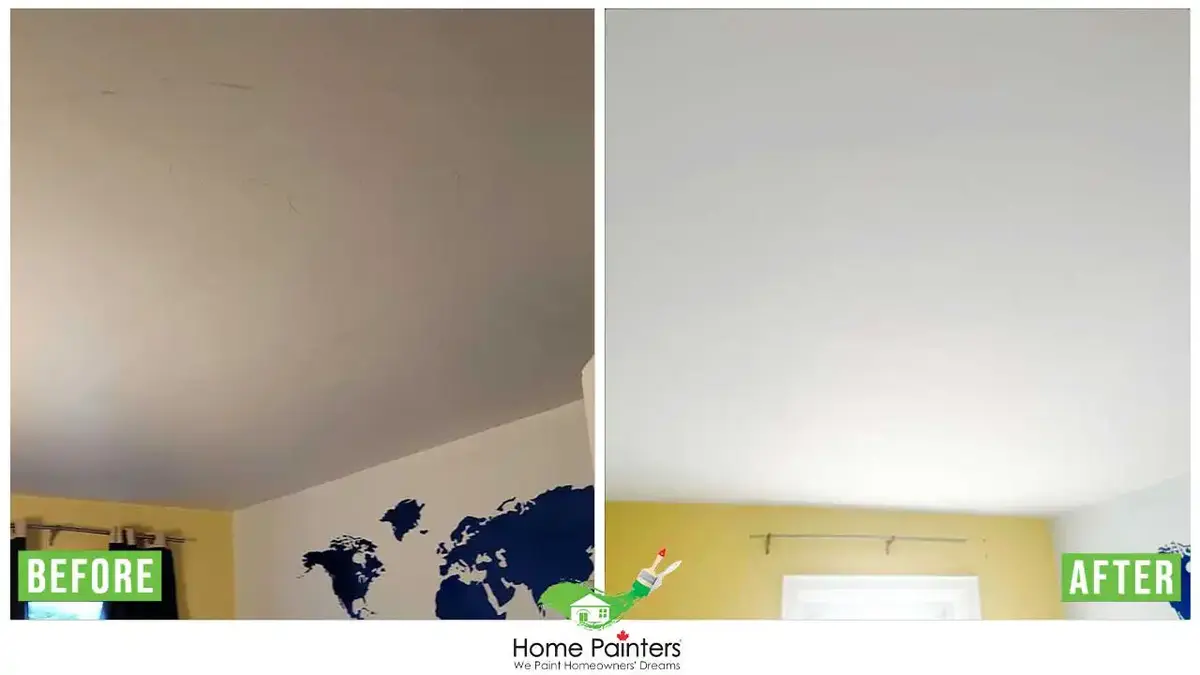
When drywall absorbs moisture, paint may lose adhesion and begin to bubble or peel.
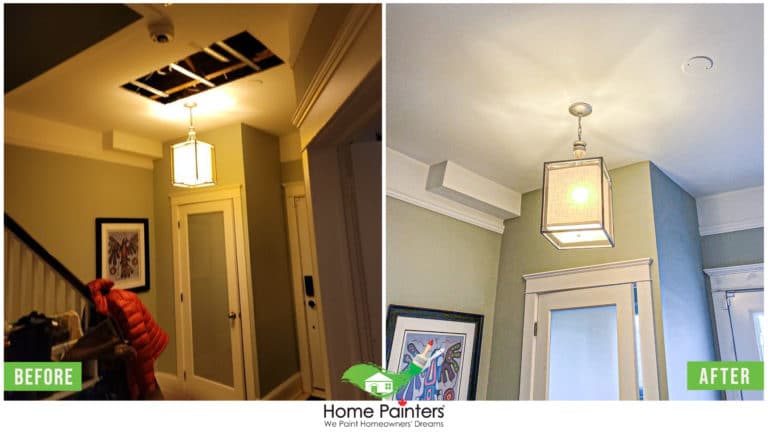
Ceiling peeling is often linked to water intrusion that requires proper repair before repainting.
Reason #2 — Poor Surface Preparation
Painting over dirty, glossy, or damaged surfaces can prevent paint from bonding properly.
Preparation steps such as cleaning, sanding, and priming help coatings adhere more effectively.
Skipping these steps increases the likelihood of premature paint failure.
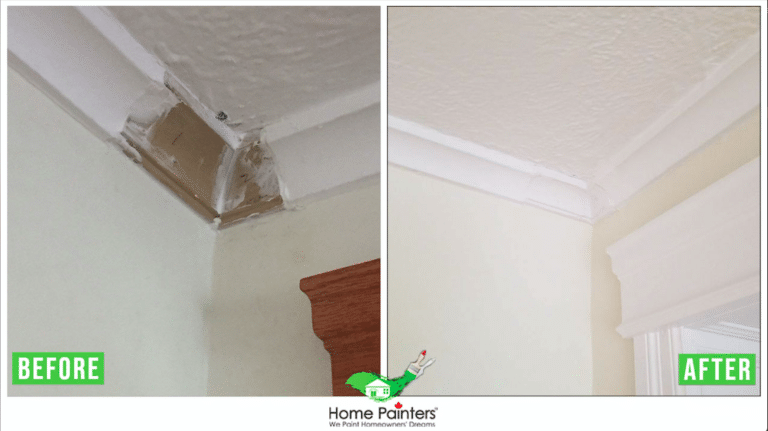
Reason #3 — Painting Over Damaged Drywall
Painting over dirty, glossy, or damaged surfaces can prevent paint from bonding properly.
Preparation steps such as cleaning, sanding, and priming help coatings adhere more effectively.
Skipping these steps increases the likelihood of premature paint failure.
Reason #4 — Incompatible Paint Layers
Applying new paint over incompatible coatings or without proper preparation can lead to adhesion problems.
For example, painting latex over certain glossy surfaces without sanding or priming may result in peeling.
Understanding existing paint conditions is important before applying new finishes.
Reason #5 — Skipping Primer
Primer helps seal drywall and improve paint adhesion.
On new drywall or repaired areas, primer creates a uniform surface that allows paint to bond evenly.
Skipping primer can lead to patchy finishes and peeling over time.
Reason #6 — General Wear and Aging
Over time, interior paint may deteriorate due to regular use, cleaning, or environmental exposure.
High-traffic areas and ceilings exposed to humidity may show peeling sooner than other surfaces.
Regular maintenance and timely repainting help preserve interior finishes.
If peeling paint has spread or drywall damage is visible, explore drywall repair Toronto services to restore surfaces before repainting.
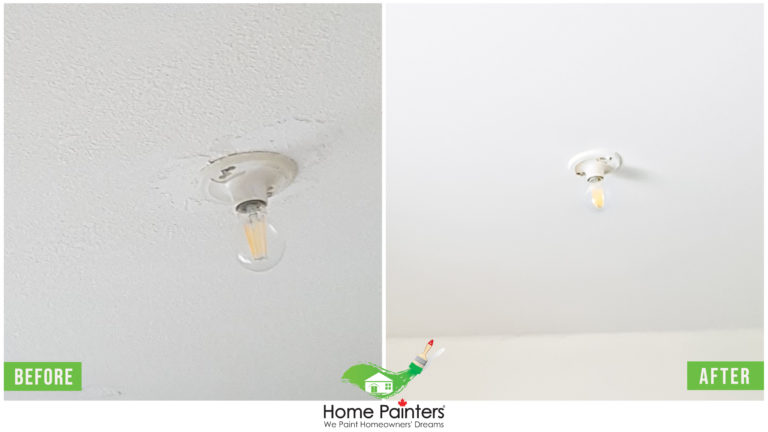
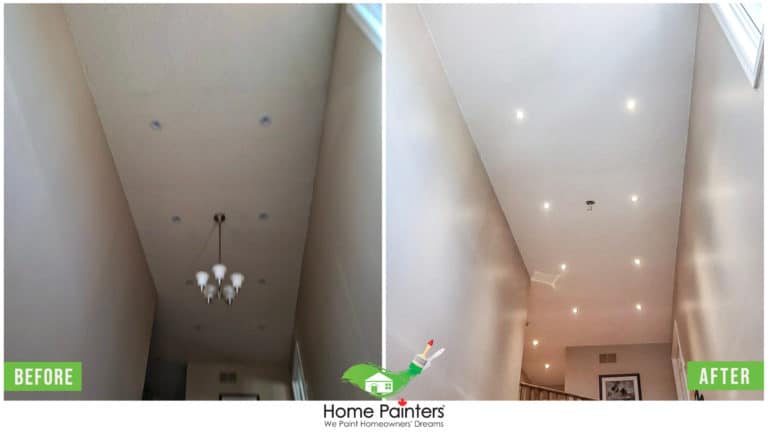
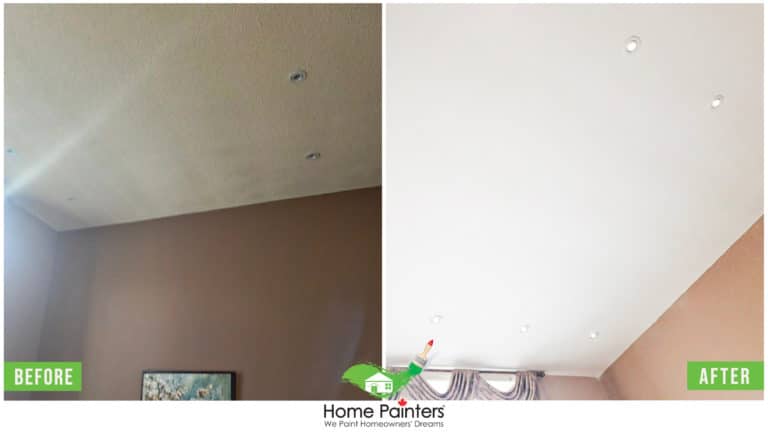
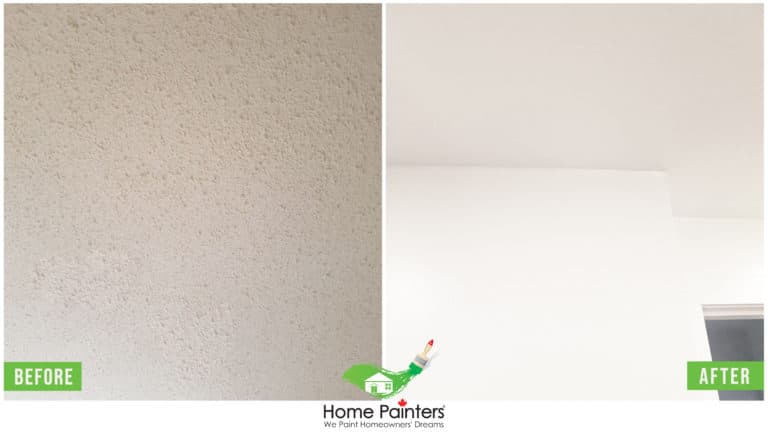
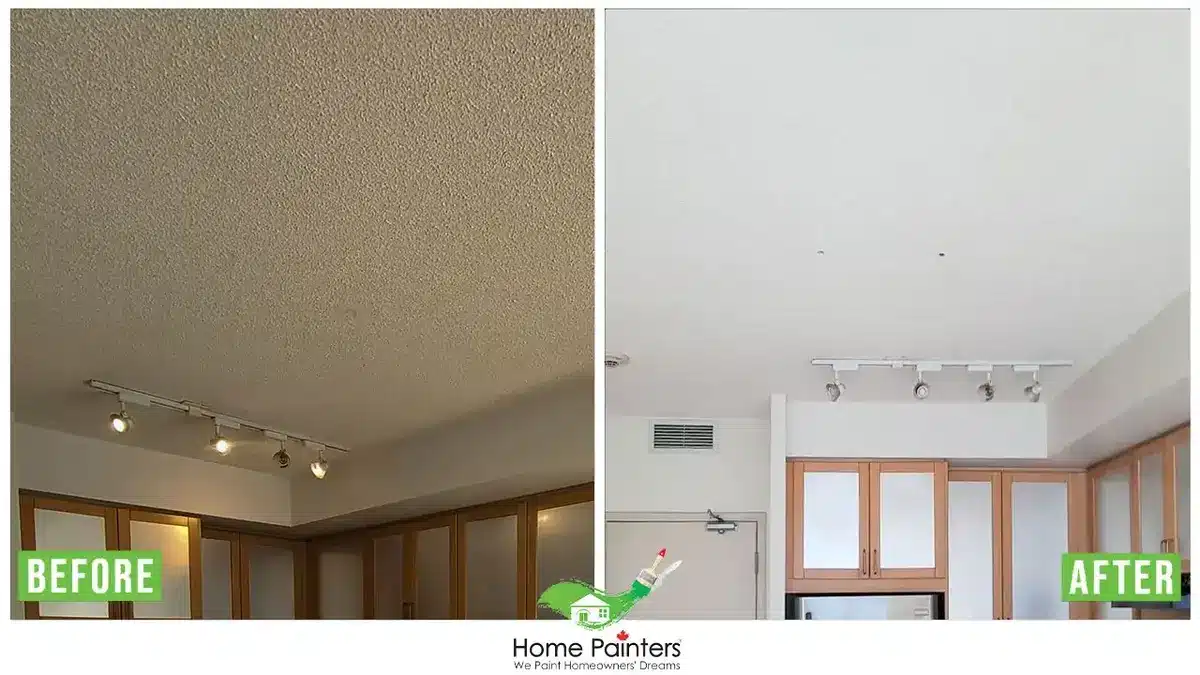
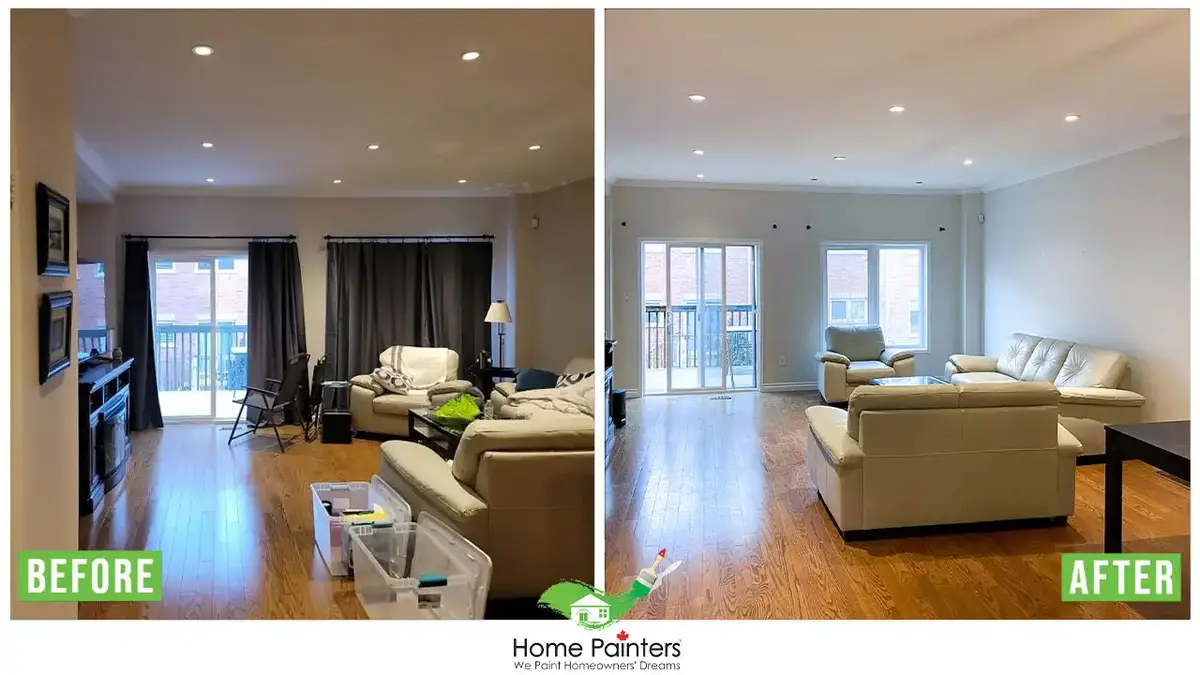
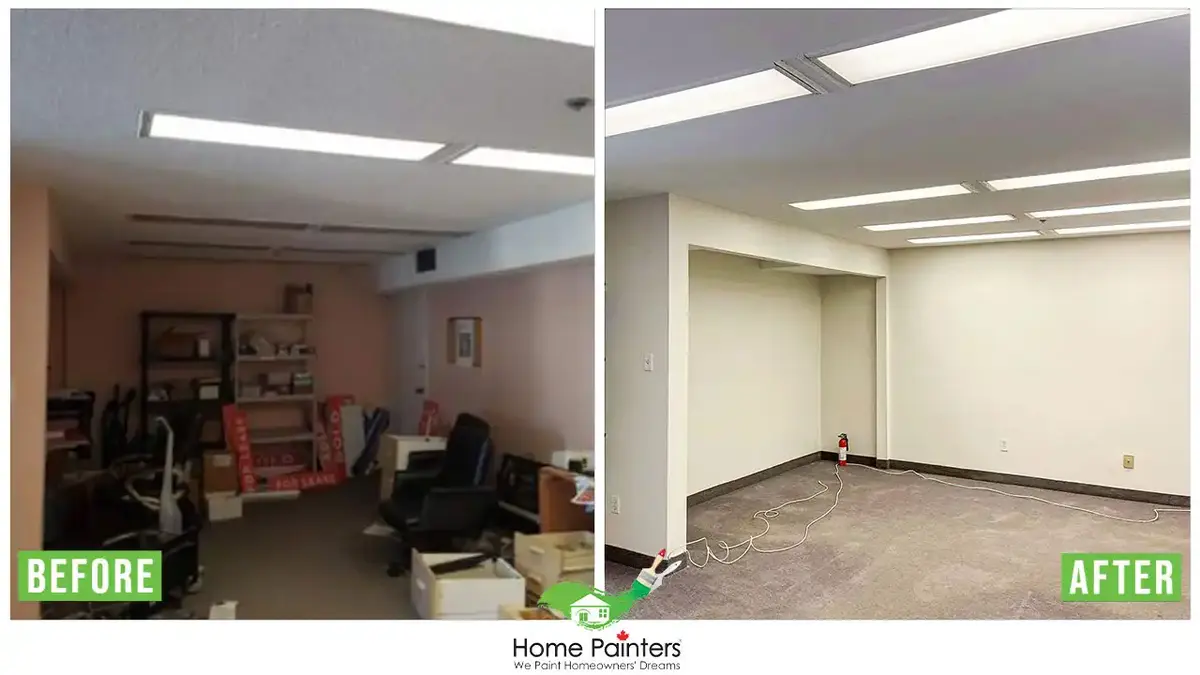
How to Fix Peeling Paint Properly
Repairing peeling paint involves more than simply applying new coats.
Typical steps include:
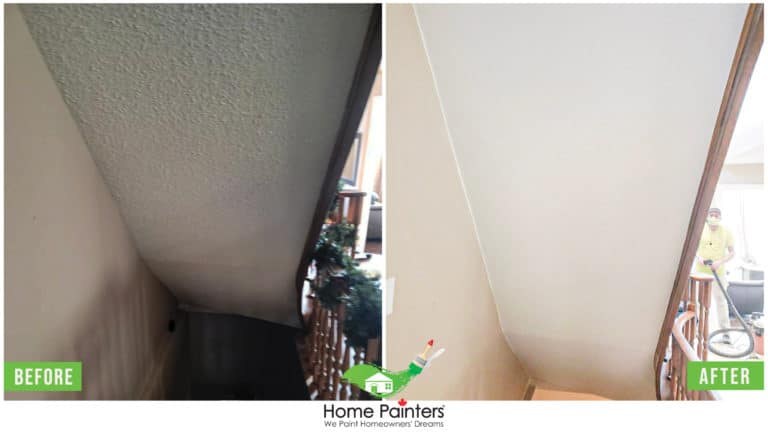
removing loose paint
repairing damaged drywall
sanding rough areas
priming repaired surfaces
applying durable interior coatings
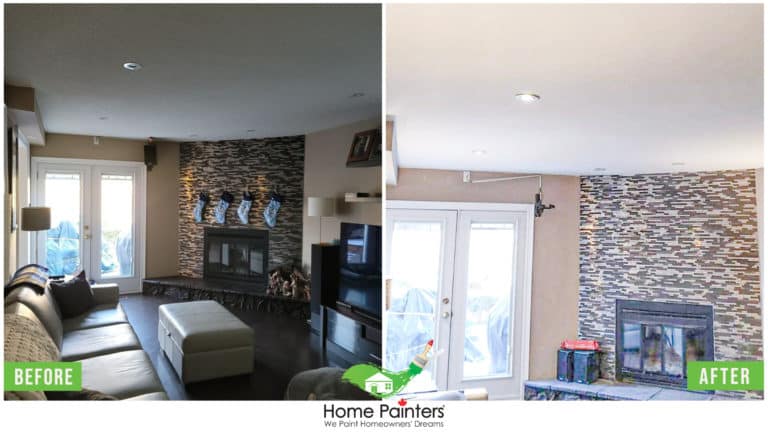
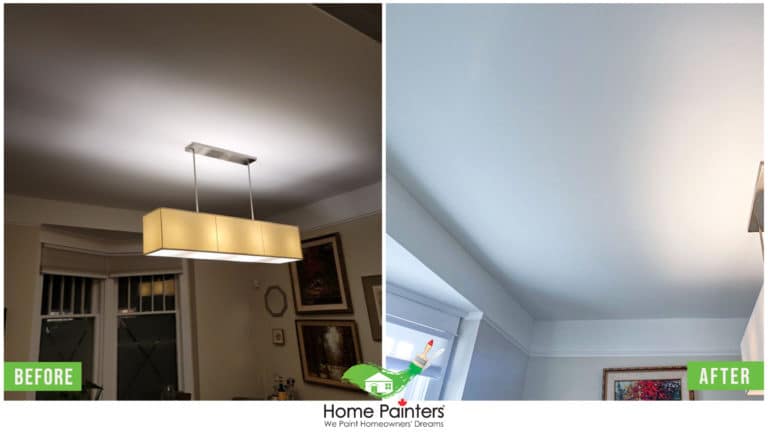
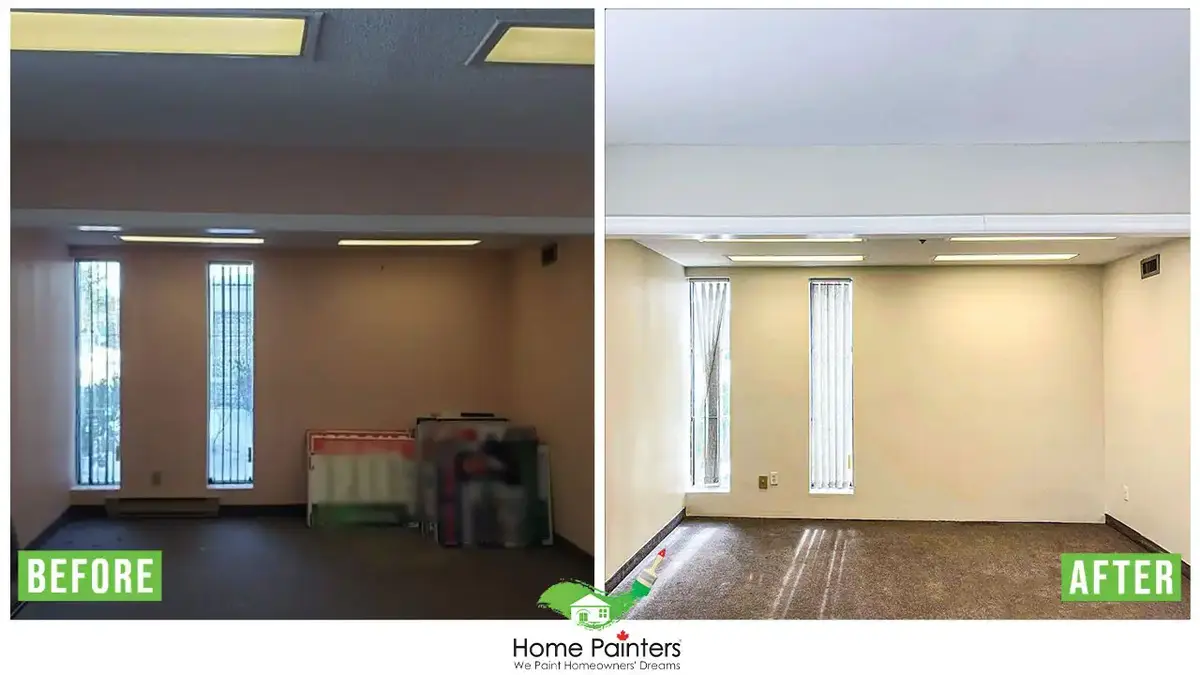
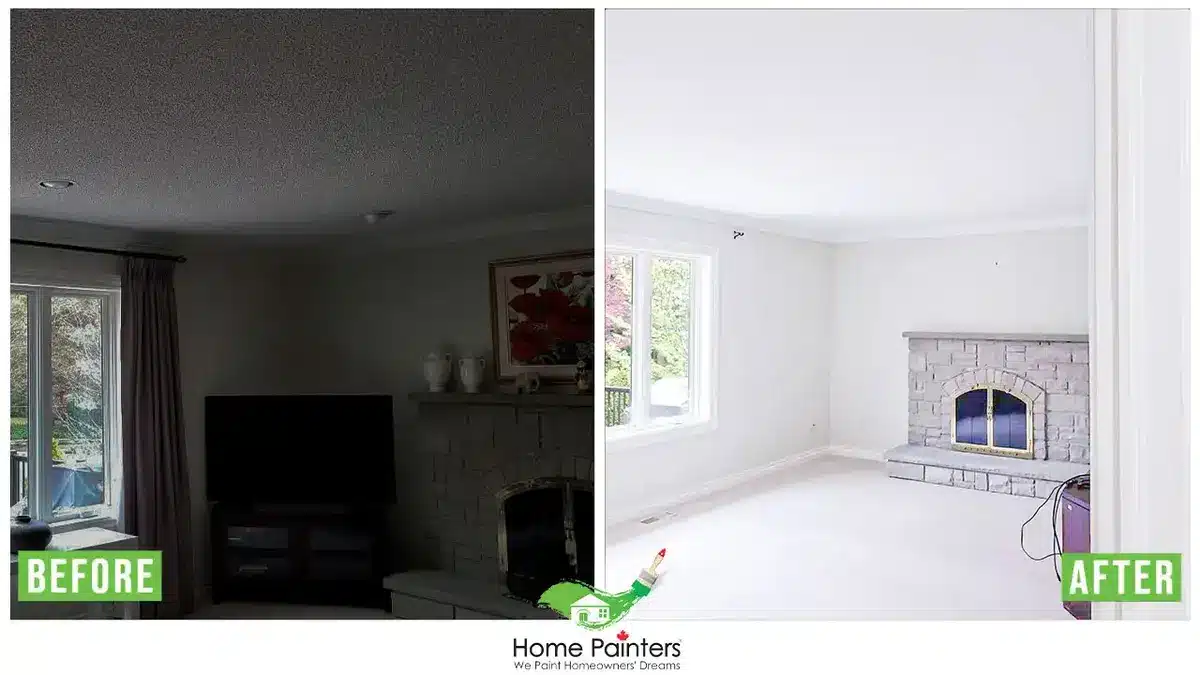
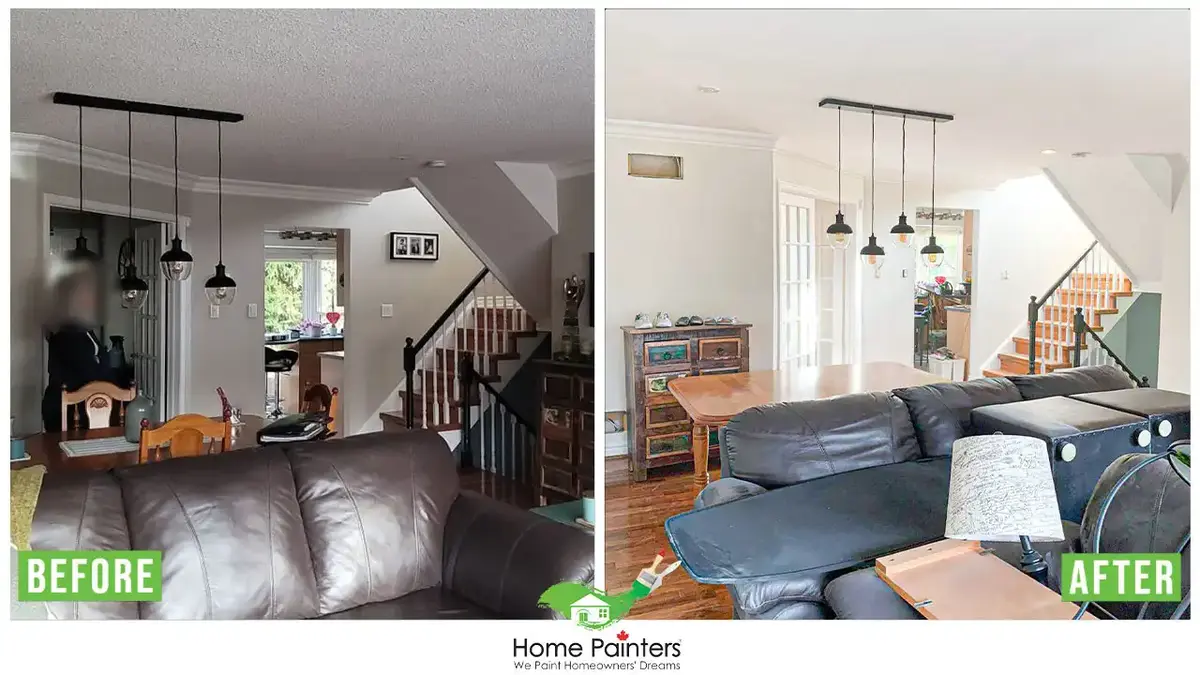
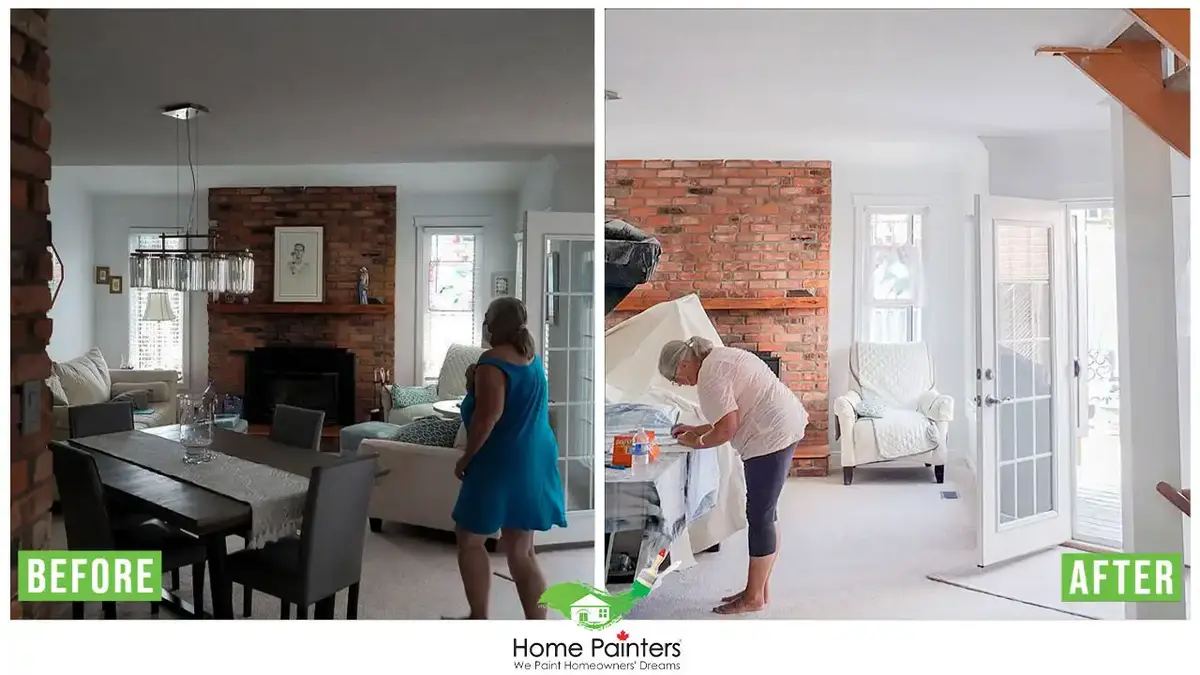
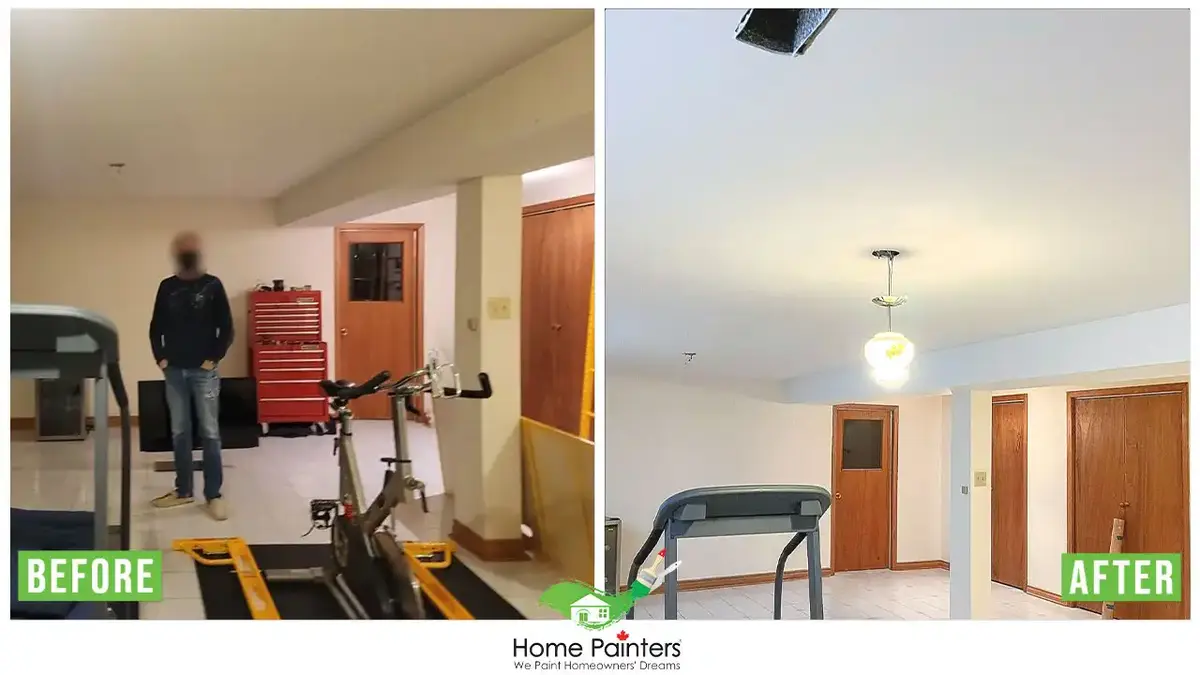
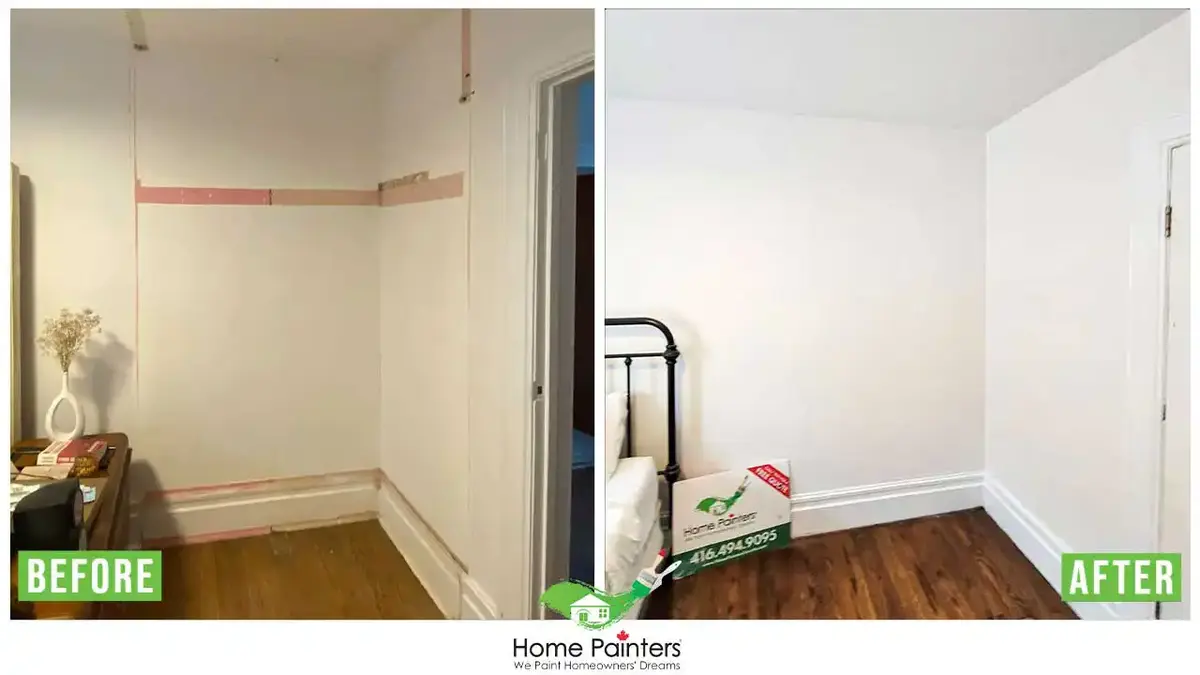
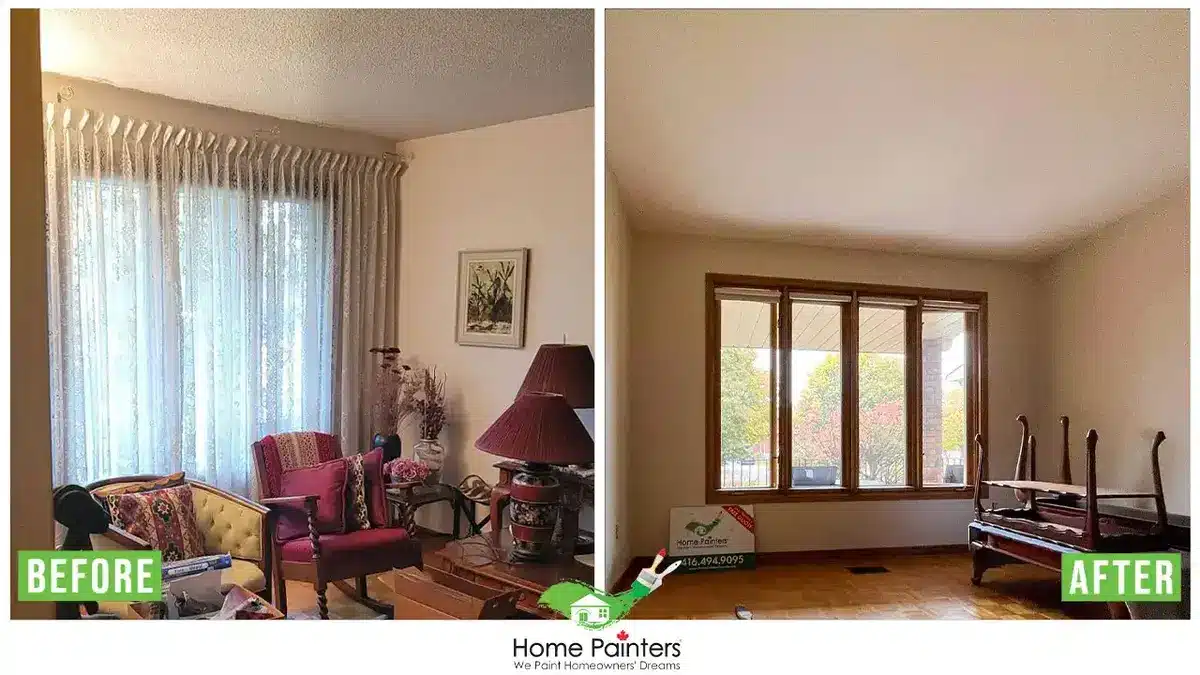
Professional interior painting Toronto services can help ensure consistent coverage and long-lasting results.
When Professional Drywall Repair Is Needed
Drywall repair may be necessary when:
moisture damage has weakened surfaces
large areas of paint are peeling
cracks or holes are present
ceilings show signs of staining or sagging
Addressing these issues before repainting helps prevent recurring paint failure.


Get a Interior Painting Quote in Toronto
If your walls or ceilings show peeling paint or surface damage, learn more about drywall repair Toronto services and request a professional assessment.
Request a professional drywall repair assessment to stop recurring paint peeling.
Frequently Asked Questions About Peeling Paint on Walls and Ceilings
Why does paint peel from drywall?
Peeling often occurs due to moisture exposure, poor preparation, or damaged drywall surfaces.
Can peeling paint be fixed without repainting?
Loose paint must typically be removed and surfaces repaired before repainting for long-lasting results.
Does humidity cause ceiling paint to peel?
Yes. High humidity can weaken paint adhesion and lead to bubbling or peeling.
Should drywall be repaired before painting?
Yes. Repairing cracks or damage helps create a stable surface for new paint.
Will primer stop paint from peeling?
Primer improves adhesion and helps reduce the risk of future peeling when applied correctly.