A successful garage painting project starts with clean walls. Whether coated in dirt, oil, or old paint, your garage walls need a thorough cleaning to ensure your new paint job looks its best and adheres properly.
Adding value to your home by finishing and painting the garage is not always the first thing you think of on your laundry list of improvements to your home, but investing in this part of your home is a huge advantage.
If you’re inexperienced, this is not necessarily a DIY project you want to take on. Still, any prep work you can do before your hired professional comes in is always much appreciated.
Ready to get started? Let’s learn how to prepare and clean your garage walls for a fresh, gorgeous coat of paint.
How do Professional Painters Clean Walls Before Painting
Before you dive deep into painting unfinished garage walls, it’s essential to have clean and primer-ready walls. Proper cleaning eliminates oils, grime, or other residues that may interfere with the paint’s adherence, ensuring your hard work results in a stunning finish. So let us journey through the process of cleaning your garage walls.
Cleaning your walls is always a huge part of the preparation before painting because any debris and dirt left on your wall will reduce the quality of your paint job and its lifespan. When you spend the money to make home improvements, you want to make sure you’re doing it right so it’s worth your time and money, and you’re not stuck repainting in a year because of the deterioration because you failed to prep.
Here’s a step-by-step guide to cleaning, repairing and painting your garage attached to your home:
Materials You’ll Need
- Broom or vacuum with a hose
- Cloth tarpaulin
- Drywall compound
- Roller with extension handle
- Roller grid
- Acrylic latex exterior paint
- Putty knife
- Drywall primer
- Edging brush
- Sanding block
- 200-grit sandpaper
- Tack Cloths
- Bucket
Prep
- Clean up your garage. Ensure there’s no dust, debris or cobwebs in the area you want to paint. You can ensure you get all these types of dirt using a shop vac.
- Cover the entire floor with your cloth tarpaulin. We recommend this because if you’re using a ladder, this is better than a drop cloth. Much less slippery and safer.
- Inspect your walls, filling in any cracks in your drywall with joint compound. Skim over any cracks and dents, going over with sandpaper to make it smooth and even.
- You will want to protect yourself during this part of the process. Wear eye protection and a face mask. Your eyes and lungs will thank you!
- You can go over your walls entirely, but pay attention to the spots you’ve repaired. You can use the tack cloths to pick up the sanding debris as they are slightly sticky and designed for this purpose.
- Wipe the walls with a damp cloth and let them dry completely.
- Fill your bucket half full with primer, and open your garage door for ventilation.
Step-By-Step Guide on How to Clean Garage Walls Before Painting
Step 1: Remove Loose Dust and Debris
Garage walls can accumulate a considerable amount of dust over the years. Start by removing any loose dust and debris using:
• A broom for the larger, reachable surfaces
• A vacuum with a brush attachment for corners and crevices
Step 2: Identify Stubborn Stains or Grease
Garage walls often bear witness to various automotive projects and hobbies. Look for any oil or grease splatters or stubborn stains.
They can be particularly challenging to paint over, so make sure to address these next.
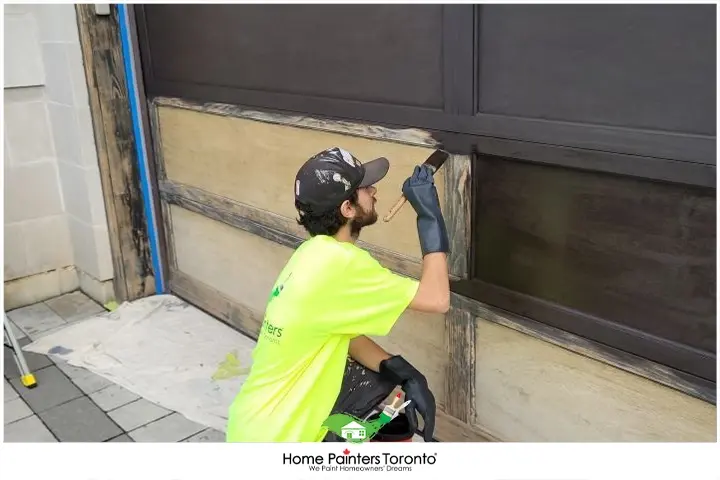
Step 3: Apply a Degreaser
A specialized degreaser helps to break down stubborn oil and grease stains:
• Purchase a quality brand from your local hardware store
• Carefully follow the application instructions provided on the product
• Usually, it involves applying the degreaser to the stained area. Let it soak for a specified amount of time, then scrub it with a stiff-bristled brush.
Step 5: Dry the Walls
Drying the walls is equally important as cleaning them:
- • Let the walls air dry if possible. This may take up to 24 hours. This is how long to wait after washing walls before painting.
- • If necessary, you can expedite the process using towels or a fan to circulate air and speed up drying.
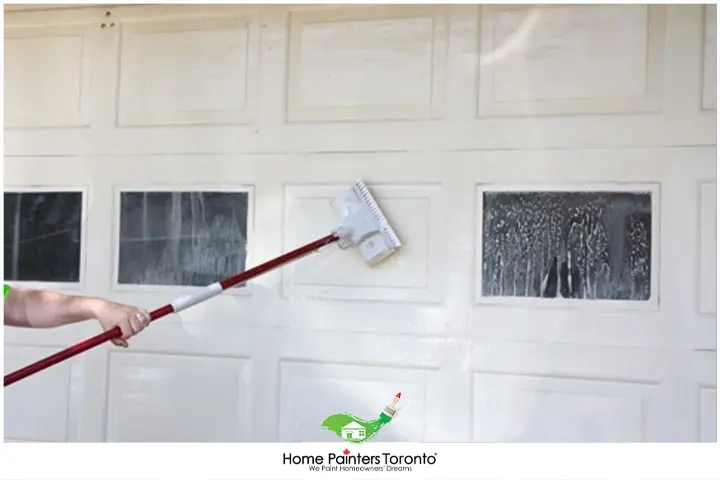
Step 4: Clean and Rinse the Walls
Now it’s time to clean the walls. So, what to wash the walls with before painting? Just Prepare a cleaning solution of warm water and mild detergent. Keep a second bucket of clean water for rinsing. Then:
- • Using a large sponge, apply the soapy solution in sections, scrubbing gently as you go
- • Rinse each section before moving on to the next to avoid leaving soap residue on the walls
- • Be sure to rinse your sponge frequently in the clean water bucket to prevent reintroducing dirt onto the walls
Step 6: Inspect the Walls
Once your walls are clean and completely dry:
• Inspect the walls for any spots you may have missed
• Repeat the above steps for any stubborn stains or grease spots
• Once all the spots are addressed, your garage walls should be ready for priming and painting
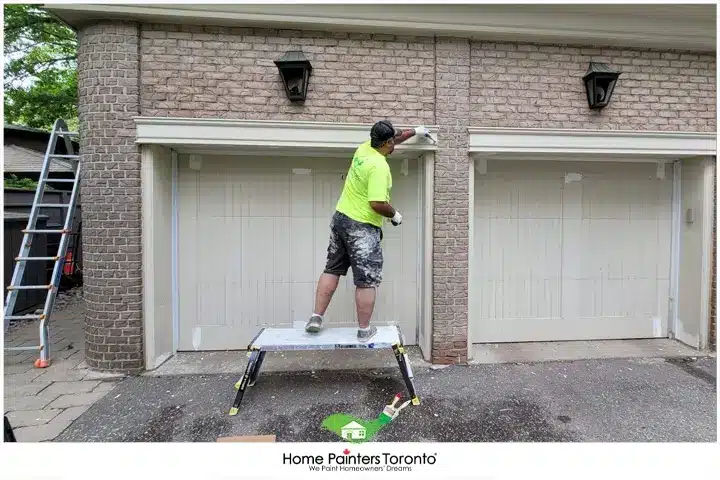
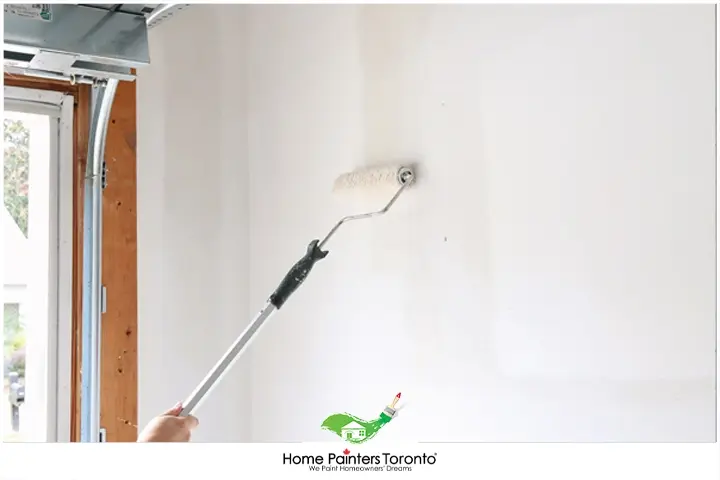
Prime & Paint
• Edge the walls with a high-quality paintbrush and use a roller for most of the surface area.
• Let the primer dry completely before painting the garage.
• We recommend using exterior paint on the interior of your garage because it’s thicker and more durable. It will protect your garage against mildew and moisture. While the garage isn’t in direct contact with Mother Nature and the elements, it’s still susceptible to their effects and should be treated like any exterior painting project. Particularly if your garage isn’t heated.
• Follow up by painting like you did the primer and let the paint dry between coats.
Cleaning before painting garage walls may seem like a hassle, but it’s essential to achieve a professional-looking finish. By incorporating these steps into your painting project, you’ll ensure the new paint sticks properly, less susceptible to chipping and flaking. So roll up your sleeves. It’s time to get your garage walls squeaky clean and ready for their makeover!
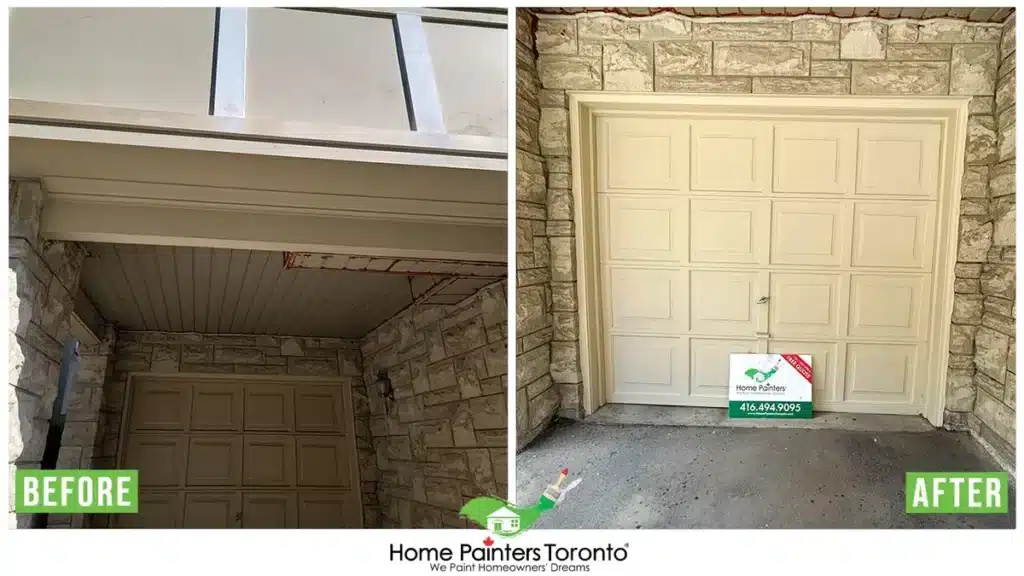
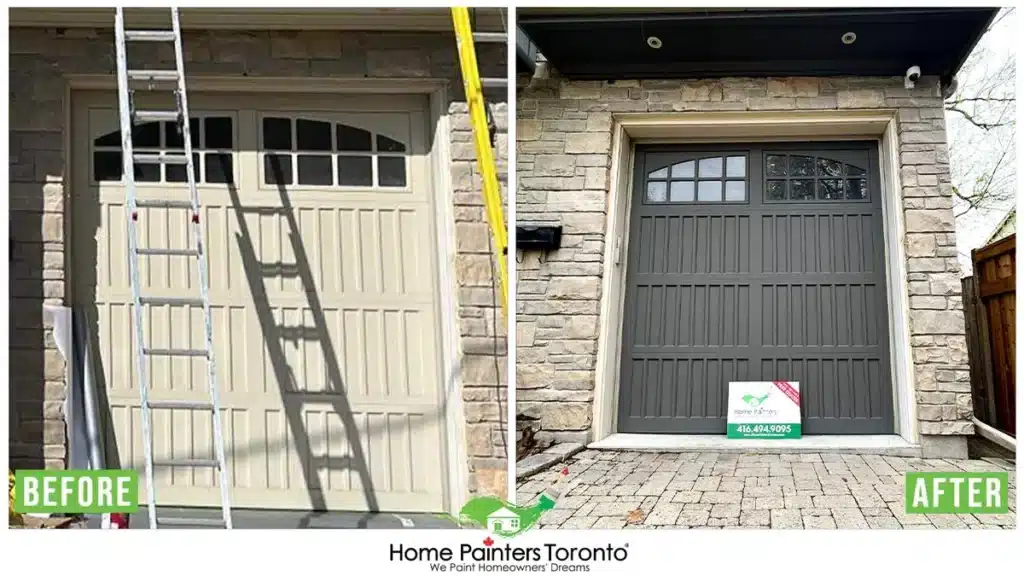
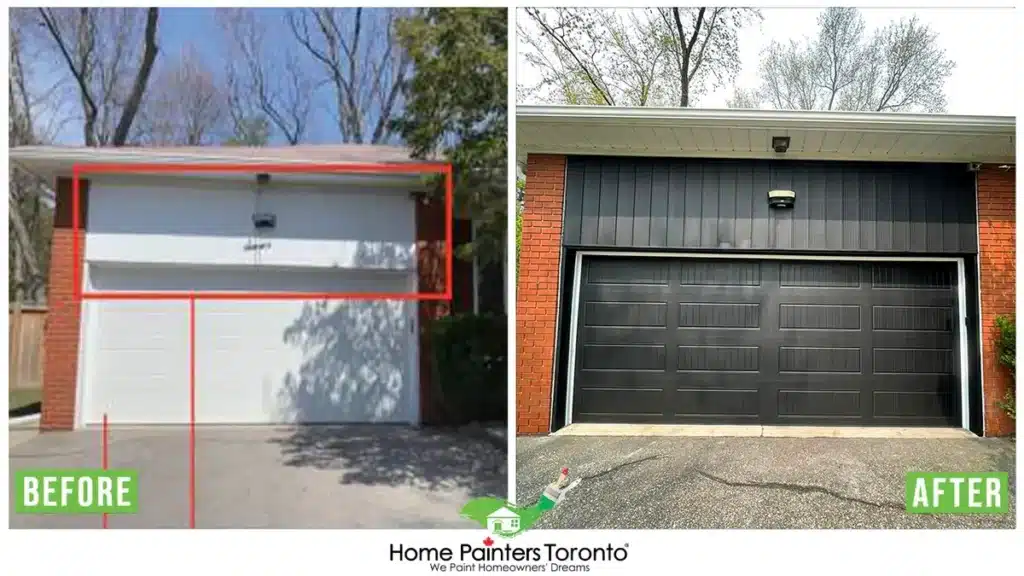
Top 4 Garage Door Transformations
If you want to hire a professional, start by prepping your space, but leave the wall repair and all the steps after it to us! We’d be happy to take on this job for you! Painting the garage can add massive value to your home, but a professional calibre paint job will look best. We can also help you choose the best paint for your garage and which finish to pick.
Considered One of The Best Residential and Commercial Painting Contractors in Toronto, Home Painters Toronto has been servicing the GTA Since 1991.
We’re more than just a painting company, we have professionals on board that can help with all your home improvement needs.
If you have an unfinished garage and you’d like some advice on whether you should finish it or what would be your best course of action, call us, and we’d be happy to come by and do an in-home consultation. For over a quarter century, Home Painters Toronto has serviced thousands of satisfied clients. We’ve been able to do so because your project is our passion!

More interesting blogs related to
“HOW TO CLEAN WALLS BEFORE PAINTING THE GARAGE”
A fixture in our community, Home Painters honours all of our commitments. If you have any questions or would like to set up a Free Consultation, please don’t hesitate to contact us by calling 416.494.9095 or email [email protected] and getting a FREE quote and we can help with painting the garage – we’re looking forward to hearing from you! And don’t forget to follow us on all our social channels below!