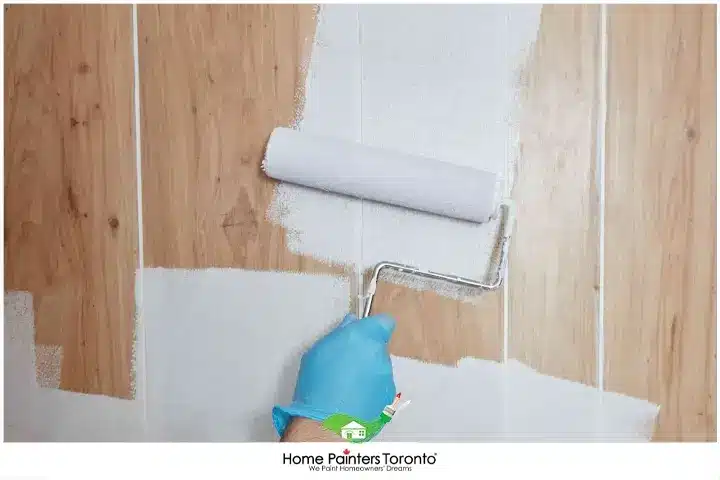
Painting wood paneling is the perfect opportunity to change the look of your room. Depending on if you do it yourself or with the help of a painting company, a fresh coat of paint will do wonders for your room. Also, painting wood paneling is an easier way to change the look of your room than if you were to completely redo your walls. Not to mention that painting wood paneling will cost you less than replacing your walls.
It is important to note, however, that you should work in a ventilated area, seeing as the paint fumes might be too strong to handle. You should even consider wearing a respirator for good measure. With the right tools, paint, primer, and preparation, painting wood paneling should not be a difficult process. Let’s dig into everything you need and the step-by-step process!
Painting Wood Paneling Ideas
Prepare the Surface
Before starting any home renovation project, you should always have a clean and dry surface to work with. It’s essential to clean the wood paneling to remove any dust, dirt, or grease that may have accumulated over time.
- With a soft sponge, water, and a dishwashing liquid, you can easily scrub off any dirt and grease from the surface. For best results, you should use a heavy-duty degreaser, but using a dishwashing liquid will get the job done as well.
- Now that the surface is clean, you can fill holes and grooves. With your putty knife in hand, apply the caulk to fill any nail holes.
- If you notice excess caulk, scrape it off so it does not stay there.
- Then, allow it to dry until it hardens.
- Just a tip: if you have groove lines on your paneling, use a caulk gun to have a smooth surface.
Sanding the Wood Paneling
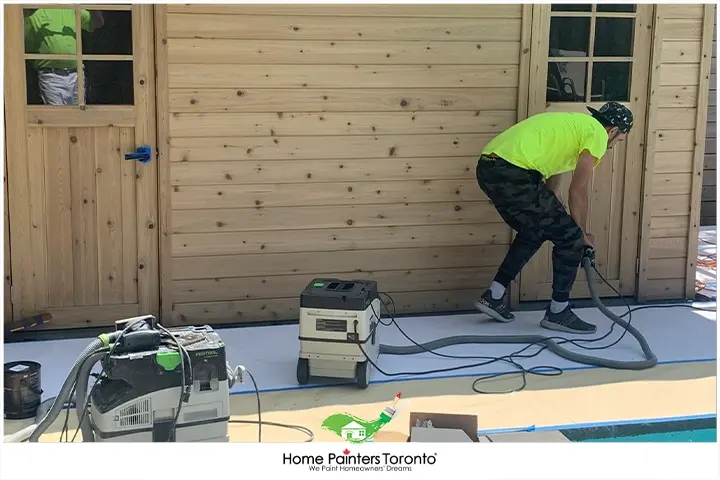
The next vital step is to start sanding the surface. Sanding the wood paneling is a crucial step to ensure proper paint adhesion.
To paint paneling the proper way, you need to make sure that the surface can hold paint. Since most paneling uses a sheen finish, the paint will not adhere to the surface.
- To get the paint to adhere to the surface, you sand the walls and mouldings using 150-grit sandpaper to remove the finish previously on the paneling.
- Then, use a damp cloth to remove any dust and residue on the panel.
Time to Prime, then Paint!
Priming the wood paneling is essential for a successful paint job. A high-quality primer will help seal the wood, prevent any tannins or stains from bleeding through, and provide a smooth, even surface to the paint to adhere to. When painting wood paneling, use an oil-based or stain-blocking latex primer.
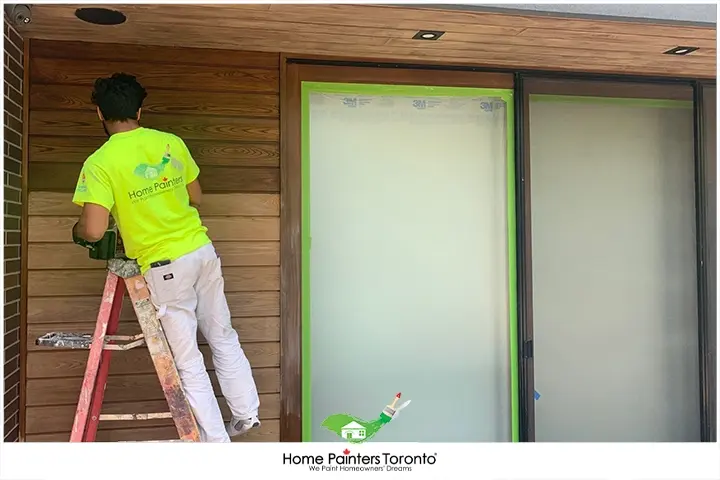
- Using your paint roller, apply only a thin amount of primer and use your paintbrush to fill any grooves you notice. The primer should usually dry for a full day before you start painting.
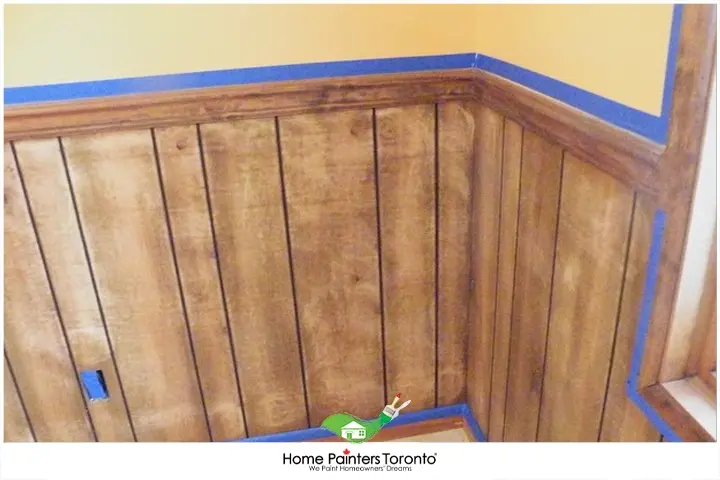
- In addition, use painter’s tape before painting the paneling, to mask off windows, doors, and the ceiling.
- It is now time to start painting! Start painting at the top of the wall and slowly work your way to the bottom. For this particular project, it does not matter whether you decide to use a paint roller or paint brush, just so long as you smooth any drips.
- Before applying a second coat of paint, wait for the first coat to dry properly. Lastly, remember to remove the painter’s tape before the paint dries.
- When cleaning up, close the remaining paint cans and clean all paint brushes/rollers with soap and water.
Choose the Right Paint and Finish
Selecting the right paint and finish is essential for achieving a professional-looking result.
- Latex or acrylic paint is the best paint for wood paneling due to its durability and ease of application.
- When choosing a finish, opt for a flat or eggshell finish, as these finishes can help hide any imperfections in the wood paneling and provide a more uniform appearance.
Latex Paints
There are three types of latex-based paints: alkyd-modified, vinyl-acrylic and 100 percent acrylic. Alkyd-modified latex paints work very well with exterior jobs, especially for peeled, chalked, and flaked siding. Vinyl-acrylic is perfect for interior walls and is highly inexpensive. You should use 100 percent acrylic for high-performance paint jobs because it is great with adhesion and retains colour well. Something to consider: Do not use latex paint on wood or steel because the steel will rust and, subsequently, will raise the grain on the wood.
Use the Proper Painting Technique
To achieve a smooth, even finish, use a combination of paintbrushes and rollers when painting wood paneling.
- Start by cutting the room’s edges with a paintbrush, painting a 2-3 inch border around the perimeter.
- Then, use a roller to apply the paint to the larger sections of the wood paneling, working toward the wood grain.
- Be sure to apply the paint in thin coats to avoid drips or uneven coverage.
Allow Sufficient Drying Time
Patience is key when painting exterior wood paneling. Allow each coat of primer and paint to dry according to the manufacturer’s instructions before applying the next coat. This will help ensure proper adhesion and prevent any issues with the paint’s durability or appearance.
Protect Your Space
Before you begin painting, protect your floors, furniture, and any areas you don’t want to be painted with drop cloths or plastic sheeting. Use painter’s tape to mask off trim, moulding, and electrical outlets to ensure clean, crisp lines.
Wood Paneling Makeover Ideas
There are many creative ways to update and transform wood paneling into a trendy and timeless space. Here are some ideas to inspire you:
1. Paint the Wood Paneling
One of the most straightforward and cost-effective ways to update wood paneling is to paint it. Choose a colour that complements your existing décor and opt for a flat or eggshell finish, as these finishes can help hide any imperfections in the wood paneling. Clean, sand, and prime the wood paneling before painting to ensure a smooth, professional-looking finish.
2. Whitewash the Wood Paneling
Whitewashing is another popular option for updating wood paneling. This technique involves applying a thin layer of white paint to the wood paneling, allowing some of the wood grain to show through. The result is a bright, airy look that makes your space more open and inviting. To achieve this look, mix equal parts white paint and water, and apply the mixture to the wood paneling using a brush or rag. Wipe away any excess paint with a clean cloth, and allow the whitewash to dry completely.
3. Install Shiplap Over the Wood Paneling
If you want a more dramatic transformation, consider installing a shiplap over your existing wood paneling. Shiplap is a type of wooden board that’s used for both interior and exterior siding. It has a rustic, farmhouse-style look that’s become increasingly popular in recent years. Installing shiplap over your wood paneling can create a fresh, modern look that adds texture and depth to your space.
4. Add Moulding and Trim
Adding moulding and trim to your wood paneling can create a more polished, sophisticated look. Consider installing crown moulding at the top of the walls or adding wainscoting to the lower portion of the walls.
You can also add decorative trim to create a paneled effect, which can help break up large expanses of wood paneling and add visual interest.
6. Wallpaper Over the Wood Paneling
Another option for updating wood paneling is to apply wallpaper over the surface. This can be an excellent way to introduce pattern, colour, and texture to your space. Be sure to choose a thick, textured wallpaper that covers the wood paneling’s grooves and imperfections. You may also need to apply a lining paper first to create a smooth, even surface for the wallpaper to adhere to.
5. Create a Wood Paneling Accent Wall
Instead of trying to hide or cover up your wood paneling, consider embracing it and turning it into a stylish accent wall. Choose one wall in your room to serve as the focal point, and paint or stain the wood paneling in a bold, contrasting colour. This can create a striking visual effect that adds depth and character to your space.
7. Incorporate Art and Décor
Sometimes, the key to updating wood paneling is simply drawing attention away from it. Incorporate large-scale artwork, mirrors, or decorative items into your space to create visual interest and distract the eye from the wood paneling. This can be an easy, budget-friendly way to give your space a fresh, updated look without making any significant changes to the wood paneling.
Painting Wood Paneling
Painting wood paneling is the perfect opportunity to change your room’s look without completely redo your walls. Depending on if you do it yourself or with the help of a painting company, a fresh coat of paint will do wonders for your room. If you paint wood paneling in a light colour or a matte black, a fresh colour will keep your house looking vibrant.
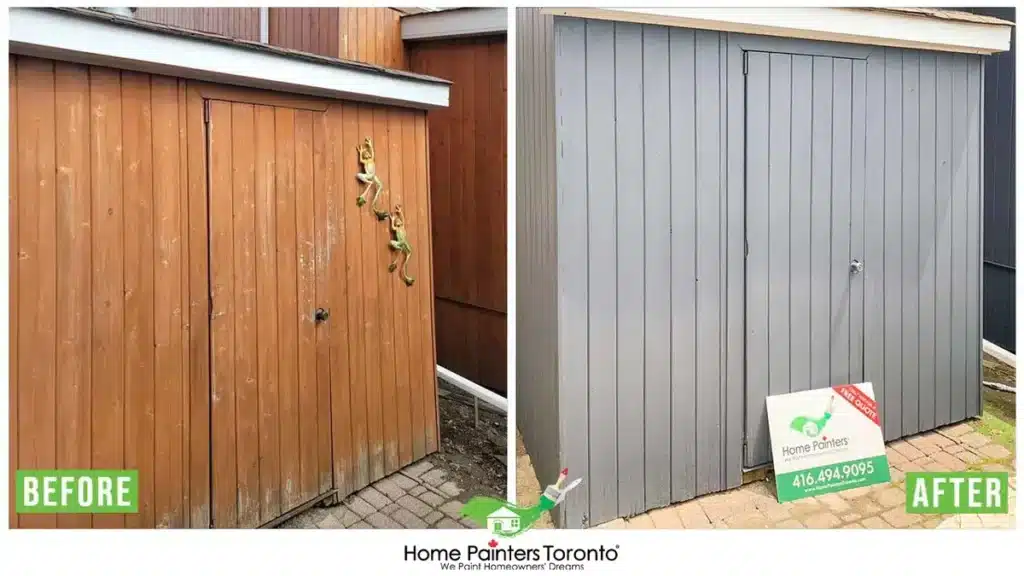
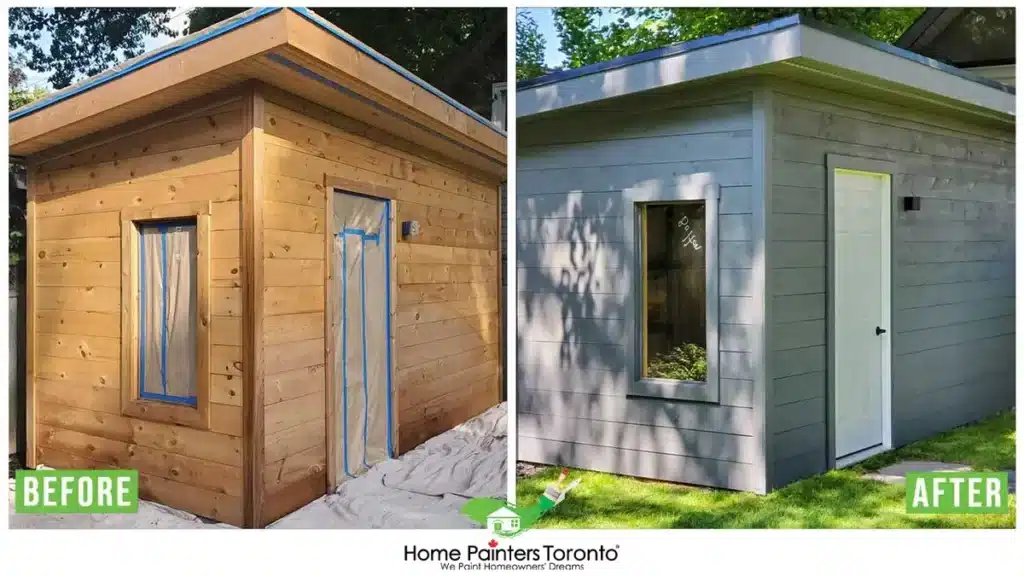
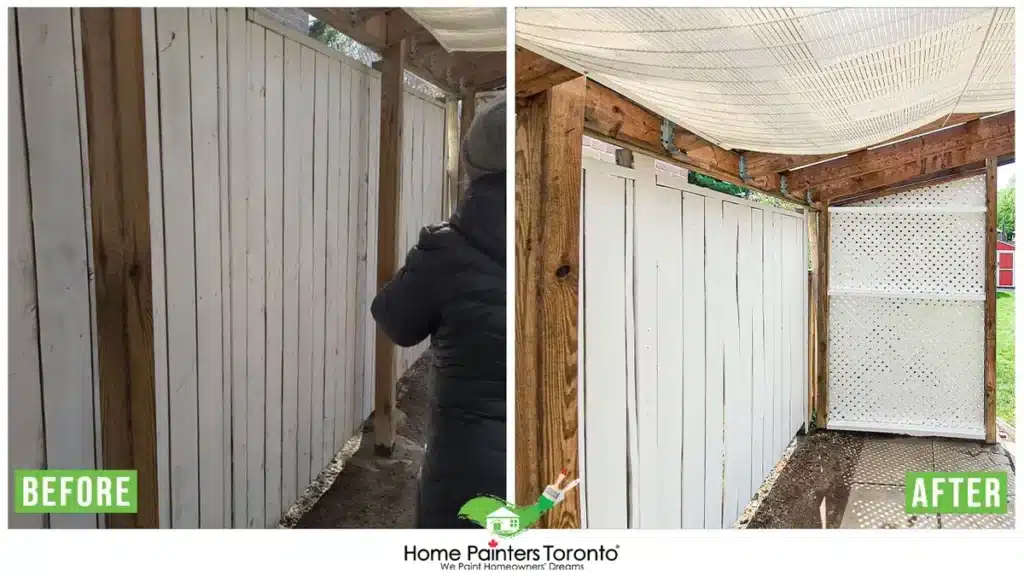
Painting Wood Paneling Before and After Photos
Don’t forget to visit our Pinterest page for all sorts of exterior painting and interior painting inspiration!
More Interesting Blogs Related to
“PAINTING WOOD PANELING”

Are you considering doing exterior or interior painting and need reliable Toronto painters to get the job done? Our team of professional painters has over 36 years of experience behind them. Call 416.494.9095 or email [email protected] for a FREE quote for your home painting needs, And don’t forget to follow us on all our social channels below!