
The Importance of Trim Painting
House trim is an often-overlooked yet crucial element of a room’s design, providing a subtle yet impactful finishing touch to walls, windows, and doors. While many homeowners focus on painting their walls or choosing the perfect furniture, painting trims can create a cohesive and polished appearance.
Why Painting the Trim Matters
Here are some reasons why painting the trim is essential for your home’s overall aesthetic:
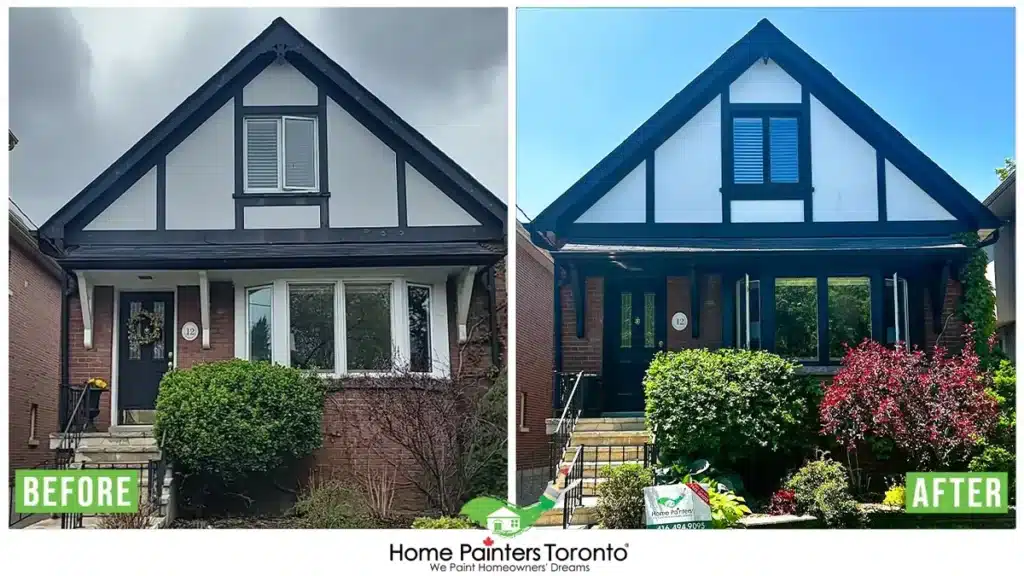
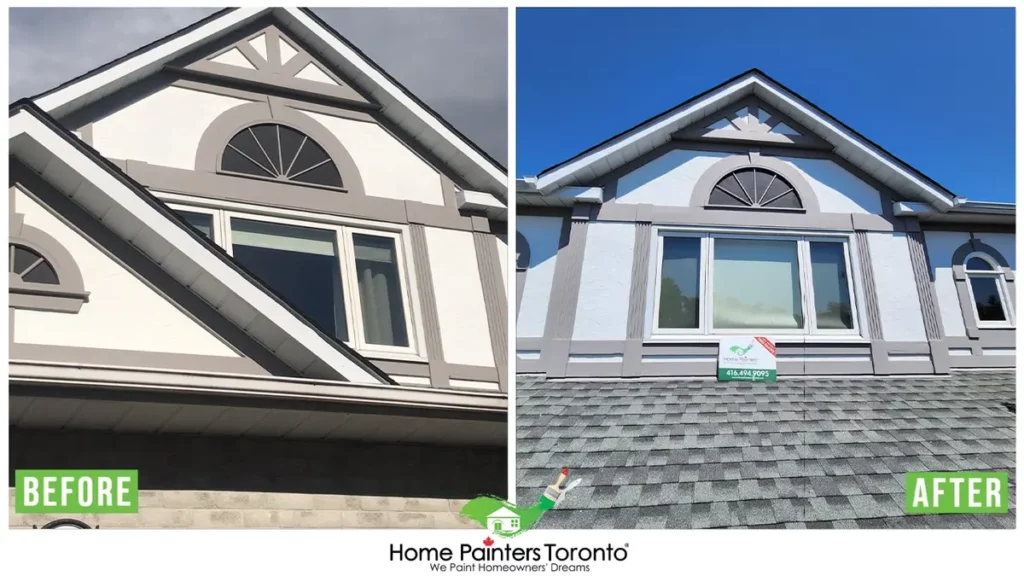
1. Enhances Your Home’s Visual Appeal
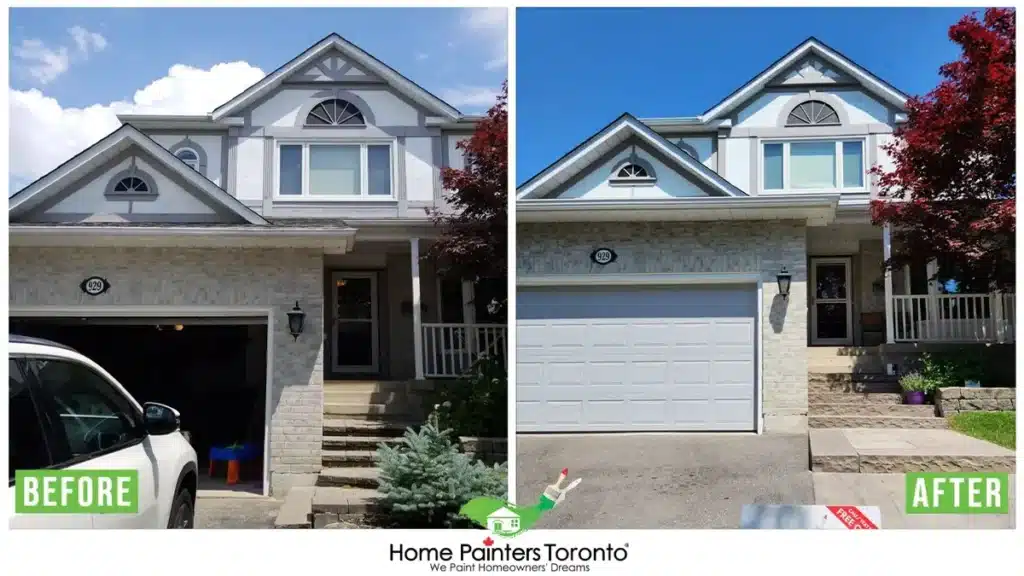
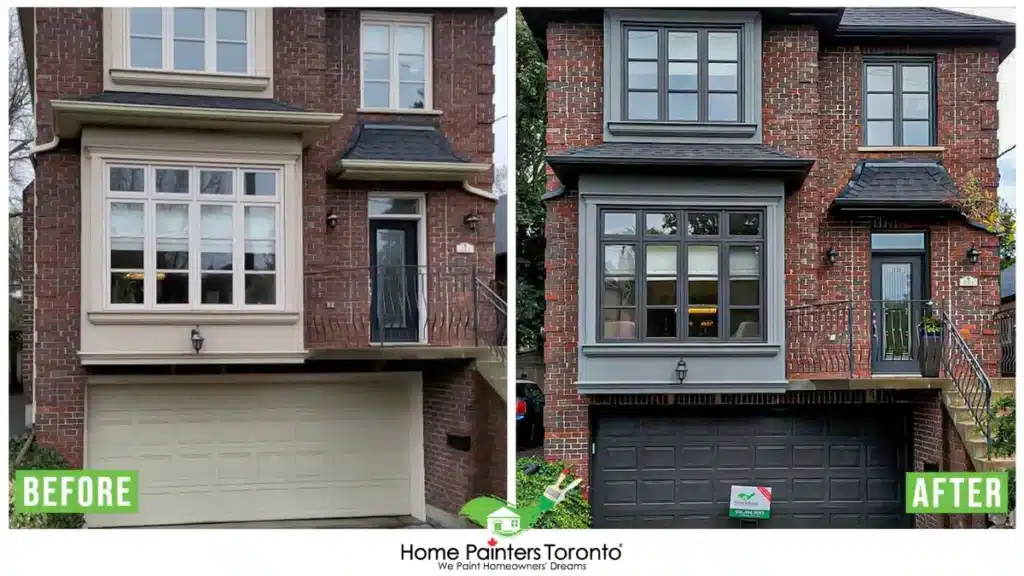
A fresh coat of paint on the trim can significantly impact your home’s visual appeal. It helps create clean, crisp lines and adds contrast to the walls, making the room feel more polished and put together. Whether you choose a classic white or a bold colour, painted trim can breathe new life into your space and enhance its overall design.
2. Protects and Preserves the Trim
Painting the trim improves its appearance and protects it from damage. Trim is often exposed to wear and tear, such as scuffs, scratches, and dents. High-quality trim paint can create a barrier against these damages, preserving the trim’s integrity and prolonging its lifespan.
3. Highlights Architectural Details
If your home features unique architectural details, such as crown moulding, wainscoting, or decorative trim, painting these elements can accentuate their beauty and make them stand out. By choosing a paint colour that contrasts with the walls, you can draw attention to these features and showcase your home’s craftsmanship.
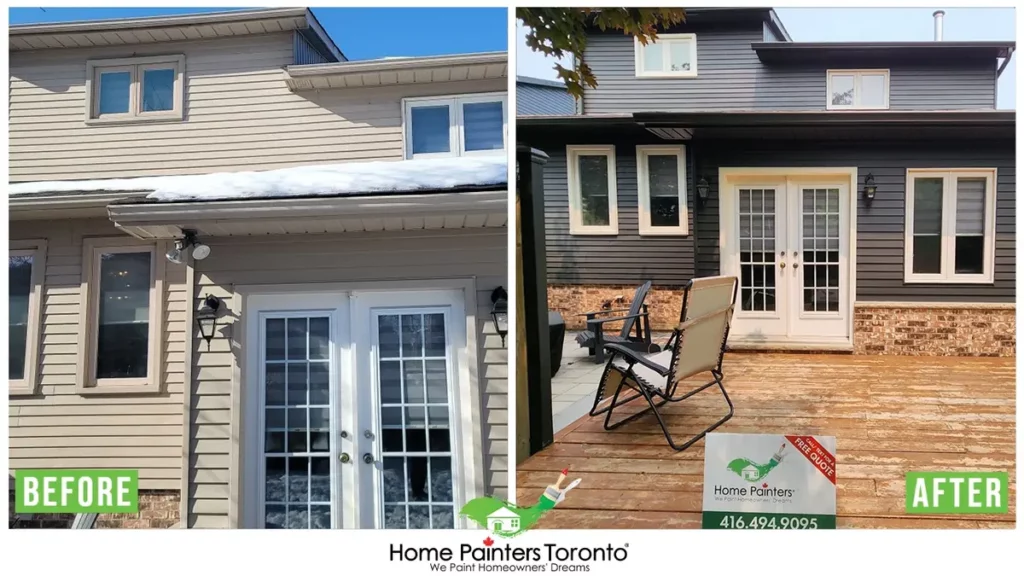
4. Creates a Cohesive Design
Painting the trim can help create a cohesive design throughout your home. Using a consistent colour for all the trim establishes a sense of continuity and harmony across different rooms. This consistency can make your home feel more unified and well-designed.
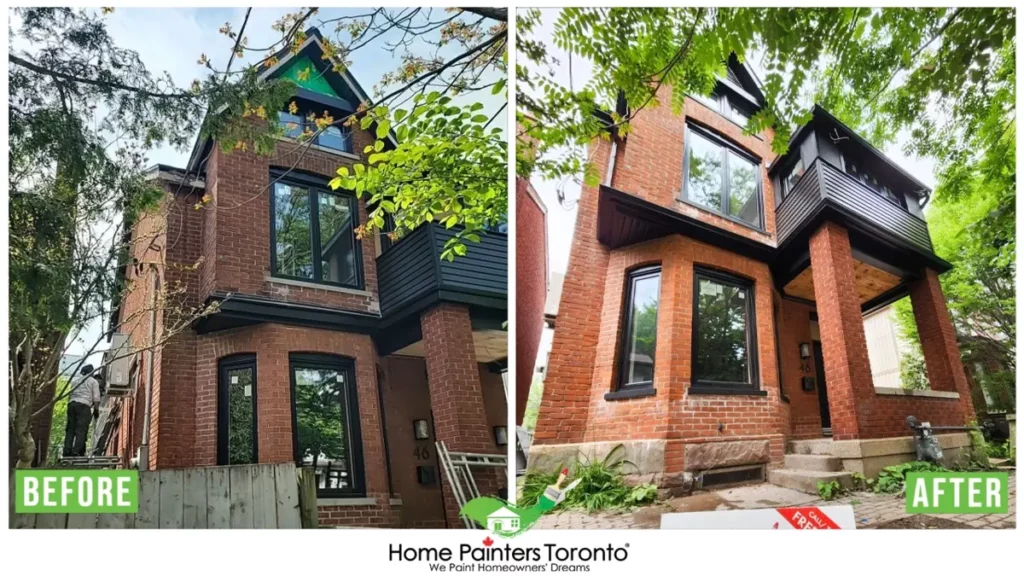
5. Increases Your Home’s Value
A well-maintained and aesthetically pleasing home can increase its value in the eyes of potential buyers. Painting the trim is a relatively simple and cost-effective way to enhance your home’s appearance and make it more attractive to buyers, potentially leading to a higher selling price.
Tips on How to Paint Trim Like a Pro
To make the most of your trim painting project, consider the following trim painting hacks:
- Choose high-quality paint for trims, preferably semi-gloss or high-gloss, for durability and easy cleaning.
- Use painter’s tape to achieve crisp lines and protect adjacent surfaces.
- Lightly sand the trim before painting to ensure proper paint adhesion.
- Apply at least two coats of trim paint for an even, professional finish.
- Don’t be afraid to experiment with bold colours or contrasting shades to create a unique and eye-catching design.
The Process to Paint Trim
Now that you have decided to attempt to paint trim, it is vital that you understand what takes place before and during the task at hand. You need to familiarize yourself with these core concepts to have a successful final product. Some essentials that you need include:
- Painter’s tape. You can find this at your local paint store.
- 2.5 inches angled brush. Sherwin-Williams has the best quality brushes that will last you multiple trim jobs.
- 4-inch foam roller
- Sponges
- Primer. Benjamin Moore has a top-of-the-line primer that comes in different varieties.
- Sandpaper
- Microfiber cloth
- Latex Paint
For latex paint options, here at Home Painters Toronto, we stick with Benjamin Moore and Sherwin-Williams. These brands feature quality paint selections with a proven success track record and happy customers.
These items can spike up the price if you do not already own them. Remember, quality over price.
If an item here is cheaper than its average, it most likely means the article’s quality is subpar. Lasting results require the best products available. The price is higher for a good reason.
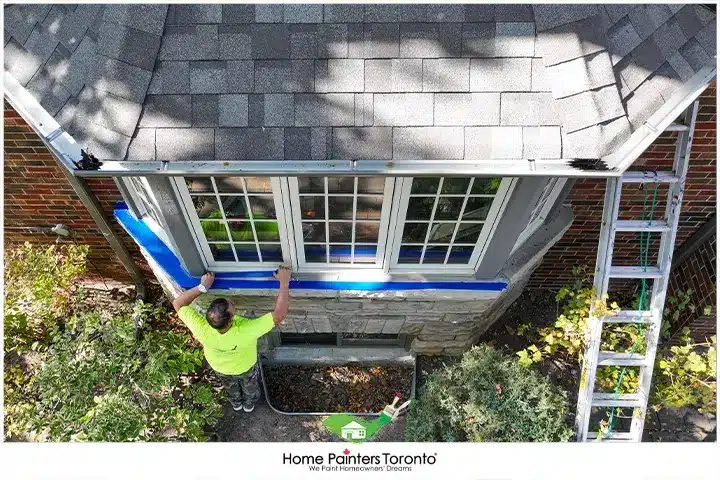
Prep to Paint Trim
All the tools listed above are necessary to paint the trim. Without one of them, the whole job will be in jeopardy. Assuming that all the tools are in your painting toolbox, it is essential to understand where to start before the actual painting occurs.
- Remove any furniture nearby.
- Prep the trim by sanding it down. This will help smoothen the area
- Clean the trim with a damp sponge to get rid of any residue
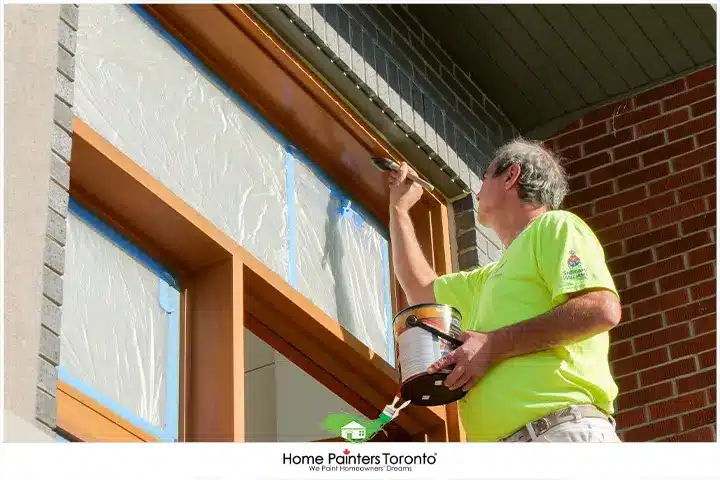
- Apply painter’s tape between the trim and the wall to guarantee honed paint lines
- Apply just one coat of primer. Apply one more if you see wood showing through after the first coat.
- Give primer a full day to dry before the next step
- Sand again to get rid of the brush strokes
- Use cloth again to get rid of any dust or new buildup
The best way to paint trim over a sensitive surface is to use a specialized painter’s tape for delicate areas. If you are painting over a carpet, pull the tape tight over the surface and tuck the edge between the carpet fibres and the trim.
Painting the Trim
Here is the fun part. You want a semi-gloss finish to paint the trim, which is better at covering up any blemishes. You can also go for high gloss paint, which has more longevity and is easier to maintain. Below is a list of brands that will give your trim the best finish.
- Benjamin Moore ADVANCE paint offers various colorways and is a premium line that ensures high-end finishes for trim, doors, and cabinetry.
- Emerald Urethane Trim Enamel by Sherwin-Willians is a water-based paint that will last on frequently cleaned surfaces, like trims.
- SnapDry Door & Trim Paint offers painters in a rush paint that will dry in as little to one hour.
- Ben® Interior Paint is currently on sale for those trying to budget. This paint is for you.
Final Steps
Now that you have the paint selected, the process of painting trim is relatively standard. It would help if you felt comfortable before beginning the job, as you do not want to mess up and must redo the whole thing. If you are up to the task, follow these steps when doing the job.
- Go slow; use short brush strokes to avoid drippage.
- Paint a handful of feet at a time.
- Please go over the wet-painted section with the foam roller without paint. This gives it an expert finish that will baffle your guests that you do this yourself.
- It is crucial to have a wet edge on your section when painting trim. This makes the paint blend in more seamlessly.
- Remove the painter’s tape while the paint is still damp.
- Leave to dry for a day.
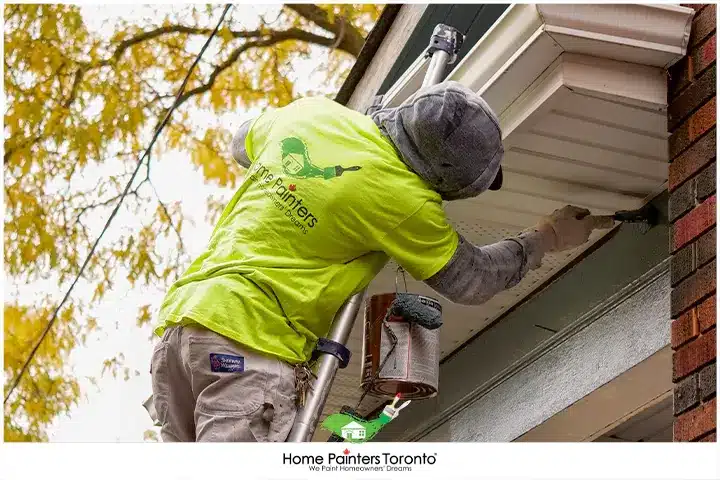
Congratulations, you have now finished that long overdue trim job. Again this is a guide if you want to do the job yourself. But if you don’t have the time or can’t be bothered to do it yourself, please consider hiring a professional trim painter.
When hiring a painting service, these tips and tricks should already be known to the employer. When looking for a company, look for longevity, a proven track record and friendly staff. To paint trim requires a lot of focus and effort. If you are doing this yourself, maybe try to meditate beforehand to get a steady hand.
Top Related Blogs to
“Best Way to Paint Trim”

If you’re thinking of doing some home interior painting but don’t want to do the work yourself, let our interior painters help! Even if you are undecided, professional house painters can help you with any problems or questions. If the work involved sounds like it involves too much time and energy to do yourself, call 416.494.9095 or email [email protected] for a FREE quote. And don’t forget to follow us on all our social channels below!