

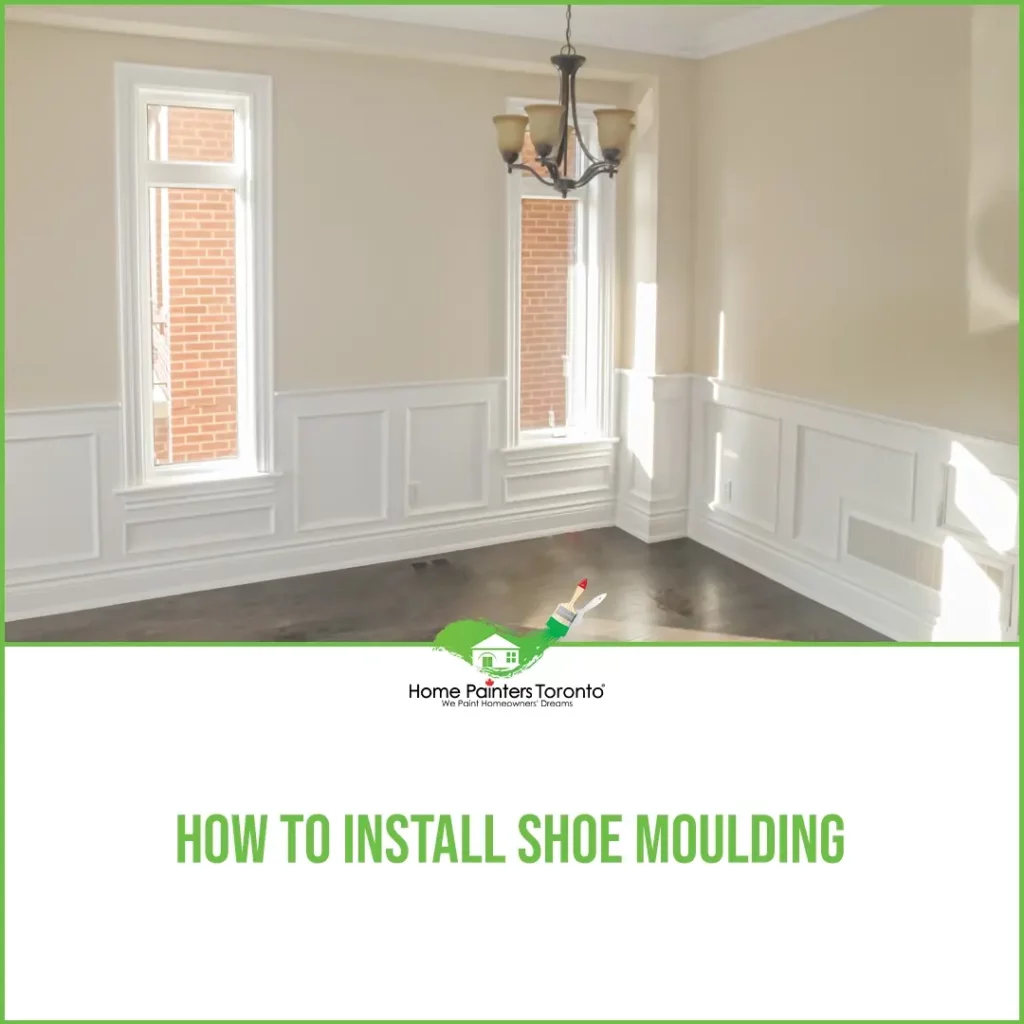
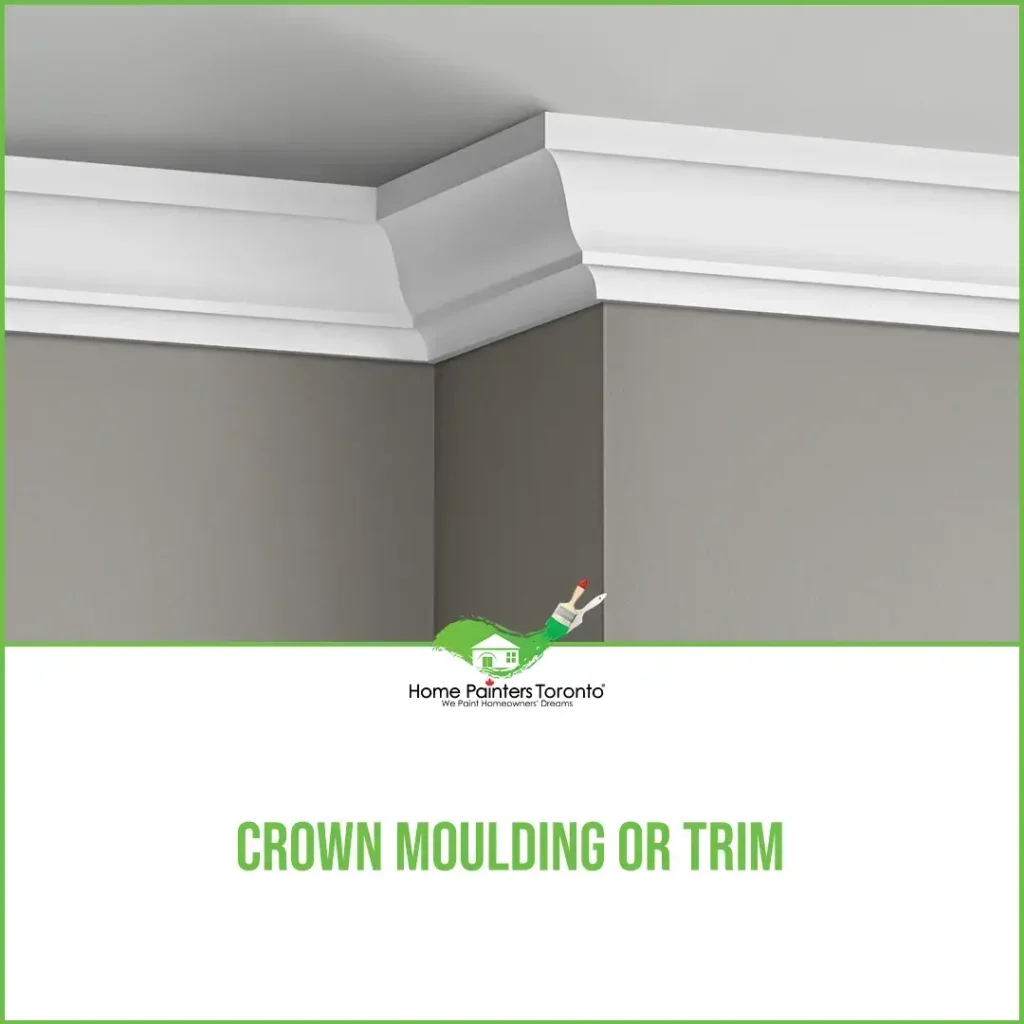
Crown moulding is a decorative way of hiding flaws between the ceiling and the wall. It is also used for stylish appeal. Usually, crown moulding is cut so it will be at a specific angle and joined to the wall where corners aren’t in place. Crown moulding has an elegant charm that will display really beautifully in any home.
But before you take this on as your DIY project, there might be some questions buzzing in your head. What does crown moulding do? What is used for crown moulding? How do you install it? We’ll answer these queries and guide you on how to cut crown moulding in this comprehensive guide. So, Read on to learn about cutting crown moulding and other crown moulding installation tricks.
What Does Crown Moulding Do?
Crown Moulding serves two main purposes – decoration and hiding flaws. It adds a touch of elegance and sophistication to any room, making it appear more polished and complete. It enhances the transitional area between the wall and ceiling, turning the awkward space into an architectural masterpiece.
Furthermore, in older homes, crown moulding is often used to cover imperfections, such as cracking paint or uneven edges where the wall meets the ceiling.
What Is Used For Crown Moulding?
Crown moulding can be crafted from various materials. Including MDF (medium-density fiberboard), PVC, polystyrene, polyurethane, plaster, solid wood, and plaster. Each material has its pros and cons. So it’s important to choose what fits your specific needs and budget.
How to Install Crown Moulding
Here are the steps to help you how to cut crown moulding inside corners and install them successfully:
Materials That You Will Need for Cutting Crown Moulding:
- Safety Goggles
- Pencil
- Measuring Tape
- Milter Saw
- Crown Molding
Extras:
- Wood Putty
- Sandpaper
- Nails/Nail Gun
Step #1: Cutting crown moulding to fit into corners
- At a 45-degree angle, you can cut the crown molding by holding the wall side/bottom edge against the bottom back edge of the saw base and back plate. Set the saw to cut at a 45-degree angle and cut carefully.
- Cut the opposite angle on the other part of the crown moulding.
- You can also cut the crown moulding to fit into the corners by holding it flat against the saw and adjusting the angles to 31.62 degrees and also 33.9 degrees.
Step #2. Fit Together
- With the crown moulding against the back plate, hold it flat and set the saw to a 45-degree angle on the inside of the first moulding piece and then cut.
- Do this again for the other piece.
- After both have been cut, see if they fit tightly together and do not leave any gaps.
Step #3. Crown moulding installation tricks
- Only use a few 6D or 8D nails to attach the crown moulding.
- Take your time with this. It can be frustrating, so be sure you allow yourself extra time and budget money in case any unexpected situations occur.
- Always keep the surface area that you are working in clean.
- Make sure there is a solid nailing spot where the joists run parallel to the crown moulding. Use a 2×2 cut on a 45-degree bevel. Cut the 2×2 and then screw it to the wall where the corner of the ceiling and wall meet. Using a 2×3 makes sure the surface is solid and sits at an angle where you can nail.
- Use wood putty and fill in any holes, and sand smooth.
- Get assistance from another person. It’s always good to have an extra pair of eyes when completing these types of tasks.
Last tips for cutting crown moulding and painting
One thing to consider when you’re painting crown moulding is the overall quality of the paint. The quality needs to be supreme. Advance by Benjamin Moore is a great high-end durable finish for trims and crown moulding. Sherwin Williams ProMar Classic is another good choice for a high-performance finish that’s smooth and durable too.
When you’re thinking about ceiling paint colours, the trend is to go flat white on ceilings. It’s best to use the Ultra Spec white we previously mentioned or Benjamin Moore’s Waterborne Ceiling Paint. This paint is the best to use for rooms with a lot of light exposure, as you won’t be able to spot any defects. Sherwin Williams ProMar 400 latex interior paint is another good choice.
Learning how to cut crown moulding corners might seem daunting, but with the right tools and a little guidance, it’s something anyone can do. With practice, you’ll find that you can add a professional touch to any room by doing the crown moulding installation yourself. Enjoy the process, and relish the finished product!
More Interesting Blogs Related to
“How to Cut Crown Moulding”
Cutting crown moulding sound like a difficult task. If the work involved in repairing or painting outside sounds like it involves too much time and energy to do yourself, call 416.494.9095 or email [email protected] for a FREE quote And don’t forget to follow us on all our social channels below!