
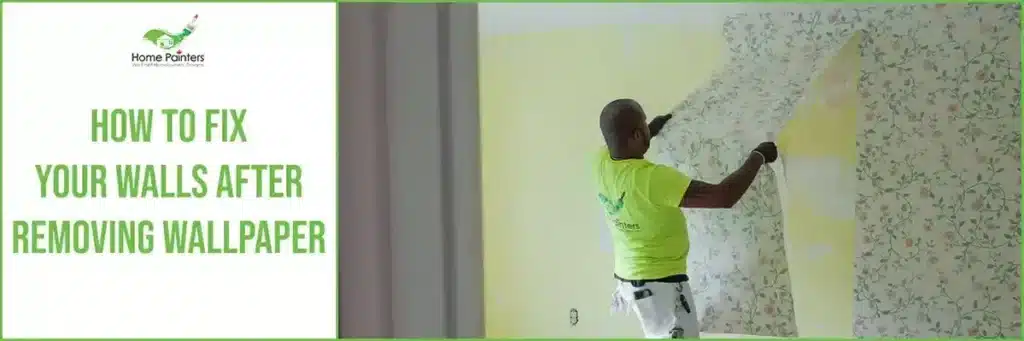
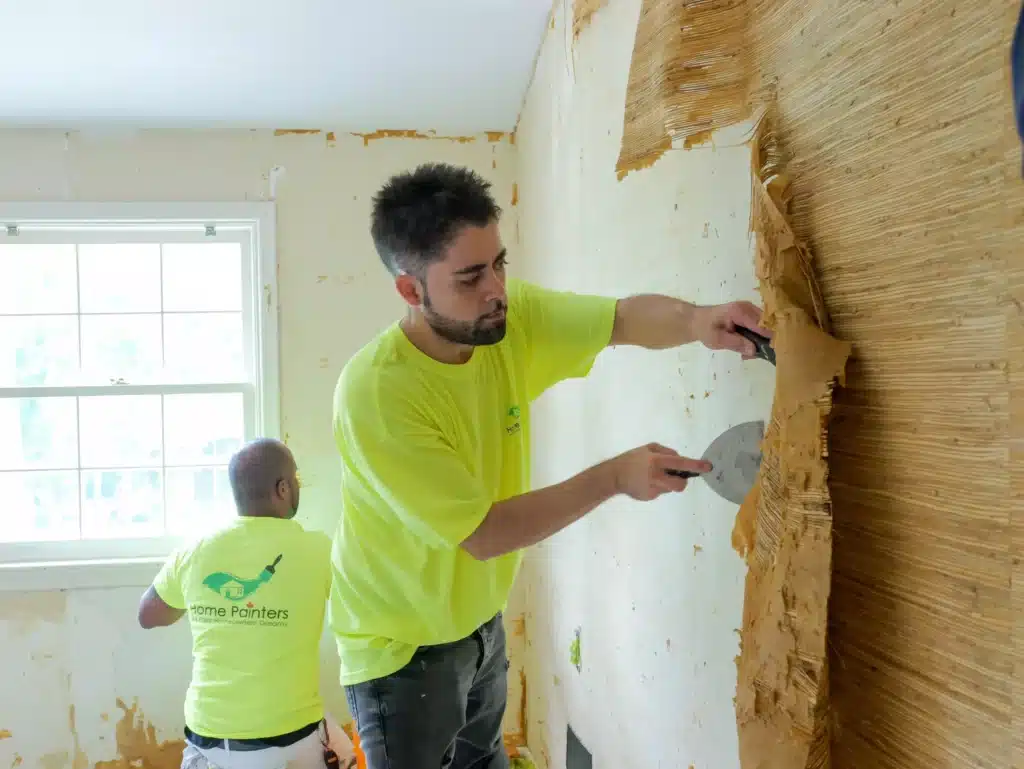
Removing wallpaper from your walls is a great way to get rid of an old look and make way for something new. As soon as you start the process, however, you’ll notice that there are some patchy walls after removing the wallpaper.
We know what a daunting task removing wallpaper is, but we also know that it’s definitely worth it if you’re living in a home with outdated walls. For a DIY project, you may not know where you should start or how to fix your walls after removing wallpaper. We can tell you how to skim-coat your walls after the process. We absolutely recommend hiring a professional for removing wallpaper, as it is very tedious and someone with a lot of experience can do the least amount of damage to your walls. But if you want to try it yourself, here’s how to clean walls after removing wallpaper!
Materials
Here’s a complete list of materials you’ll need for this job:
•Taping knives of various sizes
•Shop vac or wet/dry vacuum
•Putty knife (for smaller fixes)
•Joint compound
•Drywall sealer
•Hand sander or sandpaper of various grains
•Mud pan (be sure you can fit whichever size taping knives you use)
How to Fix Your Walls After Removing Wallpaper
#1 STEP
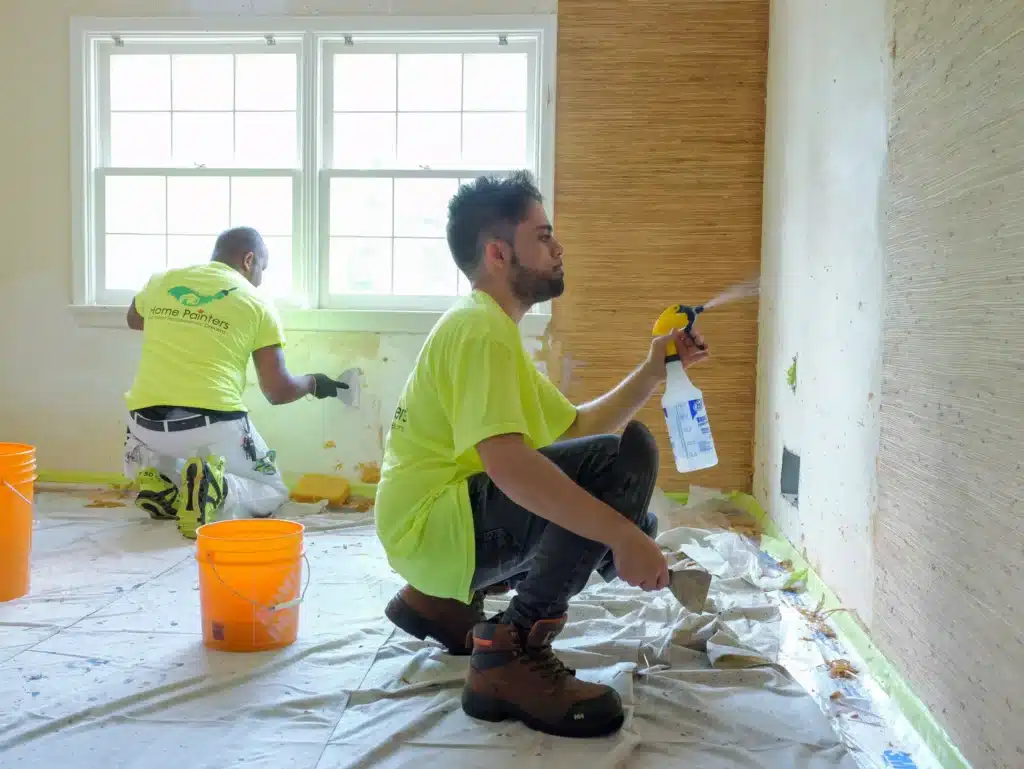
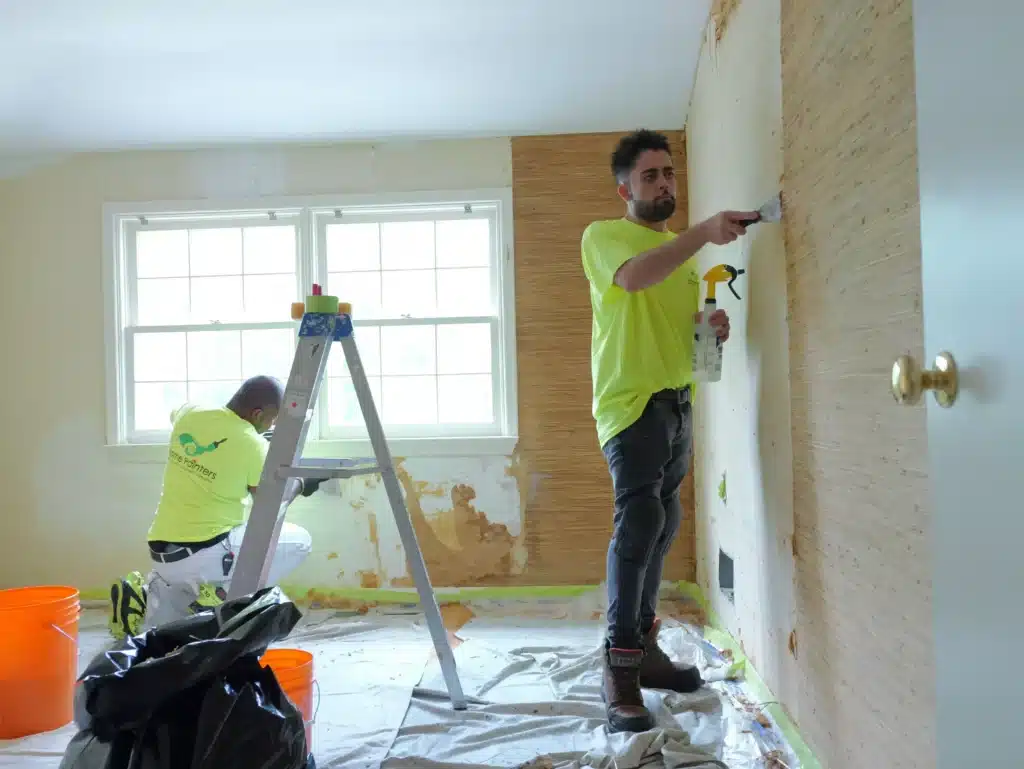
We always start with room prep. Just like any painting project, move any and all furniture out of the room if your space permits. If not, you can move it all to the centre of the room and cover it with drop cloths. Using a wide painter’s tape, tape all your mouldings, outlets, window sills, etc. You can remove the hardware off your light switches and outlet covers as well. Take down any artwork or photos on the walls and take nails out.
#2 STEP
Start by thinning out the joint compound you’ve purchased. It needs to be the consistency of a thin pancake mix in order to work for skim coating.
Even if you purchased a lite joint compound, it needs a little bit of thinning out as well. You can add a little bit of water at a time, stir well and get it to that desired consistency. Make sure you don’t make it too thin, or you’ll be making a mess.
# 3 STEP
Start at the top of your walls. You’re going to be spreading the compound over your walls completely, just as the name suggests like you’re ‘skimming’.
#4 STEP
This can be a bit tricky to get the hang of, but once you get it you’ll be good. Wipe any excess off your putty knife and keep going until the wall is covered.
#5 STEP
You can fix any mistakes while the compound is still wet, so keep a keen eye on what you’re doing. Be careful, though, because if you pass over edges you don’t mean to, you can muck up the job. It can be pretty forgiving until it’s dried and cured, so you should try to work fast, but not without sacrificing quality. If you end up putting too much on, you can deal with it during the sanding process.
#6 STEP
Let the joint compound dry down completely and cure, then you can start the sanding process.
#7 STEP
At this point, you should be completely dry and ready to sand.
Protection is key during this step because there will be a lot of dust and debris coming off your walls, so wear goggles and a mask. We don’t want dust in your eyes and lungs.
If you’re doing this as part of a huge project or have done this in many rooms, a power sander is a great investment. Sanding 3 full rooms with sandpaper will take you a very long time.
#8 STEP
Start sanding down your walls until they’re completely smooth and the surface is even. You will likely have a lot of dust, so use a wet-dry vacuum to help you clean that up. You want to do a really thorough job of cleaning up the debris, as it can compromise your paint job.
#9 STEP
Your walls should be ready for primer! Prime them, let them dry down completely between coats, and you’ll likely need two coats of primer before painting.
#10 STEP
All done! You can go ahead and paint!
We know this can be a BIG job, especially if you don’t have the tools, like a power sander, to help you speed up this process. If you don’t want to take on this job on your own, give us a call!
We’ve been in business in the Toronto area for over 35 years, and our track record has been sustained by our thousands of happy clients and their kind words on HomeStars. We have a lot of experience removing wallpaper and skim-coating walls, and we’d be thrilled to take on this project for you.
More Interesting Blogs Related to
“HOW TO FIX YOUR WALLS AFTER REMOVING WALLPAPER”
Call us NOW at 416-494-9095 or email us at [email protected] for a FREE estimate for removing wallpaper and skim coating your walls, and we can even give it a truly professional paint job to give your walls new life! And don’t forget to follow us on all our social channels below as well!