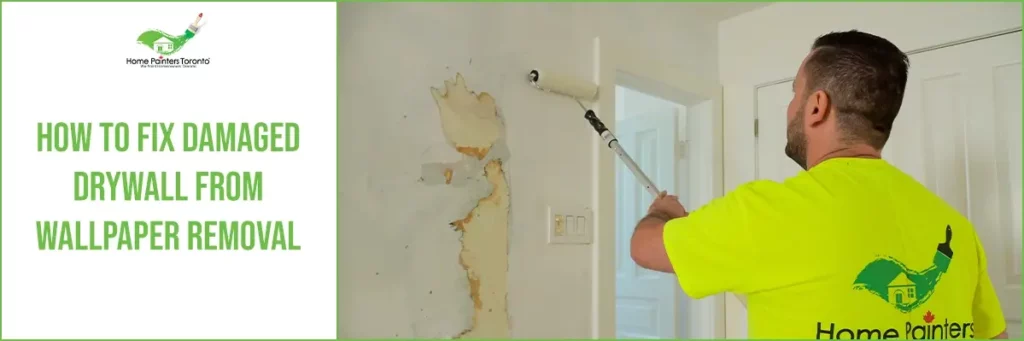
If you are planning on painting after wallpaper removal on drywall, chances are there is some drywall repair work needed. The paper can tear, gyprock may come loose, paint bubbles after wallpaper removal, and even a rounded knife can leave gouges and marks.
If you plan on painting after you have removed your wallpaper, you will definitely want to address any issues with your walls before you get started. After putting in the hard work of removing the wallpaper, you want nice, smooth surfaces for painting. If you have hired professional wallpaper removal contractors or a company, they will do the repair work for you.
How to Repair Drywall
Supplies Needed
- TSP wallpaper glue dissolver
- Spackle/mud
- Roller and paintbrush
- Bucket
- Face mask
- Sandpaper block and sandpaper
- Various sizes of putty knives
- Drywall primer
- Paint tray
- Scissors or pocket/utility knife
- Oil-based primer or drywall primer
Steps to Fix Damaged Drywall After Wallpaper Removal
Step 1: Assess the Damage
Before you start with the repairs, determine the extent of the damage. Small tears and holes are relatively easy to fix, but if you find large areas of your drywall compromised, you may need to replace entire sections.
Step 2: Clean the Wall
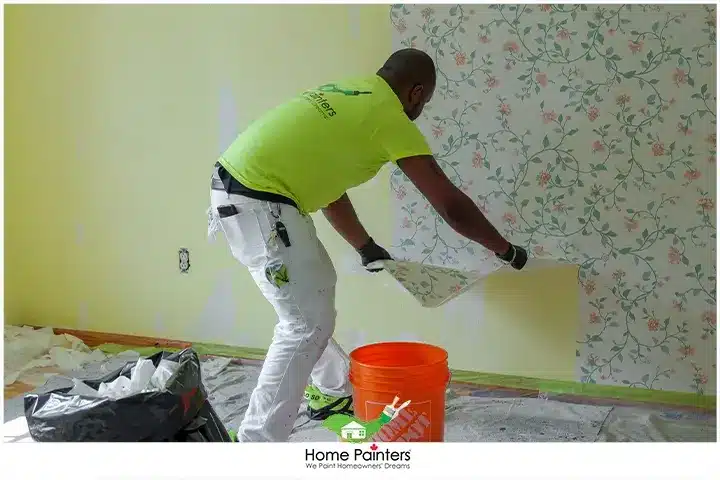
Prepping walls for painting after wallpaper removal is extremely important to make sure that you remove all the fluff left behind by the wallpaper. Start by wiping down the wall with a cleaning solution. Wash the walls with TSP and water, which will clear away dried glue globs and any other remnants. Make sure you give your walls a thorough rinse afterwards. Don’t soak your walls, otherwise, you will damage the drywall further. This step ensures there is no leftover wallpaper adhesive or dust that can interfere with your repair work. Make sure to dry the wall well after cleaning.
Step 3: Repair Minor Damage
For small gouges, cuts, or holes, you would need a pre-mixed joint compound and a drywall knife.
- Sand where there is ripped paper and cut any loose edges of paper. You will want to smooth the edges to create a smoother surface for the spackle. Make sure that you wipe away and clean up any dust before you apply the spackle.
- You can find spackle or joint compound in the drywall section of your hardware store. Apply with a putty knife, laying it on thicker where there are holes and gouges.
- Smooth out the spackle until it is as even as possible. Try to avoid leaving knife edges or large globs. Spackle shrinks as it dries so make sure you have good coverage to avoid having to fill in any missed holes afterwards.
- Sand the dried spackle. Make sure to wear a mask for this part, as spackle dust is not good for you and can make you cough a lot if inhaled. Use a sanding block, as it is better for flat surfaces. Make sure to sand the spackle as smoothly as possible but be careful not to over-sand – you might end up having to add more spackle to even out the wall in that case.
- Once everything is dry, give everything a coat of primer using a drywall primer or oil-based primer.
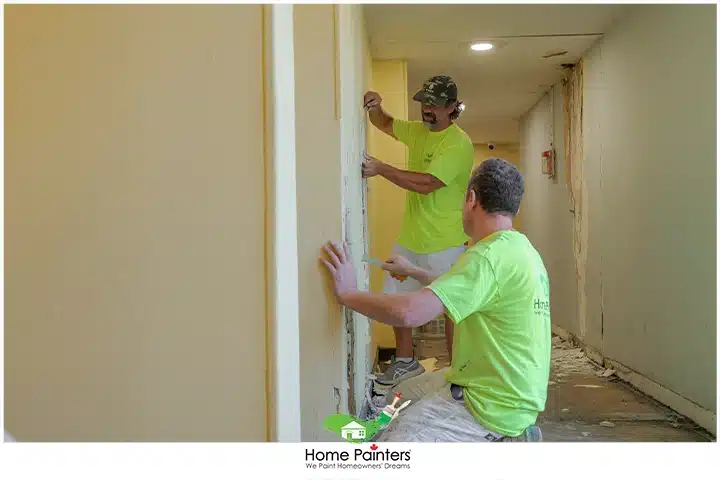
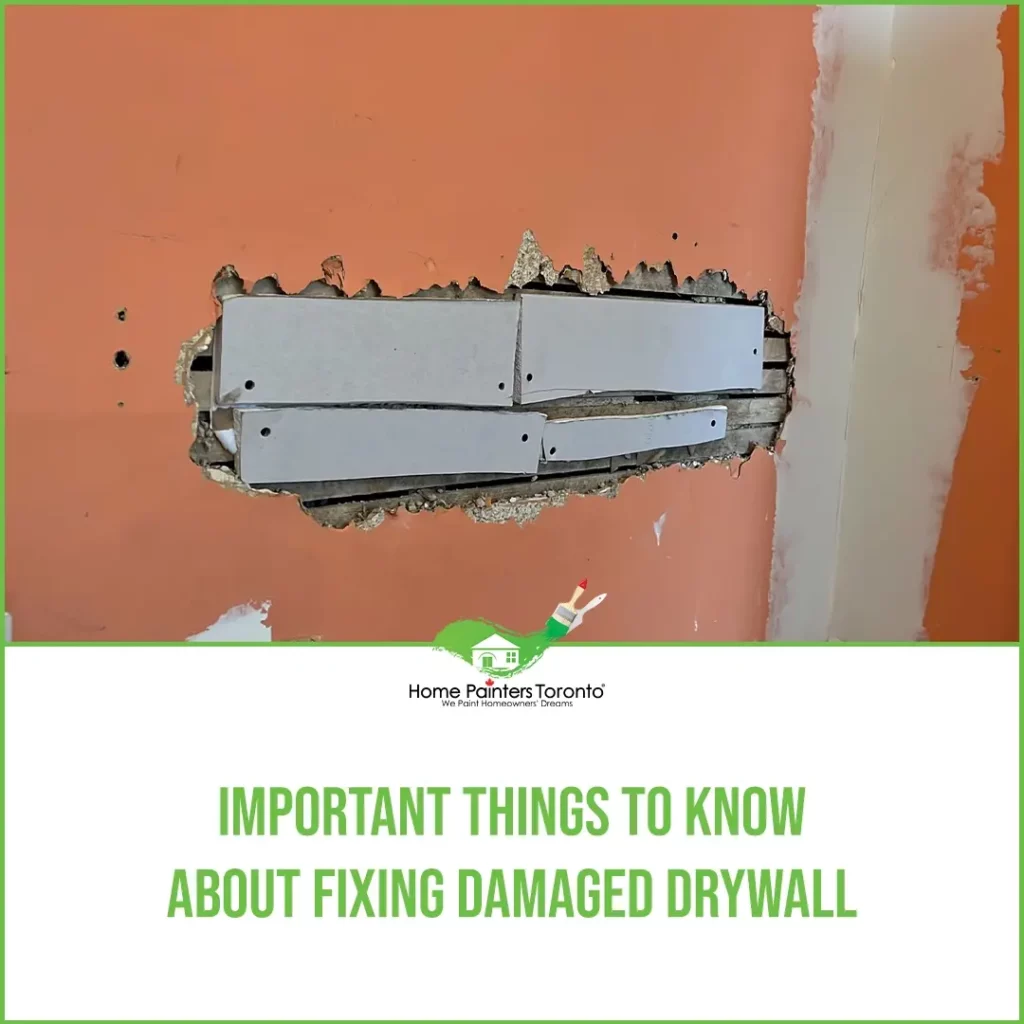
Step 4: Repair Major Damage
Affix a drywall patch to the wall if the damage is larger (more significant than 1 inch across).
- Cut a piece of gypsum board to the size of the damage, then apply joint compound around the edges. Press the patch into place and cover the entire patch with more compound.
- Smooth out the patch so that it blends with the rest of the wall. Let it dry fully.
- Sand the patch after it’s completely dry to ensure it aligns with the rest of the surface.
Step 5: Apply a Drywall Primer
Once all your repairs have dried and are sanded smooth, apply a drywall primer to the wall. This step is essential, as it seals the joint compound and reveals any imperfections you may have missed. If you do find areas that need more work, simply repeat the patching process in those areas.
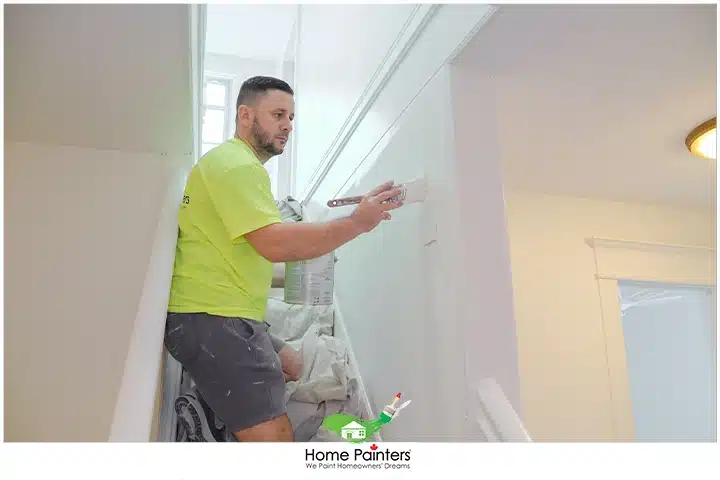
Step 6: Paint the Wall
After the primer has dried, you’re ready to paint. Apply the paint in thin, even strokes using a roller for the larger areas and a brush for the corners and edges. Depending on the paint type and colour, you may need to apply multiple coats for an even finish.
Other Methods to Fix Damaged Drywall After Wallpaper Removal
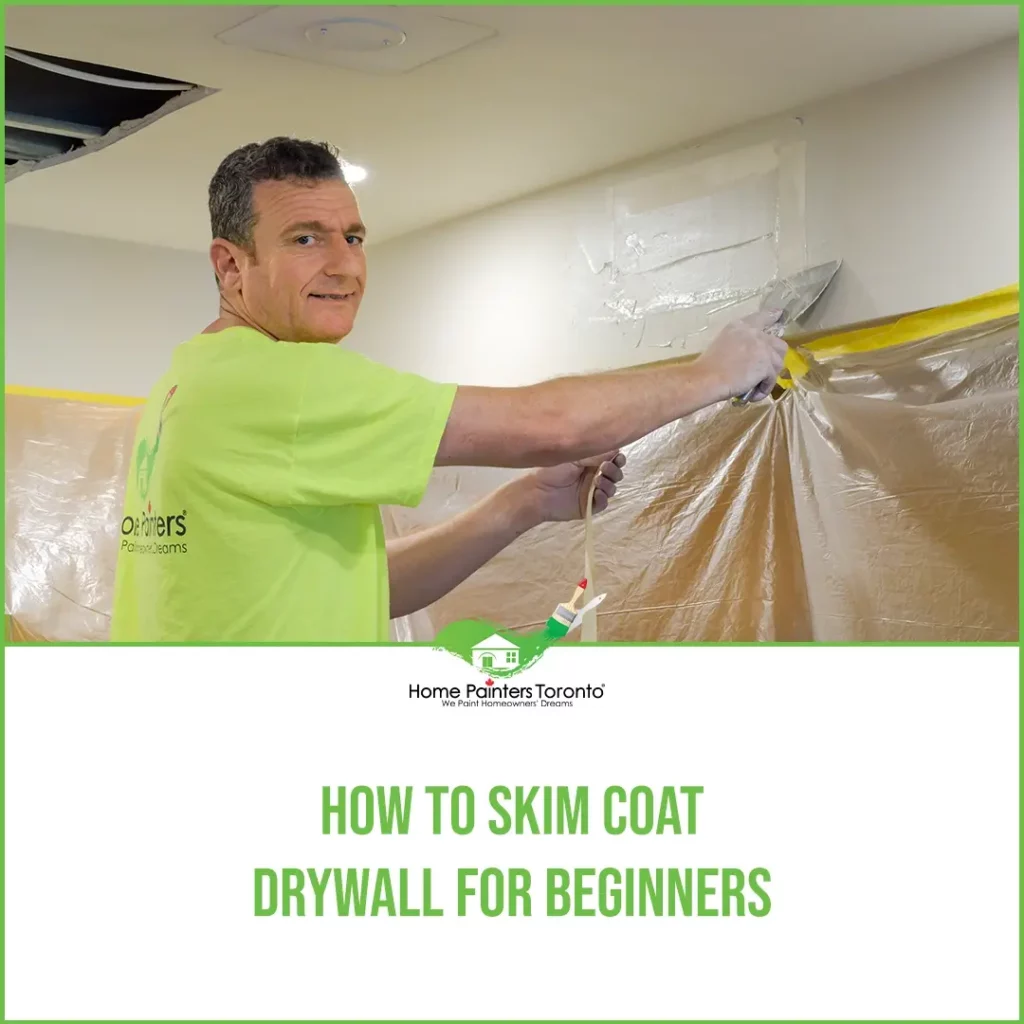
Depending on the state of the walls after the wallpaper has been removed, you may need to skim-coat the walls before you can paint. A skim coat is a technique that smooths the wall surface and hides imperfections. This would be the better choice over spot repairs if you have a lot of repair work needed.
Skim coat is also a better choice for repair in commercial spaces or where there is bright lighting. If you need to replace any of the drywall, skim coating can hide bad taping jobs as well. If you end up needing to skim coat, make sure to prime the walls beforehand. Priming will seal any loose paper and provide a better surface for the mud to adhere to.
If there is a lot of damage to your drywall after you remove the wallpaper, you may have to face the choice of replacing sections or re-drywalling the room. This may not be the answer you were looking for, but it might be a necessary evil if you want nice, smooth walls to paint.
The state of your walls after pulling down wallpaper depends on a few factors:
- How well the walls were prepared by the installer beforehand
- What kind of wallpaper was used (and how old it is)
In theory, newer wallpaper should be easier to remove. The bulk of the work to remove it is the backing paper and adhesive. Older wallpaper is harder to remove and may cause more damage to your walls.
Whether you are using TSP or just plain water to wash your walls and remove adhesive, remember – don’t soak your walls. Too much water will soften and damage the paper, as well as affect the gyprock.
Removing wallpaper is a big job that is tedious and messy. Repairing your walls afterwards can be just as much work, but completely doable on your own. Do your research and consult with professionals if you are not sure about anything. Painting after wallpaper removal is always satisfying, especially when you have nice, smooth surfaces to work with, which is why it is important to put in the work and do it right.
CONCLUSION
While the experience of seeing damaged drywall post-wallpaper removal can be quite unnerving, the good news is, with some elbow grease and patience, restoring your walls is within reach. The goal is to proceed with care and take your time, ensuring everything is done correctly. Before you know it, you will have transformed your damaged drywall into a flawless canvas ready for your next decorating adventure.
More Interesting Blogs Related to
“HOW TO FIX DAMAGED DRYWALL FROM WALLPAPER REMOVAL”
If the work involved in fixing damaged drywall sounds like it involves too much time and energy to do yourself, call 416.494.9095 or email [email protected] for a FREE quote or visit our website. And don’t forget to follow us on all our social channels below!