
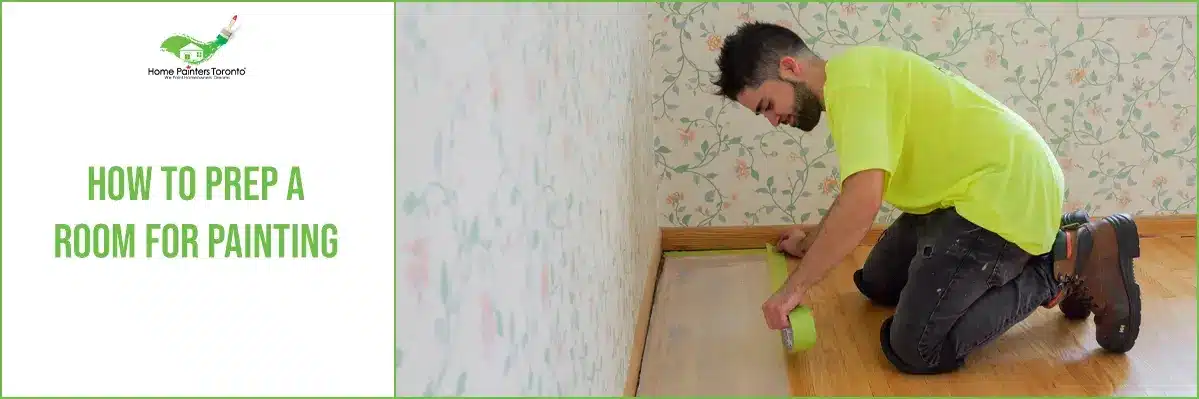
One might think that the largest chunk of the labour and work goes into the actual painting process. But the prep is just as important! If you get any of the prep wrong or forget a crucial step along the way, it slows you right down. You don’t want to have to stop and go back. Thinking about how to prep a room for painting deserves just as much attention as the paint job!
The thing is, once you start painting, you’re not going to want to stop! It can feel very exciting to renew a space with paint. There are lots of little things to remember and get ready for before the painting process starts. So, let’s dig right into how to prep a room for painting!
How to Prep A Room For Painting: Remove Items From Walls
We’ll get you started with some of the easier steps for how to prep a room for painting! If you have any artwork or photos hanging from the walls, now is the time to get them down. Store them in a safe place away from where the painting is going to be happening.
If you have lighting scones up on the walls, you can either remove them entirely for the time being. Or you can cover them up with some plastic and tape. Now is also a good time to unscrew any plates or outlet covers from the walls as well. Cover up the exposed outlets with painter’s tape for protection.
Cleaning Out Your Space
Now comes the part that involves a little muscle! When you’re thinking about how to prep a room for painting, you will likely need to vacate some furniture. Don’t try to lift or move any bigger items all on your own. Couches or units right up against the walls will need to be moved though.
If you don’t have extra rooms or space for storage, simply move the furniture into the center of the room. From there, simply cover them carefully with plastic or drop cloths. You want to make sure there’s that layer of protection!
How to Prep A Room For Painting: Repair Work
Now that you have your room fairly cleared of furniture and everything off the walls, now is the time for repair work. This doesn’t have to be a hard step either. All you need is some drywall spackle, a putty knife and good sandpaper.
If you find any small dings in the wall or holes from previous artwork or lighting scones, you’ll want to patch those up. The key with spackle is to not use too much! Also, if you have a bigger gap to fill, it’s best to use a primer first. That way your patchwork won’t show through the new paint.
After your spackle has been left to dry for a day, grab your sandpaper or sanding block along with a face mask. Rub the surface with the sandpaper in order to smooth out any of that spackle. If you have plans to paint your trims and doors, you might as well do the sanding job for them as well.
Cleaning, Covering & Taping
Next comes everyone’s favourite step in the whole how to prep a room for the painting process — cleaning and washing the walls. It’s important to try and get rid of any built-up dirt and stains that rest on the walls prior to painting.
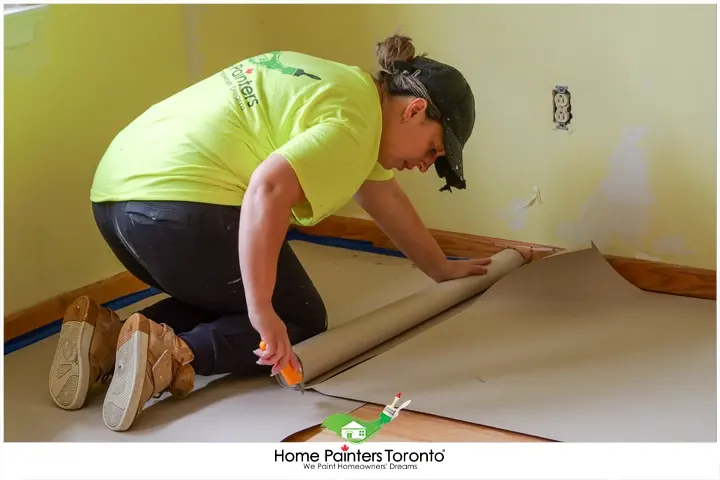
Any of the furniture that’s still left in the room that was too heavy to move, you want to be sure to cover it up. Also, it’s always smart to use drop cloths over top of your floors as well. After all, painting can get a bit messy at times!
Lastly, don’t forget to make use of painter’s tape as well. You’re going to need it to tape around door frames, trims and windows. It can make painting those corners go a lot smoother. Don’t forget that the very last step in how to prep a room for painting is to give it a coat of primer! Priming before painting is so crucial. Not only does it help your paint to go on evenly and smoothly, but it can actually make your paint colours stand out more. After your priming job is dry, that’s it for how to prep a room for painting. You’re ready to go with painting!
Don’t forget to check out our Pinterest page for all sorts of painting inspiration!
The Risks of Inadequate Preparation: What to Expect
Embarking on a painting project without adequate preparation is akin to setting sail without a compass. It may lead you to unintended consequences that could compromise both the aesthetics and durability of your paint job. Understanding these potential pitfalls reinforces the necessity of meticulous preparation, illustrating why the paint preparation process should never be overlooked. Below, we explore the common issues that arise from insufficient room preparation, providing you with a pragmatic overview to guide your project decisions.
Adhesion Complications
One of the most fundamental aspects of painting is ensuring that the paint adheres properly to the surface. An inadequately prepared wall, tainted with dust, oil, or old flaking paint, can lead to poor paint adhesion. This manifests as bubbling, peeling, or even flaking of paint shortly after application, necessitating corrective work that could have been avoided with proper prep for paint surface cleaning and priming.
Visible Imperfections
The allure of a freshly painted room can quickly diminish when imperfections are brought to light. Walls that have not been properly smoothed and repaired will prominently display every ding, dent, and crack beneath the new paint. These surface imperfections, once concealed, become glaringly obvious, detracting from the desired finish and potentially undermining the aesthetic integrity of the room.
Colour and Finish Inconsistencies
Colour consistency is another critical aspect that can be compromised by inadequate preparation. Without a suitably applied primer, you might find that the paint doesn’t achieve the uniformity or depth of colour expected. This can result in patchy areas where the underlying wall colour unevenly influences the new paint. Furthermore, variations in sheen or finish across different wall areas can emerge, disrupting the visual harmony you aim to create.
Protracted Timelines and Escalated Costs
Perhaps one of the most immediate repercussions of bypassing the prep work is the impact on your project timeline and budget. What might initially seem like a time-saver can quickly evolve into a time-consuming endeavour to remediate issues. The need to address adhesion failures, cover imperfections or repaint areas for colour consistency not only delays project completion but also results in additional material costs and labour.
Health and Safety Concerns
Lastly, the importance of a well-ventilated, safely prepared workspace cannot be overstated. Neglecting aspects such as adequate ventilation can expose occupants to prolonged periods of harmful fumes and dust. Additionally, failing to secure the work area appropriately can lead to accidents and damage to the property.
Concluding Thoughts
Inadequate preparation can significantly impact the quality, appearance, and longevity of your paint job, underscoring the saying that “failure to prepare is preparing to fail.” By investing time in the preparatory stages, you stand to benefit from a smoother painting process, aesthetically pleasing results, and the satisfaction of a job well done. This approach not only aligns with best practices in the painting industry but also embodies a commitment to excellence and meticulousness that will serve your projects now and in the future.
More Interesting Blogs Related to
“How To Prep A Room For Painting”


If the work involved in painting your space sounds like it involves too much time and energy to do yourself, call 416.494.9095 or email [email protected] for a FREE quote or visit our website. And don’t forget to follow us on all our social channels below!