
Many homeowners look for ways to remove popcorn ceiling texture to create a cleaner, more modern interior. Flattened ceilings can improve lighting reflection, simplify maintenance, and enhance the overall finish quality of painted rooms.
Popcorn stucco ceilings were once popular for hiding imperfections, but smooth ceilings are now preferred in many Toronto and GTA homes.
If your ceilings need professional repair or repainting after texture removal, learn more about interior painting Toronto services.
Why Homeowners Remove Popcorn Ceilings
There are several practical and aesthetic reasons to update textured ceilings:
- Modern design preferences favour smooth finishes
- Textured ceilings can collect dust over time
- Ceiling repainting is easier on flat surfaces
- Lighting often looks brighter with smooth finishes
In older homes, ceiling updates are frequently part of broader interior renovation projects.
What Is Popcorn Stucco Texture
Popcorn texture is a sprayed acoustic coating that creates a bumpy surface. It was commonly used to reduce visible drywall seams and speed up finishing work.
However, removing this texture typically requires careful preparation to avoid damaging the drywall underneath.
Steps to Remove Popcorn Ceiling Texture
Surface preparation
Furniture should be covered and flooring protected before removal begins. Ceiling fans and light fixtures are often removed or masked.
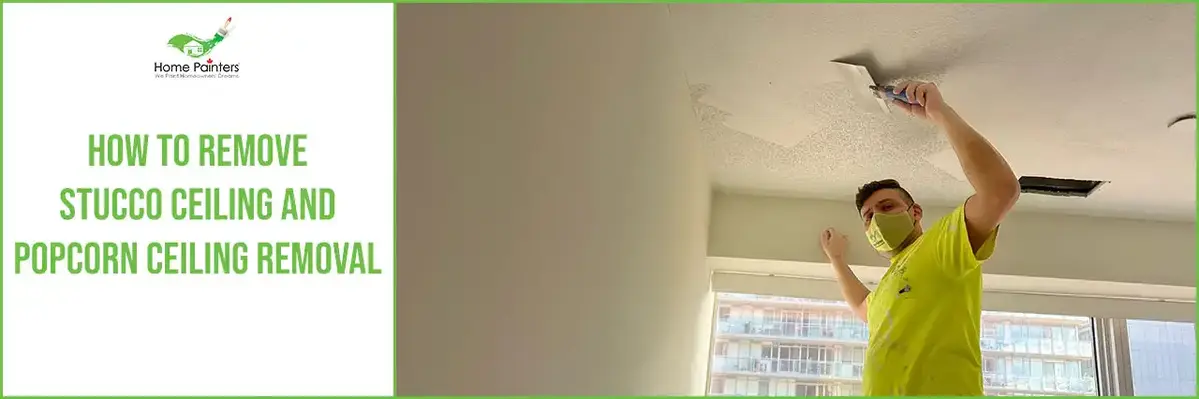
Wetting and scraping
Lightly wetting the texture can help soften the material before scraping. Controlled removal helps reduce drywall damage.
Repairing ceiling damage
After scraping, minor dents or gouges may need patching or sanding before finishing.
Professional drywall repair and preparation services such as drywall repair Toronto solutions can help restore a smooth surface before painting.
How Skim Coating Creates a Smooth Ceiling
Skim coating involves applying thin layers of joint compound to level surface imperfections. Multiple passes may be required to achieve a consistent flat finish.
Proper sanding and priming are essential before final painting.
This process can dramatically improve how ceilings reflect natural and artificial light.
Ceiling Painting After Texture Removal
Once ceilings are smooth, high-quality ceiling paint helps achieve uniform coverage. Preparation typically includes:
- Spot priming repairs
- Applying stain-blocking primer when needed
- Using flat or matte finishes for minimal reflection
Complete interior updates may also include wall repainting or trim refinishing using condo and home painting services.
Challenges With DIY Popcorn Ceiling Removal
While some homeowners attempt DIY removal, challenges can include:
- Uneven scraping marks
- Excess drywall damage
- Dust control issues
- Inconsistent skim coat finishes
These challenges often lead homeowners to seek professional assistance.
If your ceilings show visible damage or uneven texture after scraping, professional skim coating and repainting can help achieve a smoother final result.
When to Hire Professional Ceiling Painters
Professional painters may be helpful when:
- Large ceiling areas require flattening
- Repairs are needed after texture removal
- Smooth finishes are important for resale preparation
- Ceiling updates are part of full interior repainting
Experienced teams can coordinate drywall preparation, skim coating, and painting to ensure consistent results.
Frequently Asked Questions About Popcorn Ceiling Removal
Is popcorn ceiling removal messy?
Yes, texture removal can create dust and debris, which is why proper protection and cleanup are important.
Do ceilings always need skim coating after removal?
In most cases, skim coating helps achieve a uniform smooth finish.
What paint finish is best for ceilings?
Flat or matte finishes are commonly used to minimize surface imperfections.
How long does popcorn ceiling removal take?
Timelines depend on ceiling size, repair requirements, and drying time between steps.
Can textured ceilings be painted instead of removed?
Yes, repainting is possible, but it will not create a modern smooth appearance.
Final Thoughts on Flattening Ceilings
Removing popcorn ceilings and creating smooth finishes can significantly improve the appearance of interior spaces. With proper preparation and painting techniques, flattened ceilings contribute to brighter rooms and more modern design appeal.
Planning a ceiling upgrade? Contact Home Painters Toronto to request a quote for popcorn ceiling removal preparation and interior painting services.
Call 416.494.9095 or email [email protected] for a FREE quote. And don’t forget to check us out on our social media channels below!