
WANT TO START A DIY HOUSE PAINTING PROJECT?
HERE ARE SOME PAINTING TIPS TO GET YOU STARTED.
It’s time for a fresh new look for your home, and you want to take a crack at DIY (Do-It-Yourself) house painting. You’ve watched all the home improvement shows; you’ve got your sweatpants and stained T-shirts on. It’s the time! With your best paintbrush in hand, you are about to dip into that freshly popped can of creamy paint. But wait! You forgot that you don’t know how to paint.
How to Paint a Wall Professionally
Here are the first steps for the aspiring house painter to get you started on your DIY painting journey.
STEP 1: PREPARE
Ideally, painting one room at a time is the most effective. Because it gives you time to focus on doing it right the first time and gives you space to navigate without making a mess. Don’t forget to strap on your safety goggles.
- Empty your room of furniture, valuables, artwork, and any mounted technology like televisions or sound systems.
- Remove any light or electrical plates and keep them in 1 area so you don’t lose them.
- Protect your floors and remaining furniture with drop cloths and plastic sheets. Clean/ dust walls with a vacuum or a towel; paint doesn’t still well to dirt.
- Scrape any flaking or cracked paint with a scraper.
Any flaking and cracking areas on the wall or ceilings should be lightly scraped and then completely rinsed prior to using the primer and paint since the weight of the new coat will pull the old paint loose. Also, learning to spot greasy areas that might also need a little cleaning with soap, followed by a water rinsing, is part of how to paint for beginners. Apart from that, clean down with a moist fabric so that the paint will have a tidy, dust-free surface area to stick with. If you’re going to hire an expert, then this is what to expect from professional painters.
- Smooth bumps with sandpaper or an electric sander.
To have that stunning smooth surface, it’s essential to know how to paint walls like a pro. By sanding before the painting application, you are getting rid of imperfections. Producing an excellent smooth surface while adding adhesion by refining rough ridges for the paint to stick with. Utilizing the best sandpaper can make a huge difference, especially in painting, woodworking, and achieving great project results. However, picking between various types of readily available sandpaper can be difficult.
For your next task
- You might consider these interior and exterior house painting tips. Sandpaper is numerically rated based on its grit particle sizes. The lower the number, the bristly the grit, while the higher the number, the finer the sandpaper will be. Given that coarse sandpaper leaves much deeper scratches, begin with the finest sandpaper grade that will take on the job easily. This will lead your way up to finer grits.
- Protect your trims and sconces with painter’s tape. Painter tape is a light-adhesive masking tape that covers surface areas you don’t want to be painted. It’s perfect on smooth surface areas; it protects trims, mouldings, baseboards, windows, and casings from drips and overpainting. To use painter’s tape by hand, attach a little tape to the surface of the walls and roll it out for about six inches. Keep the tape close to the wall, then press down the edges to get a good seal from it.
- Another method to put painter’s tape is through the use of a smooth-glide applicator. It’s simple to grip and apply the tape in one long strip and the key to how to paint a room fast. When the tape is applied, drag a putty knife back over the entire length to ensure that the gaps between the tape and the wall surface area are intact. Repeat the process until everything is masked off, and then start painting.
Such well-placed art decor on your wall may be the fastest way to hide a hole in drywall. However, follow our wall painting process step-by-step for a smooth finished surface to achieve professional-like repair, even doing it yourself.
Other interior painting tips
For beginners, what you might want to consider prior to preparation is waiting for dry weather. Remember that humidity equates to a slow drying process, so avoid painting in a rainy or snowy season. If you really want to paint when the humidity is at its highest level, one professional painting tip and trick is to take your time. Benefit from slow-drying paint to fix your painting mistakes before moving on to the next coat. However, note that overworking is not a good idea here, as you might see an unpleasant result after finishing your project.
STEP 2: GATHER YOUR MATERIALS
Now that you’re prepped for painting, gather high-quality materials that will help you get the job done right. Home Depot is a great source for all of these tools. Check out our previous post on Do-It-Yourself Home Painting Tools.
Painting Tools:
Stir sticks
Paint can opener
Various paint brushes
Paint trays
Gloves
Paint brushes/rollers/ painting pads
Painting Materials:
High-Quality Primer
Paint
Never buy cheap paint and brushes.
Buying downgraded brushes is a very bad way to save money. It’s much better to buy the best brushes in your store; they will last you a lifetime. Just clean them well and take care of the brushes. A cheap brush will make it appear you smeared paint on the wall with a rake-like tool. And the bristles of the brush will just fall out into the paint. Buy quality paintbrushes, which cost a bit more than basic brushes but are far more resilient and use paint very efficiently.
It’s also best to purchase the best paint you can buy at your retail store. It’ll go on simple, get the best coverage, which can last a long period of time. Moreover, you’ll be able to wash off grubby fingerprints without removing the paint. And the entire painting task will go more efficiently and faster and look better in the end. Such a pro-tip on how to paint a house interior efficiently.
The more textured walls you have, the thicker the nap you’ll want on your roller cover so it can reach into crevices and offer complete coverage. For instance, you’ll wish to opt for a thick nap if you’re painting concrete walls. But for drywall, on the contrary, a thin nap is much better. If you go with a too-thick nap, you might create a texture you won’t love in the end. Thus, be ready to offer the salesman details about what you’re painting when upon purchasing your painting supplies so regrets won’t be a problem.
If you aren’t sure what kind of paint to get, read this article to learn more about how to choose proper paint for your home like a professional house painter.
STEP 3: GET PAINTING
You’ve got your materials and tools; it’s time to get to the painting house. The first job is to make sure that all of the high-detail areas are nice and crisp. Professional painters use a technique called “Cutting In” that allows them to make precise lines, protecting the trim and baseboards of the room.
To do the cutting in the process, take a small brush with the correct colour of paint on it. And go very carefully along the lines of the baseboards, trim, ceiling, and corners. It may look weird to start off with, but once you get the colour on the walls. You will be happy that you did it. It says sloppy paint job more than wavy lines and splotchy baseboards.
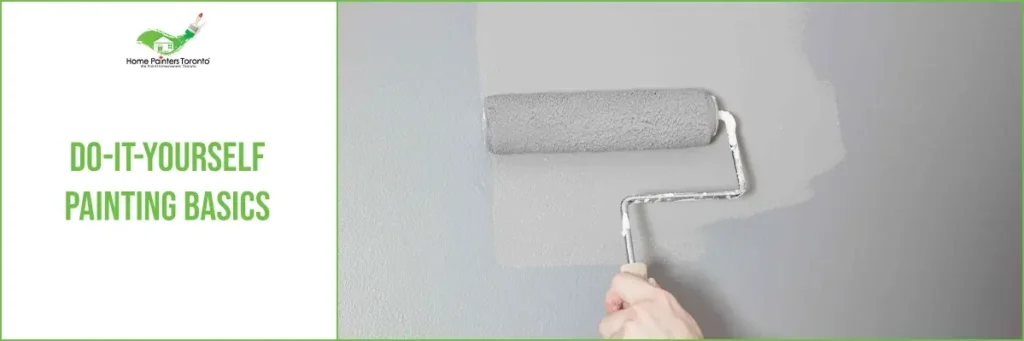
After you’ve cut in the edges of the ceiling and baseboard using a brush, use your roller to apply paint from the ceiling downward. Amateurs often have obvious scatters at the end of a painting job. But experts paint right over their mistakes as they work their method down the wall. And this is how to paint a wall professionally. Once an area begins to dry, it’s best to leave it alone, as going back over it can leave marks and colour strips on the painted wall surface.
Filling in the rest of the wall is best accomplished by using a “W” pattern about 3 * 3 feet, which will prevent any ugly, unwanted lines.
When to Skip the DIY and Call a Professional
Painting can be a therapeutic and enjoyable DIY project, but there are times when it’s best to enlist the help of a professional painting contractor. This section discusses when complexity, time constraints, or safety concerns should signal a red flag to DIY enthusiasts.
Complex or Detailed Projects
Decorative wall painting techniques or extensive wall repairs often require the expertise of professionals who have the tools and experience to handle them with finesse.
Time and Convenience
Sometimes the biggest consideration is time. If your schedule is already stacked, hiring a painter can save you the stress and give you back your weekend.
Safety and High-Risk Areas
Painting tall stairwells or ceilings can be dangerous. Additionally, if your project involves lead-based paint, hiring a professional is the safest option for you and your family.
DIY home painting can be a fun project
If you have the time and skills required to do it, many people experience frustration after a couple of days of painting and need additional help from house painting contractors.
As a full-service painting contractor, at Home Painters Toronto, painting rooms are what we do for many of our projects. We specialize in painting the interiors of homes, and exterior houses, and we also offer some construction services. Please feel free to check out our other tutorials on home renovation projects, or browse our Pinterest boards for inspiration. If you’re thinking of doing some home interior painting but don’t want to do the work yourself, let our interior painters help! Even if you are undecided, professional house painters can help you with any problems or questions you may have.
If the work involved sounds like it involves too much time and energy to do yourself, call 416.494.9095 or email [email protected] for a FREE quote. And don’t forget to follow us on all our social channels below as well!