
Peeling ceiling paint is a common issue in many Toronto homes, especially in bathrooms, kitchens, and older properties where moisture levels fluctuate. While repainting may seem like a quick fix, long-term results depend on identifying the root cause and properly repairing the ceiling surface.
If your ceiling paint is peeling or bubbling, learn more about professional interior painting Toronto services that include proper surface preparation and repair.
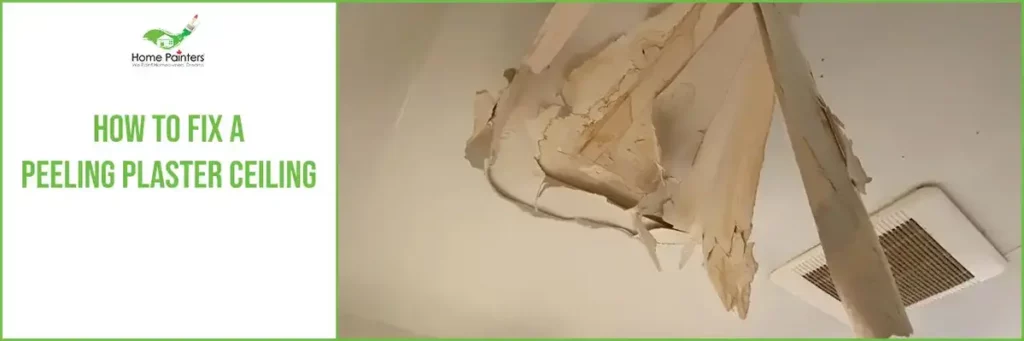
Why Ceiling Paint Starts Peeling
Ceiling paint failure is usually caused by one or more of the following:
- Moisture or humidity buildup
- Poor ventilation in bathrooms or kitchens
- Inadequate surface preparation before painting
- Applying paint over damaged drywall or old coatings
- Temperature changes and seasonal expansion
Older homes in the GTA may also have multiple paint layers that weaken adhesion over time.
Signs That Ceiling Paint Problems Are Getting Worse
Small cracks or bubbles can quickly develop into larger peeling areas if left untreated. Watch for:
- Flaking or curling paint edges
- Stains or discolouration on the ceiling
- Soft drywall surfaces or sagging areas
- Recurring peeling after repainting
In many cases, these signs indicate that deeper drywall repairs or skim coating may be required.
How to Fix Ceiling Paint Peeling Properly
Identify and resolve moisture sources
Before repairing the ceiling, it is important to address the underlying cause. This may involve improving ventilation, repairing leaks, or reducing humidity levels.
Remove loose paint and damaged drywall
All failing paint must be scraped away to create a stable surface. If drywall paper or compound is damaged, affected areas should be cut out or reinforced.
Repair and skim coat the ceiling surface
Applying new joint compound helps level the surface and restore a smooth finish. This step is especially important for larger peeling areas.
Homeowners planning broader repairs may want to review services such as drywall repair and skim coating before repainting.
Prime and repaint using proper coatings
High-quality primers improve adhesion and block stains. Moisture-resistant ceiling paints are often recommended for bathrooms and kitchens.
Common Mistakes That Cause Ceiling Paint to Peel Again
Many peeling issues return when:
- Paint is applied over damp surfaces
- Priming is skipped
- Low-quality paint products are used
- Repairs are rushed without proper drying time
Understanding these risks helps homeowners avoid repeated repair cycles.
Preventing Ceiling Paint Failure in Toronto Homes
Preventive steps may include:
- Installing or upgrading exhaust fans
- Maintaining consistent indoor temperatures
- Scheduling periodic interior painting maintenance
- Addressing minor drywall damage early
Viewing completed projects in the painting project gallery can help homeowners visualize repair outcomes.
When to Call Professional Painters for Ceiling Repairs
Professional help may be recommended when peeling covers large areas, drywall damage is extensive, or moisture problems persist.
Not sure if your ceiling needs simple repainting or full drywall repair? A professional assessment can help determine the best approach.
Ceiling repairs are often completed alongside upgrades like full home repainting or condo painting services to maintain consistent finishes.
Frequently Asked Questions About Ceiling Paint Peeling
What causes ceiling paint to bubble or peel?
Moisture, poor ventilation, or inadequate surface preparation are common causes.
Can I repaint over peeling ceiling paint?
Loose paint and damaged areas must be repaired first to prevent future failure.
How long do ceiling repairs take?
Timelines vary based on repair size, drying time, and repainting scope.
Is peeling ceiling paint a structural issue?
In most cases it is cosmetic, but underlying moisture or drywall damage should be addressed.
Does ceiling paint need special primer?
Primers improve adhesion and stain blocking, especially in humid areas.
Final Thoughts on Fixing Peeling Ceiling Paint
Fixing ceiling paint peeling requires more than just applying a fresh coat. Proper preparation, moisture control, and quality materials play a major role in achieving long-lasting results.
Fixing ceiling paint peeling requires more than just applying a fresh coat. Proper preparation, moisture control, and quality materials play a major role in achieving long-lasting results.
Call 416.494.9095 or email [email protected] for a FREE quote. And don’t forget to check us out on our social media channels below!