
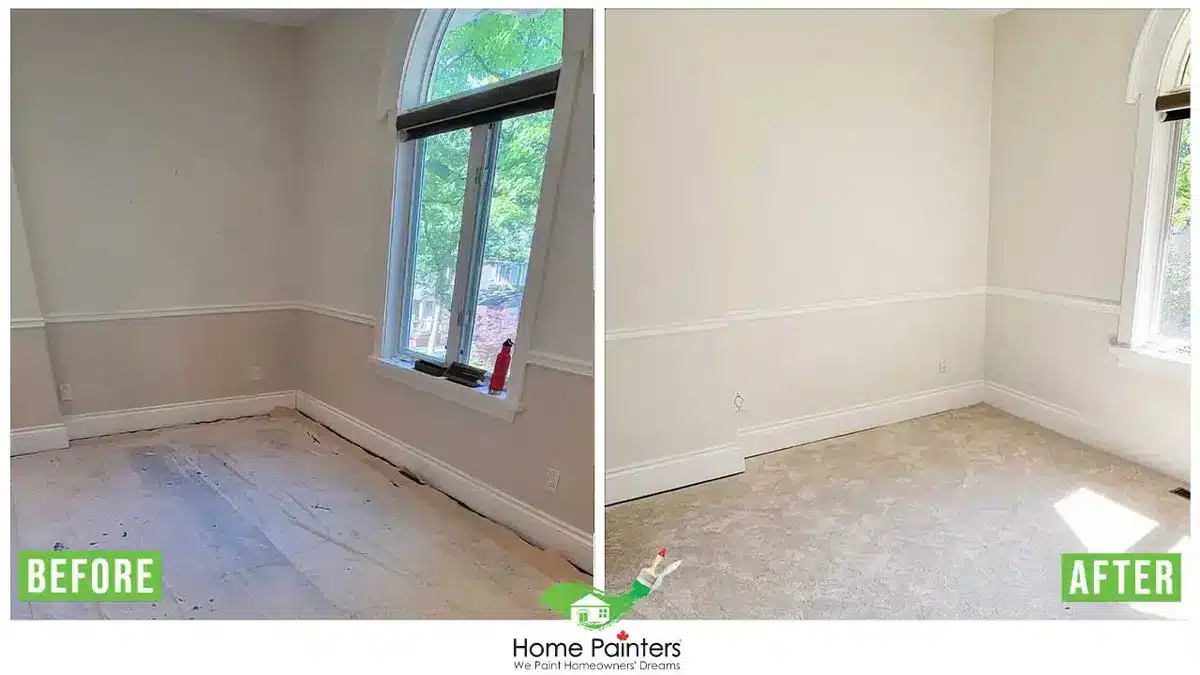
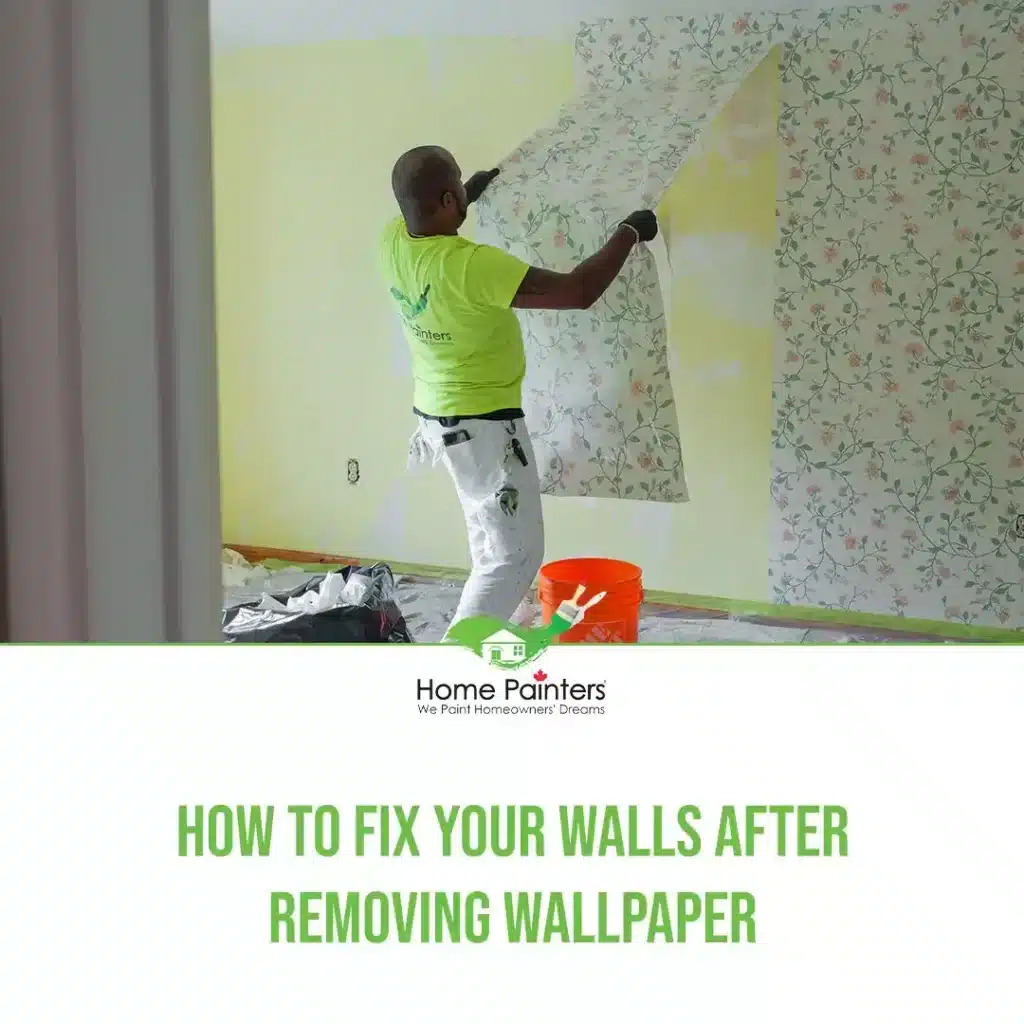
You badly need to learn drywall repair so that you can move on to painting after wallpaper removal, but you don’t know what to do. Don’t worry! You just removed wallpaper, an arduous and monotonous task that takes a while. You got this!
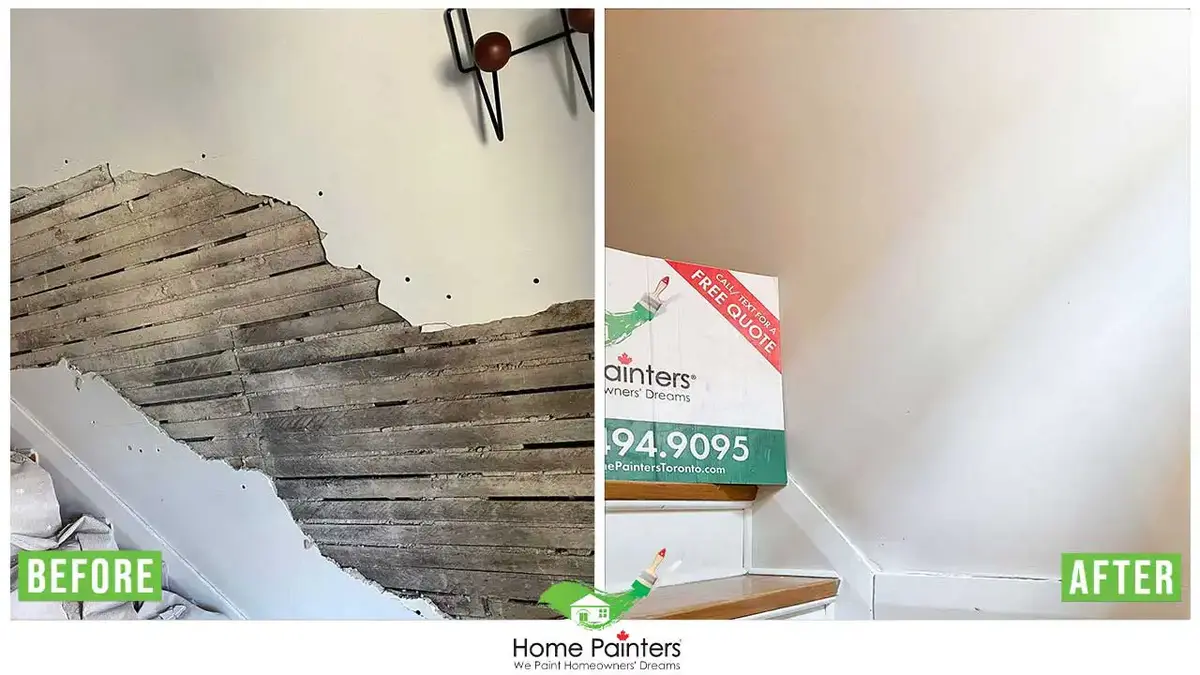
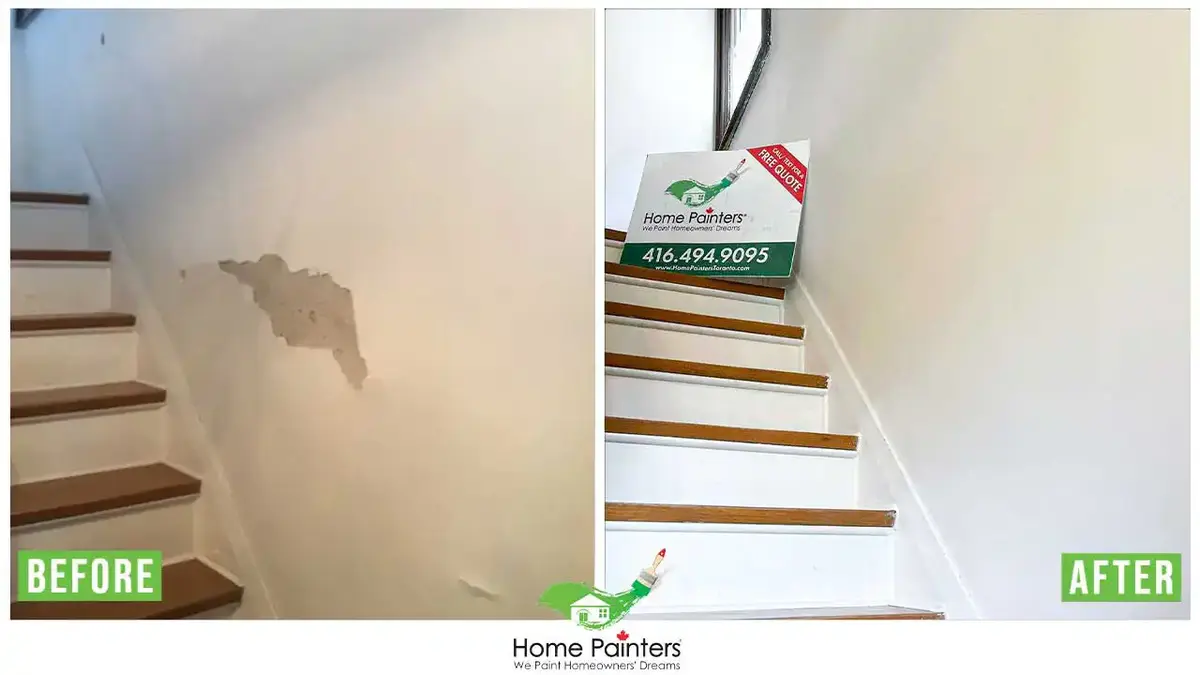
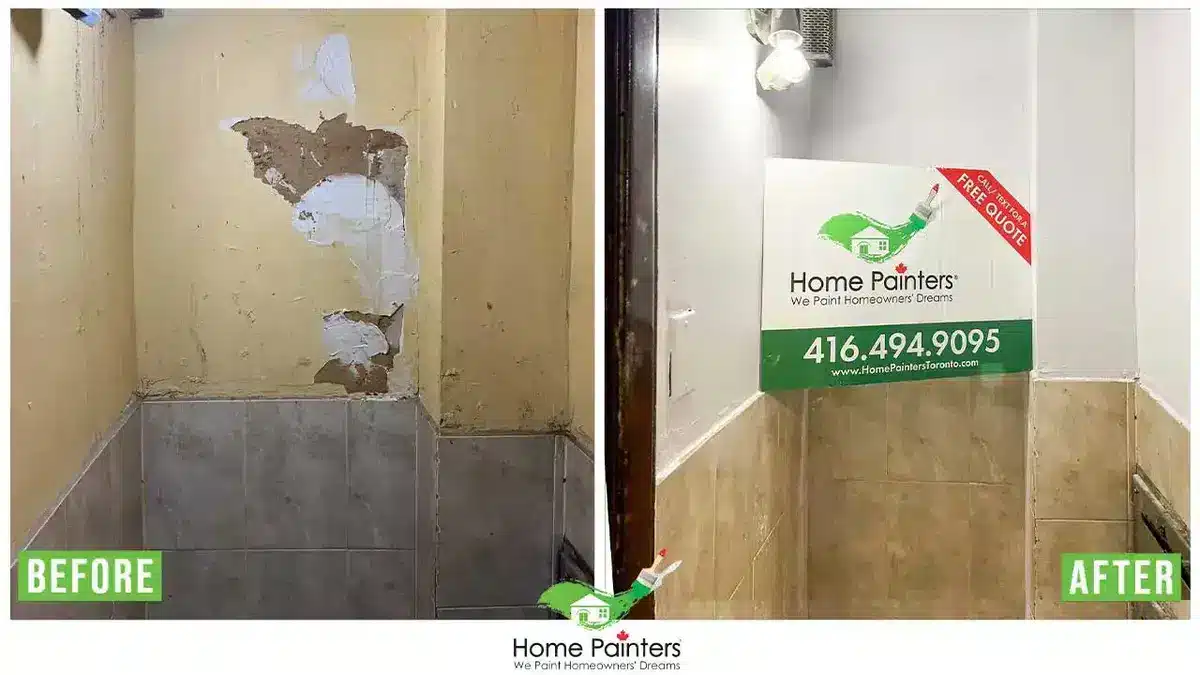
Painting after wallpaper removal sounds like an easy next step, especially after what you went through to get that paper down. Chances are, the person who installed the wallpaper didn’t prime the drywall beforehand. This means that there is likely quite a bit of damage, including torn paper and possibly chunks and gouges.
Skim coat is a technique that you can use to make your wall smooth. Professional wallpaper removal specialists will skim coat afterwards, especially in commercial settings where lighting can highlight any dips or imperfections on the walls. Imperfections that might need to be hidden include bad taping or spot spackle repairs that aren’t perfectly smooth. The object is to make it so there are no noticeable seams.
Tools Needed to Skim Coat
• Lightweight mud (joint compound)
• Mud pan
• Wet rag
• Joint knife/taping trowel
• Putty knife
• Water
• Drywall sanding block and sandpaper
• Drywall sealer
• Ventilation mask
• Safety goggles
• Drywalling hat or hats that you don’t care about get dirty
• Good lighting
• Step ladder or ladderOil-based primer/sealer
Tips on How To Skim Coat
• Skim coating takes time and effort.
• When adding water to your mud, you want it to have the consistency of pancake mix—not too thick but not as watery as soup.
• Look for the joint compound in the drywall section of your hardware store. This is where you can find larger buckets that will save you money.
• Application takes practice, but eventually, you will find a technique that works for you.
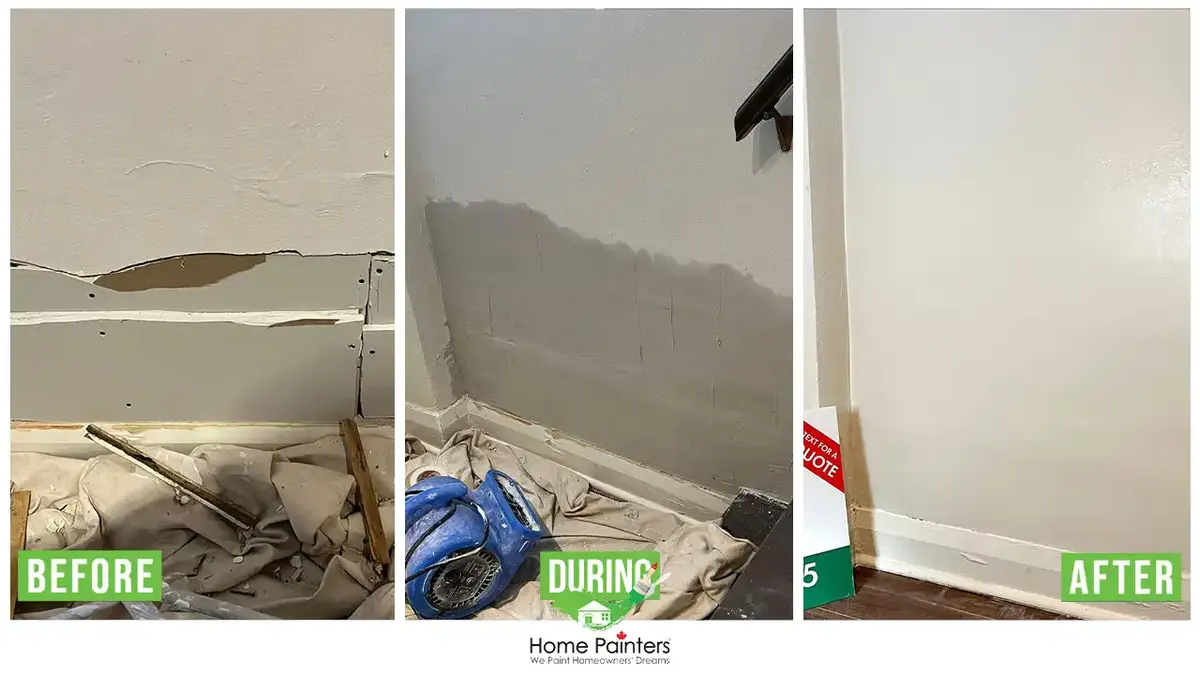
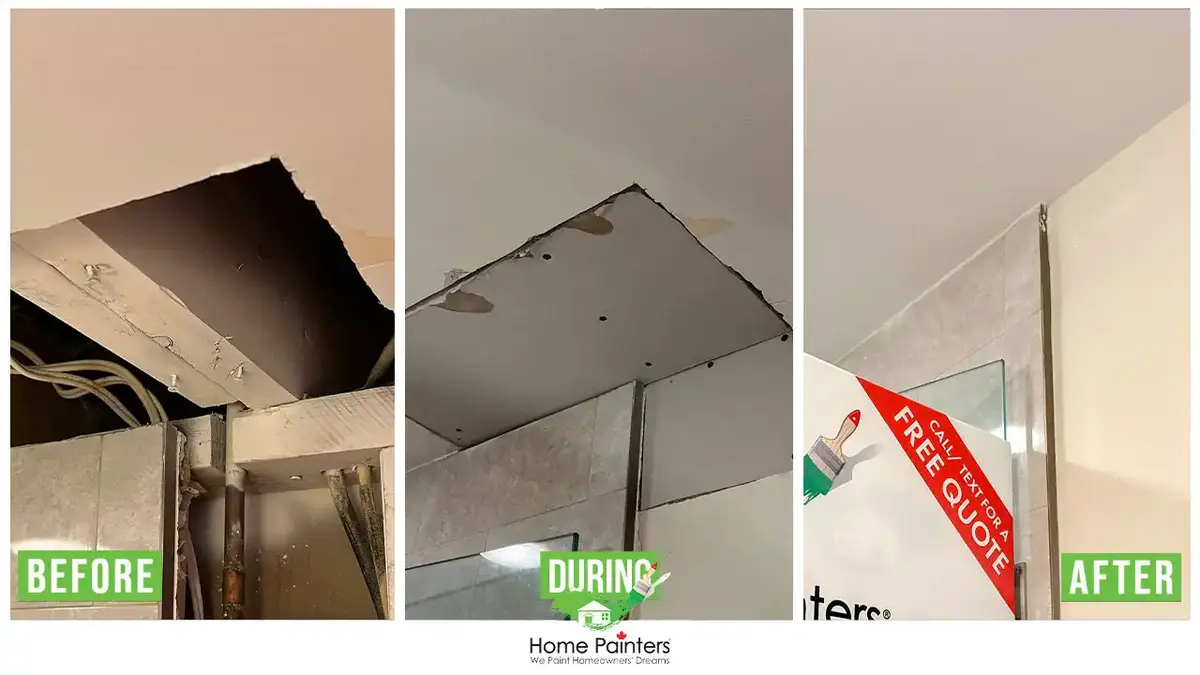
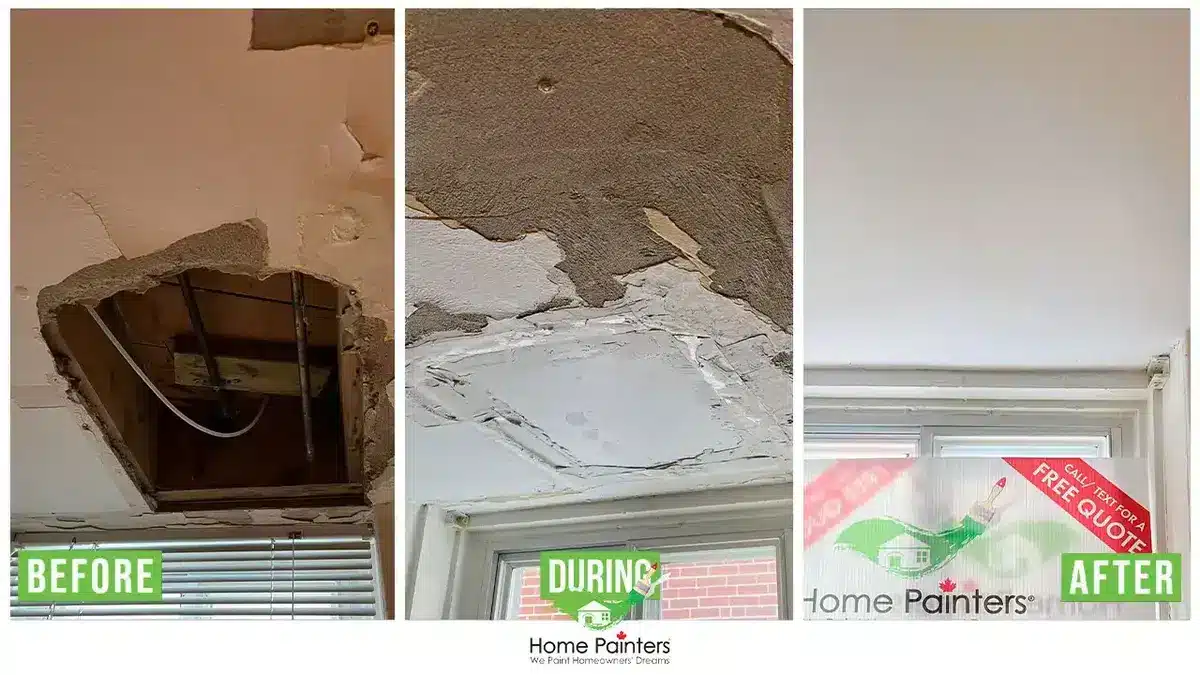
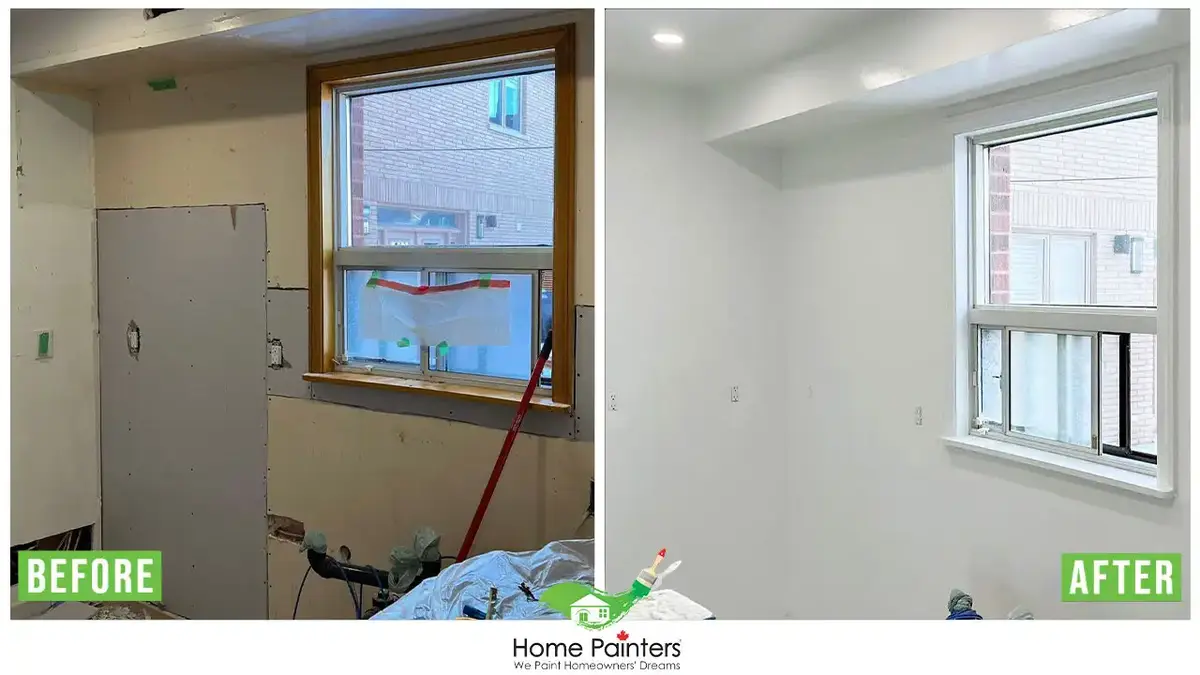
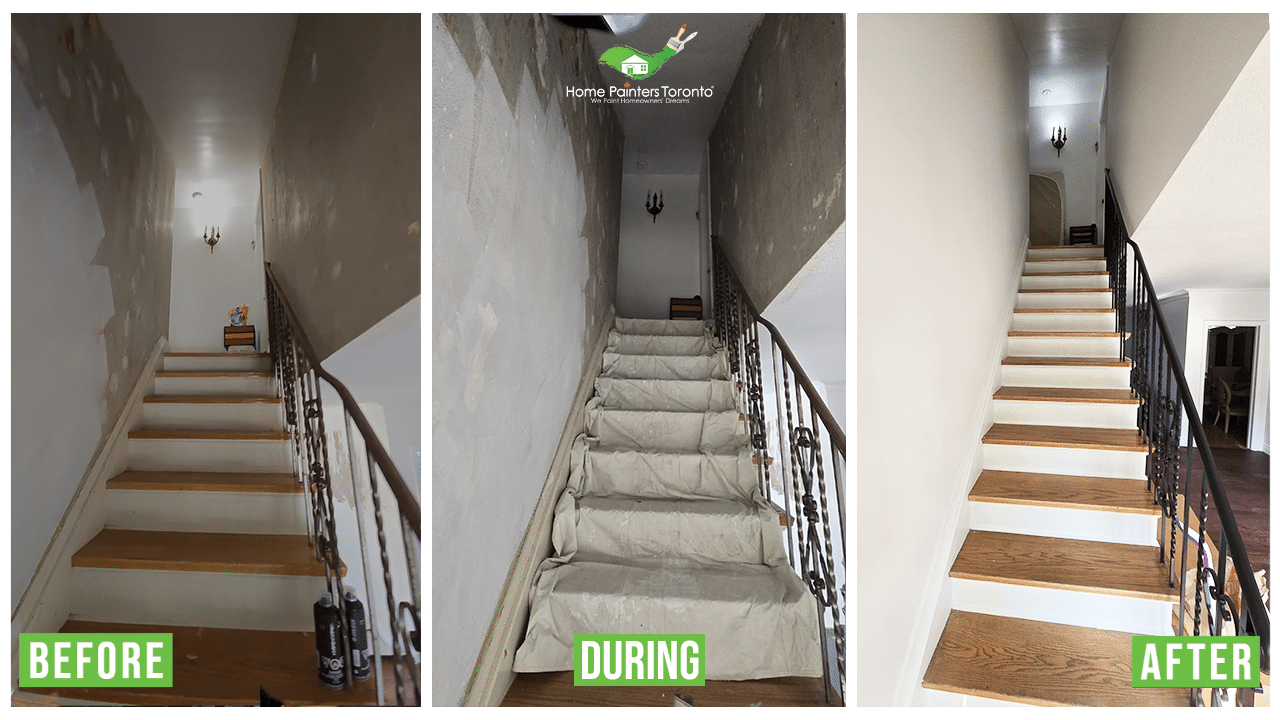
Step-by-Step Guide on Repairing Plaster Walls After Removing Wallpaper
Step 1: Prepare Your Surface
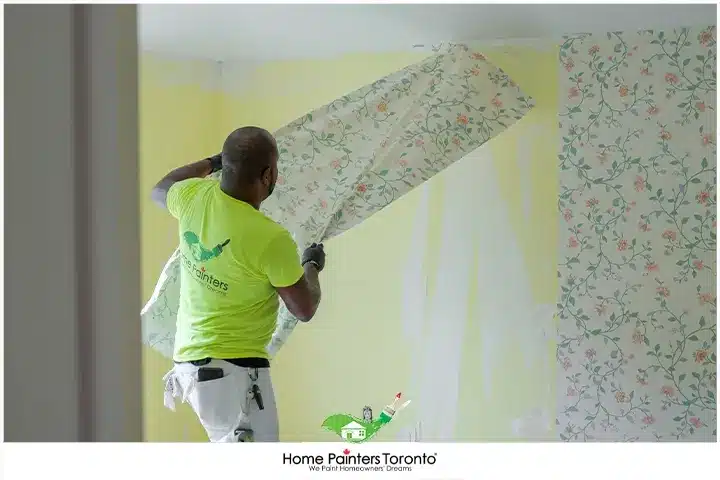
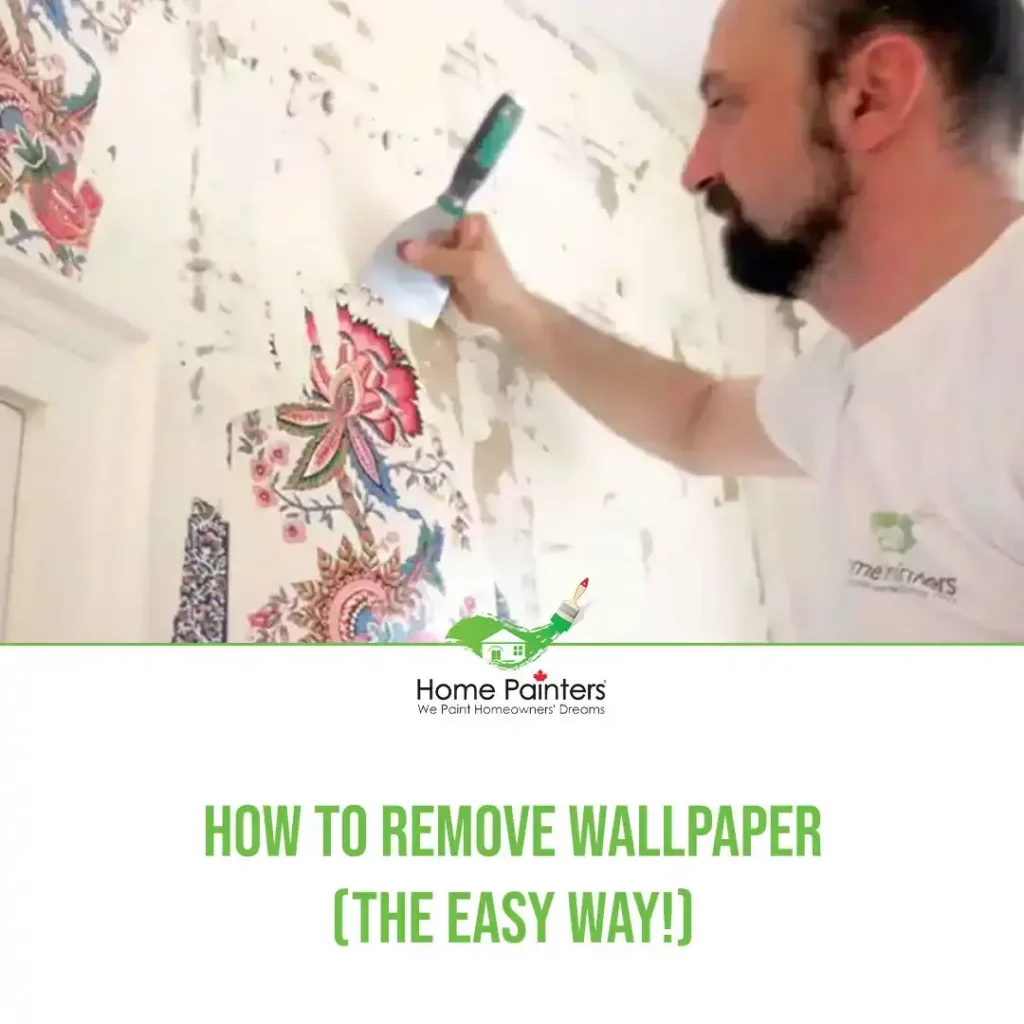
Before starting the skim coat drywall process, ensure your drywall is clean and free from wallpaper residues, adhesive, dust, or dirt. Any leftover wallpaper should be scraped off carefully to prevent damaging the drywall. After scraping, wash the walls with warm water and a sponge, then let it dry thoroughly. This preparation serves as the cornerstone for successful skim coating.
Step 2: Prepare the Joint Compound
Now, prepare your joint compound. Generally, pre-mixed mud sold in buckets is the most convenient, but you can also use powder form, which needs to be mixed with water. Either way, the compound should have the consistency of a thick yet pliable batter, not too stiff or too watery. The right consistency ensures the mud adheres well to the wall and spreads smoothly.
Step 3: Apply the First Layer
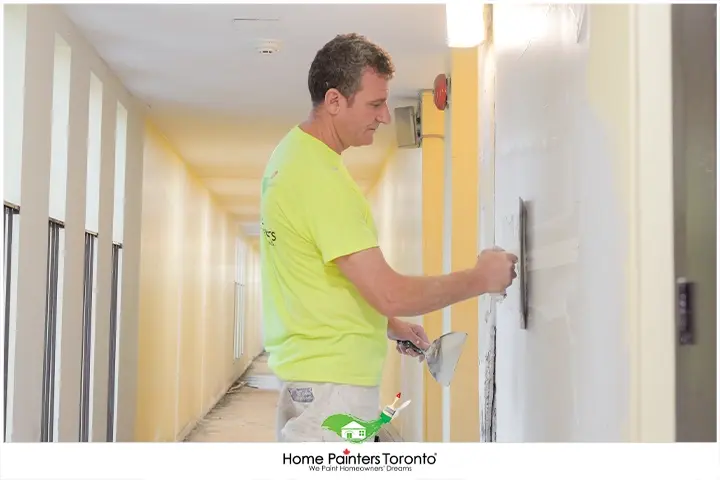
Next, use your trowel or a drywall knife to apply a thin layer of joint compound to the wall surface. Hold the knife at an angle, and spread the compound as evenly as possible. Don’t worry if there are some areas with more compound and some with less; these can be smoothed out in the next step.
Step 4: Smooth Out the Mud
After allowing the compound to dry slightly—just enough that it’s not sticky—take a drywall knife and drag it lightly over the surface to remove excess mud and smooth out any high spots. A crucial point to remember here is that imperfections are part of the first layer; they’re just the base for subsequent layers.
Step 5: Sanding
Once the first coat of mud is completely dry (usually 24 hours), you should sand the surface lightly using sandpaper with a very fine grit (around 120) to knock down any high spots and create a smoother surface. Be sure to remove sanding dust before applying the second coat.
Step 6: Apply More Layers
To achieve the desired smoothness, you need to apply at least two or three layers of joint compound, repeating steps 4 and 5 between each layer. For wallpapered drywall, this is even more critical, as you’re trying to cover up the seams and any damage caused during wallpaper removal.
Step 7: Final Sanding
Once your final coat is dry, you’ll need to do some more sanding. This time, use a sanding sponge for easier maneuvering and control. The goal is to make the wall as smooth as possible. Remember to wipe off any dust after sanding so it doesn’t mess up your paint job.
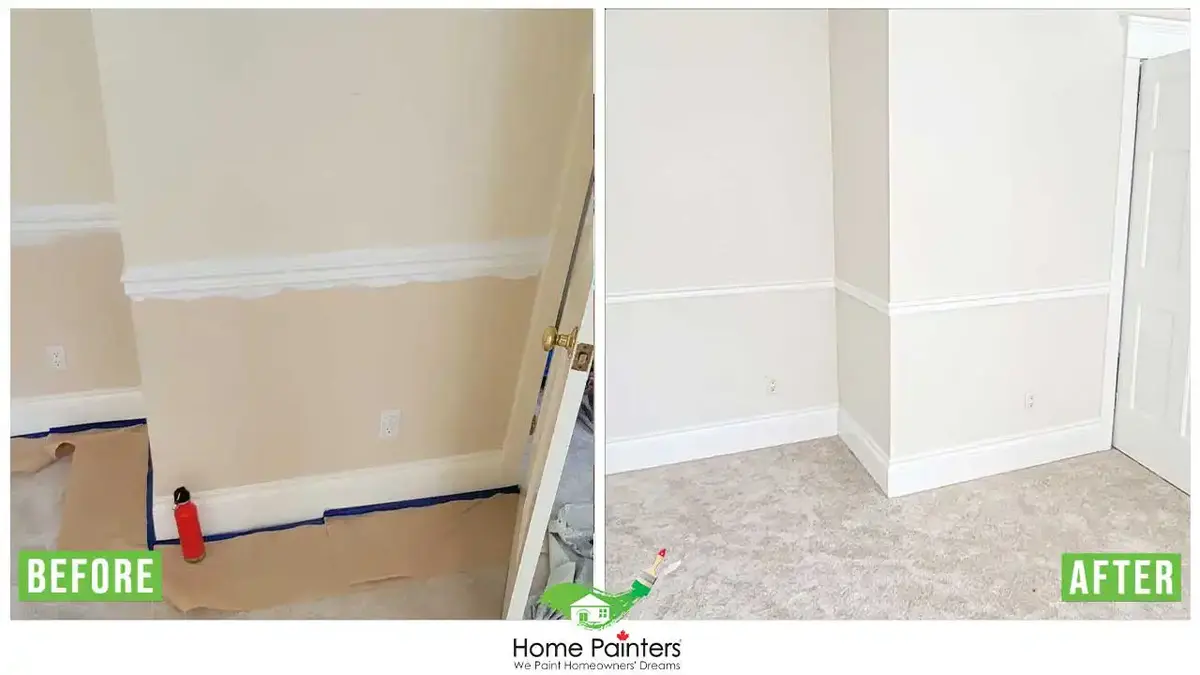
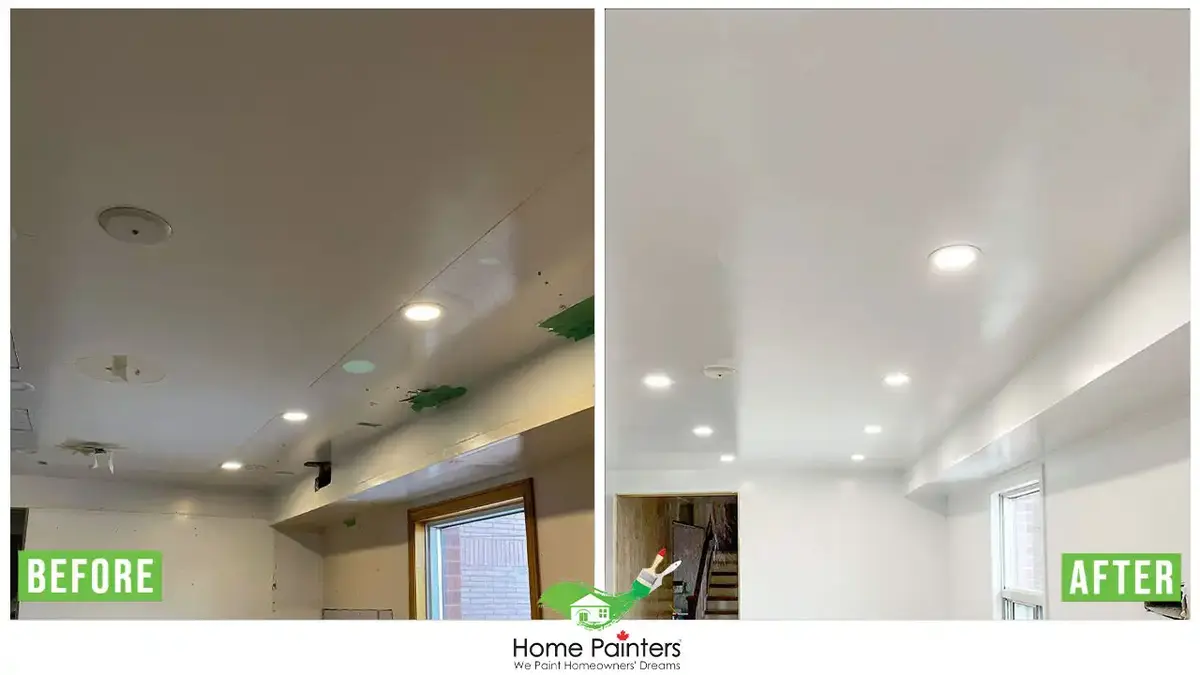
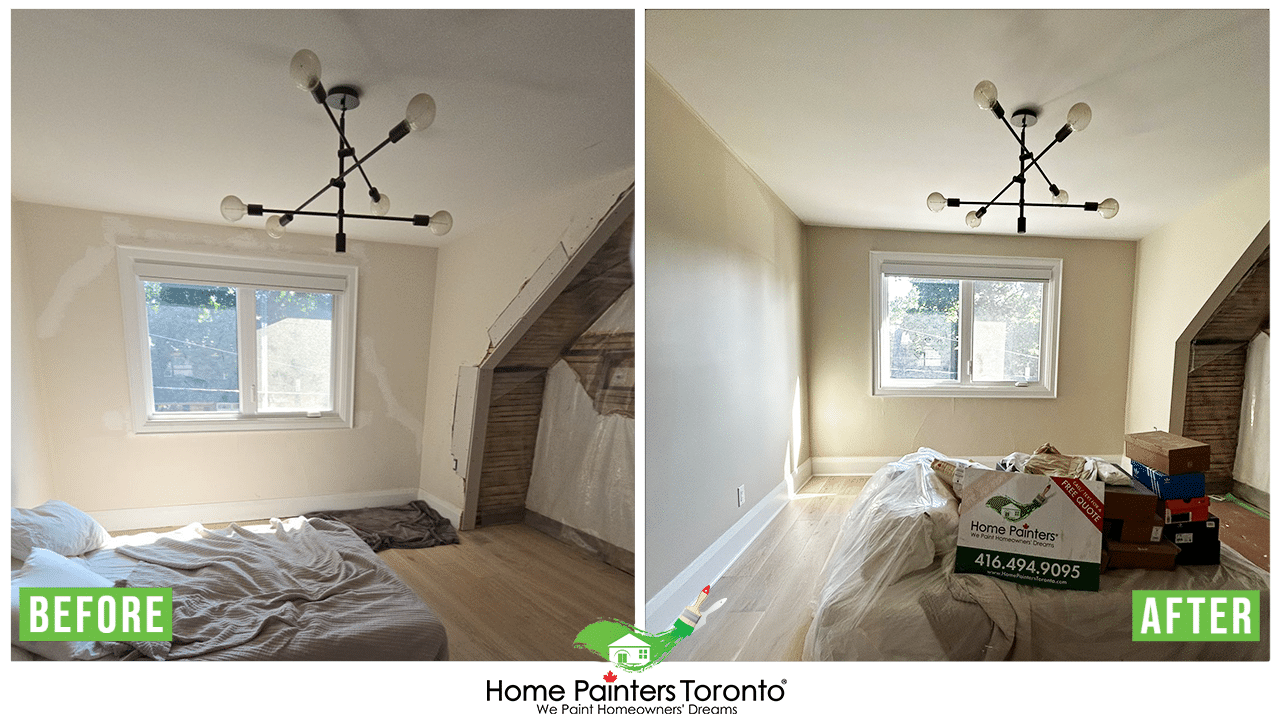
Step 8: Priming or Painting
Finally, you’re ready to apply a good quality primer to prepare the wall for painting. Once the primer is dry, your wall should be ready to embrace the colour or perhaps start a new relationship with another wallpaper.
Important Things to Keep in Mind:
Since you have just spent time removing wallpaper, it is assumed that your space is already prepared for skim coating. In case it is not, make sure to remove any light objects, push any larger and heavier objects into the centre of the room, and cover anything that needs to be covered.
This will minimize clean-up and other potential issues afterwards.
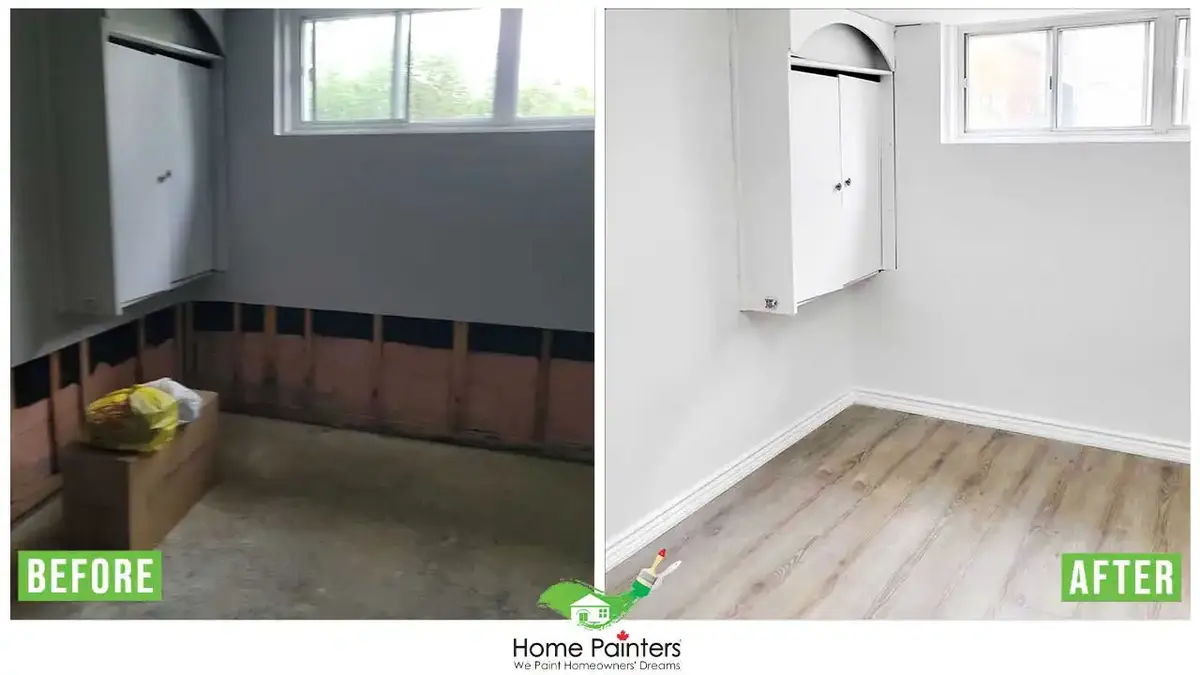
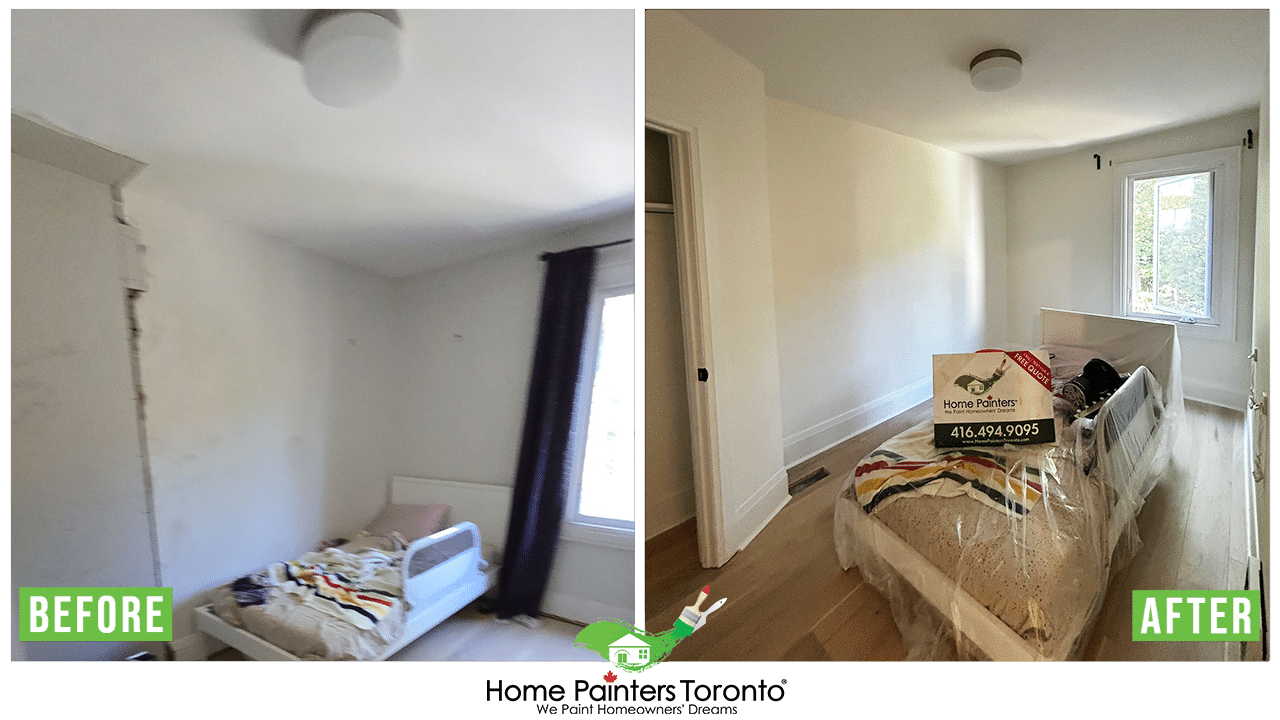
Apply the mud using the trowel in sections. Immediately scrape the mud with the putty knife, leaving a smooth layer behind. Do this process in thin layers, covering the whole wall. When it is dry, go back over and do another thin layer. This will give you the best results.
Once the mud has dried, sand it to remove any tool marks before you prime. This will ensure that you have a nice, smooth surface. Clean the wall before you prime to remove any dust leftover from sanding. Use an oil-based primer to seal the mud and give your walls an extra smooth finish. Once the primer has dried, you are ready to paint!

Professional Wallpaper Removal Services
• Most wallpaper removal services will provide you with an estimate, which should include any wall repairs afterwards.
• Many professional painting contractors will either include this as part of their service or have a recommendation for someone they have worked with in the past. If you are apprehensive about undertaking the job on your own, it is a good idea to shop around and get some estimates.
• If you can find a professional contractor that takes care of everything and includes that in their estimate, you are already winning. The biggest challenge for any contractor is providing an exact cost, as there can be many uncertainties on how much repair work will be needed once the wallpaper is removed.
• A reputable contractor will be upfront about any costs – like how much it will cost to skim coat your walls if they need it. This will go a long way in helping you follow a budget and stay on track.
• Learning how to do things within your home can be valuable for future home renovation projects. Sometimes doing it yourself can save you some money, which is great if you are cash-strapped but need to get some work done. It is important to know what you are doing, however, so make sure that you do your research.
• You can always consult with professional wallpaper removal services or professional painting contractors to ask questions and provide guidance. Of course, your time is worth something as well, so don’t hesitate to look into hiring professionals to help you skim-coat your walls so you can move on to painting after wallpaper removal.

More Interesting Blogs Related to
“HOW TO SKIM COAT DRYWALL AFTER WALLPAPER”
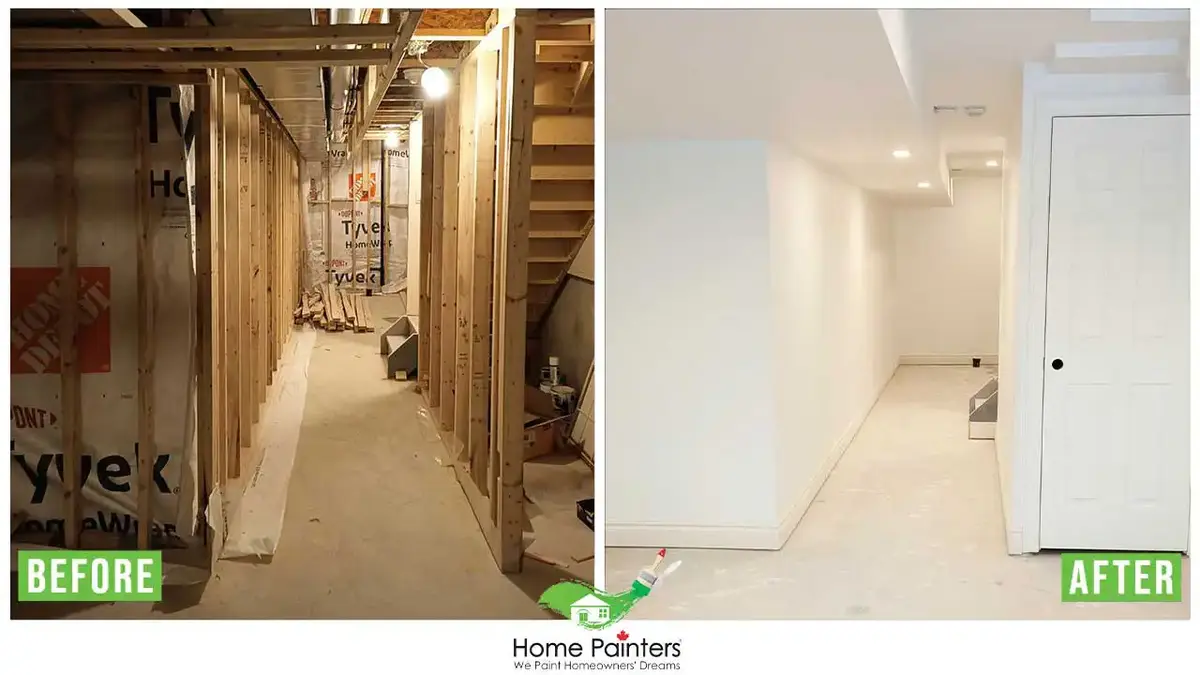
At Home Painters Toronto, our main goal is to satisfy you, the homeowner! We will help you pick the colours you want and show you the latest painting and home renovation trends, so that you feel satisfied by the outcome. We use multiple products that everyone loves, such as Benjamin Moore and Sherwin Williams! With over 37 years of experience and many happy clients to show for it, call us now for the ultimate satisfaction at 416-494-9095. We would be happy to provide you with a FREE no-obligation quote and answer all your inquiries about staining exterior brick. And don’t forget to follow us on all our social channels below!