

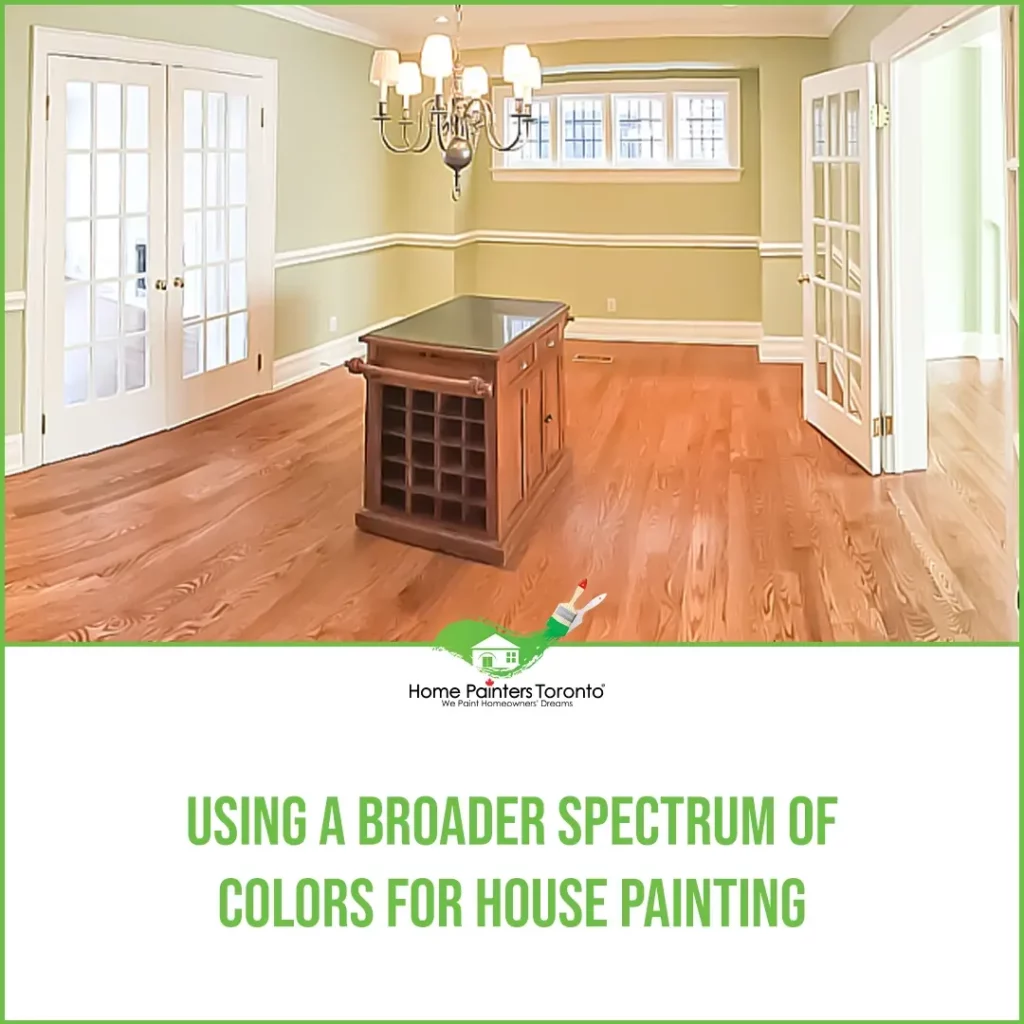
Painting walls for beginners is a fun activity, even for veteran painters. It’s usually an inexpensive project, and if something, unfortunately, goes wrong, it is easily fixable. Refreshing your room with a new paint colour can bring you unexpected joy. In addition, it can make your small room feel like a large room and bring a sense of warmth to your environment. Before you grab your paint roller, it is always essential to start with a plan. What is your plan? You should always start by envisioning how you want your room to look and what colour you want to use. Whether you opt to painting walls white or use bold shades or neutral tones, your room should be a reflection of yourself.
A Beginner’s Guide to Painting Walls
Sprucing up your interiors with a fresh coat of paint can truly breathe life into your space. However, if you’re new to DIY home improvements, the task of wall painting may seem daunting. Fret not! We will walk you through the wall painting process step by step for you to learn how to paint a wall professionally!
Step 1: Get Prepared
Before you kick-start your wall painting adventure, preparation is key:
Gather Your Tools:
First things first, gather your essentials. These include:
- Paint (enough quantity depending on your wall surface)
- Brushes and rollers
- Paint tray
- Stir stick
- Painter’s masking tape
- Drop cloths or old newspapers
- Putty knife and wall putty (if your wall has holes or cracks)
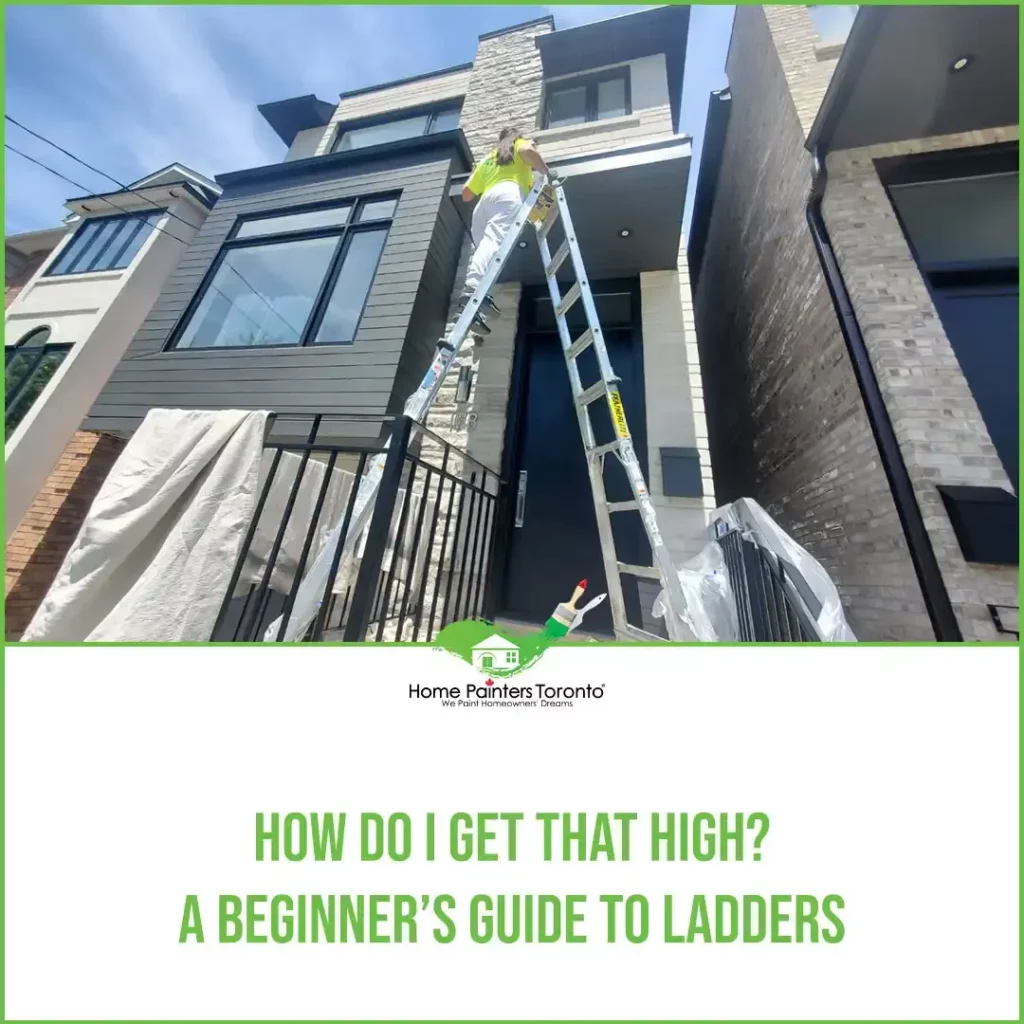
- Step ladder or stool
Surface Preparation:
The condition of your home’s surfaces can impact the painting cost. The cost will be higher if the walls require extensive repairs or preparation, such as sanding, patching, or priming.
Protect the Space:
Spread your drop cloths or newspapers over the floor to protect it from paint splatters. Use masking tape to cover areas you don’t want to paint, like the edges of windows, doors, and baseboards.
Prep Your Walls:
Ensure your walls are clean and free from wallpaper or loose paint. You may need to fill in any holes or cracks with the putty knife and putty. Wait until the putty is dry before you proceed.
Step 2: Paint Away
Apply Primer:
If the wall was previously unpainted, darker in colour, or stained, using a coat of primer will lay a good foundation for your paint colour to pop. Apply the primer evenly with your roller or paintbrush. Let it dry.
Stir the Paint:
Before you break out the paint, stir it properly with a stir stick. This ensures that the color is mixed thoroughly.
Edge Out:
Start painting around the edges of your wall with a paintbrush. This method, known as ‘cutting in,’ gives a neat finish.
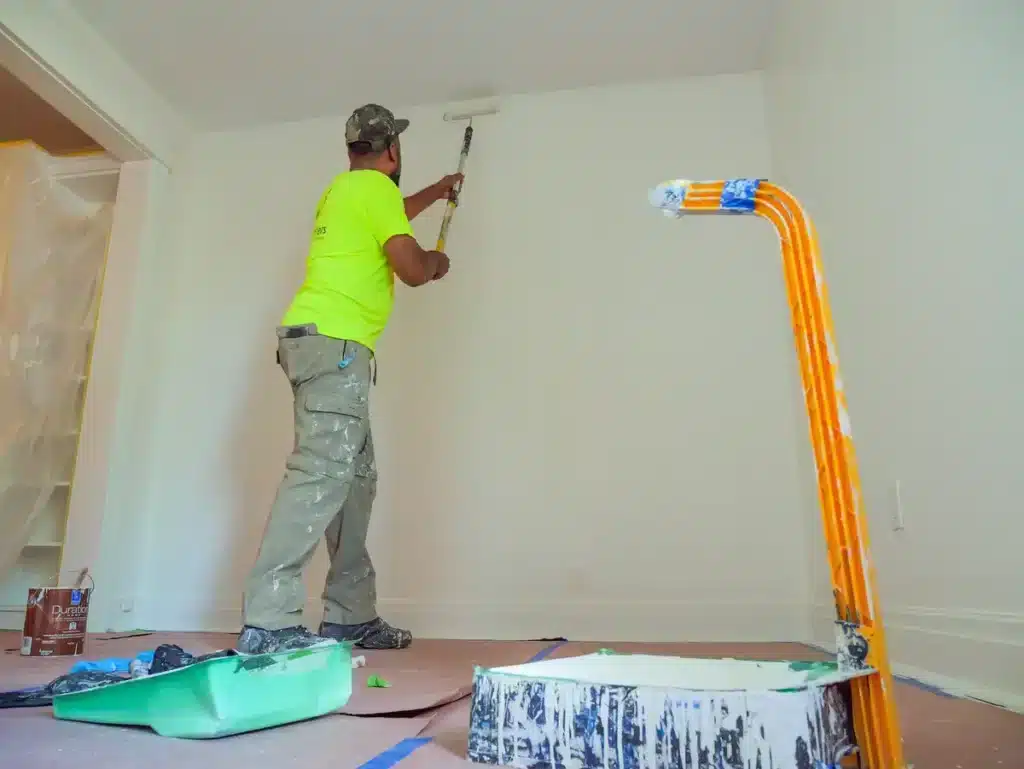
Roll it on:
Dip your roller into the paint tray and roll it back and forth to load the paint evenly. Then apply paint from the ceiling downward in a ‘W’ or ‘V’ pattern for even coverage. Don’t load your roller with too much paint; it can cause dripping.
Maintain a Wet Edge:
Always try to keep a “wet edge.” This means you apply paint to the previously painted area while it is still wet to avoid visible lines once it is dry.
Step 3: Repeat and Review
Second Coat:
Depending on the paint and colour, you may need to apply a second or third coat. Wait for the first one to dry before adding another.
Examine Your Work:
Check for any missed spots or uneven coats. Touch them up as necessary.
Clean Up:
Wipe off excess paint, rinse your brushes and rollers, and remember to dispose of your used paint responsibly!
Professional Painting Tips and Tricks
Choose Your Interior Paint Colour
I know some people are wondering: how can a coat of paint change your mood? Depending on the paint colour you use, it can tremendously affect your personality and well-being. By using warm colours, you want to feel relaxed and at ease while in that space. Yes, one colour can do that! Freshening up your space with warm and inviting colours will transform your mood in the best way possible. For the most part, homeowners want to be in a setting where they can escape from their busy lives with colours that make them breathe and feel alive. In addition, figuring out general elements of what you want your room to look like is a significant first step.
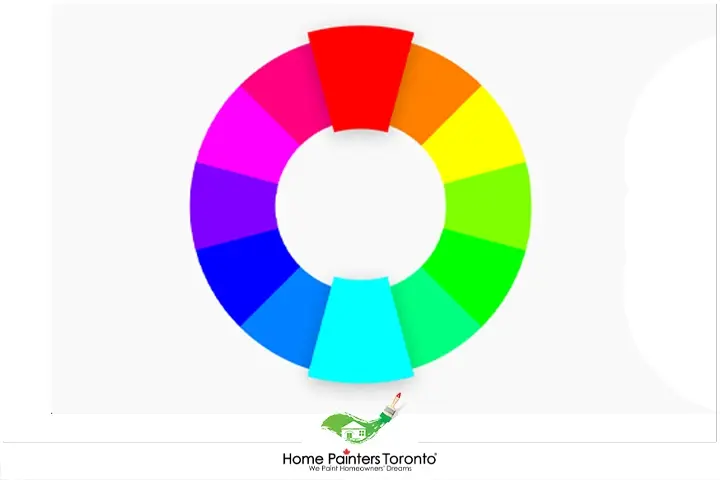
A Colour Wheel Is Always Helpful!
Testing the interior painting shades you want to use and getting samples is always a mindful thing to do. When picking the right colour, don’t forget about the colour wheel. Going through the colour wheel will allow you to decide which tone you want your room to be: cool, complementary colours, warm, shaded, or vibrant. Giving your room a certain vibe is what homeowners look for—had a bad day? You would want to use cool or warm shades to make you more relaxed. Or maybe you would use darker tones to resemble that aspect of your personality.
Painting Walls For Beginners With The Right Tools
Each project presents using different tools and materials. Depending on what paint colour you use and the presentation of your walls, here are what you need: paint, paint roller, drop cloths, paint extension poles, paint tray, paint brushes, painter’s tape, sandpaper, and a putty knife.
How Much Paint Will A Beginner Need?
Using a paint calculator from providers such as Benjamin Moore, is a great tool to use so that you don’t have an overbearing amount of paint. Also, this paint calculator considers door and window measurements (very helpful). The paint calculator assumes you use two coats of paint per project.
Prepare Your Walls And Room
You would never want to damage any of your furniture. In that case, removing all your furniture from your painting room would be a wise decision. Let’s say you, unfortunately, don’t have any space left. Move your furniture into the center of the room. Place a drop cloth on the floor so it doesn’t get filled with paint. Use painter’s tape (frog tape is preferred) and place it in the corners of the room, the base, and the door and window casings.
Use a putty knife to seal it. Paint can get under the tape, so your putty knife is essential to block that from occurring. Veteran painters skip using painter’s tape entirely, but because you’re a beginner, the tape is vital in creating a clean space. Mix your paint using a wooden stick and keep this process throughout the project. You can combine the cans into a large bucket if you’re using more than one gallon of paint. There could be a slight colour change, though.
Painting Methods
Your paint is mixed, and your roller is in your hand. Planning a strategy before you paint is needed. You don’t want to paint your room sloppily. Instead, you want methods that allow for a clean and crisp wall. Ideally, you should start painting from the top down, so first, you would paint the ceiling (if you are doing that).
In addition, don’t work on too many things at once. Work on one wall at a time because this will make the process more efficient. Paint along the moulding and corners from up to down – while your friend or family member uses a roller to cover the main areas of the wall. Here’s a helpful tip: avoid the precise spots. Use strokes in a W pattern to avoid roller marks for sufficient coverage. Once the wall is dry, it is ready for a second coat. If painting the trim, remove the tape and wait for it to dry out.
Open Your Windows Or Use A Fan!
Please make sure the space you are doing the interior painting is well-ventilated. You can open your windows or use a fan, whatever works best. This is a bonus because you are not too hot, and the paint will dry much faster. Unfortunately, if the weather is moist, your wall will take much longer to dry.
Clean-Up Time!
You feel like you completed the project because you painted multiple coats, but not so fast; there is more to do! Remove the drop cloth and the painter’s tape, ensuring the paint is completely dry. We don’t want to have a big mess.
Clean your brushes with soap and water if you use water-based or latex paint. In addition, if you use oil-based paints, you must clean them using minerals.
You Have Finished Painting As A Beginner!
Painting walls for beginners, although enjoyable, can be a challenging task to take on. The difficulty can also stem from the size of the room, your skill level, and how you paint. For example, painting your walls a neutral shade takes much less time than using dark shades to paint a ceiling.
Time is necessary to remember too. Some spaces take a day to complete, while others take several days or weeks. Try to space your time so that your project isn’t rushed. Also, don’t forget about planning and clean-up time. If you consider all these elements, painting walls for beginners will be a delightful experience.
Don’t forget to check out our Pinterest page for all sorts of interior painting inspiration
More Interesting Blogs Related to
“Painting Walls For Beginners “

Do you have some interior painting or exterior painting to do and no time to do it? It sounds like you need some professional house painters to do the job! Let our amazing painting services handle everything! Call 416.494.9095 or email [email protected] for a FREE quote. And don’t forget to follow us on all our social channels below!