
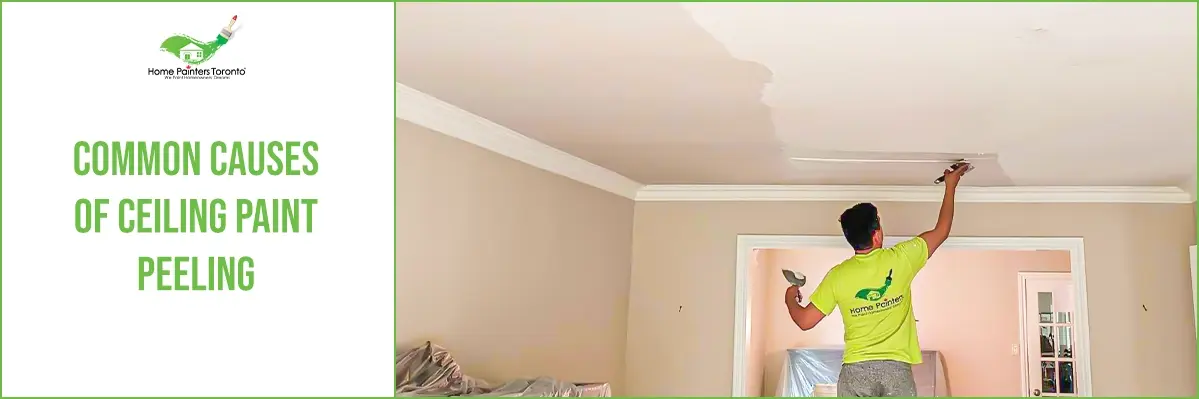
Peeling ceiling paint is a common concern in many homes. While it may seem like a minor cosmetic issue, paint failure on ceilings often indicates deeper problems such as moisture exposure, surface damage, or improper preparation.
Understanding what causes ceiling paint to peel helps homeowners take the right steps to prevent recurring issues and achieve long-lasting finishes.
If your ceiling shows peeling paint or signs of damage, explore professional drywall repair Toronto services before repainting.
Why Ceiling Paint Peeling Should Be Addressed Quickly
Ceilings play an important role in protecting interior spaces. When paint begins to peel, surfaces may become more vulnerable to staining, moisture penetration, and further deterioration.
Addressing peeling paint early helps reduce the risk of larger repairs and improves the effectiveness of repainting projects.
Cause #1 — Moisture or Water Damage
Moisture is one of the most common reasons ceiling paint peels.
Possible sources include:
roof leaks
plumbing issues from upper floors
bathroom humidity
condensation buildup
When drywall absorbs moisture, paint adhesion weakens, leading to bubbling or peeling coatings.
Professional drywall repair Toronto may be required if water damage has softened ceiling materials.
Cause #2 — Poor Surface Preparation
Painting over glossy or dirty ceiling surfaces can prevent paint from bonding properly.
Preparation steps such as cleaning, sanding, and priming help coatings adhere more effectively.
Skipping these steps increases the likelihood of premature paint failure.
Cause #3 — Painting Over Dust or Contaminants
Ceiling sanding or drywall work often produces fine dust.
If surfaces are not thoroughly cleaned before painting, coatings may not bond evenly, resulting in peeling or bubbling.
Careful preparation improves coating performance.
Cause #4 — Skipping Primer on New or Repaired Ceilings
Primer helps seal drywall and create a uniform surface for finish coats.
Without primer, new drywall or repaired ceiling areas may absorb paint unevenly and lead to adhesion problems.
Using primer helps improve durability and finish consistency.
Cause #5 — Aging or Low-Quality Paint
Over time, ceiling paint may deteriorate due to environmental exposure, cleaning, or general wear.
Low-quality coatings may fail sooner than expected.
Repainting with durable coatings after proper preparation helps restore appearance and protection.
Optional Callout CTA
If peeling has spread or ceiling surfaces feel soft or damaged, consider drywall repair Toronto services before repainting.
How to Properly Fix Peeling Ceiling Paint
Fixing peeling ceiling paint typically involves:
removing loose or flaking paint
repairing damaged drywall
sanding uneven surfaces
applying primer
repainting with quality interior coatings
Professional interior painting Toronto services help ensure smooth finishes and long-lasting results.
When Professional Ceiling Drywall Repair Is Needed
Professional repair may be necessary when:
water damage has weakened ceiling structure
large areas of paint are peeling
cracks or sagging are visible
repeated repainting attempts have failed
Addressing these issues before repainting helps prevent recurring paint problems.
Get a Interior Painting Quote in Toronto
If your ceiling shows peeling paint or signs of moisture damage, learn more about drywall repair Toronto services and request a professional assessment.
Request a professional drywall repair assessment for peeling ceiling paint.
Frequently Asked Questions About Peeling Ceiling Paint
What causes ceiling paint to peel?
Moisture exposure, poor preparation, skipped primer, and aging paint are common causes.
Can peeling ceiling paint be fixed without drywall repair?
Minor peeling may be repaired with preparation and repainting, but moisture damage often requires drywall repair.
Does humidity affect ceiling paint?
Yes. High humidity can weaken paint adhesion and lead to bubbling or peeling.
Should primer always be used on ceilings?
Primer is recommended on new or repaired drywall to improve paint durability.
Will repainting alone solve peeling paint?
Repainting without addressing the root cause may lead to recurring problems.