
When it comes to painting, many people assume knowing what paint colour to use and having the proper materials is pretty much all you need to know, but that’s not all. There are many variables to consider when painting your house. Do you paint the ceiling first? What type of paint do you use? What’s the difference between satin and semi-gloss paint? Do I need to use painter’s tape? There are many more questions, but I think you get the point. Whether this is a DIY project for you or you are receiving help from professional painters, it’s important to know what is the best order to paint a room. That way, if you want to paint your entire house, you will be knowledgeable in every aspect of painting.
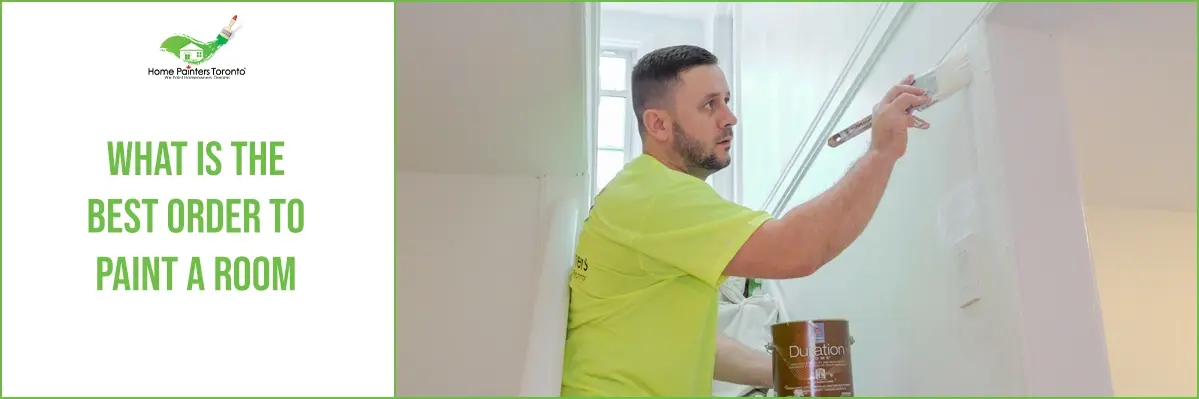
Best Order to Paint a Room
When it comes to painting a room, you should do it following this order:
- Prep: clean the entire surface and repair any defections you find
- Prime: anywhere where it’s needed and prime the walls and trim
- Caulk: Fill the gaps or cracks
- Ceiling: paint ceiling (optional) to prevent drips on walls
- Walls: apply paint using a roller
- Trim: paint trim last to avoid roller drips
- Cleanup: (the fun part) clean all your painting tools, remove drop cloths and replace furnishings
How to Paint a Room for Beginners
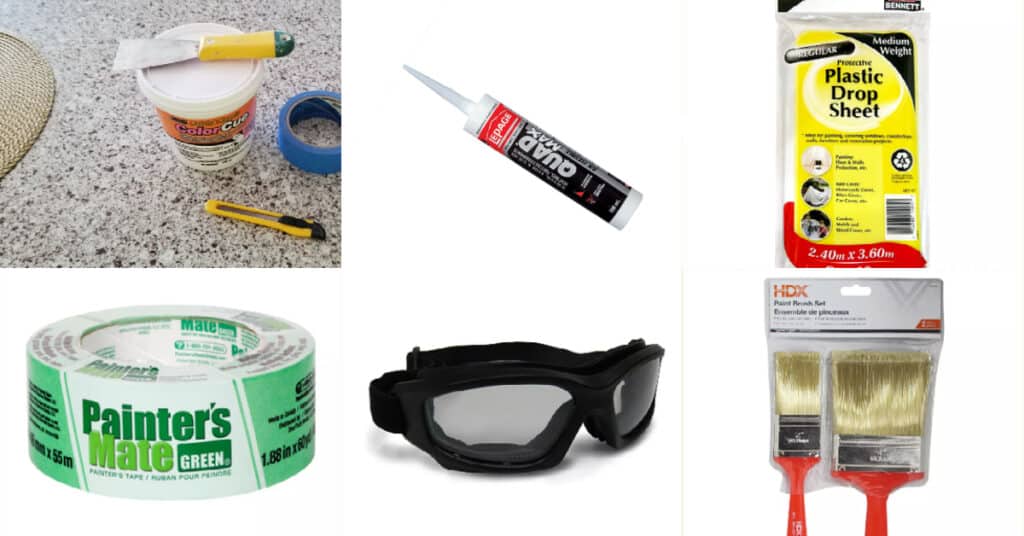
Supplies You’ll Need
- Paint
- Paint roller
- Paint roller extension pole
- Drop cloths
- Paintbrushes
- Paint tray
- Sandpaper
- Painter’s tape
- Rags
- Putty knife
Prep the Room Before Painting
When it comes to interior walls, you should usually paint with latex and it can be painted without priming, unless the existing walls are:
- Painted a dark color
- Stains, grease, or other imperfections
- Defects in the drywall that have been patched
- Painted with oil-based paint before
In situations like these, prime first with a stain-blocking primer. If you want to cover any imperfections, you can spot prime without having to prime the entire room. Before painting, if there is sunlight, use it to help you detect any defects along the surface. Fill them using a putty knife and spackling compound. When the spackling is dry, sand the surface smoothly. If the surface is rough, dab the patched area with paint on a rag or sponge to copy the texture of the wall.
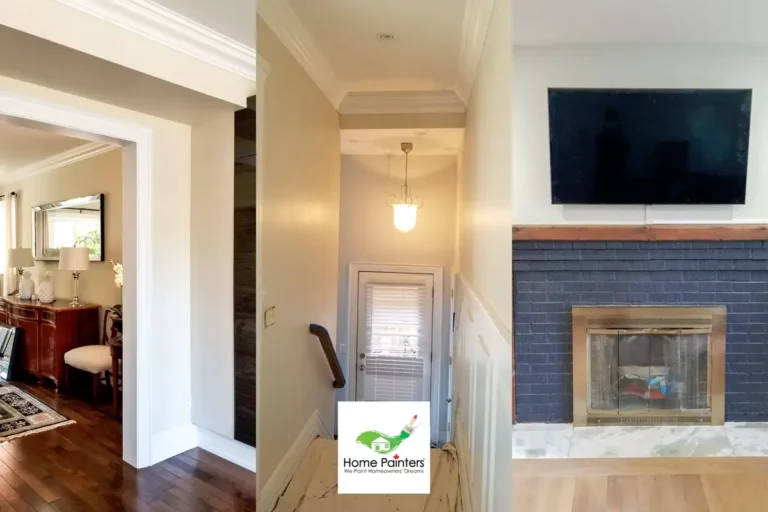
Interior Trim Around the Room
With older homes, interior trim is probably painted with oil-based enamel, but there have been major improvements with latex enamel and its durability. So, latex enamel is now a more popular choice. To make sure the new paint adheres properly, prime the surface so that the latex works well over the oil-based paint. How do you figure out if the surface used an oil-based or latex paint? Simply take a rag dabbed with denatured alcohol and rub it on the surface. If the paint comes off, it’s latex. If it doesn’t, it’s oil-based.
Paint a Second Coat
Painting a second coat on your walls is almost always a must. This step is usually fairly easy and quick. Cutting in is easy because you don’t need to get right up to the ceiling or trim. Then, slowly roll the second coat on and you will observe the little pockets that were showing the original colour. This will be covered up nicely, so don’t you worry. Now, you will notice just how beautiful your newly painted home is! The difference a new coat of paint can make on your house is extremely valuable. The transformation is effortless and visually appealing! Good job! Not to mention you officially know the best order to paint a room in the process.
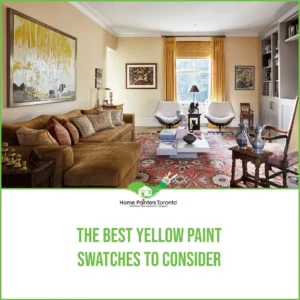
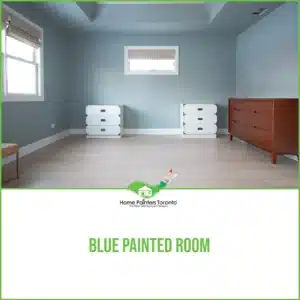
Incorporating Calm Colours
Colors have an instant impact on our mood. After a long day at work when you are feeling exhausted, you want to be in a space surrounded by calming colors. When in a room filled with light blue paint, you instantly feel as if you’re outside, feeling the breeze while relaxing. In a yellow room, it radiates and you feel as if you’re sitting at the beach, with the sun beaming in your face. Even though the colour can bring you stress, it is still a bright colour that could give you much needed energy! Whichever route you decide to take, the possibilities are endless.
Understanding and Overcoming Common Painting Challenges
As we journey together in the world of DIY painting, it’s only natural that we occasionally encounter a few speed bumps—challenges or mishaps that can sometimes make this riding a bit turbulent.
Here are the common painting challenges and their solutions to help you in your painting adventure.
1. Uneven Paint Coverage
The Challenge: During painting, you might notice that the paint isn’t uniformly covering your wall, leading to an uneven appearance and colour tone. This issue often arises due to improper wall preparation or using low-quality paint.
The Solution: To avoid this, always start by prepping your walls properly. This includes cleaning your walls and applying primer before painting. When choosing paint, remember that a higher-end product will often yield better results.
2. Paint Bubbles or Blisters
The Challenge: Notice small bubbles or blisters forming on your freshly painted wall. This is often caused by painting on a damp or humid surface or by excessive heat during or after painting.
The Solution: Always ensure your wall is thoroughly dry before painting and avoid painting in extreme heat conditions. If bubbles do form, wait until the paint dries, sand it down, prime, and then repaint the area.
3. Drips and Roller Marks
The Challenge: If there’s too much paint on your roller or brush, you may end up with unsightly drips or roller marks.
The Solution: Aim to load your brush or roller with enough paint, but don’t overdo it. Smooth out the paint with long, even strokes. If you happen to find drip marks, let them dry completely before sanding and repainting the area.
Remember, challenges while painting are not roadblocks but detours on your DIY journey. They’re merely opportunities for you to learn and perfect your craft. Your painting project is so much more than just a task; it’s an enriching learning experience, where each stroke lays the foundation for the masterpiece waiting to emerge.
Wrap-Up
So, there you have it— the best painting sequence to paint a room from a professional’s perspective! By following this systematic approach, you’re all set to embark on your room painting project, ready to handle every nook and corner with ease and confidence.
Remember, painting isn’t just about changing a room’s colour. It’s about the journey—the process through which you improve and learn, making your mark one stroke at a time. Let this guide be your map as you navigate the colourful landscape of DIY painting.
More TESTIMONIALS Related to
“What Is The Best Order To Paint A Room”

If you reside in Toronto and the GTA and need some help figuring out the interior painting costs per square foot, don’t hesitate to call us! We will help you pick the colours you want and show you the latest painting and home renovation trends. Our home painting services with the best pro painters have been around now for over 37 years. Call 416.494.9095 or email [email protected] for a FREE quote for your home painting needs. And don’t forget to check us out on our social media channels below!