
Today, decorating your home has a new rule, express yourself! Through a combination of new and old techniques, homeowners are truly making their homes their own. One of the greatest (and most fun) new/old techniques is adding stripes. Patterns (stripes more specifically) are amazingly practical along with being stylish.
Stripes, in particular, harbour remarkable transformative potential — they can alter a room’s perceived dimensions and enhance its aesthetic charm. However, to leverage their full potential, one needs to understand the underlying principles of stripe dynamics and colour psychology.
Stripe Orientation: Vertical, Horizontal, and Diagonal
Subtle changes in stripe orientation can induce drastic shifts in a room’s perceived size and structure.
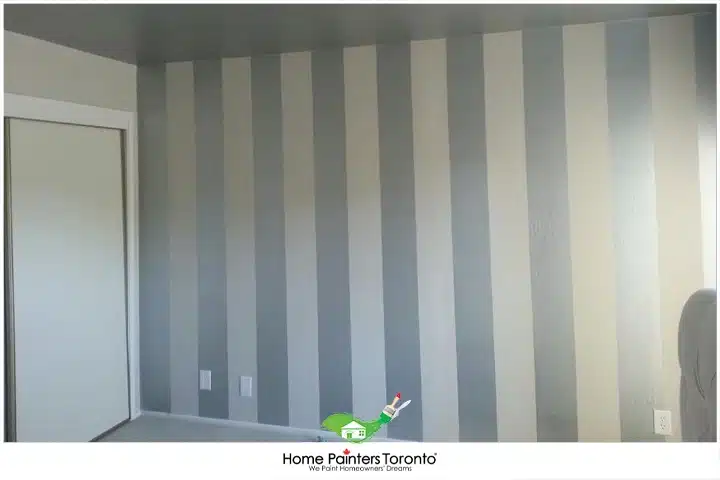
- Vertical Stripes: If you’re working with a space that boasts more floor area than height, painting vertical stripes on the wall is your saving grace. They create an optical illusion, making your room appear taller than it physically is by drawing viewers’ eyes upward.
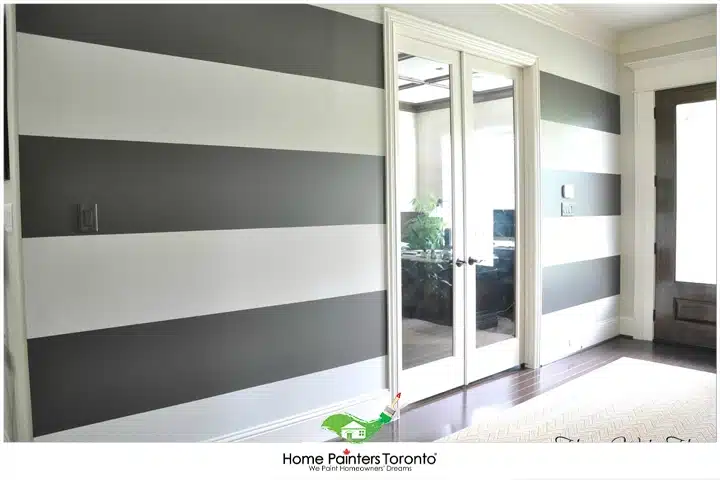
- Horizontal Stripes: Alternatively, for notoriously narrow rooms, painting horizontal stripes on the wall can create the perception of additional width, providing a sense of spaciousness, much like an idyllic open horizon.
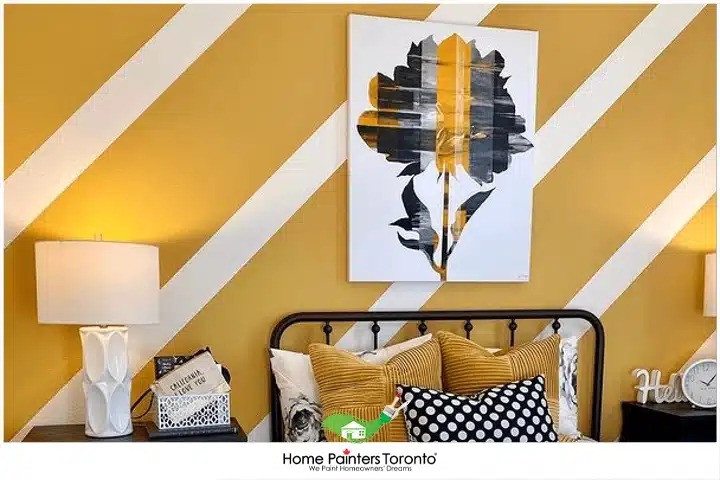
- Diagonal Stripes: Innovative and vibrant, diagonal stripes introduce a dynamic, energized atmosphere. They can guide eyes toward specific focal points in your room or reflect movement, making them an enticing choice for a lively, modern setting.
Do It Yourself Painting: Painting Stripes Easy Guide
Stripes can hide the flaws in a room that construction projects can’t fix. If you have a room with low ceilings, try adding some vertical stripes. If your room is very shallow, add some horizontal stripes for some added depth.
Experiment with a combination of colours and textures for a look at is all you. Here are some tips on how to paint stripes.
Prepare Your Room:
As always, don’t forget to prepare your room for painting by removing valuables from the painting area. Cover any furniture or flooring left in the room. Ideally, your room should already be painted with a base colour (neutral grey, white, off-white, beige). For tips on how to paint a wall.
Plan your painting project:
Before you can start painting, be sure that you have gathered all the supplies you will need:
- Measuring tape
- blue or green painter tape (not masking tape)
- 2 (or more) colours of paint
- an accurate level
Measure height (for horizontal) or width (for vertical):
Having a plan about how many stripes you want and the size you want them to be will make your job more efficient. Stripes that are 12” tall (or wide) are very subtle and pleasing to the eye. Using a level and a pencil, plan where your lines will go by making slight tack marks with the pencil.
Home Painters Toronto Pro Tip:
Try experimenting with a combination of mat and glossy paint for a fashionable style that is all yours.
Use Painter’s Tape To Define Stripes:
Depending on what your plan is regarding the size of the stripes, you can choose either to tape above your pencil marks, below them, or alternate which will create different sizes. Here is some advice on using painters tape.
Be sure that the painter’s tape is flush against the wall with no bubbles or air pockets. This prevents bleeding and blurring of lines.
Use a small roller to apply the paint. This will allow you to get the job done more effectively and neatly.
Painting the Stripes:
Start by painting a light base coat where the wall meets the tape. This will create a crisp line when the tape is removed. Using the other shade of paint, fill in the areas between the tape that you want to be striped. Allow the paint to dry to the touch, then carefully remove the tape at a 45-degree angle.
Troubleshooting Common Stripe Painting Challenges
As you embark on your painting journey, you’ll inevitably encounter a few hurdles along the way; even seasoned DIY enthusiasts do. However, the ability to anticipate and swiftly navigate through these challenges is what sets successful projects apart. In this section, we’re drawing from years of expertise to share practical solutions for some common stripe painting challenges: uneven lines, paint bleed, and colour disparity.
Uneven Lines: Precision is Key
The beauty of stripe painting lies in its precision. But achieving crisp, straight lines can often feel like a herculean task, especially for first-time painters.
- Prevention is undoubtedly better than correction for uneven lines. Investing time in careful planning, accurate measurements, and a diligent marking process with masking or painter’s tape can genuinely pay off.
- Nonetheless, if you do encounter uneven lines, a fine artist’s brush can be your salvation. Use it for corrections, carefully touching up the edges of the stripes.
Paint Bleed: The Spoilsport
Paint bleed – when paint seeps under the tape’s edges – can disrupt your perfect stripe flow, giving an unprofessional blurring effect.
- High-quality painter’s tape can minimize the chances of paint bleed. Moreover, applying a base coat of your current wall colour along the tape edges seals them off, preventing the new stripe colour from seeping through.
- If paint bleed still appears, a small, angled brush used with care can help clean up the spills and maintain the intended stripe clarity.
Colour Disparity: Perception vs. Reality
Ever wondered why the colour looks different on the wall than it does on the paint chip? A sustainability-linked phenomenon known as a metameric mismatch can lead to colour disparity based on lighting conditions and background contrasts.
- A colour test is an essential first step. Paint a section of the wall and observe how the colour appears at different times of the day and under various lighting conditions to avoid surprising shifts in shade.
- Moreover, ensuring that the base coat is uniformly applied and thoroughly dried before applying the new stripe colour will help maintain the intended depth of color and minimize patches.
Adding stripes to a plain wall can freshen up your room, instilling a new sense of dimension to your interior painting project. The key to successful DIY interior stripe painting is in the planning. Be prepared for your work and do not skip steps.
More TESTIMONIALS Related to
“Do-It-Yourself Painting: Painting Stripes”


If you have an idea you would like to try but do not know how to make it happen, Home Painters Toronto can help. With more than 36 years of experience as a professional painter, let our experience do the heavy lifting. Please call us NOW at 416.494.9095, or email us at [email protected] to get a quote for your interior painting project. And don’t forget to follow us on all our social channels below!