Metal door casings have been a popular choice for many due to their durability, sturdiness, and ability to withstand extreme weather conditions. However, homeowners might want to consider switching to wood for a more traditional aesthetic and warm touch. Replacing metal trim around the exterior door with wood is an excellent way to enhance the interior or exterior home décor. In this blog post, we will guide you through the process, ensuring your transition is seamless and successful.
Understanding Door Casings
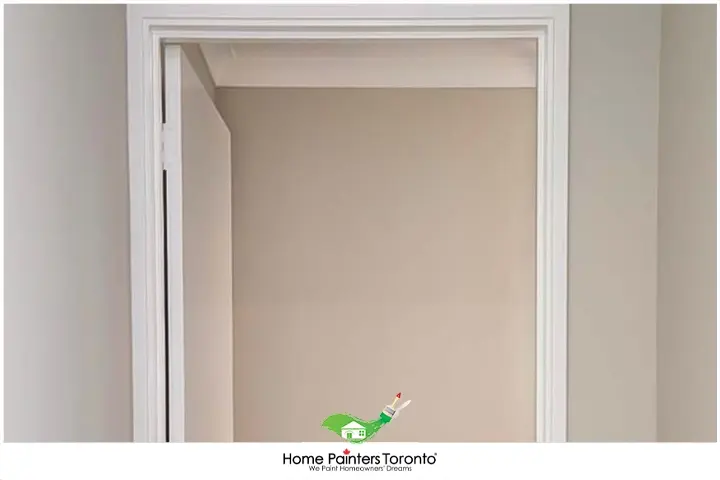
Door casings are the trim elements around your door, sometimes referred to as the doorframe. They provide a decorative transition between the door and the wall and help structurally support the door. Whether your door casings are metal or wood, they play an essential role in defining the character and style of your interiors.
Advantages of Replacing Metal Door Casings with Wood
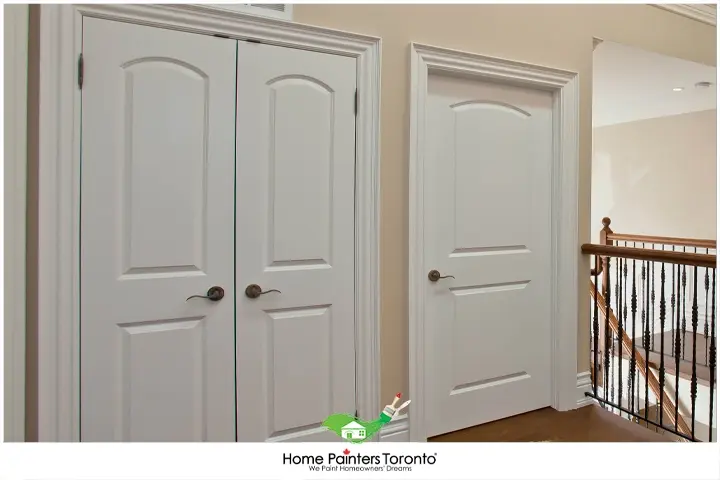
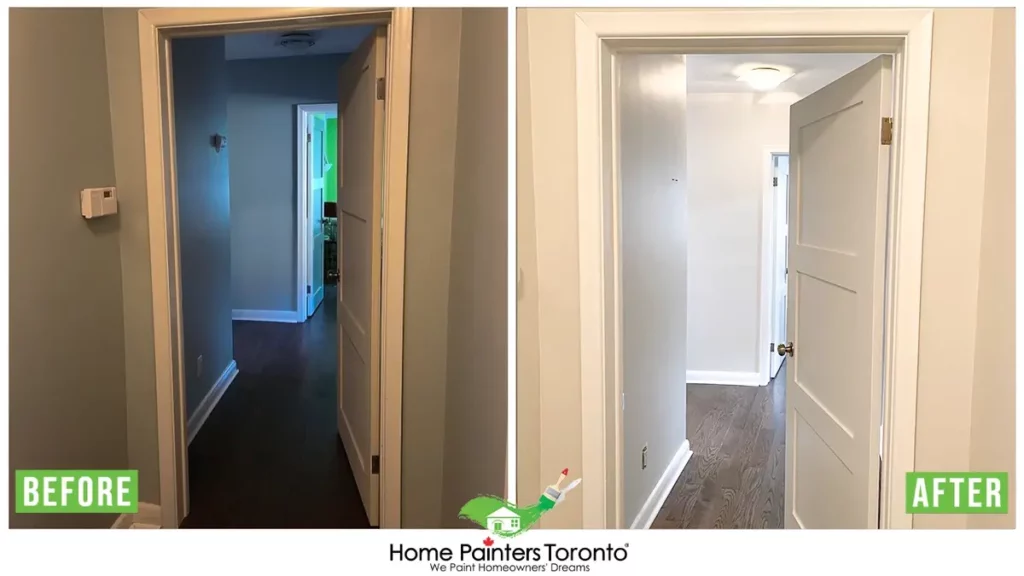
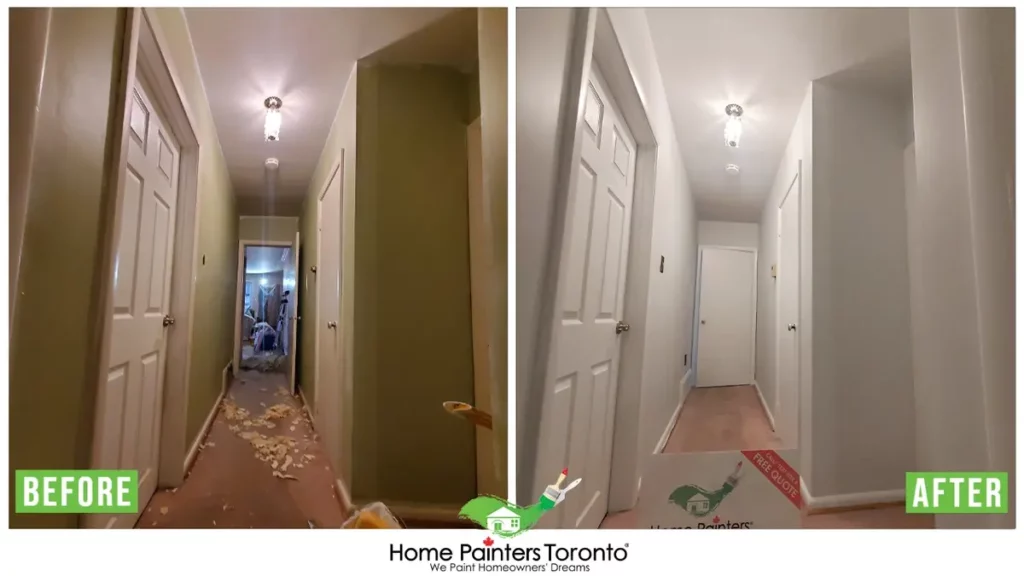
Aesthetic Appeal – Wood undoubtedly lends a timeless appeal to doors. With various finishes available, commercial wood doors with metal frame casings can suit an extensive range of interior styles – from traditional to bohemian to minimalist.
Customizability – Wood offers more flexibility in terms of design and pattern. It can be easily shaped, carved, or engraved to match your unique style and preference.
Sound Insulation – Wood has natural acoustics. As a result, wooden casings can help reduce noise infiltration, to some extent making your rooms peaceful and quieter.
Things to Consider Before the Transition
Before you commence the process of replacing metal door casings with wood, consider these points:
Cost – Wooden casings are often more expensive than metal ones. Besides, a professional installation can also add up to your budget. However, given its advantages, it could be seen as a long-term investment.
Maintenance – Unlike metal, wood is prone to warp and rot if not properly maintained. It might require regular cleaning, occasional touch-up painting or staining.
Type of Wood – The wood you select for your casings should align with your door design and overall room aesthetics. Moreover, it should be durable and sturdy for long-lasting usage.
replacing Metal Door Casings With Wood
When replacing metal door casings with wood, you should be careful to pay attention to the exterior door casing and the door itself so that you don’t damage anything vital to the installation. There are many variations of wood door casing profiles, such as custom cuts and stock patterns, so once you have selected your favourite, you can officially start this project! Read on to learn about the replacement process.
Materials That You Will Need to Replace Your Metal Door Casing:
- Pry Bar
- Circular Saw
- Tape Measure
- Level
- Reciprocating Saw
- Pencil
- Nails (framing nails 10d)
- Speed Square
- Nail Gun
- Wood Door Casing
- 2×4 studs
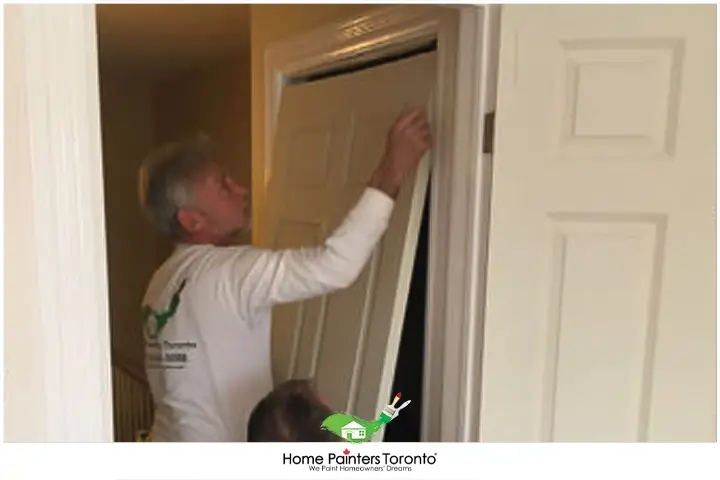
1. Remove the Old Door/Frame before replacing the Metal door Casing
- Take off the surrounding trim carefully if you wish to reuse it. Using a pry bar, gently lift the trim free of the nails and put it in a safe place.
- Using a circular saw, cut through the nails holding the old door piece to the frame and slide the door out.
- Saw off and remove the studs around the door’s opening. Then, remove the drywall strip or panelling on both sides so you can reach the door frame.
2. Measure the Metal Door Casing
Using a tape measure, measure the door and pencil in the width of it on the horizontal boards that join the top and bottom of the wall frame. Also, pencil in the height of the new door on the wall studs.
3. Cut & Measure
- With a circular saw, cut a pair of 2×4 studs so it will fit between the horizontal wall frame boards and insert them. Nail the top and bottom boards in and make sure they are nailed in diagonally through each side.
- Now cut another pair of 2×4 studs to the height of the exterior door and put them next to the just-installed studs. Nail them to the studs and the boards at the top and bottom wall frame.
- Find the distance from the studs. They should be 3-3/4″ greater than the width of the doorway, and cut a single 2×4 stud to that width. Put it on top of the studs and nail it to both sets to create the header of the exterior door frame.
- Again, measure the distance from the header to the top of the wall frame and cut one 2×4 stud to that height. You’ll want to put it vertically onto the header’s midpoint and then nail it through the header and secure it.
- Nail diagonally through and into the top frame wallboard to create the cripple stud for the door frame.
- Now that you have completed the new door frame, you can refinish the surrounding areas if necessary.
Hint:
If you find that the bottom wall frame board might happen to extend into the doorway, see it off and make it clear.
Finally, remember that replacing a metal door casing with wood can significantly change the appearance of your space, providing a warmer and more traditional aesthetic. The steps above will guide you on this journey, making the replacement process straightforward.
Always remember to value safety and take your time. Make sure the job is well done by double-checking all measurements before cutting and fixing the casing correctly.
More Interesting Blogs Related to
“REPLACING METAL DOOR CASINGS WITH WOOD”


Replacing metal door casings with wood can be done with a few tools and materials, providing years of lasting and durable results. If you would like assistance with metal door casing jobs, don’t hesitate to call Home Painters Toronto! Call us NOW at 416-494-9095 or email [email protected]! And don’t forget to follow us on all our social channels below!