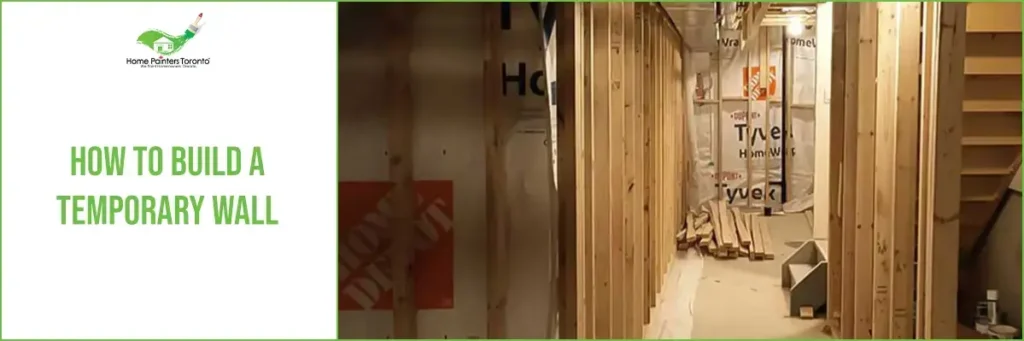
Building Cheap Temporary Walls: DIY Guide
Have you ever looked around your home and thought something wasn’t quite right? What with being home a lot more and practically falling over one another in such close quarters? It might make you feel as though you need a whole extra room! Enter you thinking about how to build a temporary wall.
Think about it. It could be a solid solution to needing to quarter off some much-needed office space or separating your kids in just a two-bedroom apartment!
Sometimes we truly take the layout of our homes or apartments for granted. The good news is, though, things can always be done. We have all the details here if you’ve always wondered how to build a temporary wall. So, keep reading to learn all the steps involved.
Materials Needed:
- Lumber (preferably 2 x 4)
- Drywall sheets (probably 4)
- Circular Saw
- Wooden Shims
- Electric Drill
- Hammer
- Nails or Screws
- Sill Seal
Step-by-Step Guide on How to Build a Temporary Wall to Divide a Room
While it sounds fancy, building temporary walls doesn’t have to break the bank. The following steps will guide you on how to build cheap temporary walls by doing it yourself.
Step #1: Position Protection For Where The Wall Is Going To Rest
The first crucial step in building your temporary wall is to ensure it stays in place! After all, we don’t want anything unsafe that will fall with just a slight nudge. What works well in terms of thinking about how to build a temporary wall is Foam Seal. It comes in various thicknesses, but it’s probably best to use the ¼-inch¼ inch thickness.
The sill seal will help to protect your floor, wall and ceiling (if you have it go up that high) from damage. It also will work to provide the pressure needed to secure your temporary wall into place.
Step #2: Cut Lumber To Appropriate Sizes
Obviously, for this project, you will need some lumber to support the drywall. 2 x 4’s will get the job done well. You’ll want to cut two 2 x 4s4’s into the length you want your temporary wall to be. Then you will want to cut two more into the height you want your wall to reach.
Many people want their temporary wall to be an excellent clear space separator.
So, they don’t go above five feet or so. And others want it just below the ceiling height. It revolves around what exactly you’re looking to do with your space.
Step #3: How To Build A Temporary Wall – Studs And Nails
Of course, you’ll want to get things more situated from there. Take the bottom part of the panel on the sill seal, which you’ve set up where you want your temporary wall to go. At that point, you might want to call on a helper to hold up your top piece of lumber so you know where to fit the studs in with a hammer.
Once you have your temporary wall perimeter figured out, you can fasten the studs with nails or screws. Don’t forget to add some extra stability with a stabilizer beam that can be either nailed or screwed in. Also, at this point, you can install your remaining studs at pivotal internals of 15 – 20 inches apart.
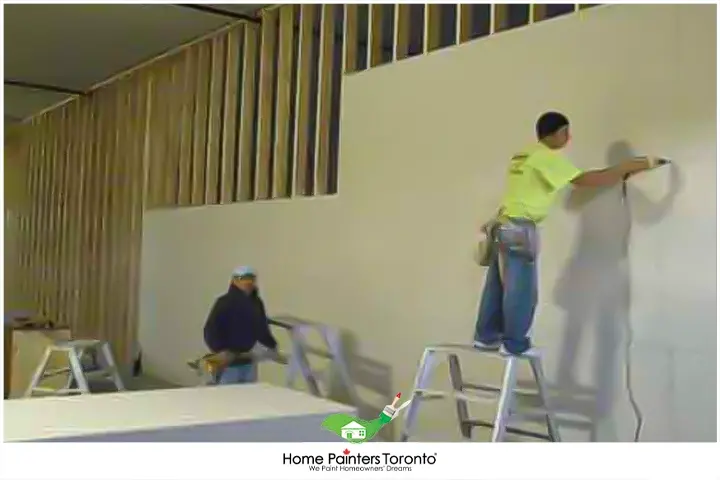
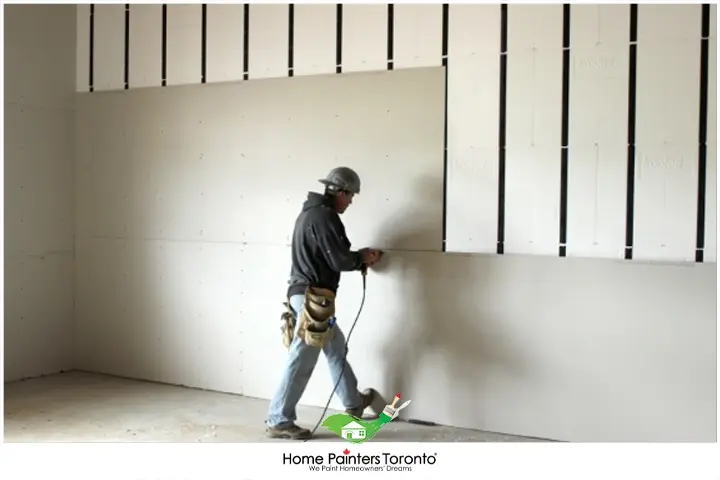
Step #4: Drywall Installation & Last Touches
Then, you can finally install your temporary wall’s drywall panels! In terms of noise cancellation, you can add a bit of insulation if you see fit. When thinking about how to build a temporary wall and what happens if you need to take it down, it’s probably best to use screws for installation. Once you have your drywall panels up, you can choose what to do with it!
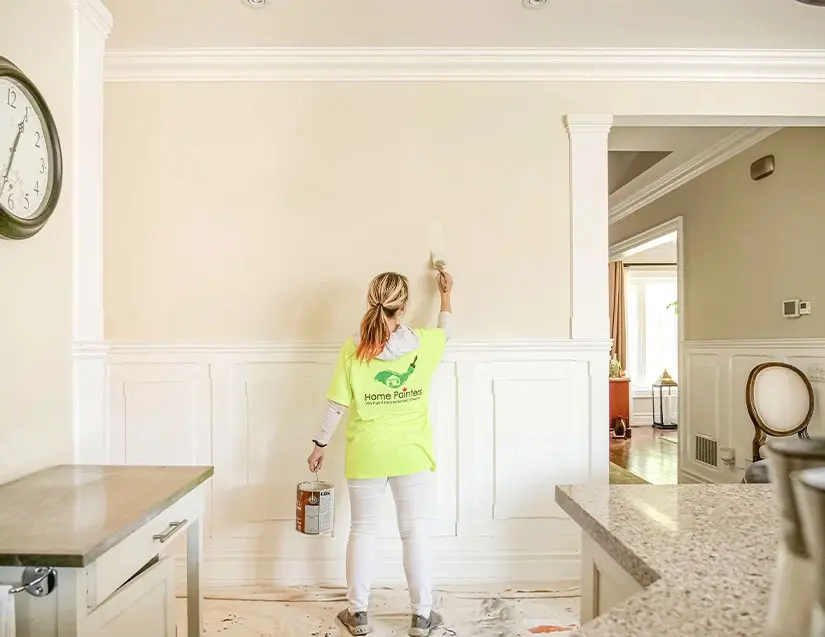
Optional Finishing Touches
Some might enjoy the unfinished look, especially for only a few months. Others might need to paint it and incorporate other design elements, like artwork or baseboards.
Although it’s optional, applying wall paint can dramatically improve the look of your wall. If you install drywall, you can use joint compound and sandpaper to create a smooth finish before painting. Wall painting might be an extra cost, but considering the improved aesthetic, it might be well worth it.
When thinking about building a temporary wall, it’s always important to remember that this is a non-permanent structure. Whatever elements you add to it, you will have to disassemble and discard them in the end.
More Interesting Blogs Related to
“HOW TO BUILD A TEMPORARY WALL”


Of course, if you aren’t up to the extra work, why not let Home Painters Toronto take a load off your back? With over 36 years of home painting experience in both residential house painting as well as commercial painting, call us NOW at 416.494.9095, or email us at [email protected] to get a FREE estimate for your interior painting project and consultation about what paint to choose. Allow our professional house painters to do all the work for you! And don’t forget to follow us on all our social channels below!